How to Draw Deku: Easy 10-Step Anime Tutorial
Ready to bring Izuku Midoriya to life? This tutorial is perfect for young artists and anime fans looking to practice their manga character design. Grab a pencil, an eraser, and a sheet of paper to start building Deku's iconic look through simple, manageable shapes.
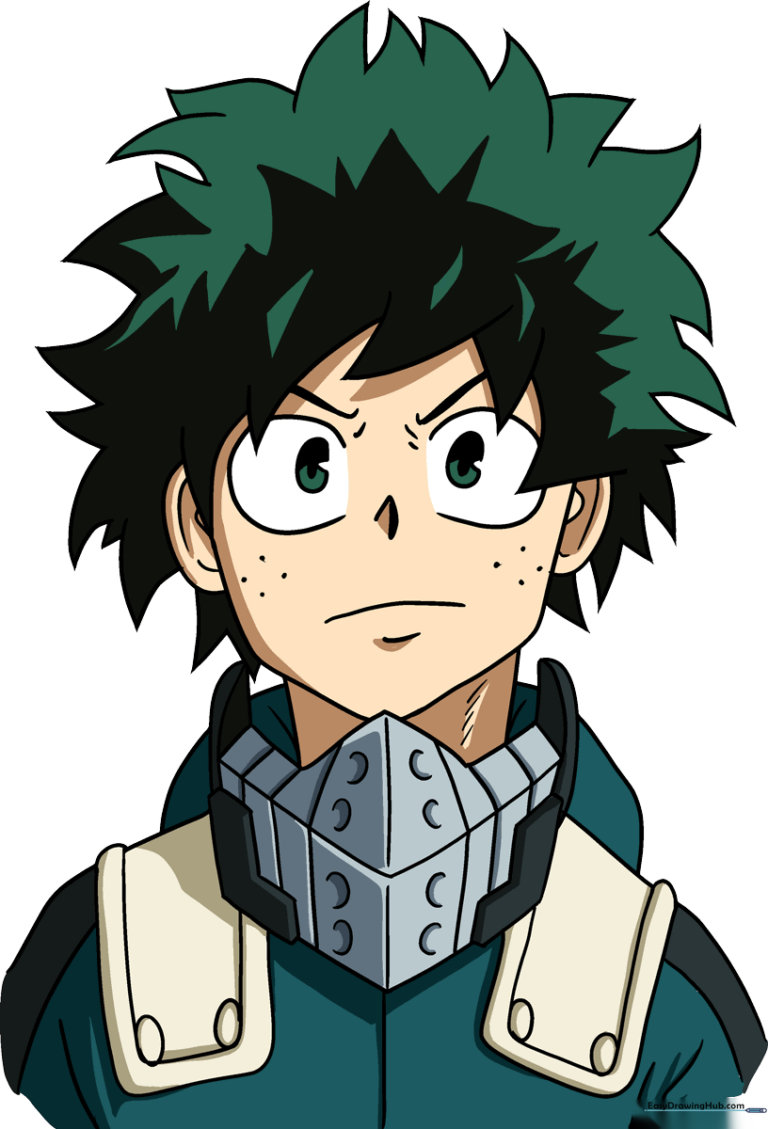
🎯 Final Result
Step-by-Step Instructions
Step 1: Sketching the Face Guide
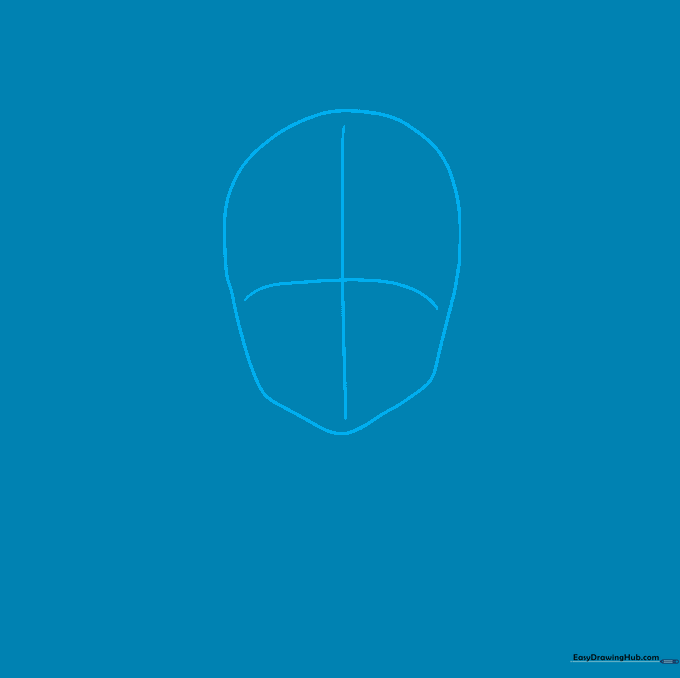
Start by drawing a long, curved line to outline Deku's face, focusing on the chin and cheek shape. Lightly sketch a vertical and horizontal crosshair over the face. Teacher's Tip: Keep these guide lines very faint so you can easily erase them later—they are just your roadmap for placing the eyes and nose!
Step 2: Adding Facial Features
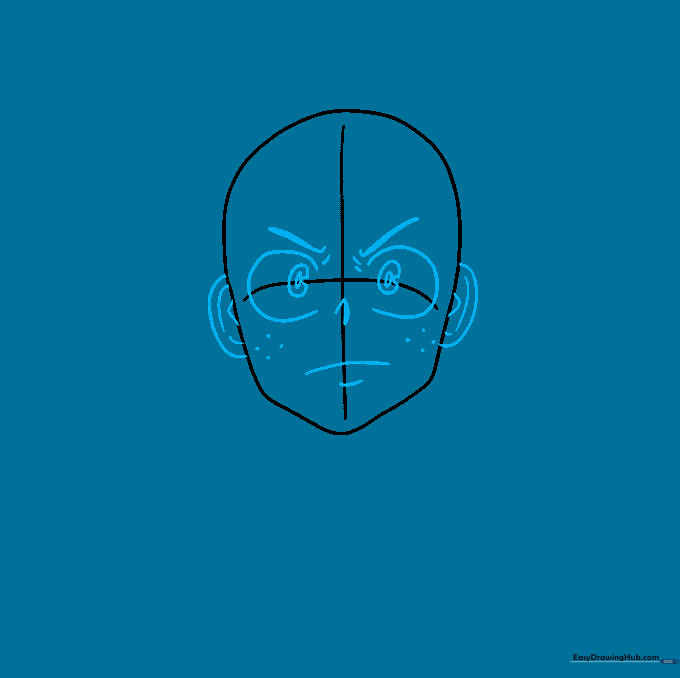
Add ears on both sides, then use your horizontal guide to place the eyes. Draw large 'C' shapes for the eyes, adding small ovals for pupils. Don't forget his signature freckles with a few light dots on his cheeks! Teacher's Tip: Use a sharp pencil for the eyes to keep the anime expression clean and crisp.
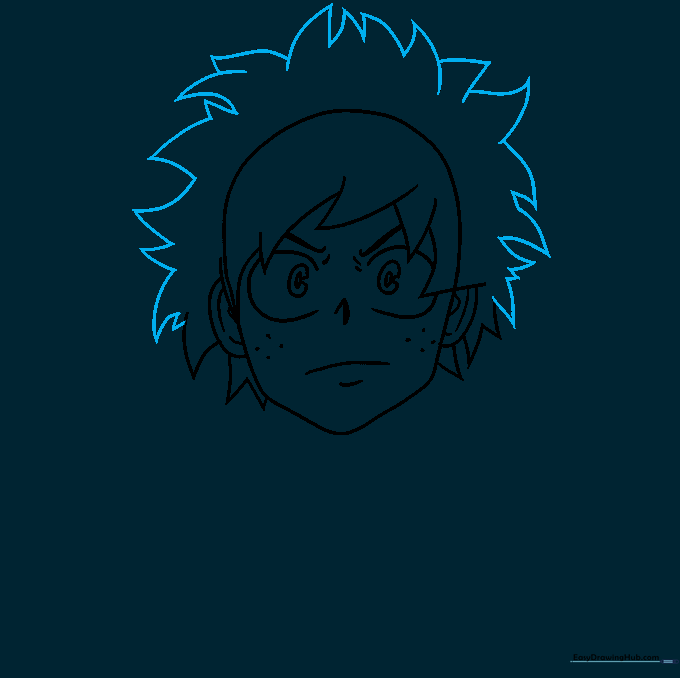
Step 3: Sketching the Spiky Hair

Erase your guide lines now that the face is set. Start drawing his iconic spiky hair using pairs of curved lines that meet at sharp, jagged points. Teacher's Tip: Vary the length of the spikes to make the hair look more natural and dynamic.
Step 4: Completing the Hair
Continue adding irregular, sun-ray-like locks on top of his head. Ensure they stick out in different directions to capture his messy, energetic style. Teacher's Tip: Don't worry about perfect symmetry; anime hair looks best when it's a bit wild!
Step 5: Drawing the Collar
Clean up any stray lines in the hair. Now, draw the collar of his uniform using straight, structured lines. Connect the collar to the head to form the neck. Teacher's Tip: Use a ruler if you struggle with straight lines, but freehand practice is great for building steady motor control.
Step 6: Adding Collar Details
Add the small 'L' shaped details to the collar. These small geometric shapes add depth to the uniform. Teacher's Tip: Focus on keeping these shapes uniform in size to maintain the character's professional look.
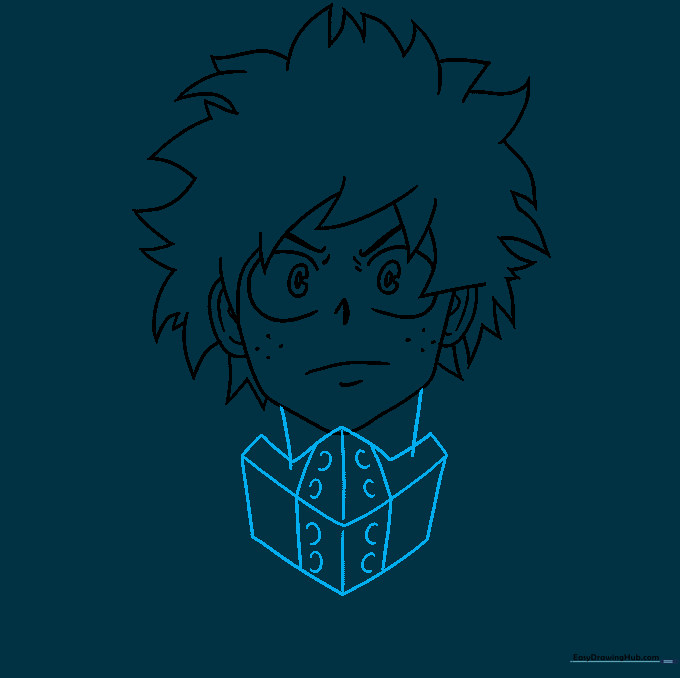
Step 7: Shoulders and Accents
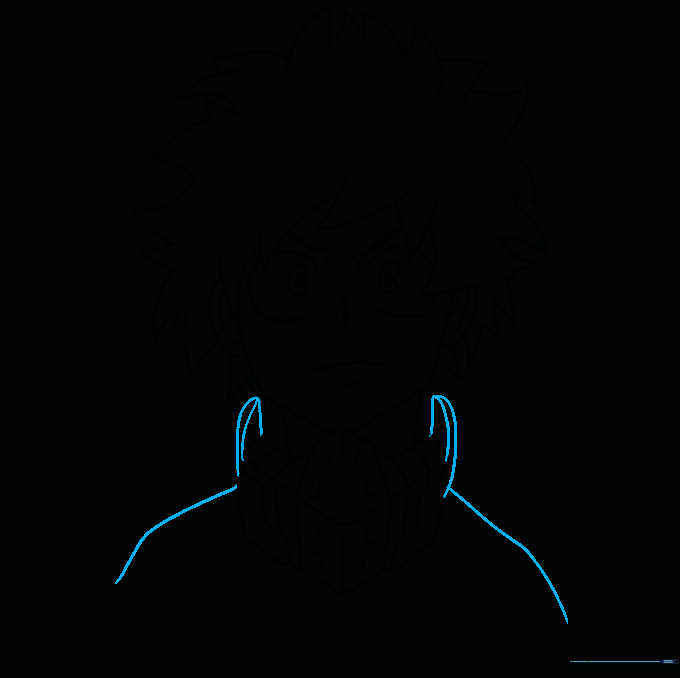
Draw the shoulders using long, sweeping curved lines. Add the decorative accents on the collar to complete the uniform's base. Teacher's Tip: Think of the shoulders as a wide, gentle slope to give him a heroic posture.
Step 8: Adding Texture and Folds
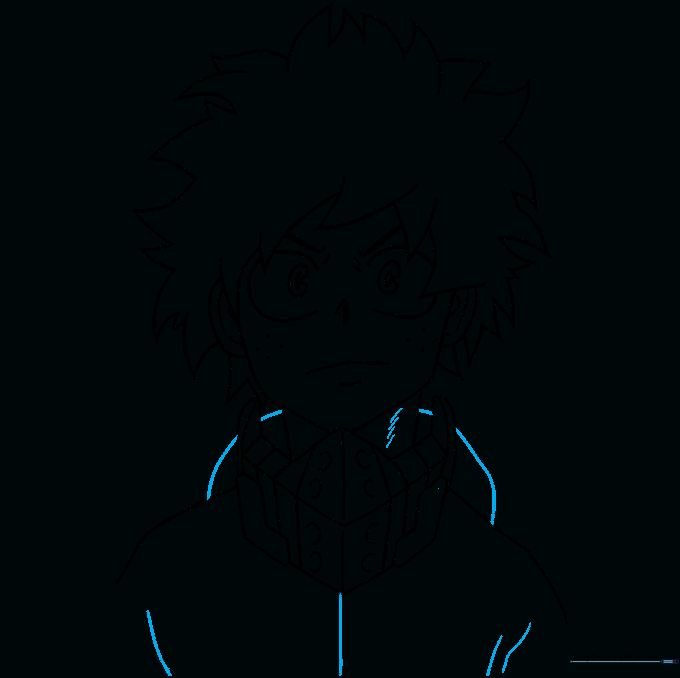
Use light hatching on the neck to create a shadow effect. Add a few curved lines to the garment to show fabric folds. Teacher's Tip: Hatching is a great way to add 3D volume to your drawing without needing heavy shading.
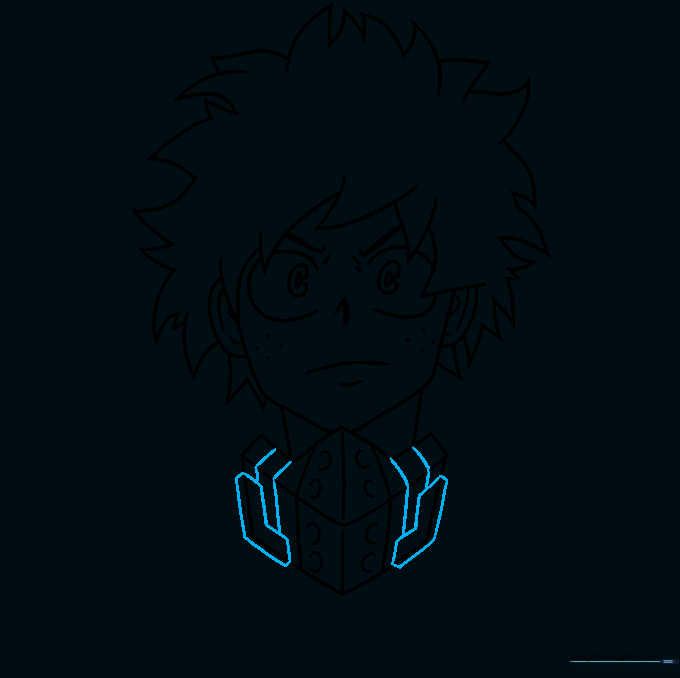
Step 9: Finalizing the Uniform
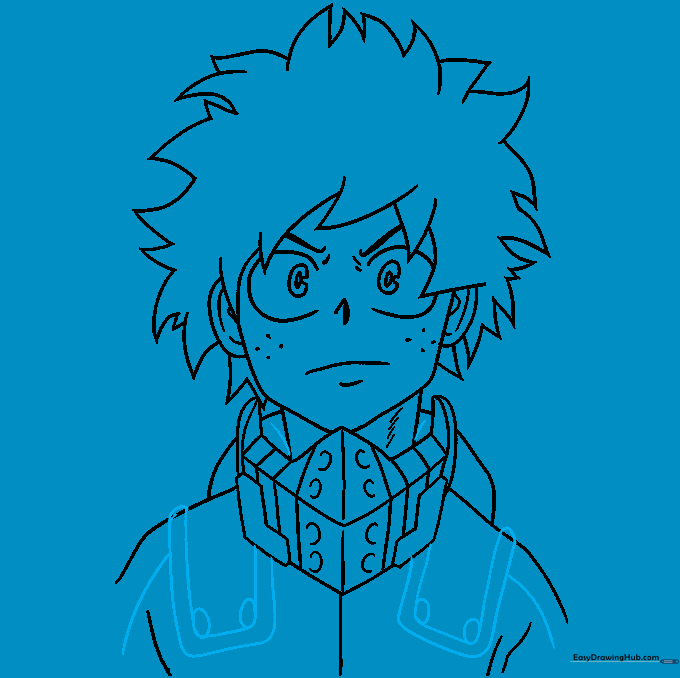
Outline the shoulder pads with squared 'C' shapes and add small ovals in the corners. Draw lines down the arms to finish the silhouette. Teacher's Tip: Keep your lines confident—don't be afraid to make a bold stroke!
Step 10: Bringing Deku to Life with Color
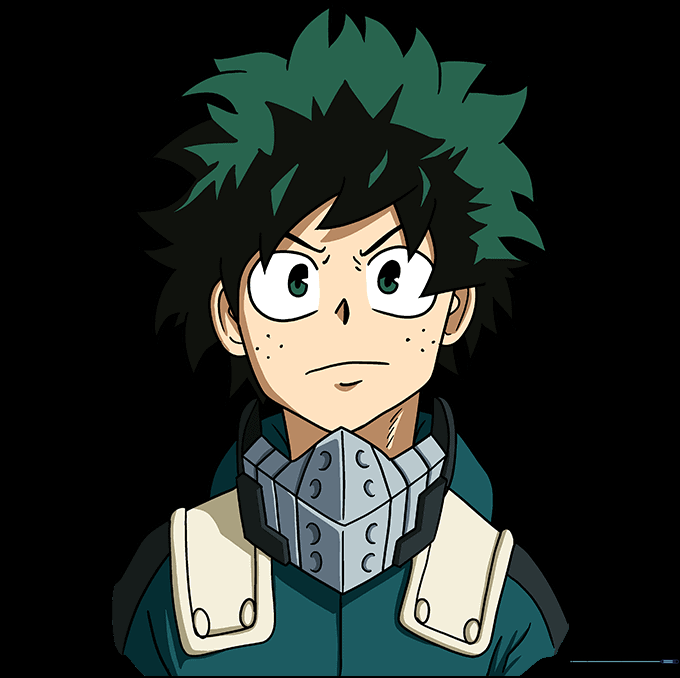
Time to color! Use light skin tones, vibrant green for his eyes, and a deep, dark green for his hair. Teacher's Tip: Use colored pencils and layer your colors—start light and build up to the darker shades for a professional anime finish.
More Tutorials


