How to Draw Deforestation: Simple Step-by-Step Guide
This tutorial is perfect for students and young artists looking to illustrate environmental concepts through art. You will need a pencil, an eraser, and a piece of paper to bring this landscape to life. Follow these simple steps to master perspective and texture while creating a meaningful visual story.
🎯 Final Result

Step-by-Step Instructions
Step 1: Sketching the Felling Notch
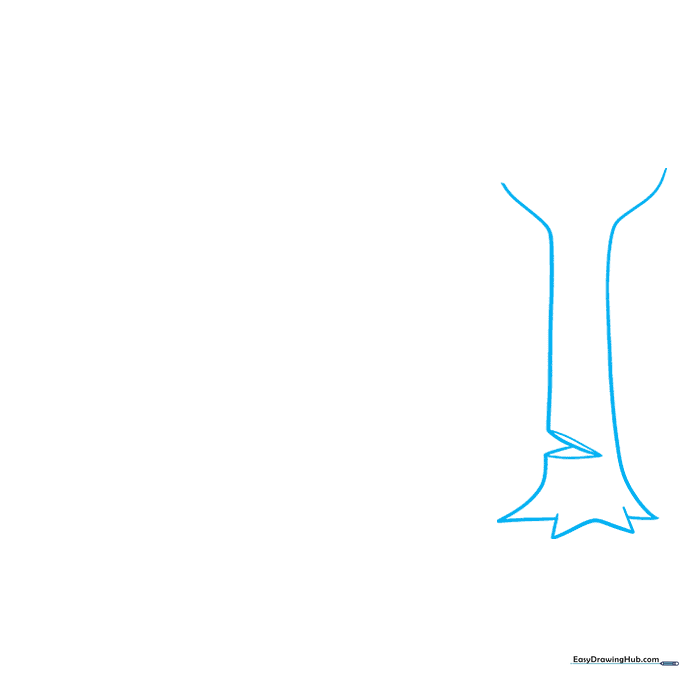
Start by drawing the main tree trunk using long, curved lines. Add a 'V' shaped notch on one side to show where the tree is being cut. Teacher's Tip: Keep your pencil lines light so you can easily erase the section inside the notch to make it look like a clean cut.
Step 2: Adding the Leafy Crown

Draw the top of the tree using a series of connected, bumpy, curved lines to represent the canopy. Teacher's Tip: Don't worry about making the leaves perfect; nature is irregular, so varying the size of your curves makes the tree look more realistic.
Step 3: Texture and Horizon
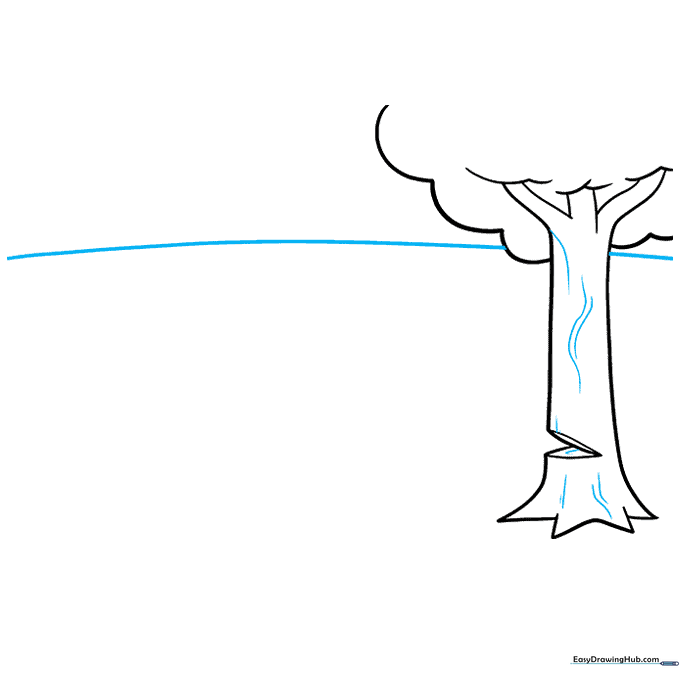
Add wavy lines to the trunk to suggest bark texture, then draw a long, horizontal line behind the tree to create the ground. Teacher's Tip: The horizon line helps ground your drawing, separating the earth from the sky.
Step 4: Drawing the Stump and Ax
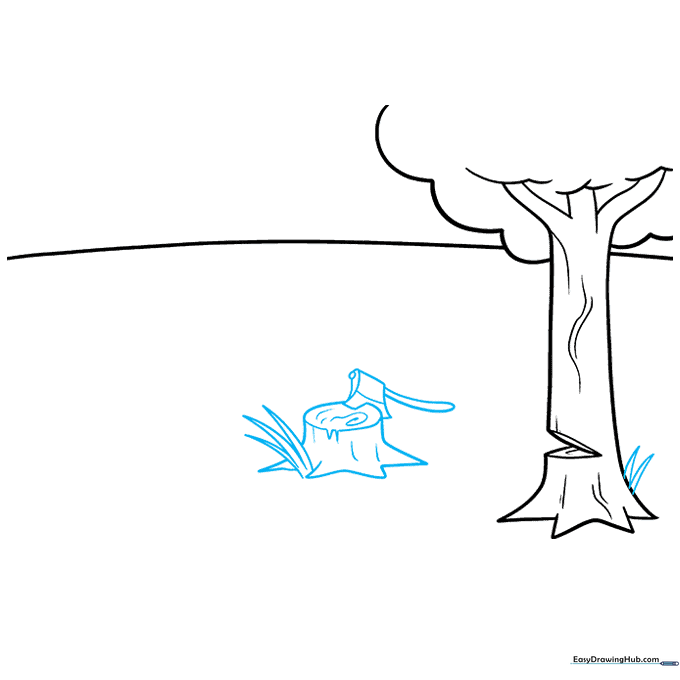
Draw a tree stump nearby with sharp grass blades around the base. Add an ax stuck into the top of the stump using a curved trapezoid for the blade and a long handle. Teacher's Tip: Use small spirals on the stump top to mimic the rings of a tree.
Step 5: Adding Background Stumps
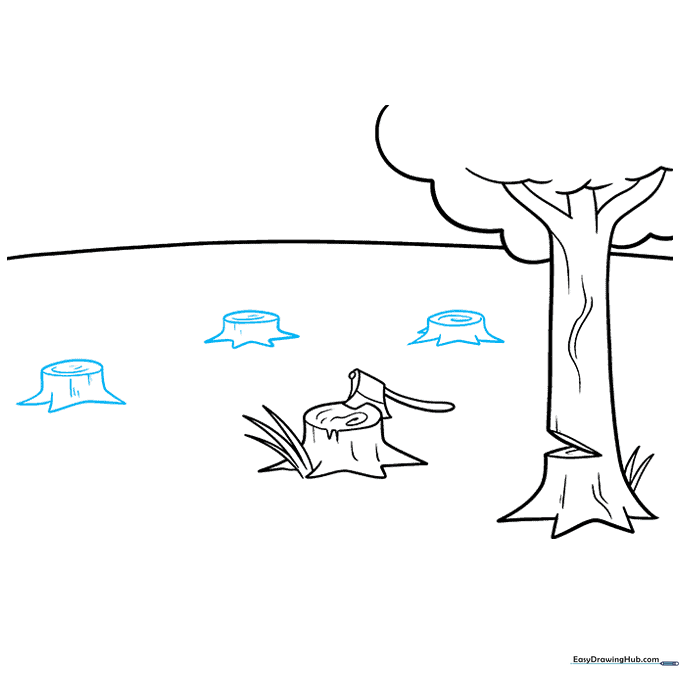
Draw several more stump outlines in the distance. Teacher's Tip: Make these stumps slightly smaller than the first one to create a sense of depth in your landscape.
Step 6: Filling the Landscape
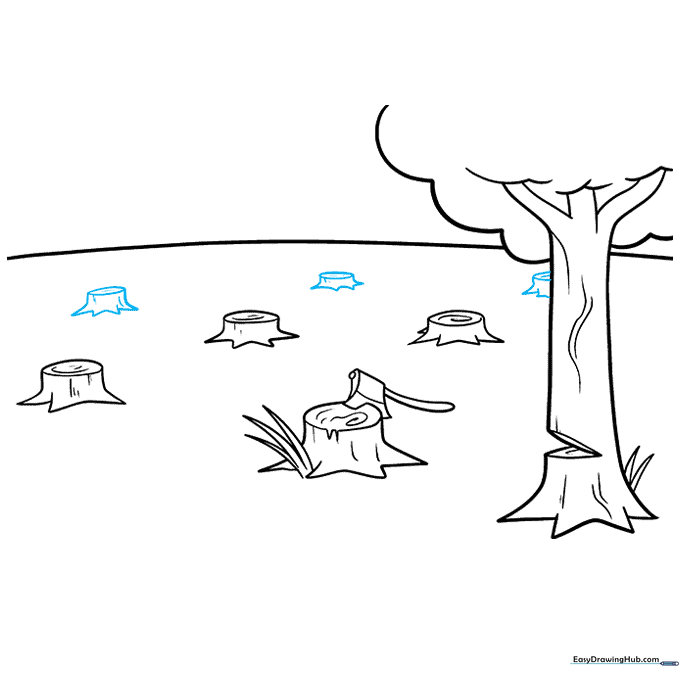
Continue adding stumps across the middle ground of your drawing. Teacher's Tip: Vary the placement of the stumps so they don't look like they are in a perfectly straight line.
Step 7: Creating Distance
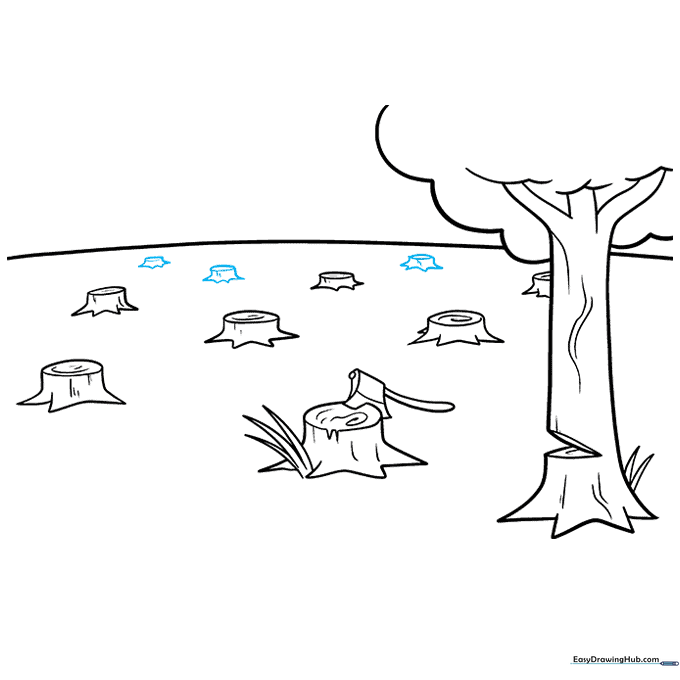
Draw very small stumps near the horizon line. Teacher's Tip: The smaller the objects are near the horizon, the further away they appear to the viewer.
Step 8: Adding Horizon Details
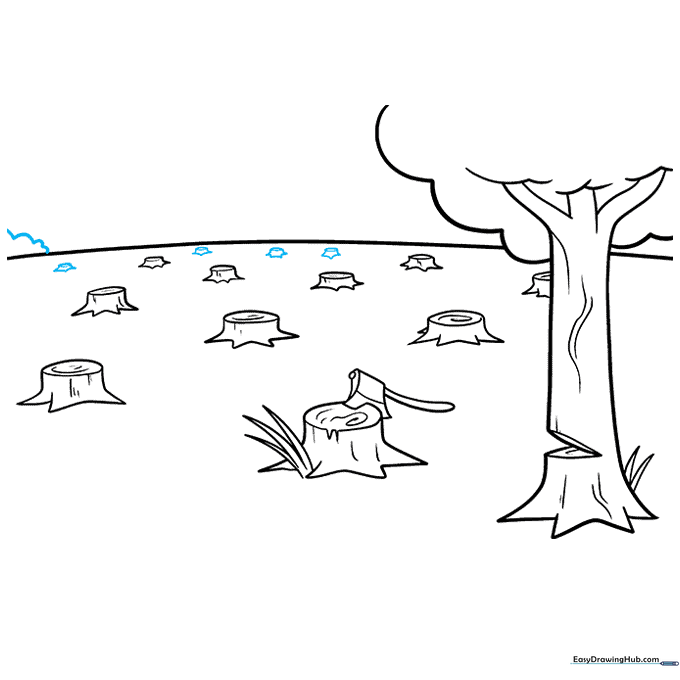
Use short, jagged lines on the horizon to suggest distant bushes or remaining trees. Teacher's Tip: This adds contrast between the cleared area and the untouched forest in the distance.
Step 9: Finalizing the Background
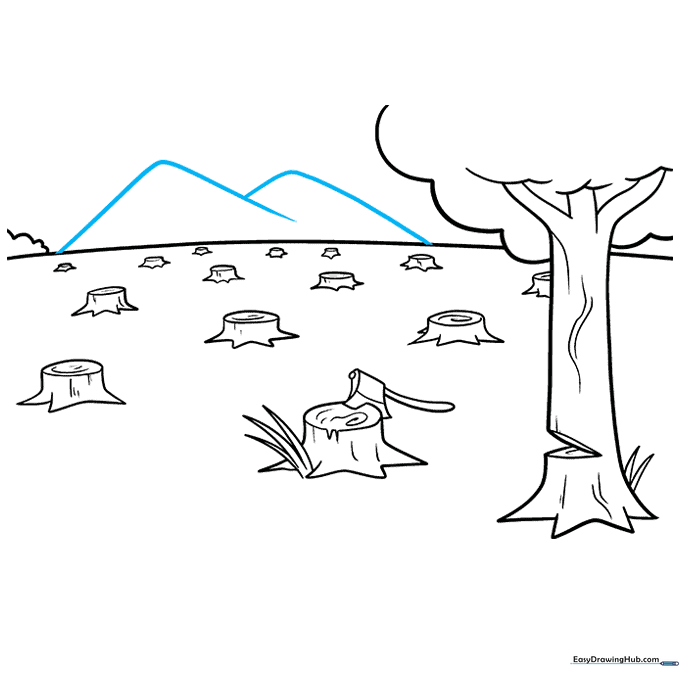
Sketch mountain silhouettes using overlapping 'V' shapes behind the horizon. Teacher's Tip: Keep these lines faint so they don't overpower the foreground stumps.
Step 10: Adding Color
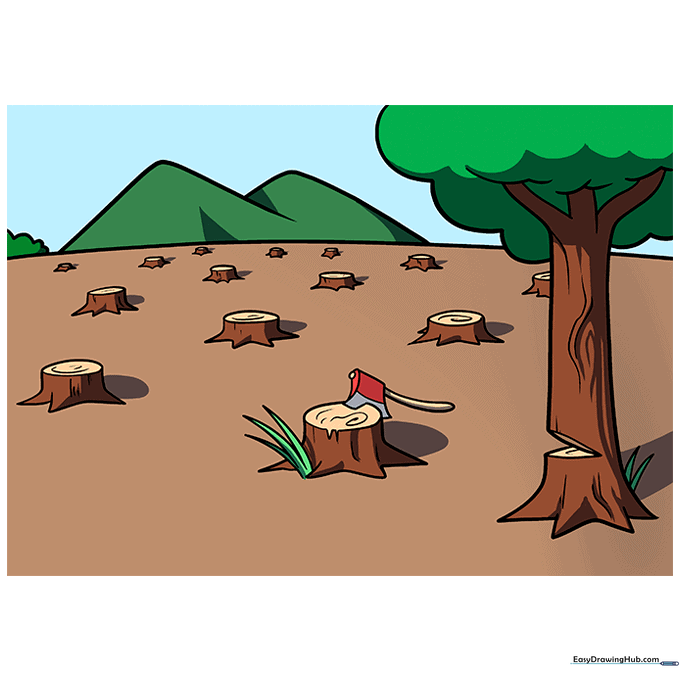
Bring your drawing to life with color. Use earthy browns for the stumps and dirt, and cool blues or greens for the distant mountains. Teacher's Tip: Using darker colors in the foreground and lighter colors in the background will make your drawing look more professional and atmospheric.
More Tutorials


