How to Draw Deadpool: Easy 10-Step Guide for Beginners
Ready to bring the Merc with a Mouth to life? This tutorial is perfect for young artists and Marvel fans looking to practice character proportions. All you need is a pencil, an eraser, and a sheet of paper to master Deadpool’s iconic mask.
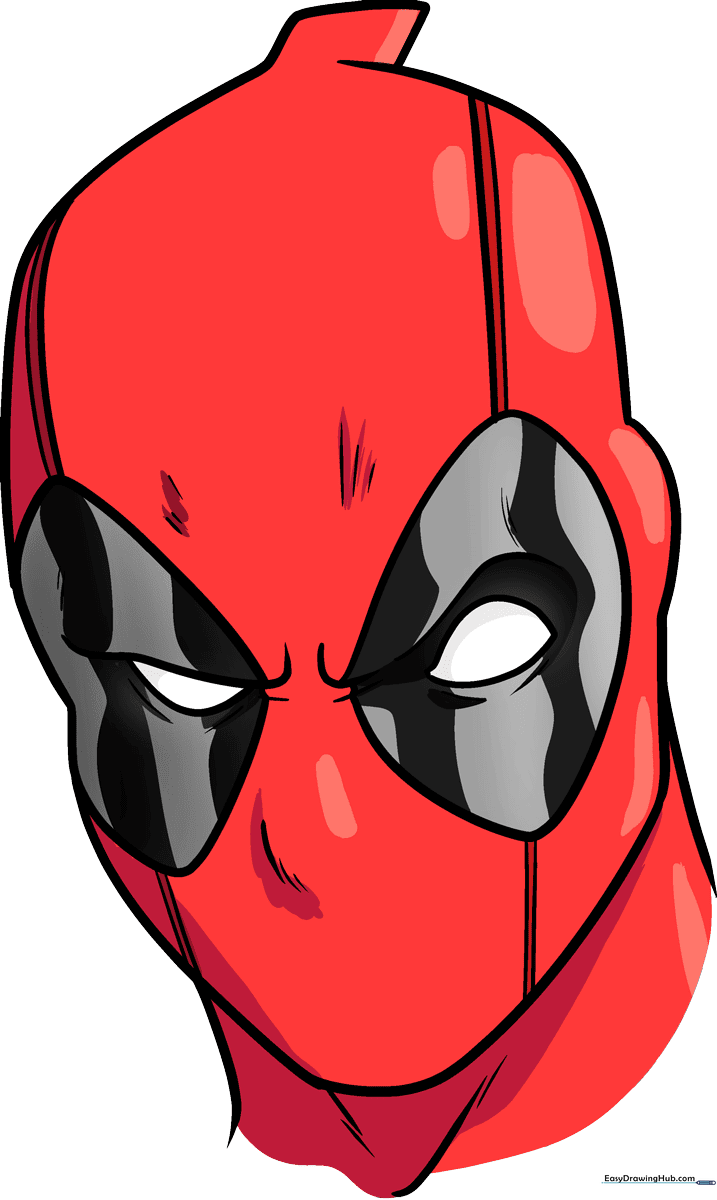
🎯 Final Result
Step-by-Step Instructions
Step 1: Sketching the First Eye

Begin by drawing the left eye using two curved lines that meet at a point. Teacher's Tip: Keep your pencil pressure light so you can easily adjust the shape if it looks a bit lopsided.
Step 2: Adding the Second Eye
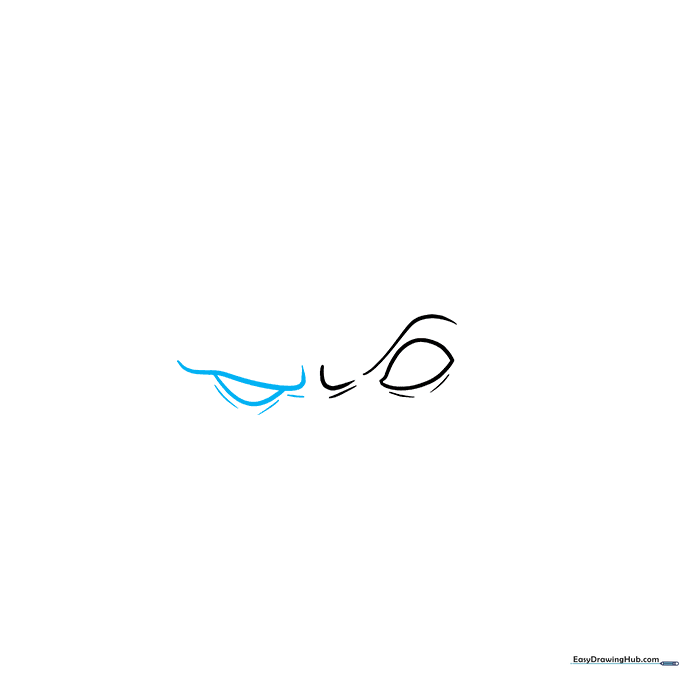
Draw the right eye to match the first, using long, sweeping curved lines for the brow. Tip: Try to keep the distance between the two eyes consistent to maintain the character's focused expression.
Step 3: Defining the Left Eyespot
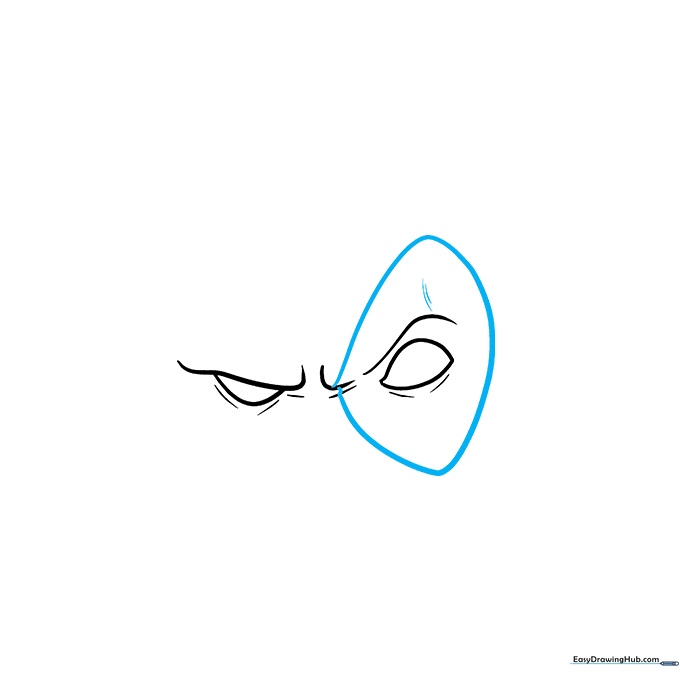
Draw an irregular, rounded shape around the left eye to create the mask's black patch. Tip: Use a fluid motion for this line to ensure the shape looks organic rather than stiff.
Step 4: Defining the Right Eyespot
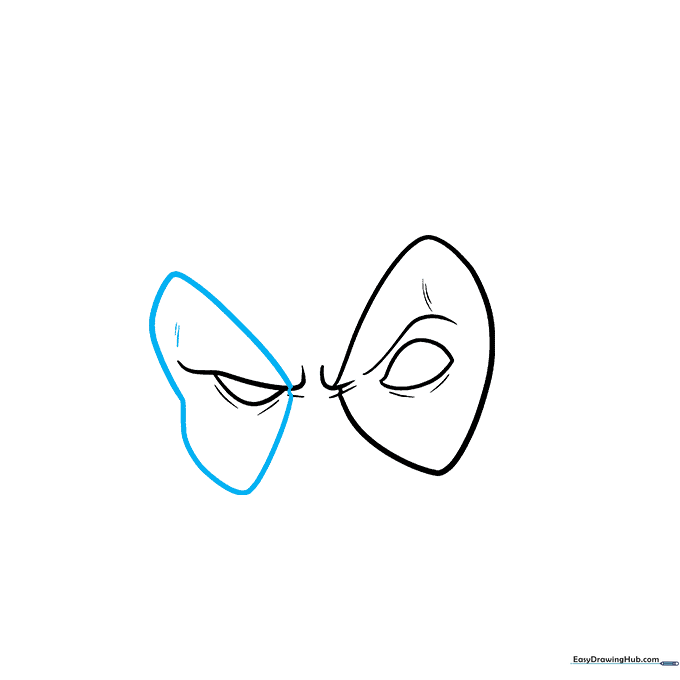
Repeat the process for the right side, drawing a heart-like shape around the eye. Tip: If the shape feels tricky, imagine you are drawing a slightly tilted oval that tapers at the bottom.
Step 5: Sketching the Jawline
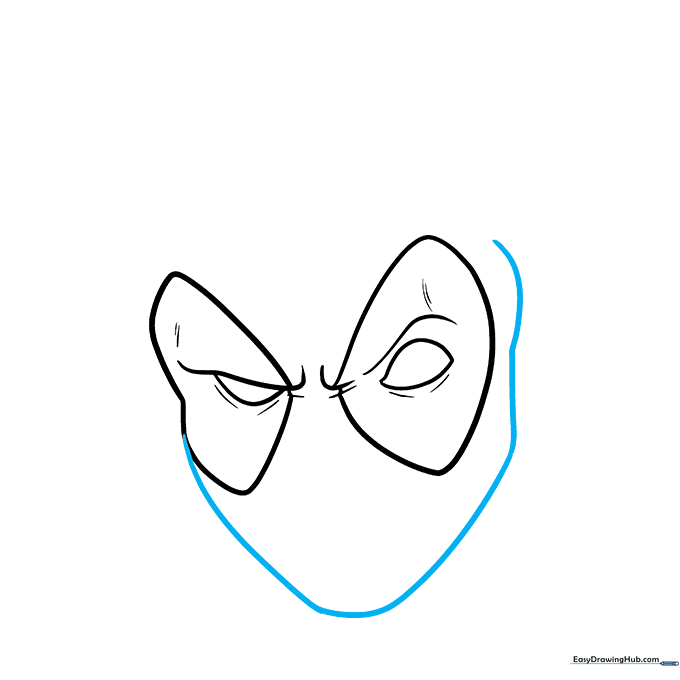
Trace the outline of the face, focusing on a firm, strong jawline. Tip: Use a single, confident stroke for the chin to give Deadpool that determined, heroic look.
Step 6: Completing the Head Shape
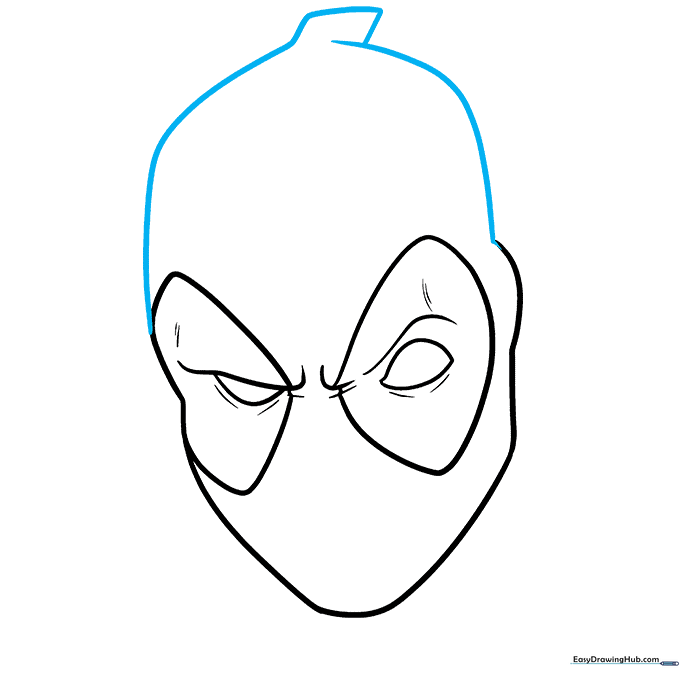
Extend curved lines upward to form the top of the head, connecting them with a rectangular shape. Tip: Don't worry if the lines overlap; you can clean them up with an eraser later.
Step 7: Drawing the Neck
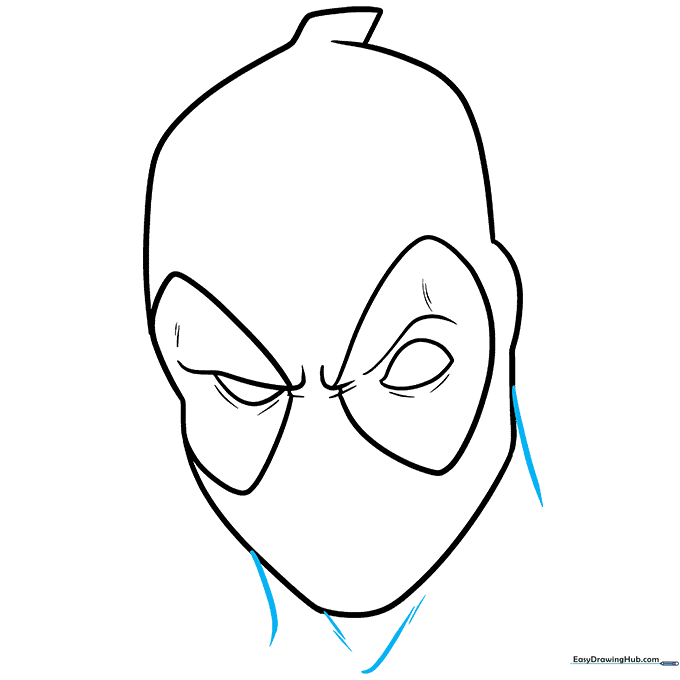
Draw two curved lines downward from the jaw to create the neck. Tip: Add a slight curve to the front of the neck to suggest the muscle structure beneath the suit.
Step 8: Adding Costume Details

Draw two pairs of parallel lines across the face, passing behind the eye patches. Tip: Keep these lines very thin, as they represent the seams of the mask.
Step 9: Final Facial Contours
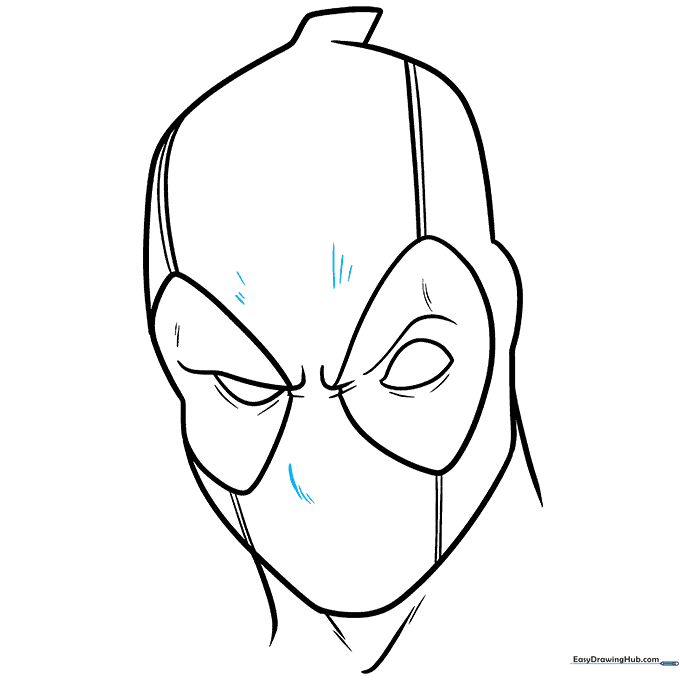
Add small lines to indicate the nose bridge and forehead creases. Tip: Less is more here; subtle lines will make the mask look more realistic.
Step 10: Coloring Your Masterpiece

Time to add color! Use vibrant red for the mask, black for the eye patches, and leave the eyes white. Tip: Use a lighter shade of red on one side to create a highlight, giving your drawing a 3D effect.
More Tutorials


