How to Draw Darwin Watterson: Easy 10-Step Cartoon Guide
Bring Gumball's best friend to life with this fun, step-by-step drawing tutorial designed for young artists ages 5 and up. You will only need a pencil, an eraser, and a sheet of paper to master Darwin's iconic goldfish shape. Follow along to build your character-drawing skills and create your own colorful version of this beloved cartoon character.
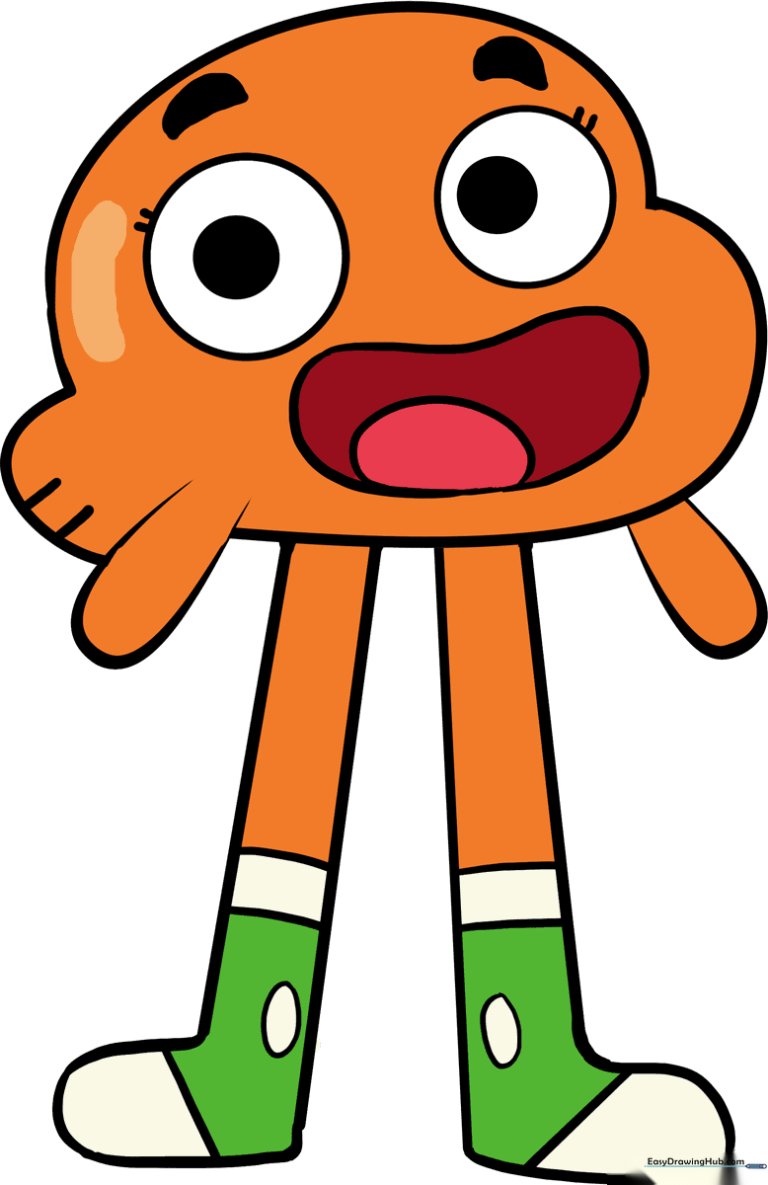
🎯 Final Result
Step-by-Step Instructions
Step 1: Sketching the Head

Draw a light, rounded oval to serve as the base for Darwin's head. Teacher's Tip: Keep your pencil strokes very faint so you can easily erase any overlapping lines later.
Step 2: Outlining the Body

Extend a long, curved line from one side of the head, sweeping underneath to form his cheek and tail, then connect it back to the other side. Think of this as creating a soft, rounded 'U' shape.
Step 3: Adding the Fins

Draw a curved line on each side of the body, doubling it back to create his signature fins. Tip: Make these look like small, rounded triangles to give them a natural, flowy feel.
Step 4: Drawing the First Leg
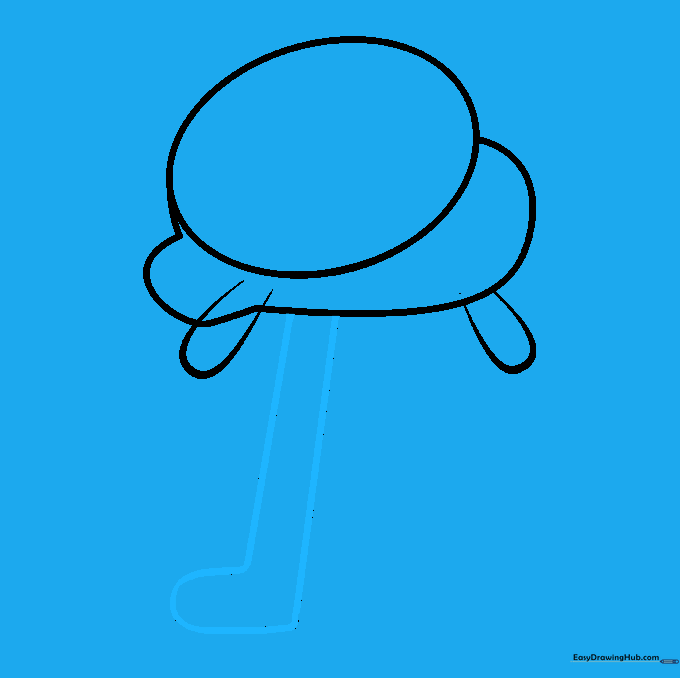
Extend two parallel lines downward from the bottom of the body, connecting them at the base with a curve to form the first foot. Keep the lines straight to ensure the leg looks sturdy.
Step 5: Drawing the Second Leg

Repeat the process from Step 4 to add the second leg next to the first. Tip: Try to make the legs the same length so your character looks balanced.
Step 6: Cleaning Up

Carefully erase any overlapping guide lines inside the body and head. This will make your drawing look clean and professional.
Step 7: Adding Eyes and Brows
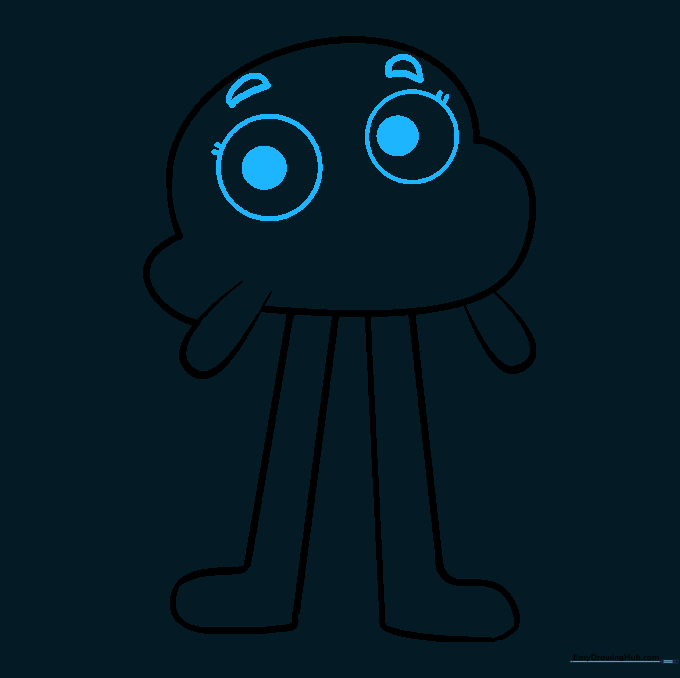
Draw two large circles for the eyes, with smaller shaded circles inside for the pupils. Add a curved line above each eye to create his expressive eyebrows. Tip: Placing the pupils slightly off-center can give Darwin a more playful, curious look.
Step 8: Mouth and Tail Texture
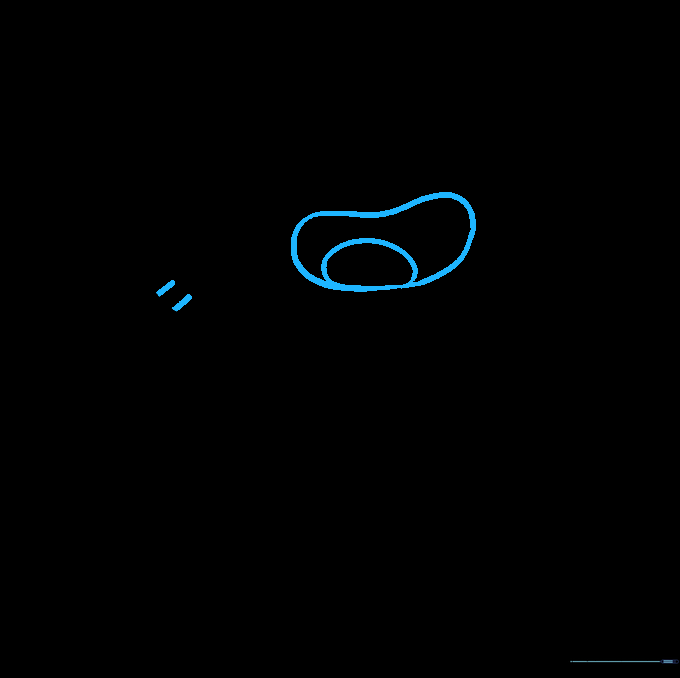
Sketch a wide, irregular shape for the mouth with a small oval inside for the tongue. Add a few short, flicking lines at the tip of the tail to give it a textured, fin-like appearance.
Step 9: Detailing the Shoes
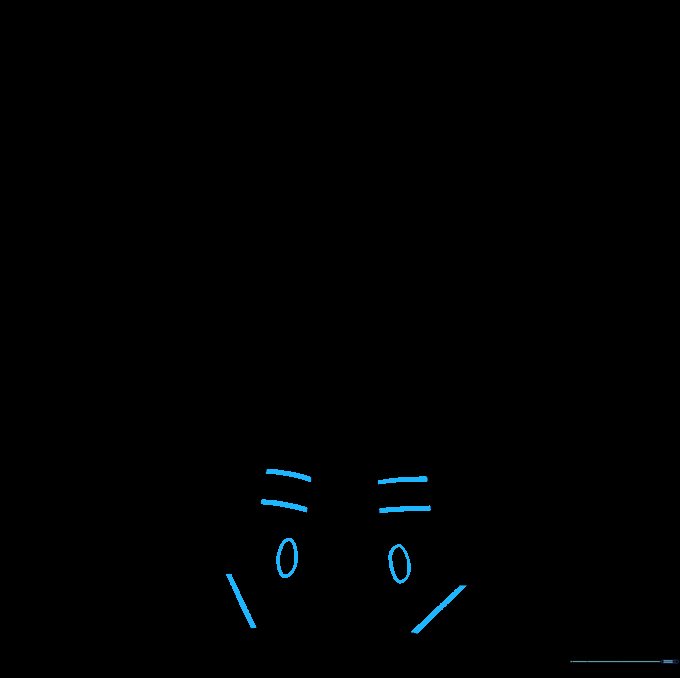
Draw a horizontal line across the top of each foot to represent the shoe opening, then add a diagonal line across the front to show the shoe's shape. This adds a great sense of depth to your drawing.
Step 10: Bringing Darwin to Life with Color
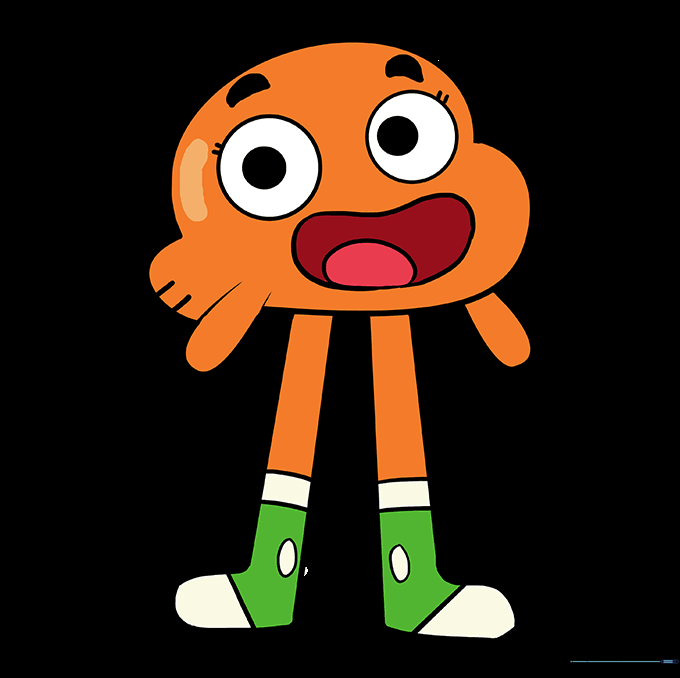
Time to color! Use a bright, vibrant orange for Darwin's body. Since he's a goldfish, don't be afraid to use a bold shade to make him pop off the page.
More Tutorials


