How to Draw Dabi: Easy Step-by-Step Anime Guide
Ready to capture Dabi’s intense look? This tutorial breaks down his complex features into manageable shapes, making it perfect for anime fans aged 10+. Grab your favorite graphite pencil, a kneaded eraser, and some fine-liner pens to get started on your own villainous masterpiece.
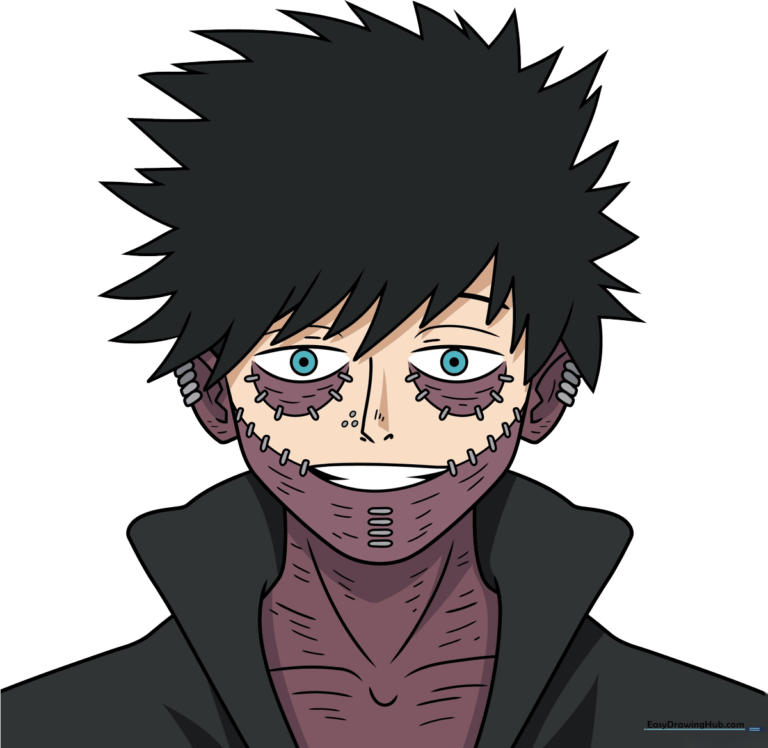
🎯 Final Result
Step-by-Step Instructions
Step 1: Establishing the Eyes
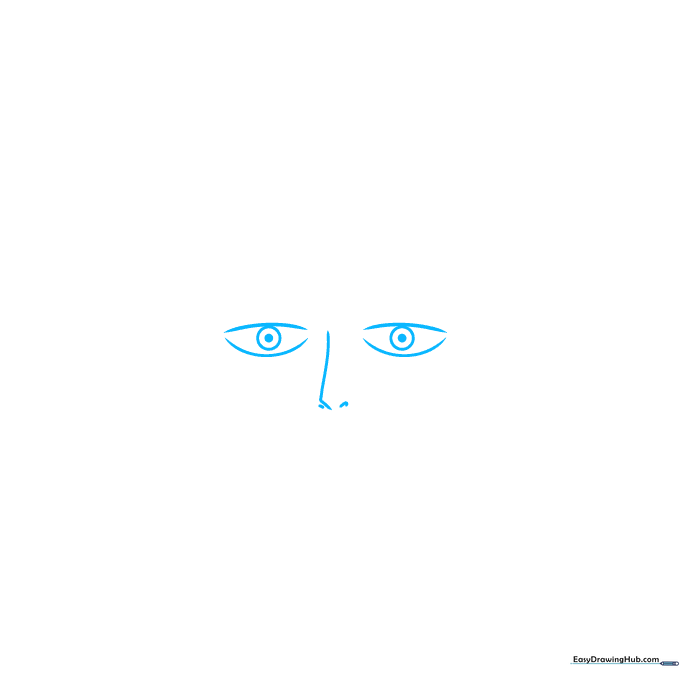
Sketch two lemon-shaped outlines for the eyes with circles inside for the pupils. Add a vertical line with a hook for the nose bridge and two small dashes for nostrils. Teacher's Tip: Keep these shapes symmetrical to ensure Dabi's intense gaze looks balanced.
Step 2: Defining the Face Shape

Draw a banana-like curve for the mouth and two lines for the lips. Outline the face with diagonal jawlines and use quick, jagged strokes to suggest the hair. Teacher's Tip: Use light, flicking motions with your pencil to make the hair look natural and spiky.
Step 3: Adding Ears and Hair Detail
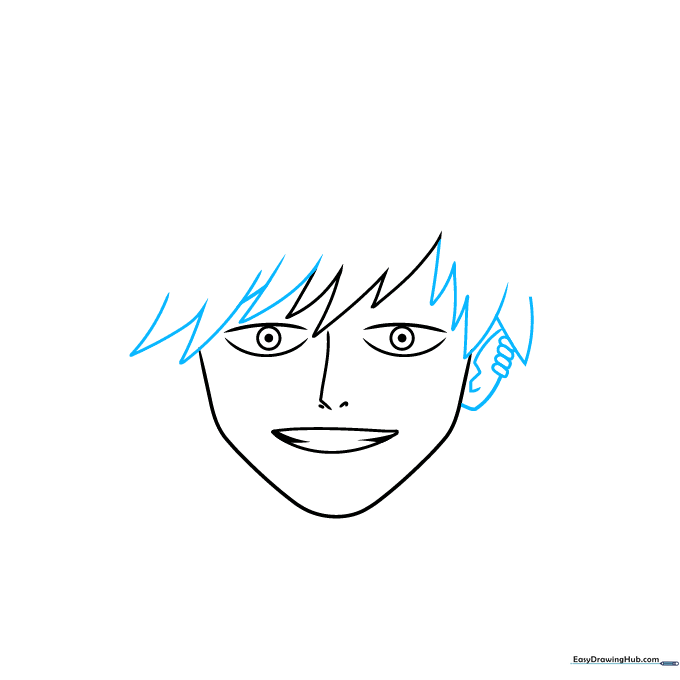
Continue the hair with more jagged, overlapping triangles. Add a small triangle shape with internal ovals for the ear. Teacher's Tip: Ensure the ear is tucked slightly behind the hair line to create a sense of depth.
Step 4: Building the Hair Volume
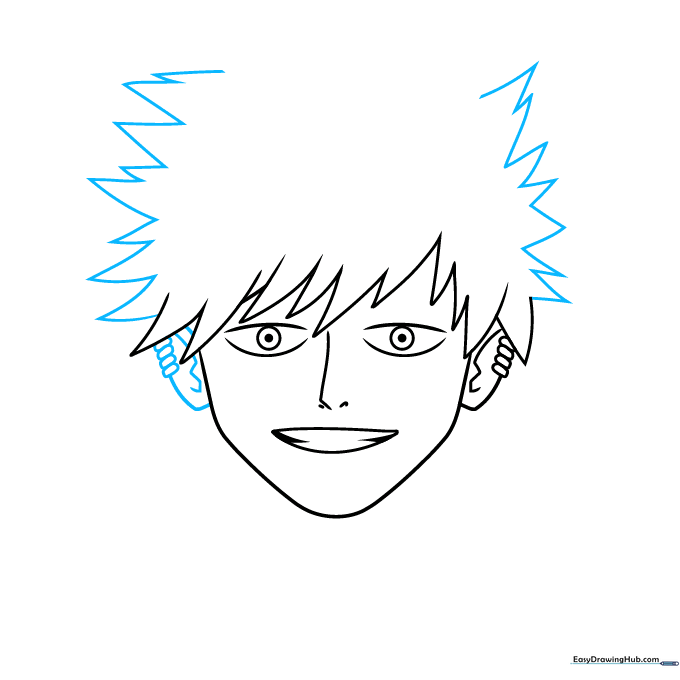
Add more triangular spikes to the hair, mimicking the look of flames. Repeat the ear structure on the opposite side. Teacher's Tip: Vary the size of your triangles so the hair doesn't look too uniform or stiff.
Step 5: Neck and Shoulders
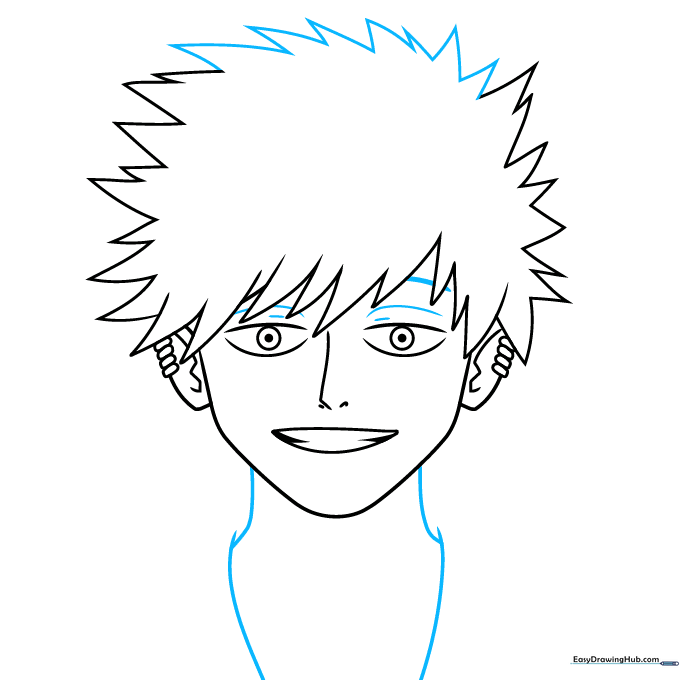
Finish the hair with a row of triangles across the forehead. Add dashes near the eyes for detail, then sketch the neck using two vertical lines. Teacher's Tip: The neck lines should curve slightly outward to suggest the collar of his coat.
Step 6: Refining the Silhouette
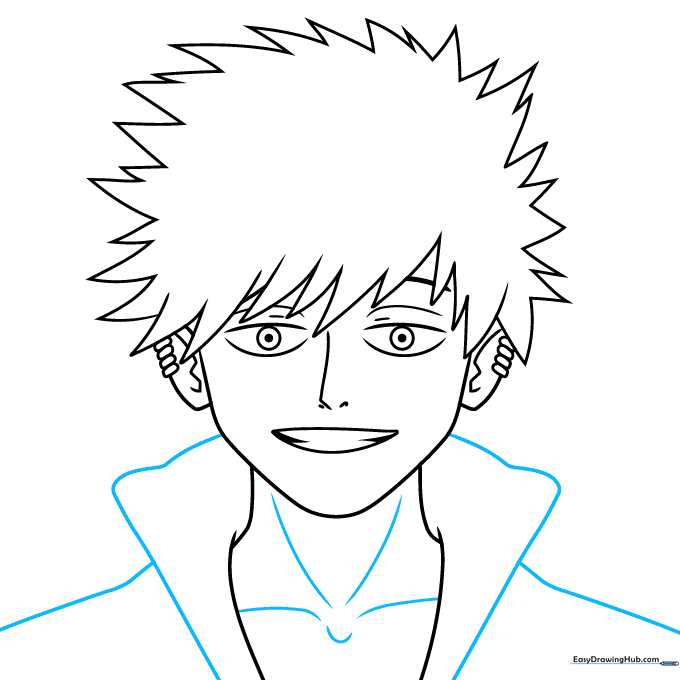
Draw a triangle and curves on the neck to represent his skin texture. Sketch wavy triangles on the sides of the head and diagonal lines for the shoulders. Teacher's Tip: Keep your shoulder lines bold to help anchor the character's posture.
Step 7: Adding Facial Stitches
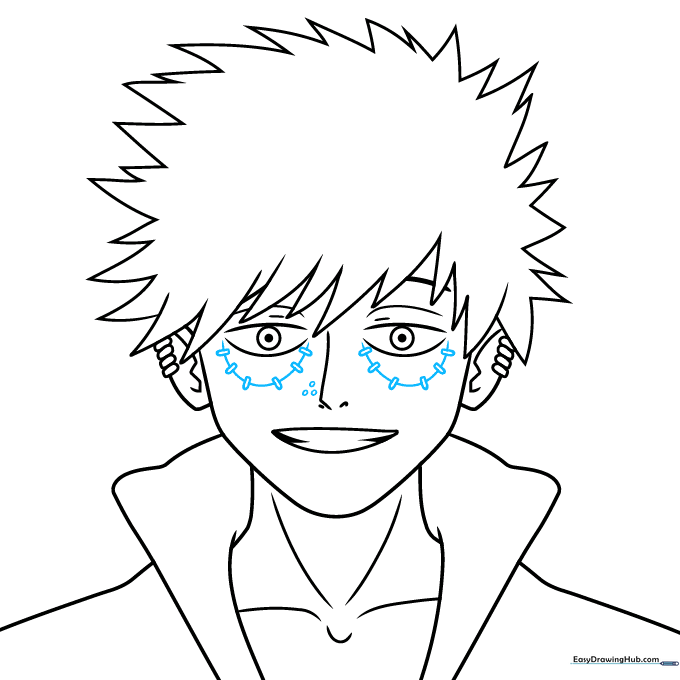
Sketch semi-circles beneath the eyes. Add tiny rectangles for the stitches and three circles near the nose. Teacher's Tip: Stitches are a key part of Dabi's design; don't worry if they look a bit uneven—it adds to the 'rough' aesthetic.
Step 8: Finalizing Facial Details
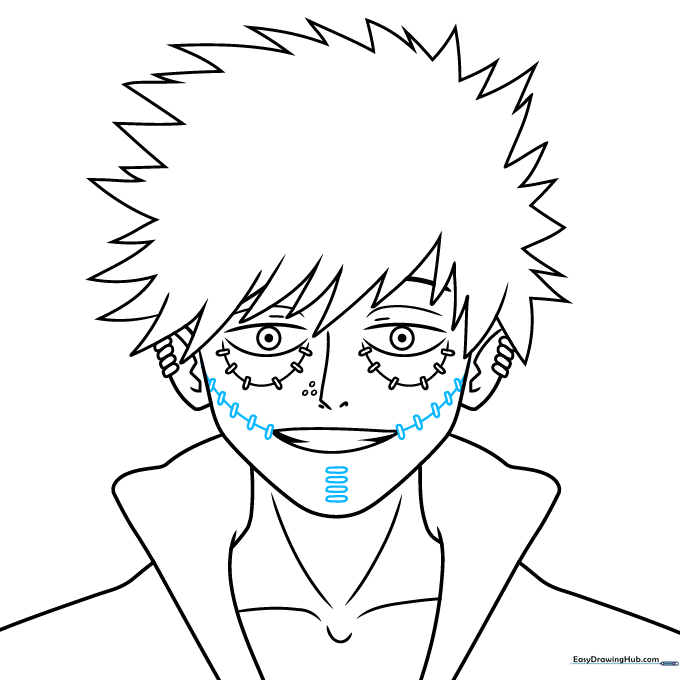
Draw four long ovals beneath the mouth. Sketch lines connecting the mouth to the ears and add more stitches. Teacher's Tip: Use a sharp pencil for these smaller details to keep the drawing clean.
Step 9: Inking and Cleanup
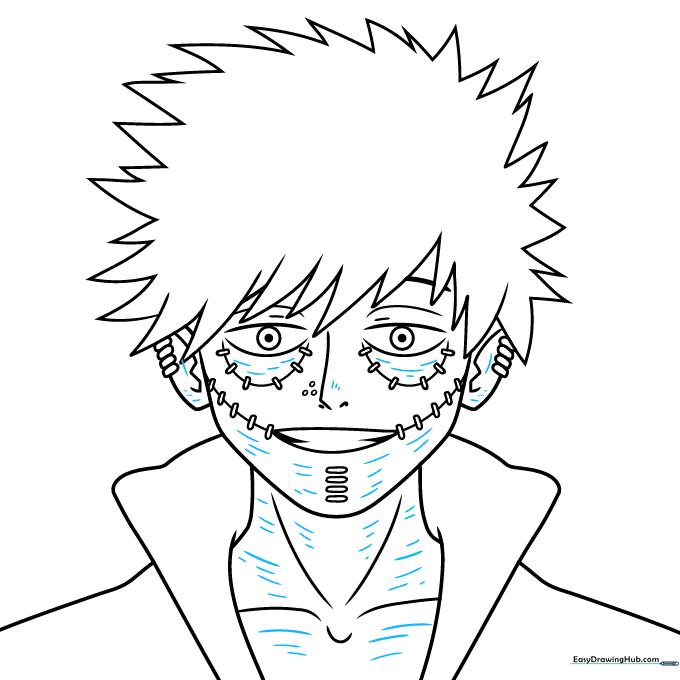
Add dashes across the neck and chin for texture. Trace your final lines with a black ink pen and erase your pencil marks. Teacher's Tip: Wait for the ink to dry completely before erasing to avoid smudging your hard work!
Step 10: Adding Color
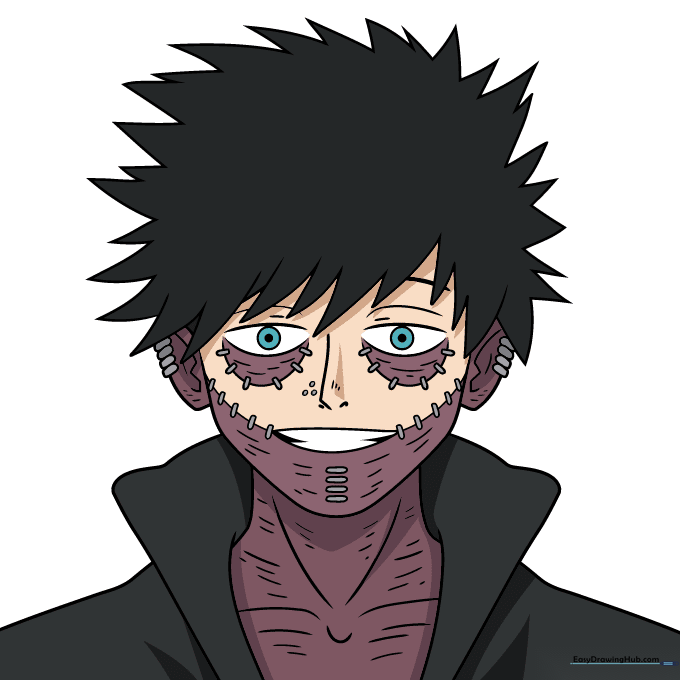
Use light tan for the skin, dark purple for the chin and neck, and gray for the stitches. Color the eyes teal and the hair/coat dark gray. Teacher's Tip: Use a light touch with your markers to blend the purple into the tan for a realistic 'scarred' effect.
More Tutorials


