How to Draw Curly Hair: Simple Step-by-Step Guide
Drawing curly hair can feel tricky, but it’s all about mastering the rhythm of your pencil. This tutorial is designed for young artists and beginners to create bouncy, voluminous curls using simple, repeatable shapes. Grab your pencil, an eraser, and a piece of paper, and let's bring some personality to your character's hairstyle.
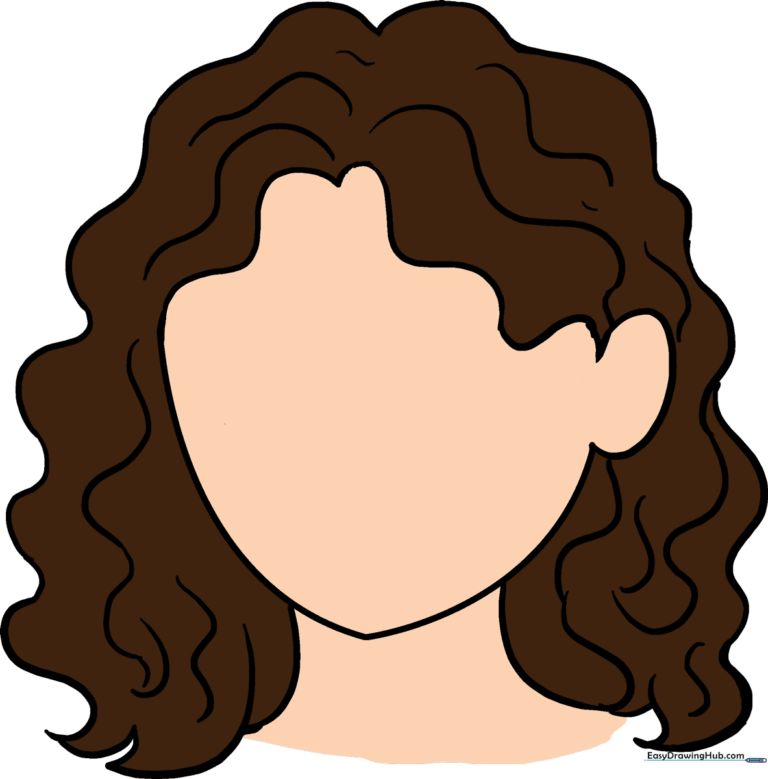
🎯 Final Result
Step-by-Step Instructions
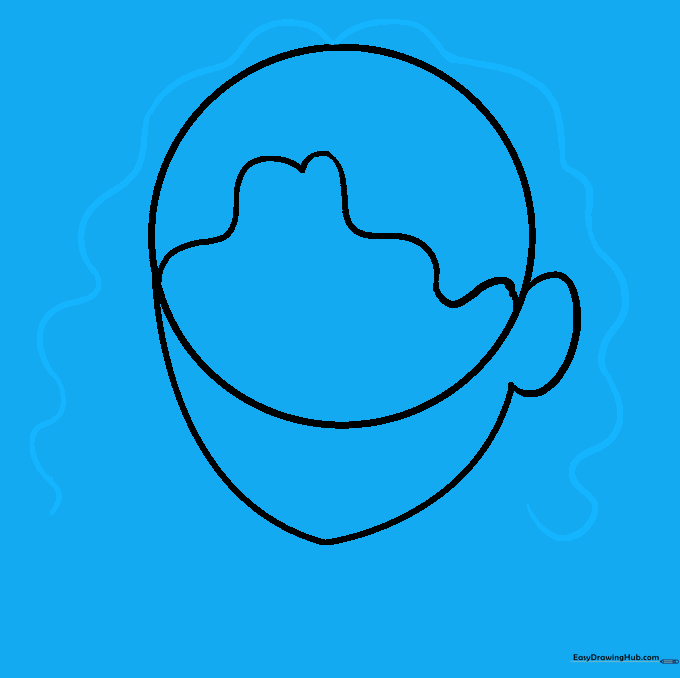
Step 1: Sketching the Base Head
Start by drawing a light circle to act as your head guide. Teacher's Tip: Keep your pencil pressure very light here so you can easily erase this shape once the hair is finished.
Step 2: Defining the Jawline
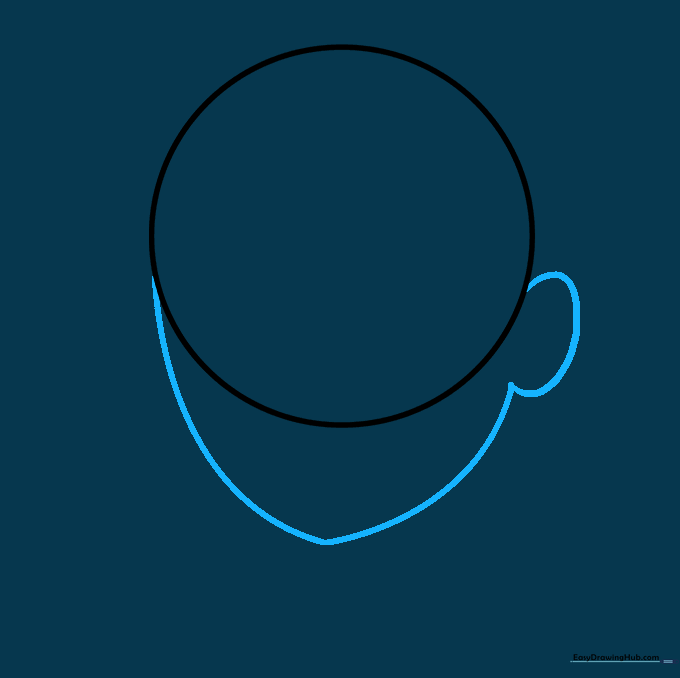
Extend a curved line from the circle to create the cheek and chin, adding a small oval on the side for the ear. Teacher's Tip: Think of the chin as a rounded point to give your character a friendly, soft appearance.
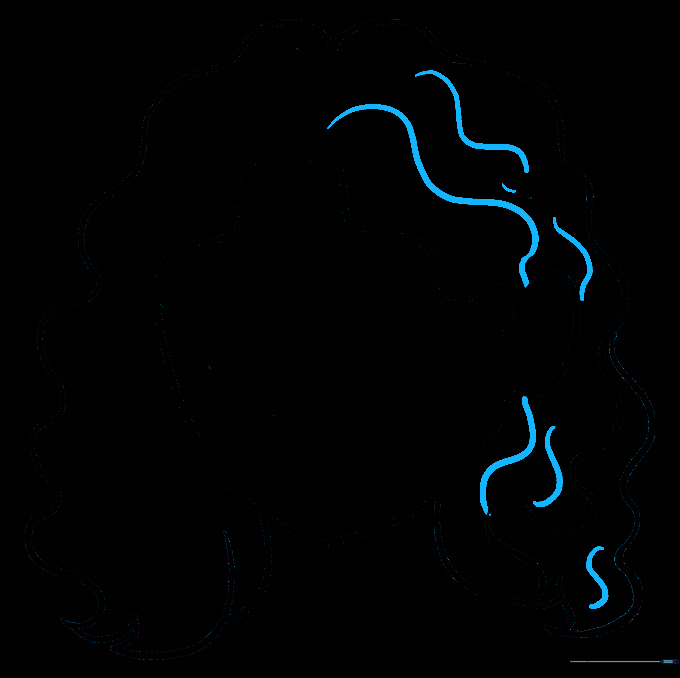
Step 3: Establishing the Hairline
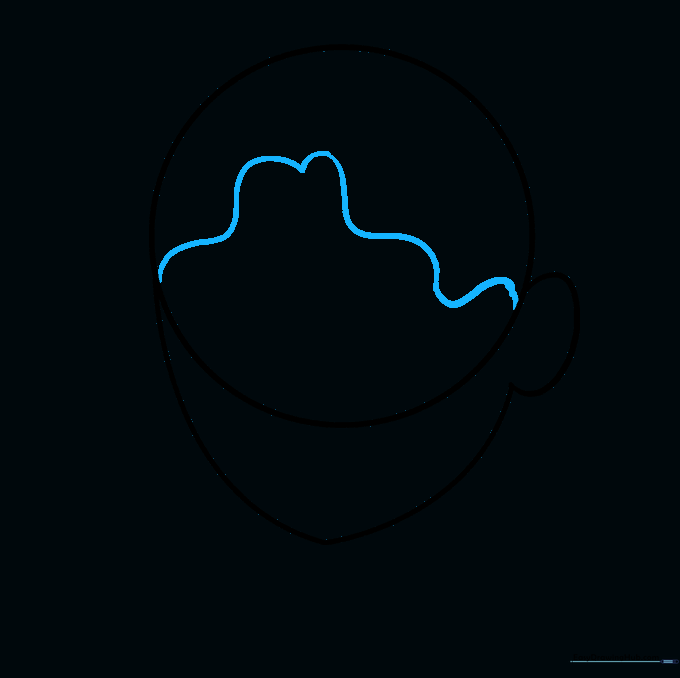
Draw an irregular, wavy line across the top of the circle to mark where the hair begins. Teacher's Tip: Make the line peak slightly in the center to give the hair a natural, realistic look.
Step 4: Outlining the Volume
Draw a large, irregular wavy line around the face to define the outer boundary of the hair. Teacher's Tip: Don't worry about perfection; curly hair is naturally messy and voluminous!
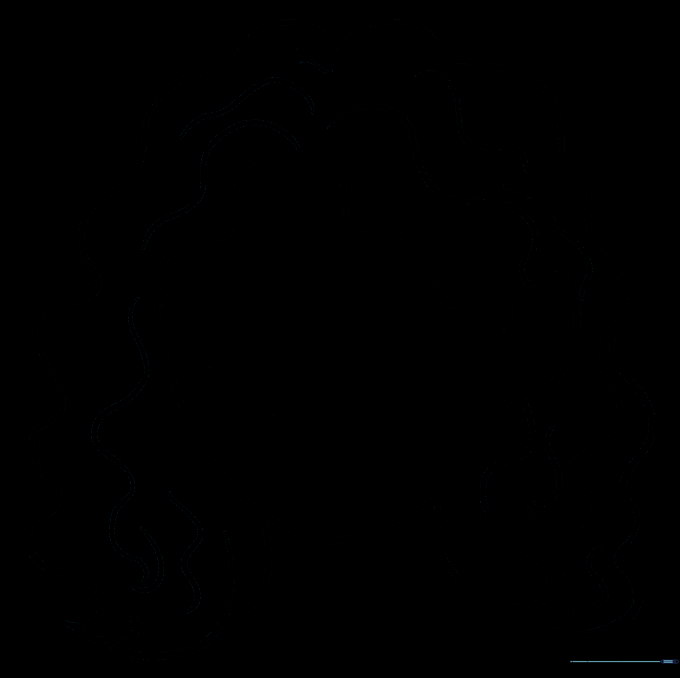
Step 5: Cleaning the Guide
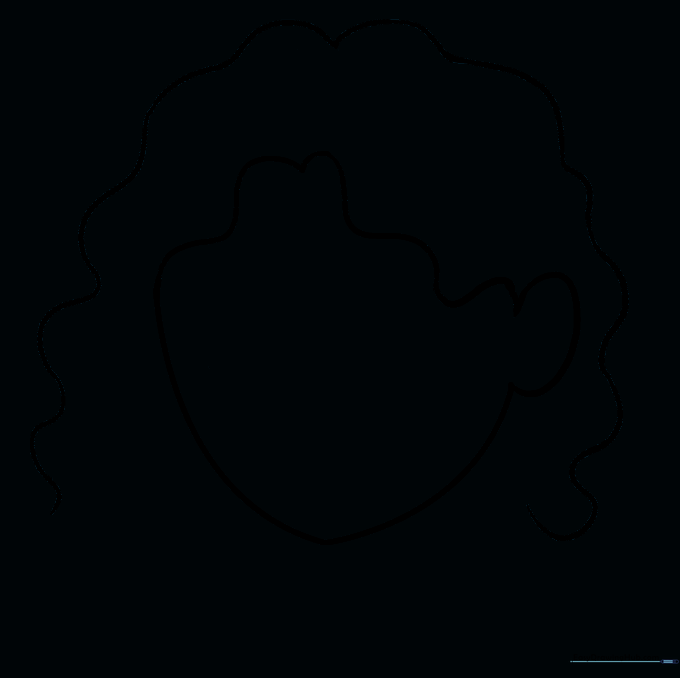
Carefully erase the original circle lines inside the hair area. Teacher's Tip: Use a kneaded eraser if you have one—it’s gentler on the paper and won't smudge your work.
Step 6: Drawing the Neck
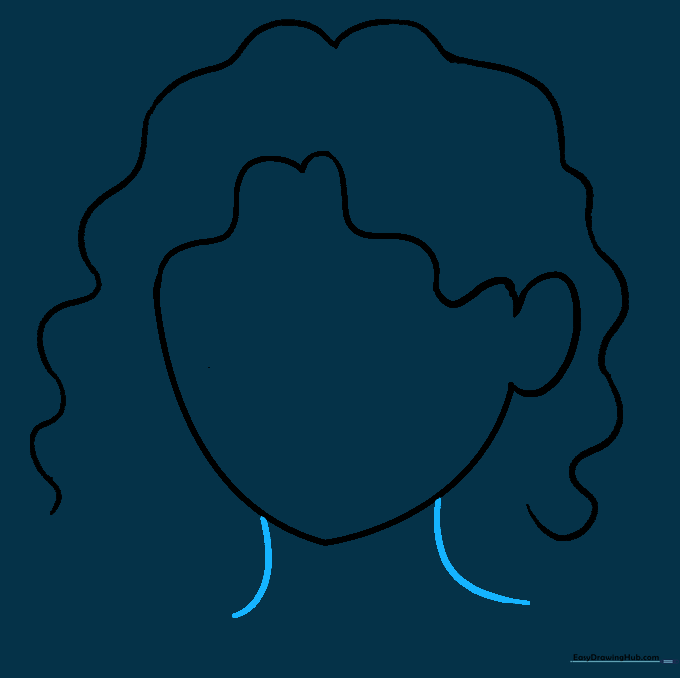
Add the neck by drawing two curved lines extending down from the chin. Teacher's Tip: Keep these lines slightly inward to make the head look balanced.
Step 7: Adding Texture and Volume
Use connected, overlapping curved lines to define the hair's edge. Teacher's Tip: The overlapping points are what create the illusion of thick, bouncy curls.
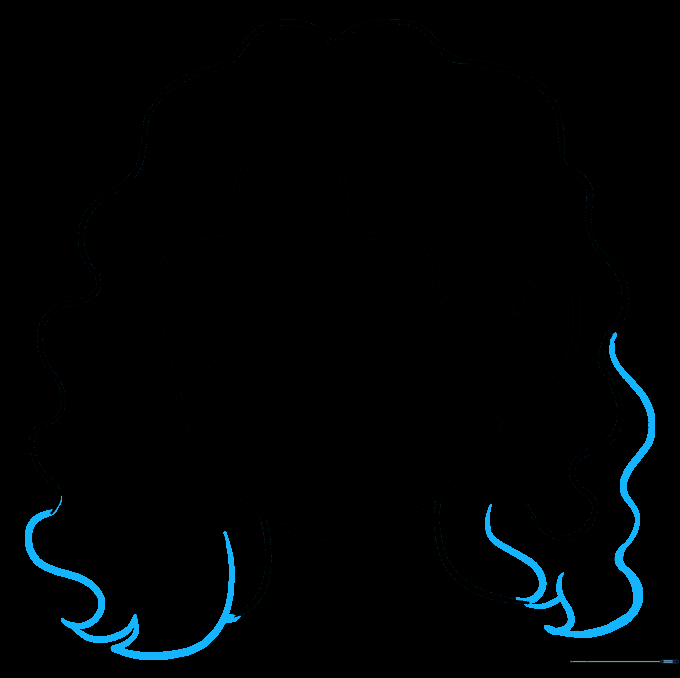
Step 8: Adding Internal Detail
Draw wavy lines of varying lengths throughout the hair to add depth. Teacher's Tip: Varying the length of your lines prevents the hair from looking too uniform or flat.
Step 9: Finalizing the Outline
Continue adding wavy lines down the sides of the hair until you are happy with the fullness. Teacher's Tip: Step back and look at your drawing from a distance to see if the hair looks balanced.
Step 10: Bringing it to Life with Color
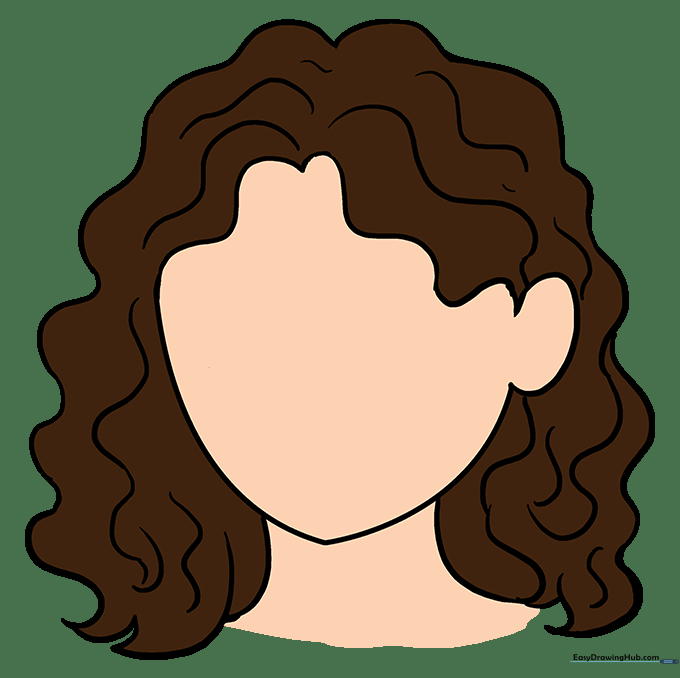
Time to color! Whether you choose natural tones or vibrant fantasy colors, use light and dark shades to add dimension. Teacher's Tip: Leave a small white space on the top of the curls to act as a 'highlight'—it makes the hair look shiny and healthy!
More Tutorials


