How to Draw Cupid: Easy 10-Step Tutorial for Kids
Bring the magic of Valentine's Day to life with this fun, step-by-step Cupid drawing guide. Designed for young artists and beginners, this activity requires only a pencil, paper, and an eraser to create a charming character. Follow along to develop your sketching confidence and create a festive masterpiece.
🎯 Final Result

Step-by-Step Instructions
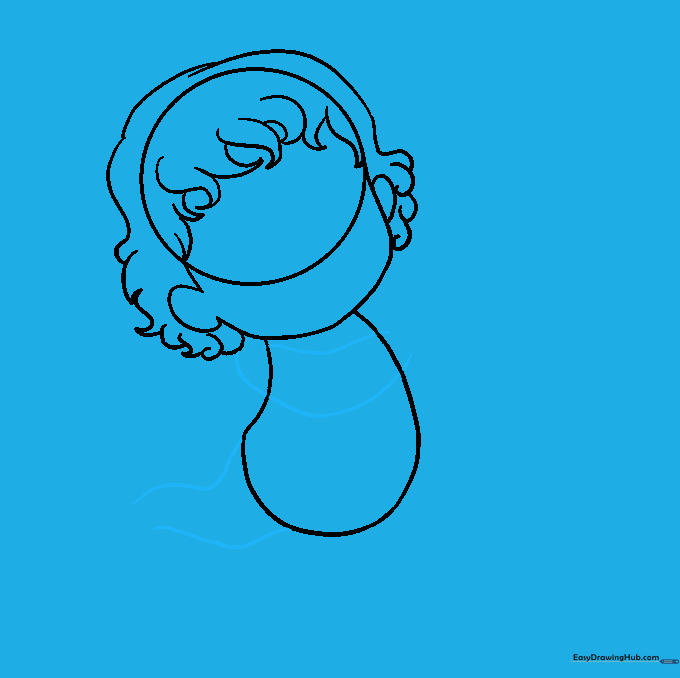
Step 1: Sketching the Head

Start by drawing a light circle to serve as the head. Below it, add a U-shaped line to create the jaw and chin. Teacher's Tip: Keep your pencil pressure very light here so you can easily erase these guide lines later!
Step 2: Adding the Hair

Draw a curved line around the top of the circle for the hairline, then add small, pointed locks of hair across the forehead. Add a small curve on the side for the ear. Teacher's Tip: Use short, quick strokes to make the hair look soft and textured.
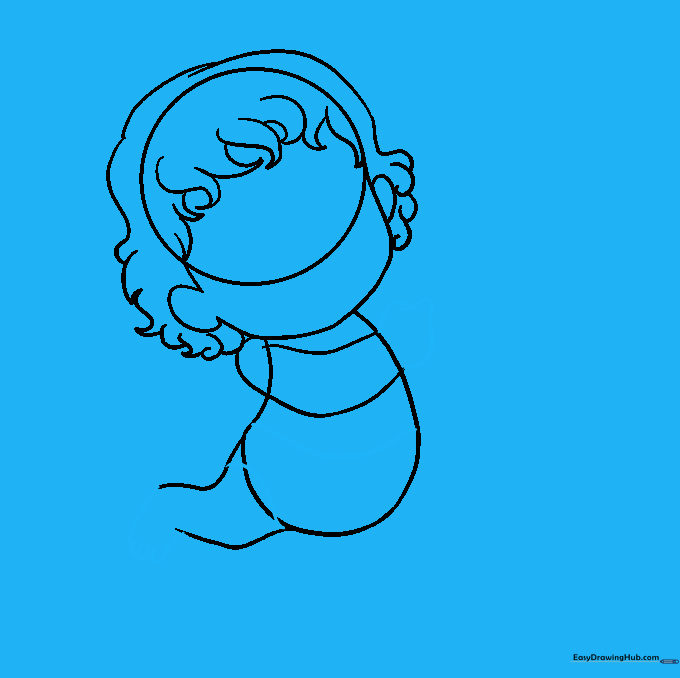
Step 3: Defining the Body

Sketch an irregular, rounded shape beneath the head to form the torso. Teacher's Tip: Don't worry about making it perfect; Cupid is a character, so a slightly rounded, chubby shape makes him look extra cute!
Step 4: Sketching Limbs
Use parallel curved lines to draw one arm across the chest and one leg extending from the bottom. Teacher's Tip: Think of these as 'tubes'—keep the lines smooth to show movement.
Step 5: Adding Hands and Feet
Use small curved lines to enclose the hands and feet. Add tiny lines at the tips of the feet for toes. Teacher's Tip: Adding those small toe lines adds a professional touch to your cartoon character!
Step 6: Completing the Pose

Draw the second arm and leg using the same curved line technique. Teacher's Tip: Ensure the limbs look balanced so your Cupid looks like he's ready to fly!
Step 7: Cleaning the Sketch

Carefully erase the overlapping guide lines from the head and body. Teacher's Tip: Use a soft eraser and hold the paper down firmly so it doesn't crinkle.
Step 8: Adding the Bow and Arrow
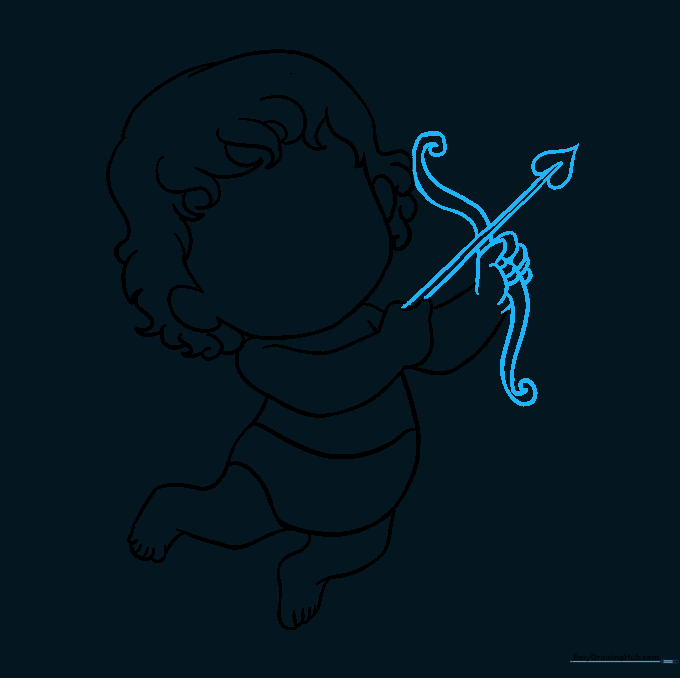
Draw a fist holding a bow with spiral ends. In the other hand, draw a straight line for the arrow shaft with a heart-shaped tip. Teacher's Tip: The heart-shaped arrow is the signature look for Cupid—make it nice and bold!
Step 9: Facial Features and Wings
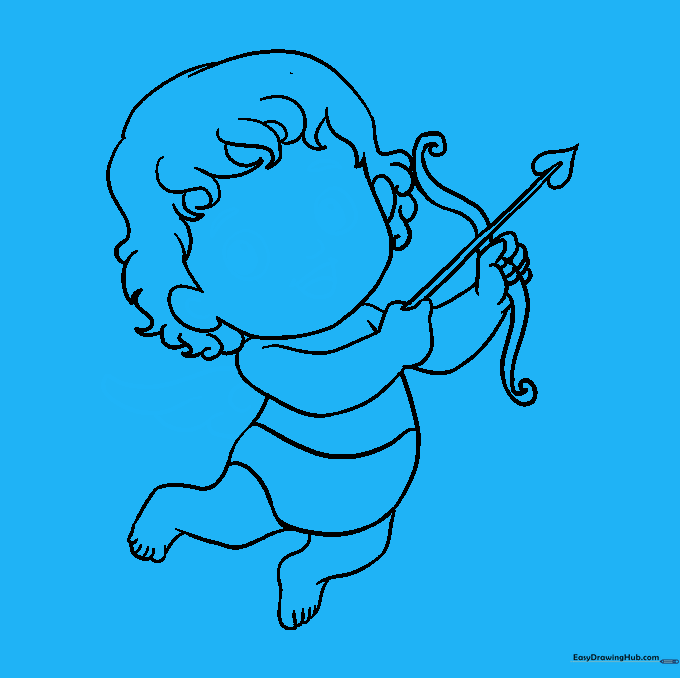
Add a wing using overlapping curved lines. Draw eyes with pupils, eyebrows, a nose, and a smiling mouth with a tongue. Teacher's Tip: Adding the tongue makes the character look playful and friendly.
Step 10: Bring Cupid to Life with Color

Time to color! Use soft pinks, reds, and skin tones to bring your Cupid to life. Teacher's Tip: Try using colored pencils to shade the edges of the wings for a soft, magical glow.
More Tutorials


