How to Draw Crossed Arms: Easy 9-Step Guide for Beginners
Drawing arms in a crossed position is a fantastic way to add personality and attitude to your cartoon characters. This guide is designed for artists of all ages to practice basic anatomy and layering. Grab your pencil and eraser, and let's get started!
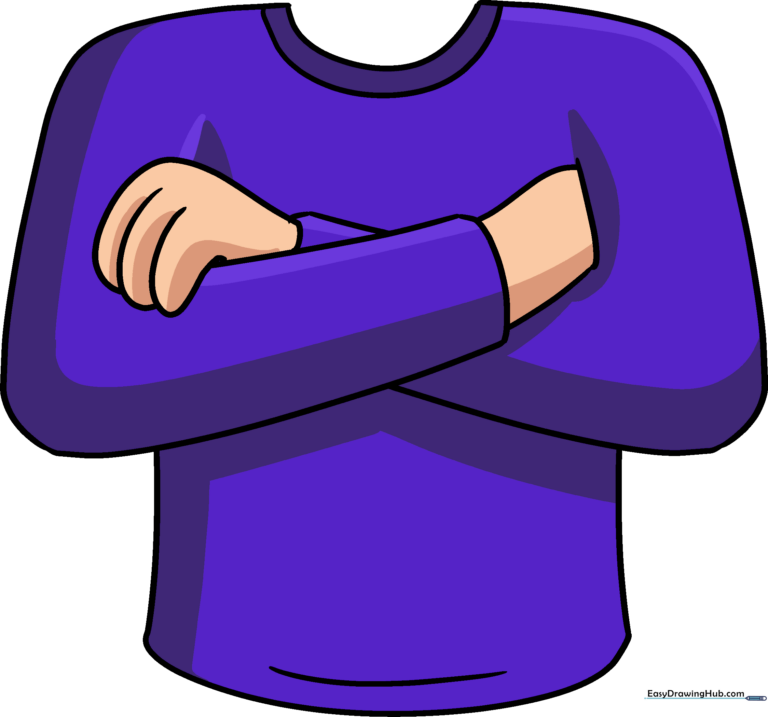
🎯 Final Result
Step-by-Step Instructions
Step 1: Sketching the First Sleeve

Start by drawing a long, curved line for the outer arm, then add a smaller 'L' shape inside to define the sleeve opening. Connect them with a soft curve. Teacher's Tip: Keep your pencil pressure light so you can easily adjust the shape later.
Step 2: Adding the Second Arm
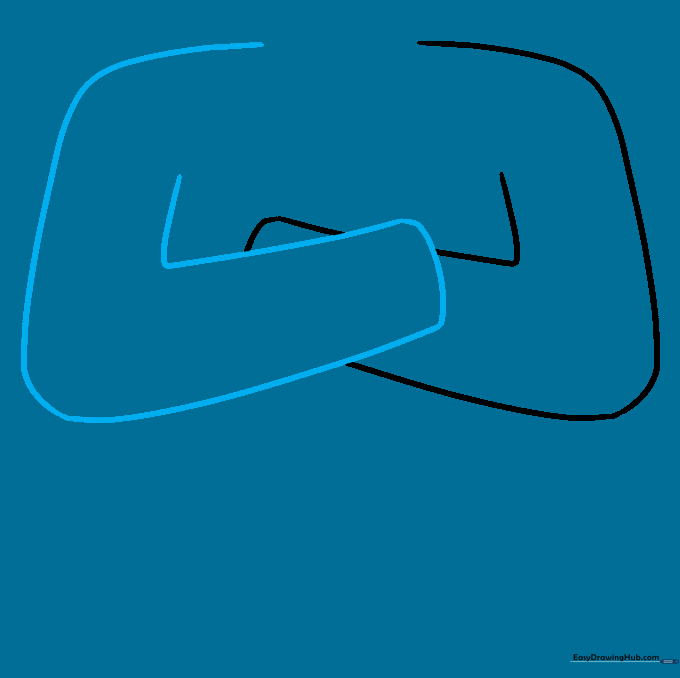
Repeat the process for the second arm, overlapping it slightly to show depth. Tip: If the lines cross over, don't worry—just use your eraser to clean up the hidden sections for a professional look.
Step 3: Defining the Torso Side
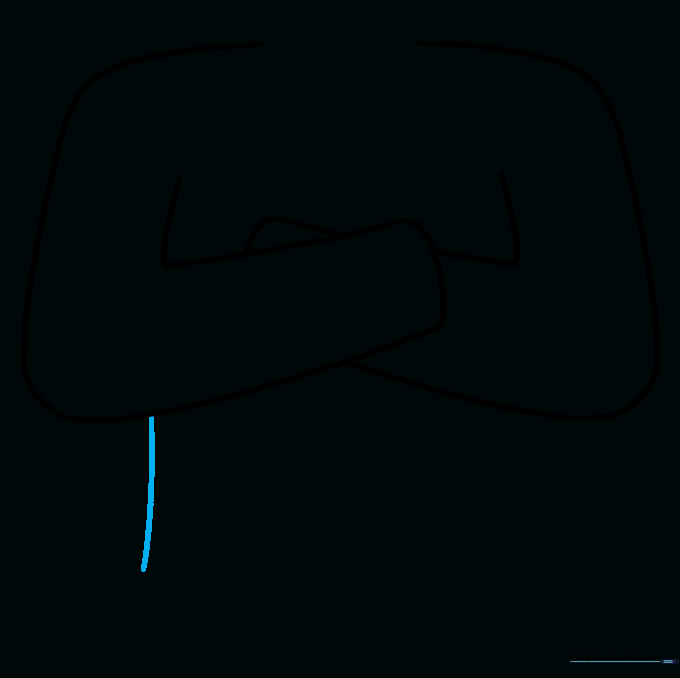
Draw a smooth, curved line extending downward from the first arm to create the side of the torso. This helps anchor the arms to the body.
Step 4: Balancing the Torso

Mirror the curve on the opposite side to complete the torso frame. Tip: Try to keep the curves symmetrical so the character looks balanced.
Step 5: Drawing the Shirt Hem

Connect the two sides with a long, sweeping curve. Add a second, parallel line just above it to represent the hem of the shirt. This adds a nice touch of realism.
Step 6: Sketching the First Hand
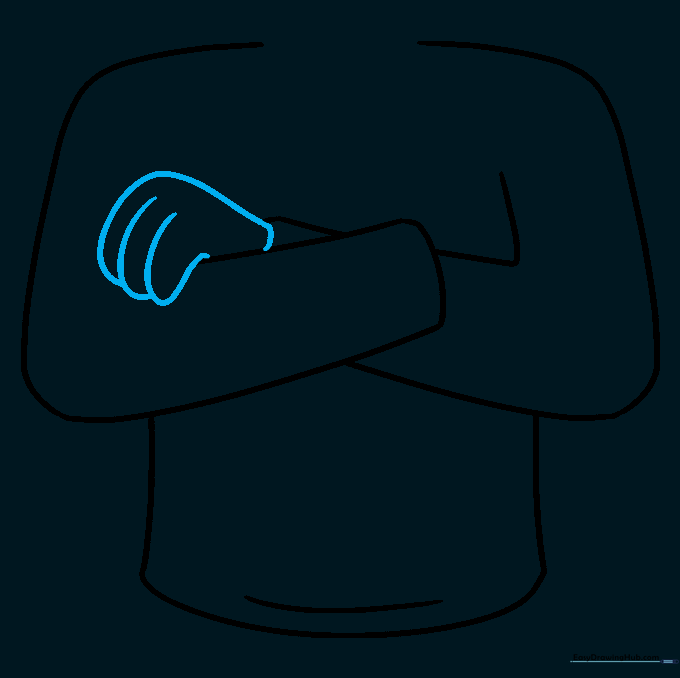
Use a series of overlapping, soft curves to form the hand resting on the arm. Tip: Focus on the 'mitten' shape first before adding individual finger details.
Step 7: Adding the Second Hand

Draw the second hand tucked underneath the first arm. Use two small curves to connect the sleeve to the hand, showing it is partially hidden.
Step 8: Creating the Neckline

Connect the shoulders with a 'U' shaped line to form the collar of the shirt. This helps define the upper body structure.
Step 9: Final Details
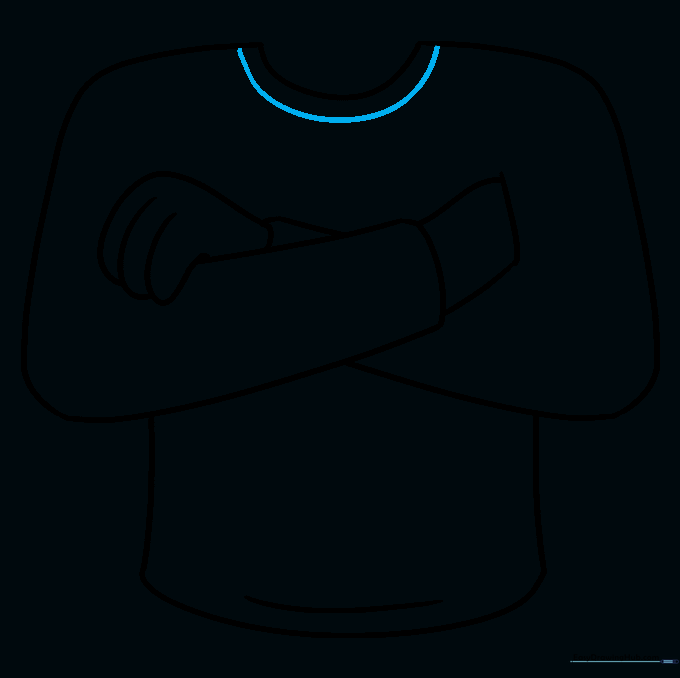
Draw a second 'U' line inside the first to give the collar thickness. Now you have a complete torso with crossed arms! Tip: Use a fine-liner pen to trace your best lines before erasing the pencil marks.
Step 10: Bring It to Life with Color

Add your favorite colors to the shirt and skin. Remember, you can mix and match these arms with any of our other character tutorials to create your own unique person!
More Tutorials


