How to Draw Cristiano Ronaldo: Easy 9-Step Portrait Guide
Capture the likeness of soccer legend Cristiano Ronaldo with this approachable portrait tutorial. Designed for young artists and sports fans, this guide focuses on facial structure and expression. Grab your pencil, eraser, and paper to start sketching your favorite athlete today.
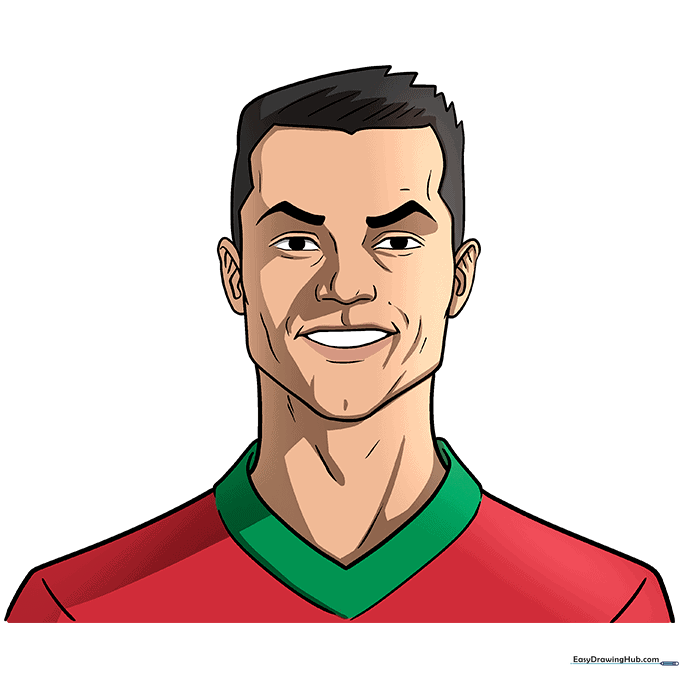
🎯 Final Result

Step-by-Step Instructions
Step 1: Establishing the Eyes

Sketch two narrow lemon shapes in the center of your page to serve as the eye sockets. Add circles inside for the pupils. Teacher's Tip: Keep these shapes symmetrical to ensure the face looks balanced from the start.
Step 2: Defining the Brows
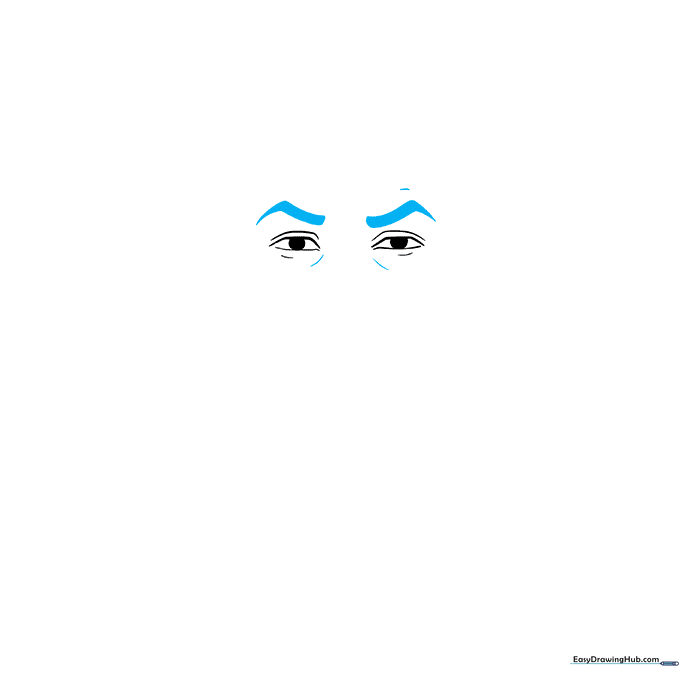
Draw the eyebrows using thick, crooked dashes that angle slightly downward. Sketch a soft curve beneath each eye to represent the lower lid. Tip: Use a sharp pencil to make these lines look more expressive.
Step 3: Sketching the Nose and Mouth
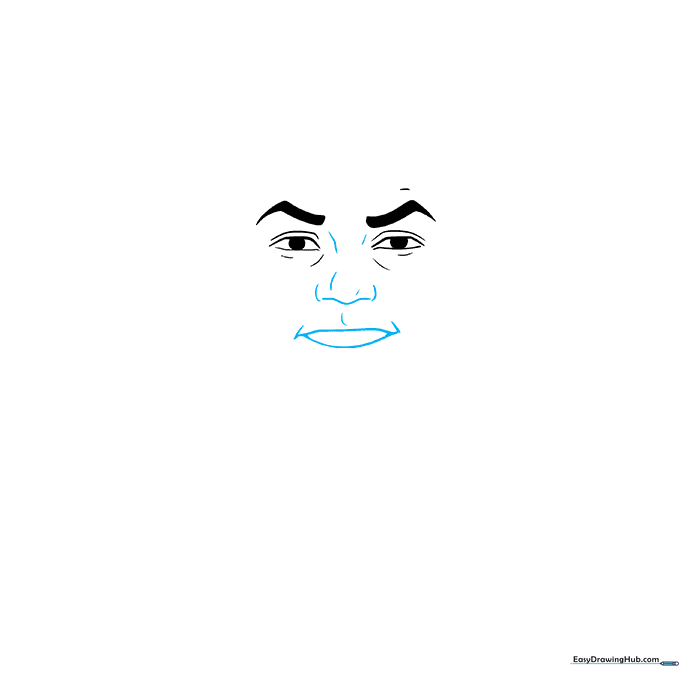
Outline the nose with a gentle horizontal curve and vertical side lines. For the mouth, use an uneven line to suggest a natural expression. Tip: Keep the mouth line subtle; a little goes a long way in portraiture.
Step 4: Adding Jaw Structure
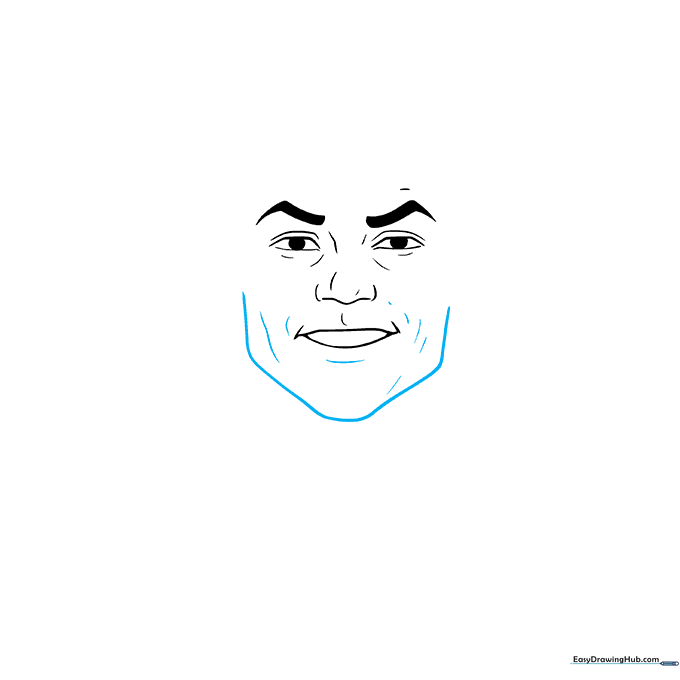
Below the mouth, draw a V-shape with a rounded bottom to define the chin. Add vertical lines to suggest the jawline. Tip: Ensure the chin is aligned with the center of the nose for proper facial proportion.
Step 5: Framing the Hairline
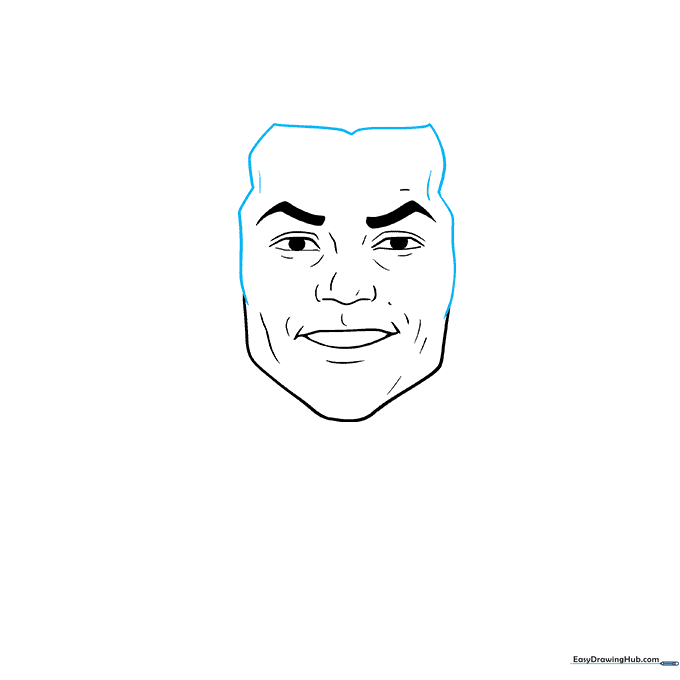
Draw a wide M-shape above the forehead and two triangles near the eyebrows. Connect these with wavy lines to create the hair's volume. Tip: Vary your line pressure to make the hair look textured rather than flat.
Step 6: Ears and Hair Detail
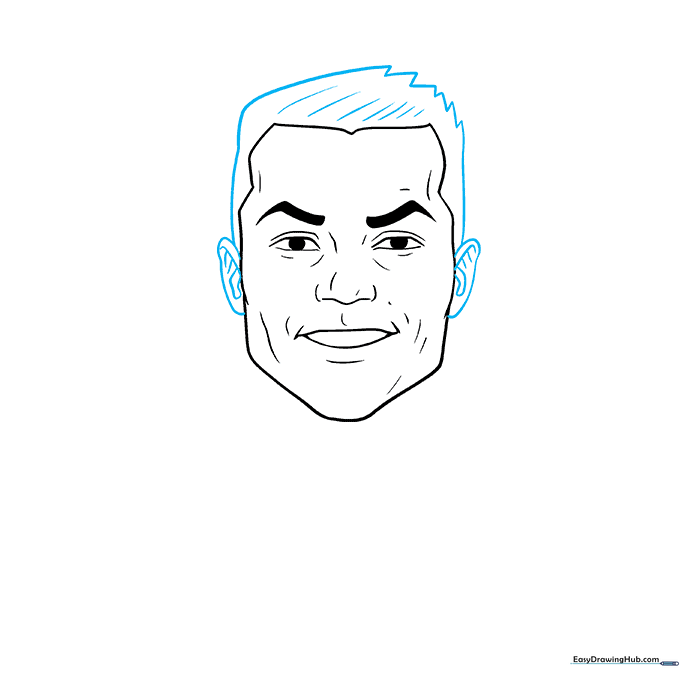
Sketch the ears as uneven ovals on the sides of the head. Add diagonal lines inside the hair to show direction. Tip: Ears usually align with the top of the eyes and the bottom of the nose.
Step 7: The Neck
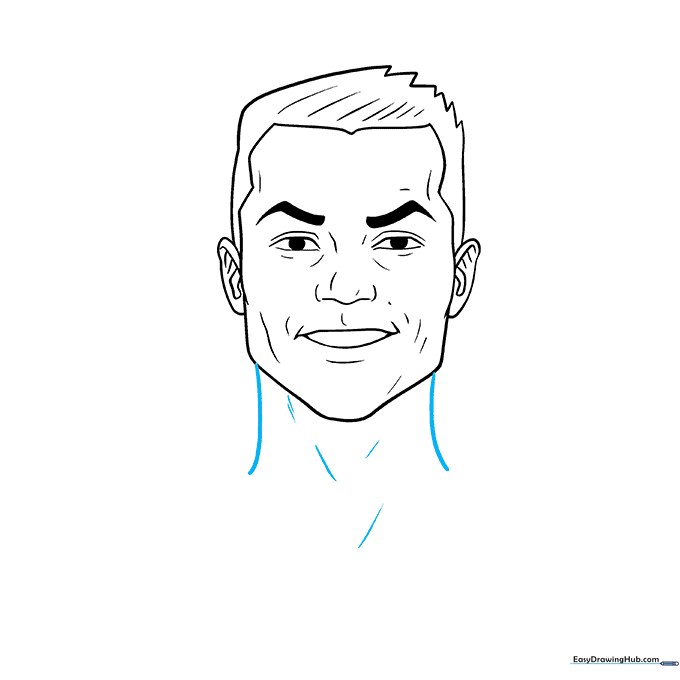
Outline the neck with two curved lines extending down from the jaw. Add light diagonal shading inside to suggest muscle tone. Tip: Keep the neck width proportional to the head—not too thin!
Step 8: Adding the Jersey
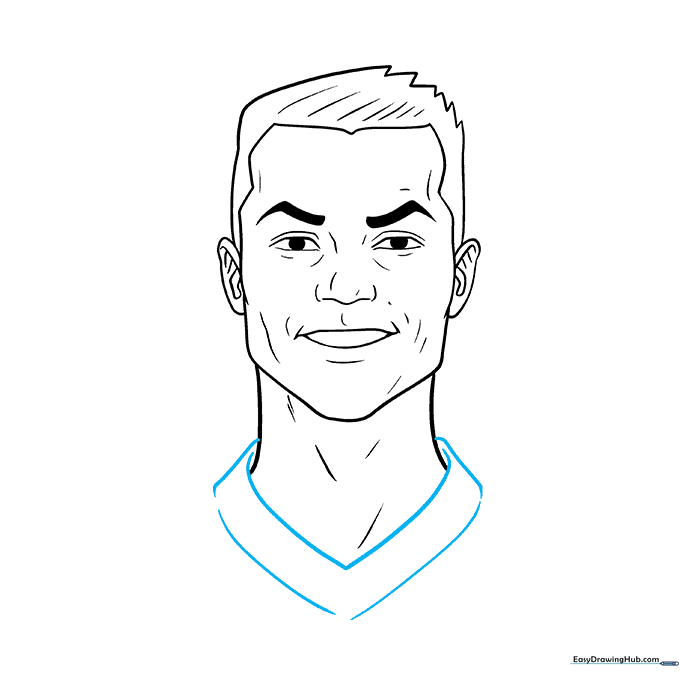
Draw a V-shape below the neck to represent the collar of the jersey. Connect it to the shoulders with vertical lines. Tip: A clean V-neck makes the drawing look professional and sporty.
Step 9: Final Outline
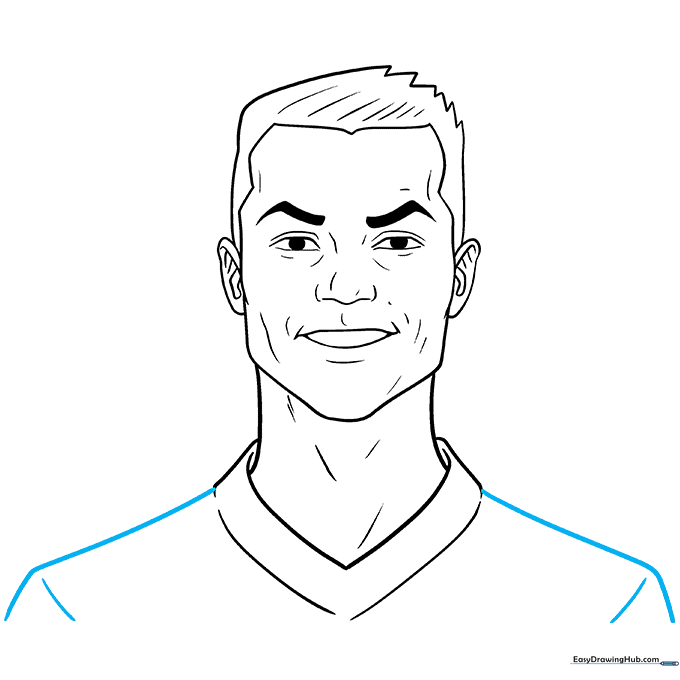
Complete the shoulders with L-shapes. Use a black marker to trace your final lines, then erase any remaining pencil marks. Tip: Wait for the ink to dry completely before erasing to avoid smudging.
Step 10: Adding Color
Use light tan for the skin, adding a darker shade on the left side for shadows. Color the hair dark grey and the jersey in vibrant red and green. Tip: Use circular motions when coloring to keep the skin tone smooth.
More Tutorials


