How to Draw Cowboy Boots: Easy 9-Step Guide for Kids
Ready to head out to the Wild West? This tutorial is perfect for young artists ages 5 and up who want to master drawing classic cowboy boots. You only need a pencil, an eraser, and some paper to get started. Follow along to build your confidence and create a stylish pair of boots from scratch!
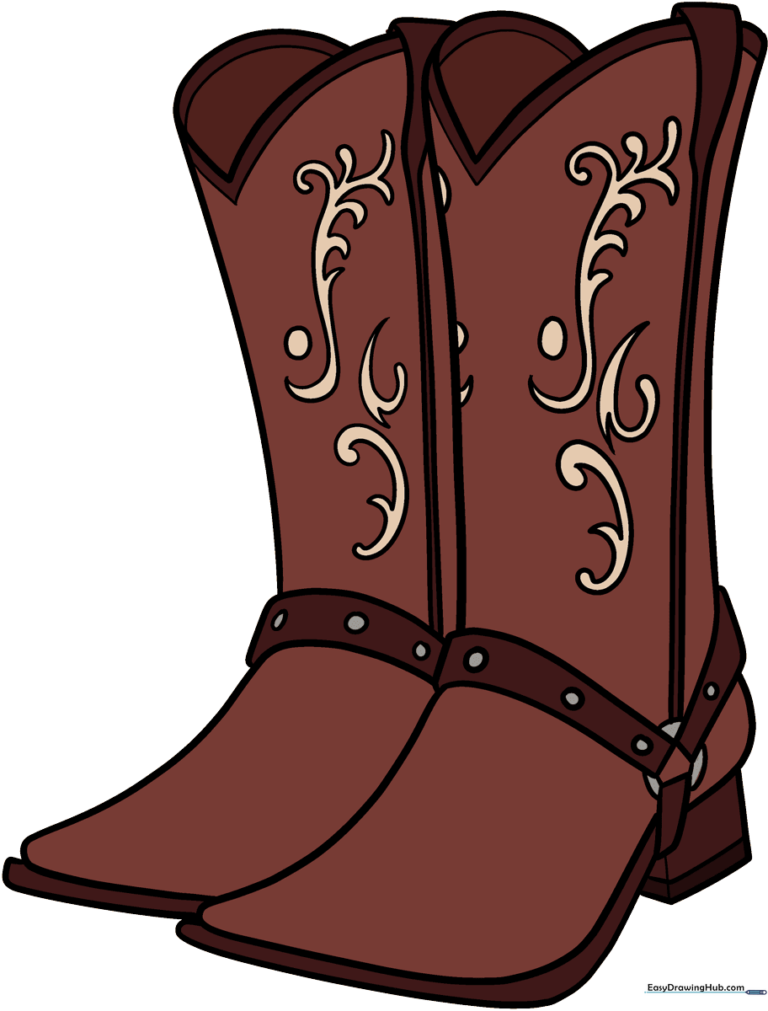
🎯 Final Result
Step-by-Step Instructions
Step 1: Sketching the Toe
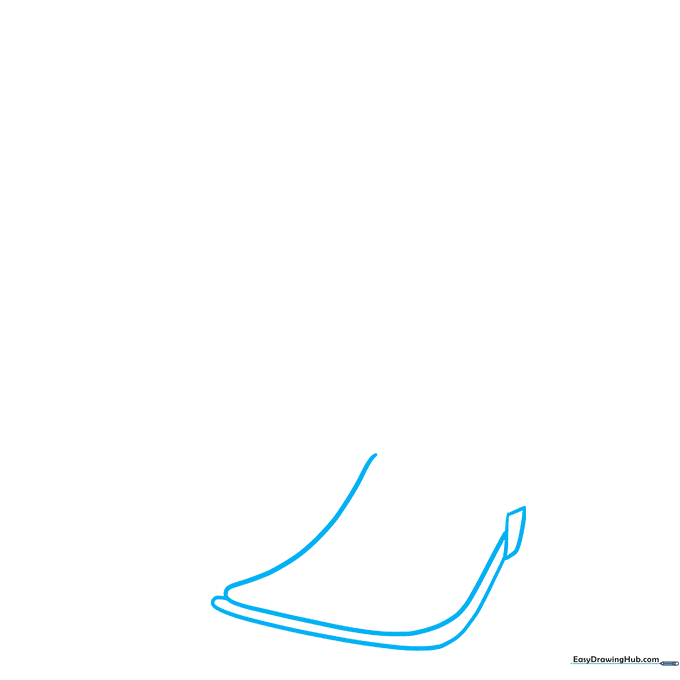
Start by drawing the toe of the boot using a long, curved line that doubles back on itself to form a rounded trapezoid. Teacher's Tip: Keep your pencil pressure light here; this is just the foundation for the shape!
Step 2: Defining the Heel
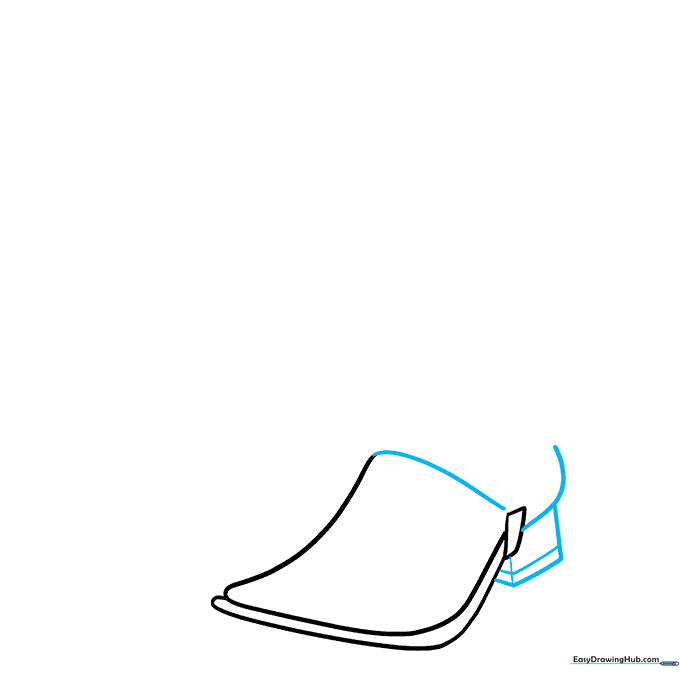
Extend a curved line from the back of the boot and enclose a small rectangle to form the heel. Connect the corner to the underside to create a 3D effect. Tip: Make sure the heel looks sturdy by adding a few straight lines at the base.
Step 3: Adding Straps

Use curved lines to draw the rectangular straps crossing the front and heel. Add a small circle where the straps meet. Tip: Think of these as the decorative harness found on traditional western boots.
Step 4: Shaping the Shaft
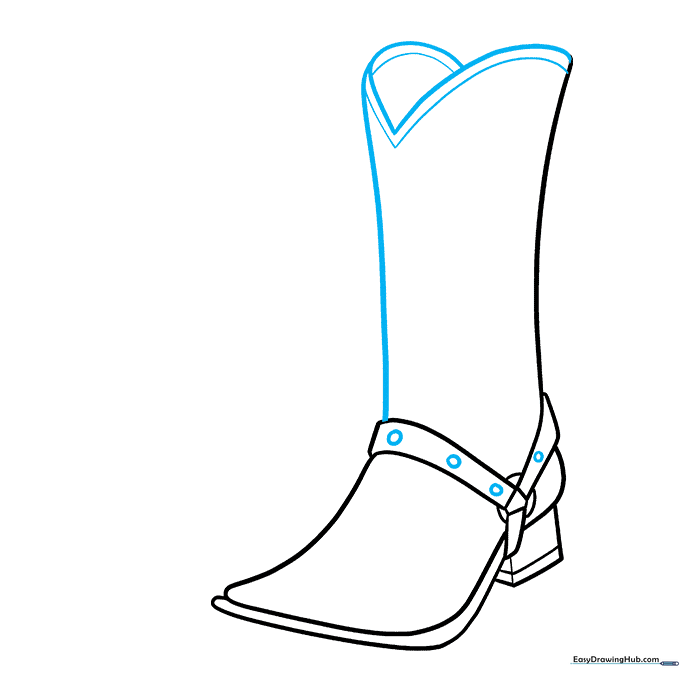
Draw a 'V' shaped line for the top opening of the boot and a long curved line for the side. Tip: Draw the 'V' slightly off-center to give the boot a natural, dynamic look.
Step 5: Adding Floral Details
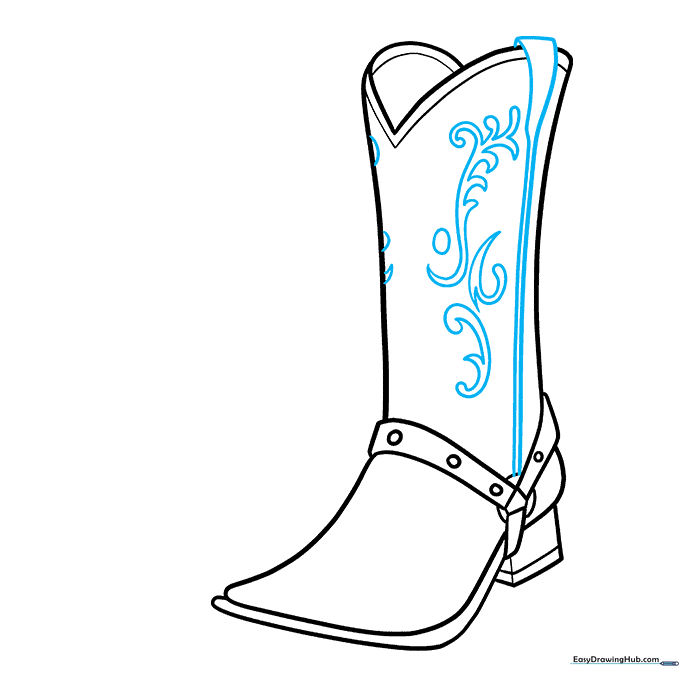
Add a floral pattern to the side of the boot using curved lines that meet at sharp points. Tip: If flowers are tricky, try drawing simple stars or geometric shapes instead!
Step 6: Drawing the Second Boot
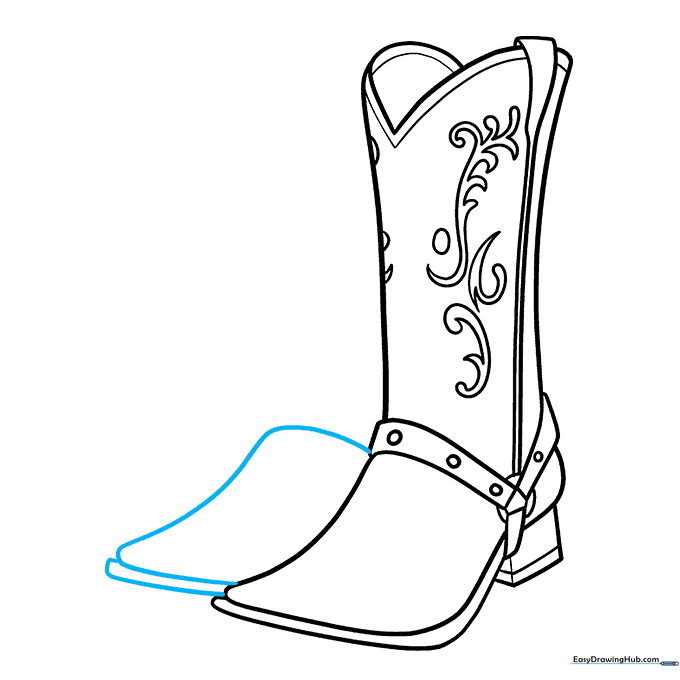
Repeat the process to draw the second boot, slightly overlapping the first. Tip: Drawing them as a pair makes the picture look more complete and professional.
Step 7: Detailing the Second Boot
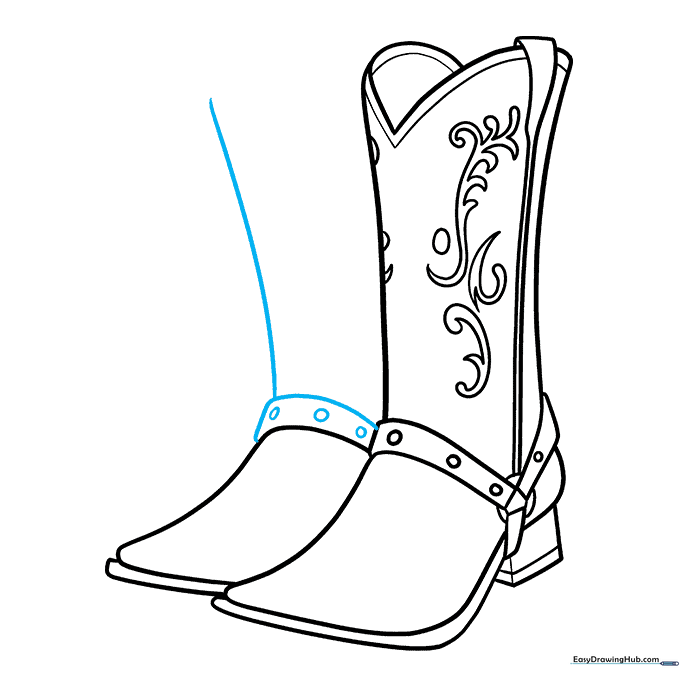
Add the strap and circles to the second boot to match the first. Tip: Consistency is key—try to keep the straps at the same height on both boots.
Step 8: Refining the Top
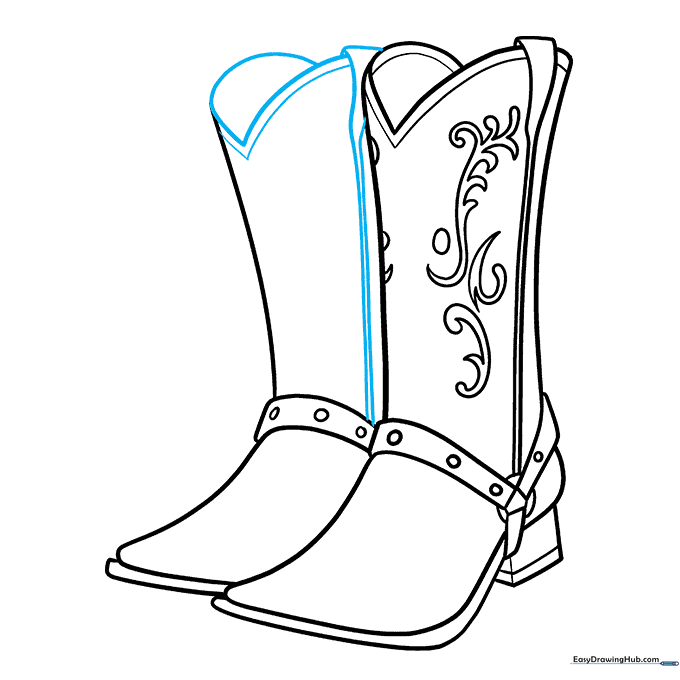
Use curved lines to draw the heart-shaped top of the second boot. Tip: A heart shape is a classic western boot feature—take your time to get the curves symmetrical.
Step 9: Final Embellishments
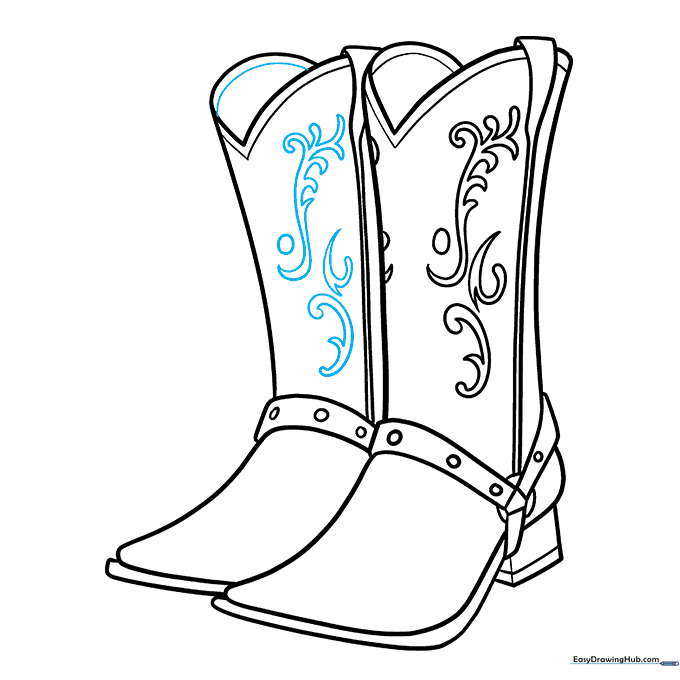
Add final details like parallel lines and floral patterns to the second boot. Tip: Erase any overlapping sketch lines to make your final drawing look clean and polished.
Step 10: Color Your Masterpiece
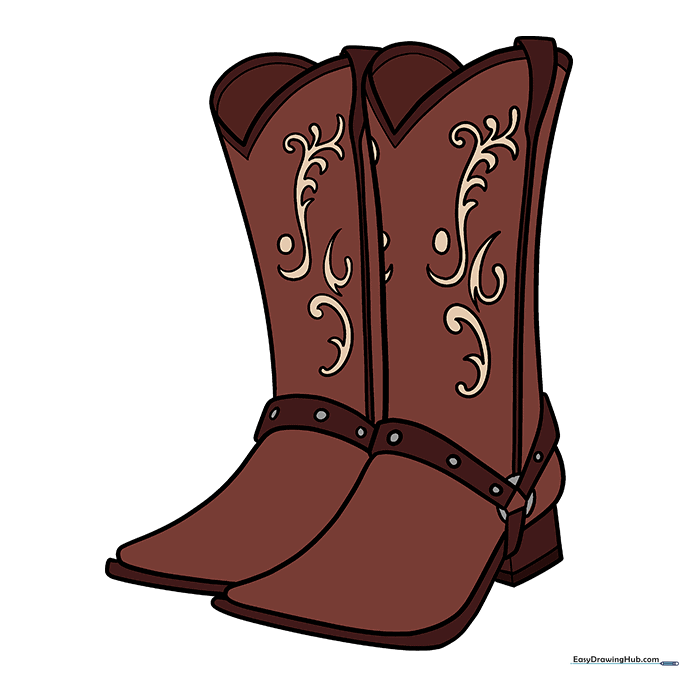
Time to bring your boots to life! Use brown for a classic look, or go bold with turquoise, pink, or sparkles. Tip: Use darker shades near the heel to add depth and shadow.
More Tutorials


