How to Draw a Cute Corn Cob: Easy Step-by-Step Guide
Bring a touch of harvest fun to your sketchbook! This tutorial is perfect for ages 5 and up, requiring only a pencil, eraser, and paper. You will learn how to build a character from basic shapes, helping children develop spatial awareness and confidence in their line work.
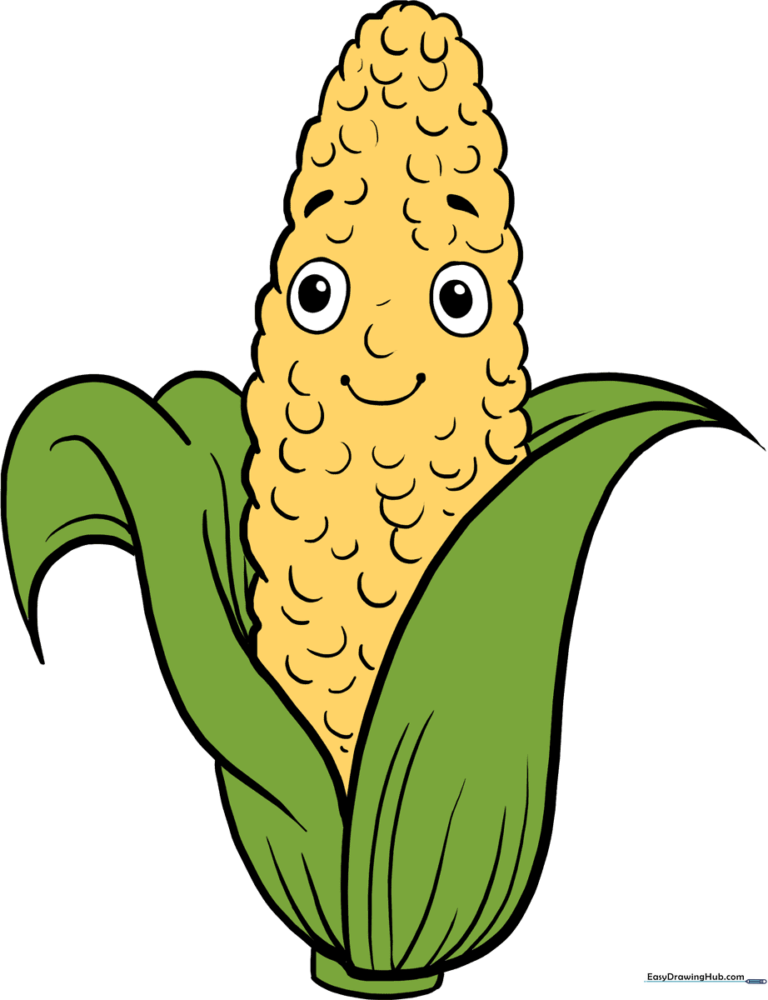
🎯 Final Result
Step-by-Step Instructions
Sketching the First Husk Leaf

Draw a long, gentle curve that looks like an incomplete letter 'C'. Teacher's Tip: Encourage kids to use their whole arm for the curve rather than just their wrist for a smoother, more confident line.
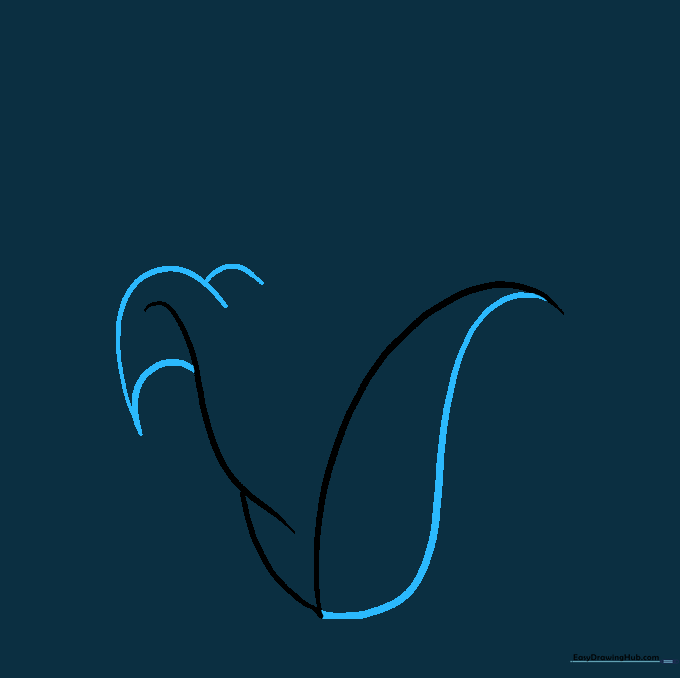
Outlining the Opposite Husk

Use two overlapping curved lines to define the outer edge of the second husk leaf. Tip: Make sure the lines overlap slightly to give the leaf a natural, layered look.
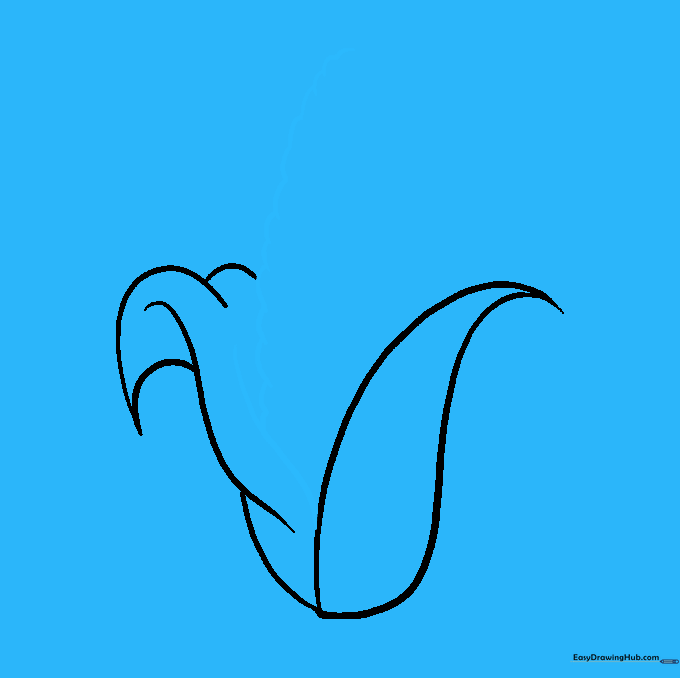
Refining the Leaf Shapes
Draw a teardrop-like shape to enclose the husk and add a bend to the opposite side using a series of connected curves. Tip: Focus on the 'point' of the leaf to make it look sharp and realistic.
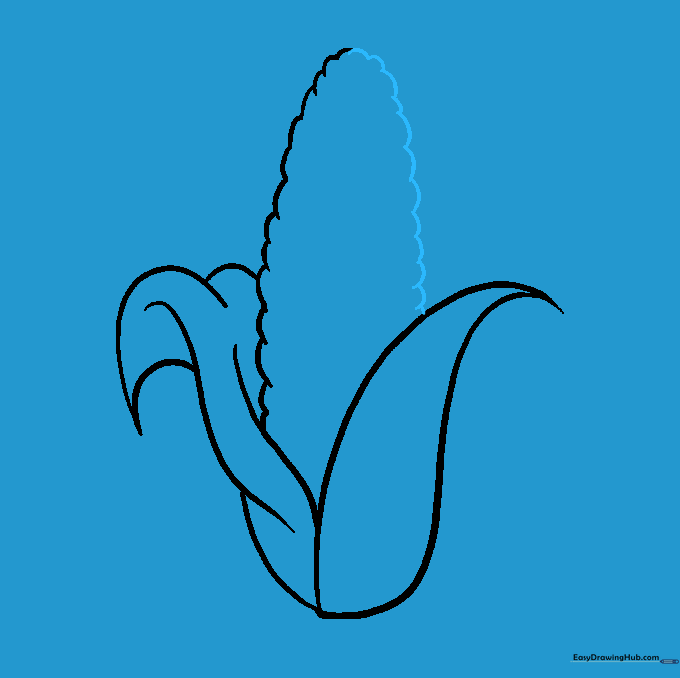
Starting the Corn Kernels
Draw a 'V' shape where the husk splits, then use short, connected curved lines to start the bumpy texture of the kernels. Tip: Keep these 'bumps' small and uniform to mimic real corn.
Filling the Cob Shape
Continue adding those small, connected curves down the opposite side until the entire cob shape is enclosed. Tip: Don't worry if they aren't perfect; nature is rarely perfectly symmetrical!
Adding the Stalk Base

Connect the husk to the leaf tip with a curved line, and draw a small, narrow shape at the bottom for the cut stalk. Tip: This adds a sense of weight and realism to your drawing.
Adding Leaf Detail

Add curved lines of varying lengths to the husk to show folds and texture. Tip: Start your lines from the stalk or leaf bends to make them look like natural creases.
Giving the Corn a Face

Draw two circles for eyes, adding pupils and a tiny sparkle. Add brows and a U-shaped mouth. Tip: The sparkle in the eye is just a tiny white dot—it makes the character look alive!
Final Kernel Details
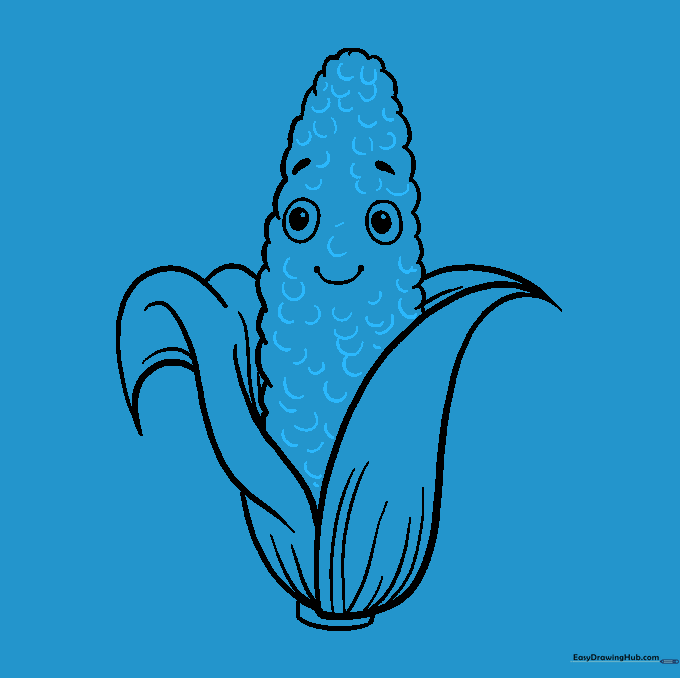
Fill the cob with small 'C' shapes to represent individual kernels, using one strategically placed kernel as a nose. Tip: Vary the size of the 'C's slightly to make the cob look more organic.
Adding Color
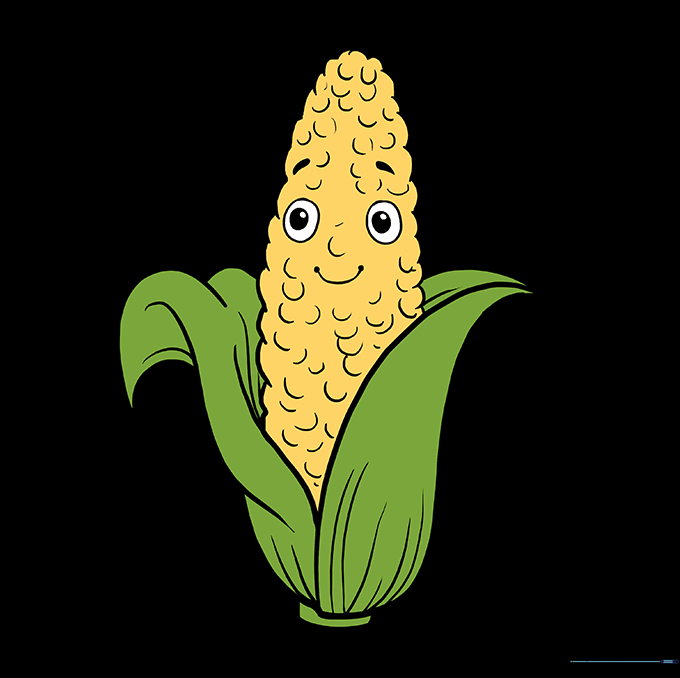
Bring your corn to life with yellow, white, or even rainbow colors for Indian corn. Tip: Use light pressure with your colored pencils to layer colors for a more realistic, vibrant effect.
More Tutorials


