How to Draw Contract Giller: Easy Fortnite Art Guide
Bring the iconic Contract Giller from Fortnite to life with this beginner-friendly drawing tutorial. Designed for young artists and fans, this guide requires only a pencil, paper, and an eraser to master the character's sharp suit and fishy features. Follow these steps to build confidence in your sketching and character design skills.
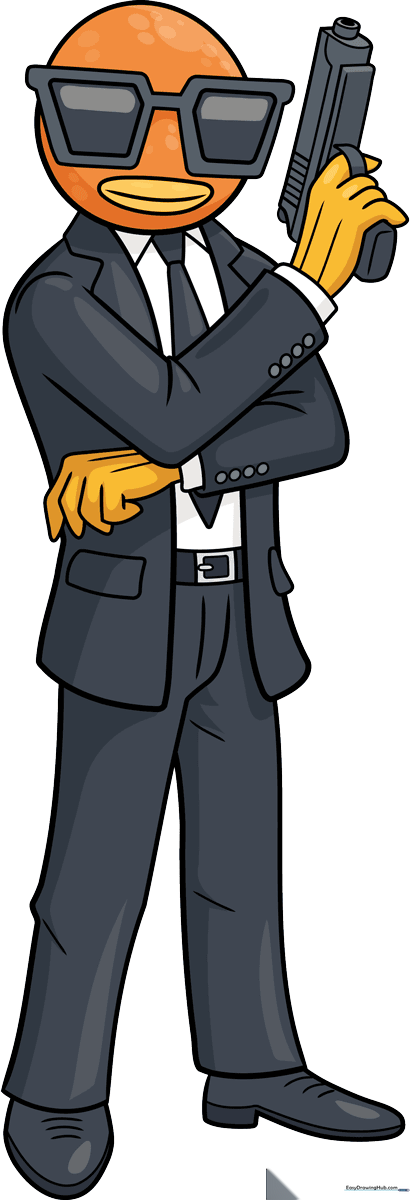
🎯 Final Result
Step-by-Step Instructions
Step 1: Sketching the Head and Glasses

Draw a light circle for the head. Add two oblong rectangles over the top to form the frames of his sunglasses. Teacher's Tip: Keep your pencil pressure light here so you can easily erase the overlapping lines inside the glasses later.
Step 2: Defining the Mouth and Arms
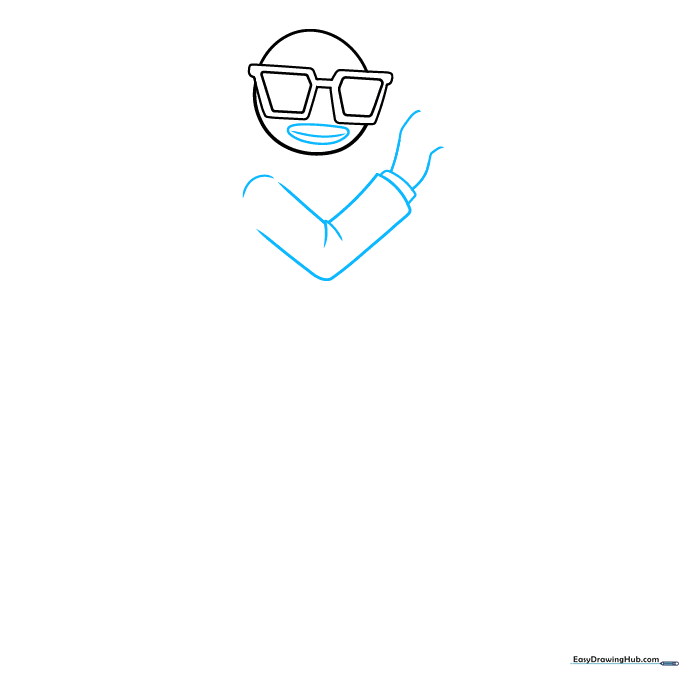
Sketch an oval for the mouth with a small curve inside to show expression. Begin the arms using two V-shapes. Teacher's Tip: Use quick, confident strokes for the V-shapes to give the arms a more dynamic, action-ready look.
Step 3: Adding Hands and Weapon Base
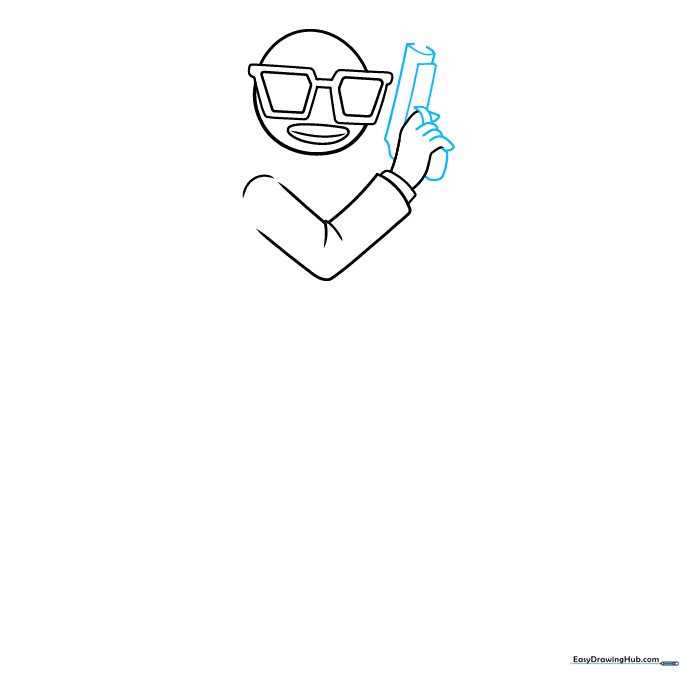
Draw three simple tube shapes for the fingers and a cylinder for the pistol. Teacher's Tip: Think of the fingers as small sausages; keeping them rounded makes the character look more like a cartoon.
Step 4: Detailing the Torso and Gun
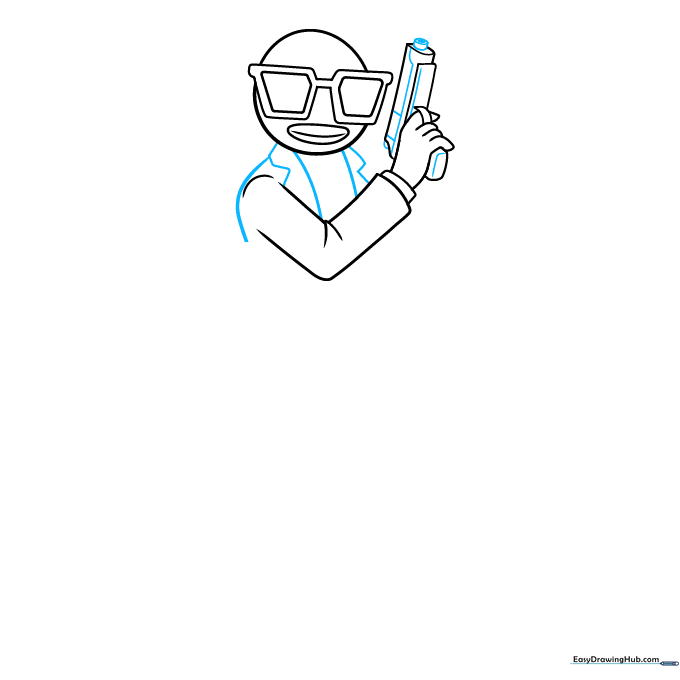
Outline the shoulders with smooth curves and add triangles on the sides for the suit lapels. Add small circles and rectangles to the gun to define its mechanical parts. Teacher's Tip: Focus on symmetry here to keep the character looking balanced.
Step 5: Shaping the Right Arm
Draw the right arm using a backward L-shape and add the fingers. Teacher's Tip: If the hand looks too large, remember that cartoon characters often have exaggerated features—it adds to the fun!
Step 6: Constructing the Suit
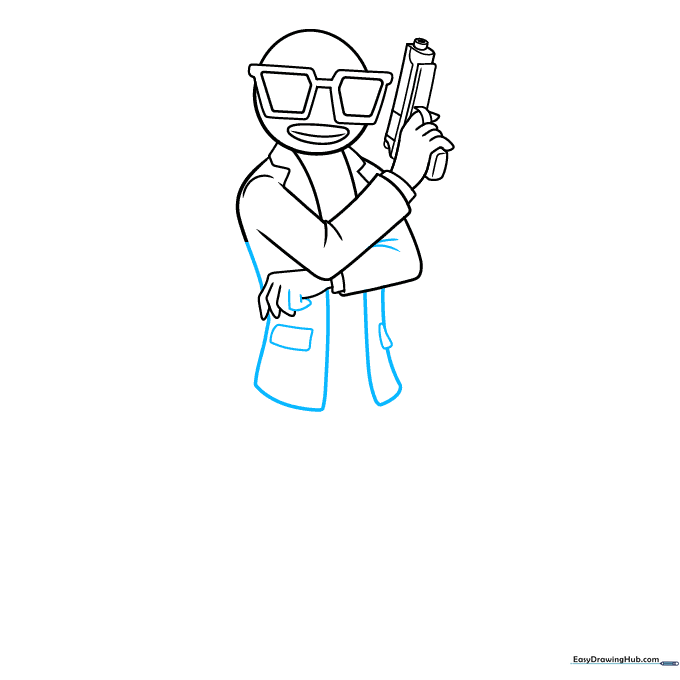
Add the final finger and connect the arm to the shoulder. Sketch uneven rectangles for the coat to give it a tailored look. Teacher's Tip: Use a ruler if you want the coat edges to look extra sharp and professional.
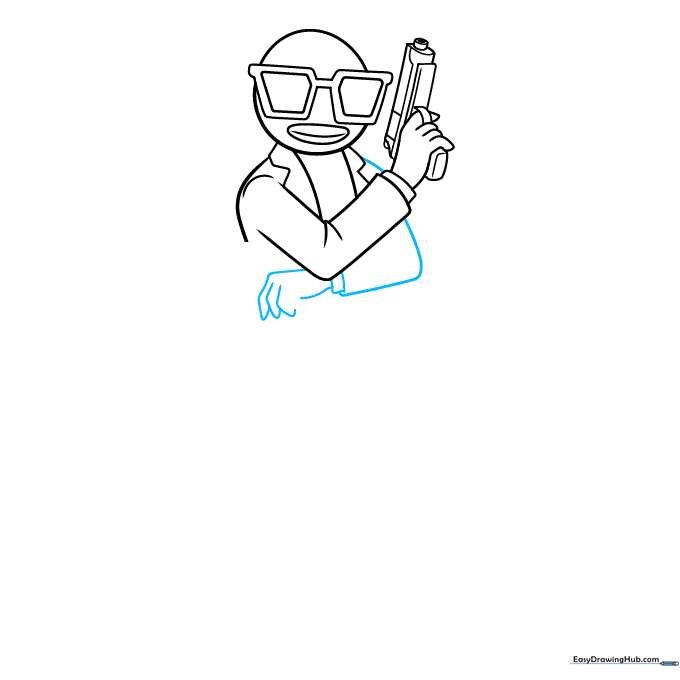
Step 7: Adding the Belt and Legs

Sketch triangular shapes for the shirt details and rectangles for the belt. Draw the legs with two uneven lines. Teacher's Tip: Varying the thickness of your lines here can help define the difference between the shirt and the belt.
Step 8: Drawing the Shoes
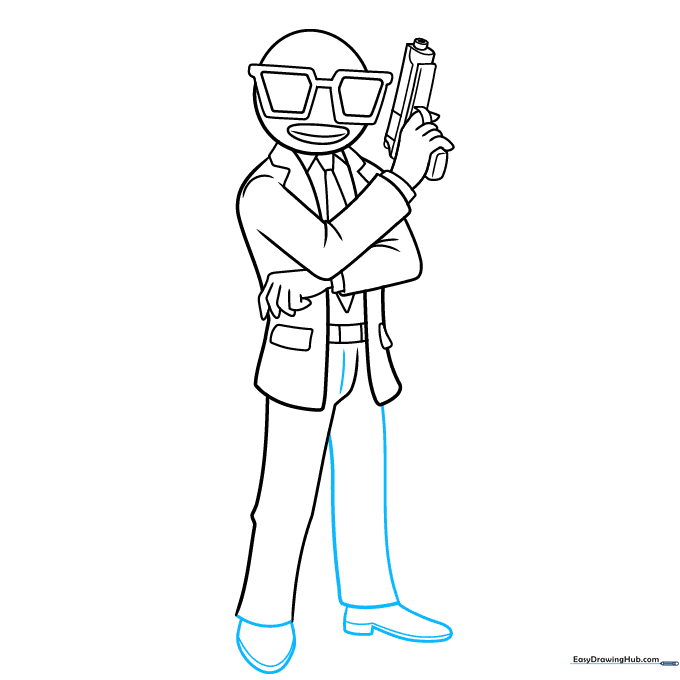
Complete the legs and add semi-ovals for the shoes. Draw a straight line under the belt to finish the waist area. Teacher's Tip: Ensure the shoes are grounded on the same level so the character doesn't look like he's floating!
Step 9: Final Outlining
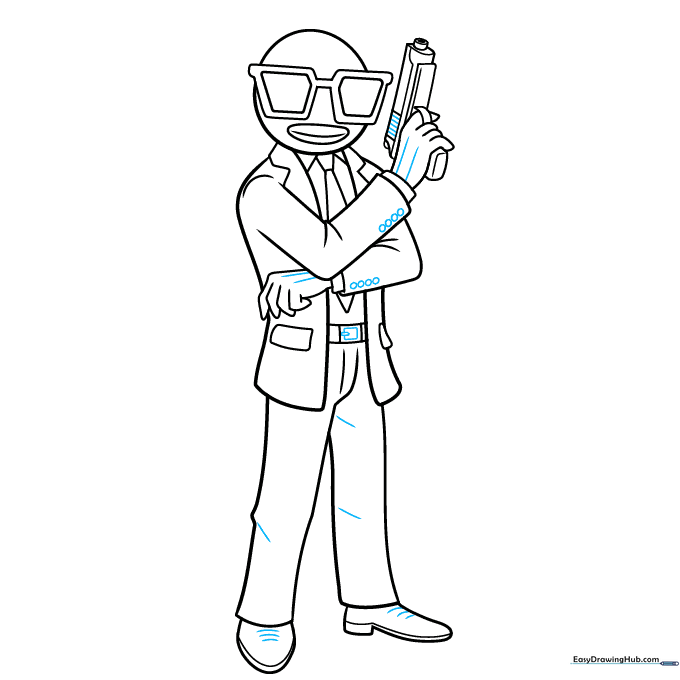
Add interior details to the shoes, pants, and pistol. Go over your final lines with a black ink pen. Teacher's Tip: Take your time with the ink; slow, steady movements create the cleanest lines.
Step 10: Adding Color
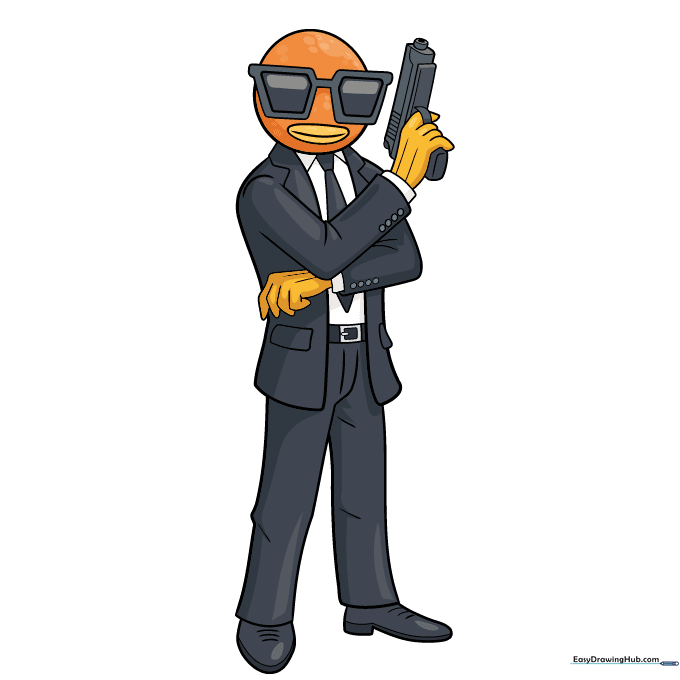
Bring your Giller to life! Use black and white for the suit and sunglasses, and vibrant orange for the head, mouth, and gloves. Teacher's Tip: Use light, circular motions when coloring to keep the pigment smooth and even.
More Tutorials


