How to Draw Confetti: Easy 10-Step Guide for Kids
Bring the party to your sketchbook! This tutorial is perfect for young artists ages 5+ looking to practice fluid, organic shapes. You only need a pencil, an eraser, and your favorite markers to create a vibrant, celebratory scene.
🎯 Final Result

Step-by-Step Instructions
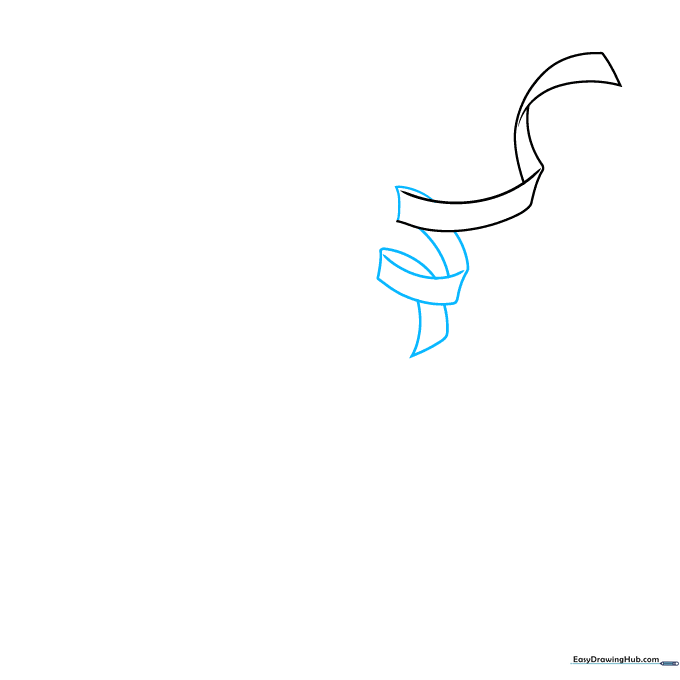
Step 1: The First Ribbon Twist

Start by sketching a twisting ribbon shape using two parallel curved lines. Tip: Keep your pencil pressure light so you can easily adjust the curves if they don't look quite right on the first try.
Step 2: Adding a Spiral
Complete this ribbon by adding a spiral at the end. Use overlapping curved lines to create the illusion that the paper is curling in on itself.
Step 3: Creating a Second Ribbon
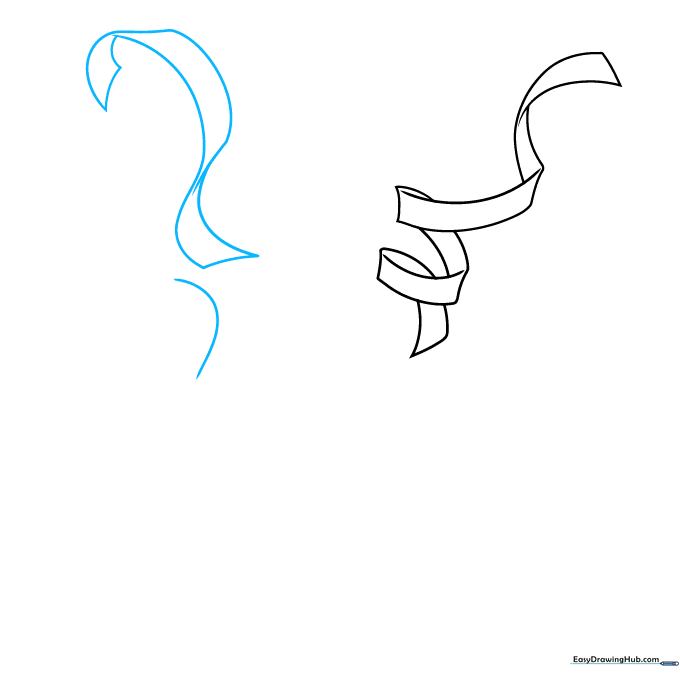
Draw a second ribbon-like piece nearby. Focus on making the curves flow in a different direction to add movement to your drawing.
Step 4: Drawing a Complex Piece
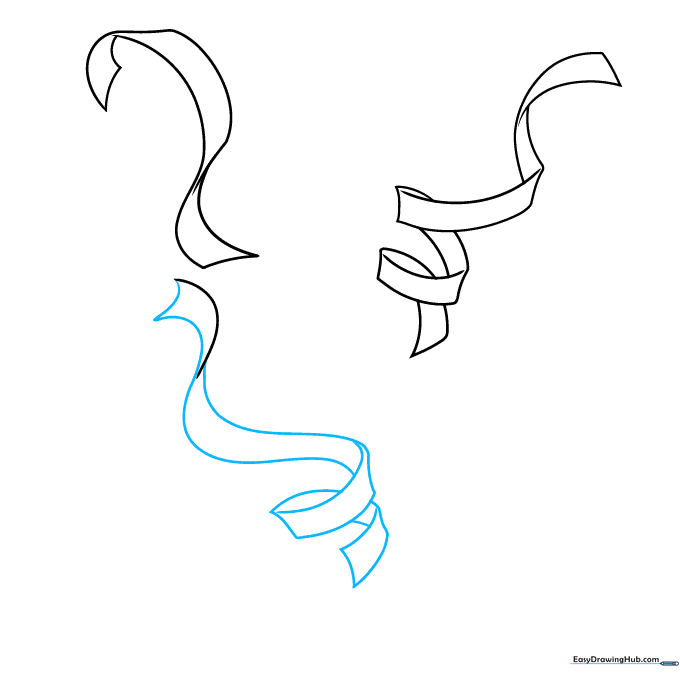
Let's draw a more complex piece. Start with a triangle at the top, transition into a rectangle in the middle, and finish with a spiral at the bottom.
Step 5: Adding Variety
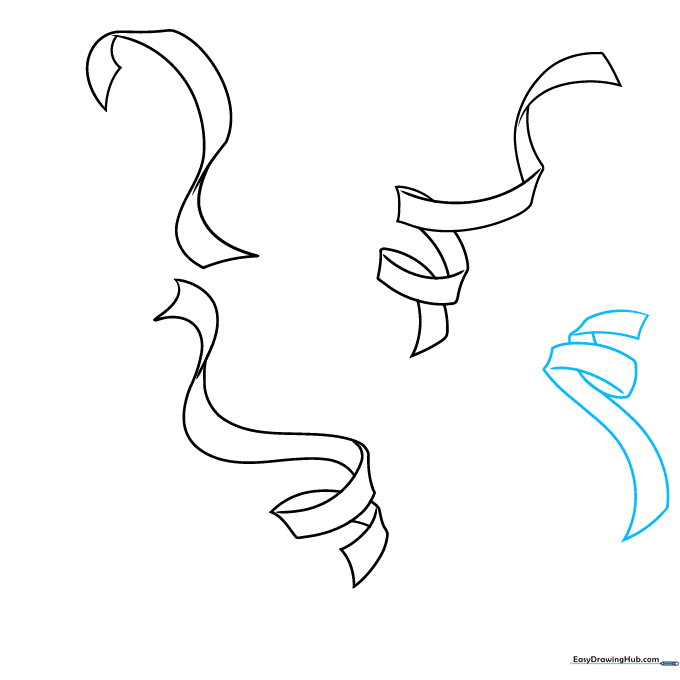
Draw another piece with a spiral top and a rectangular bottom. Tip: Varying the sizes of your shapes makes the confetti look like it's falling naturally through the air.
Step 6: Building the Crowd

Add two more pieces of confetti. Use overlapping lines to ensure they look three-dimensional rather than flat on the page.
Step 7: Small Details
Draw a small 'C' shaped piece of confetti. This adds a nice contrast to the longer, more complex ribbons you've already drawn.
Step 8: Adding Stars
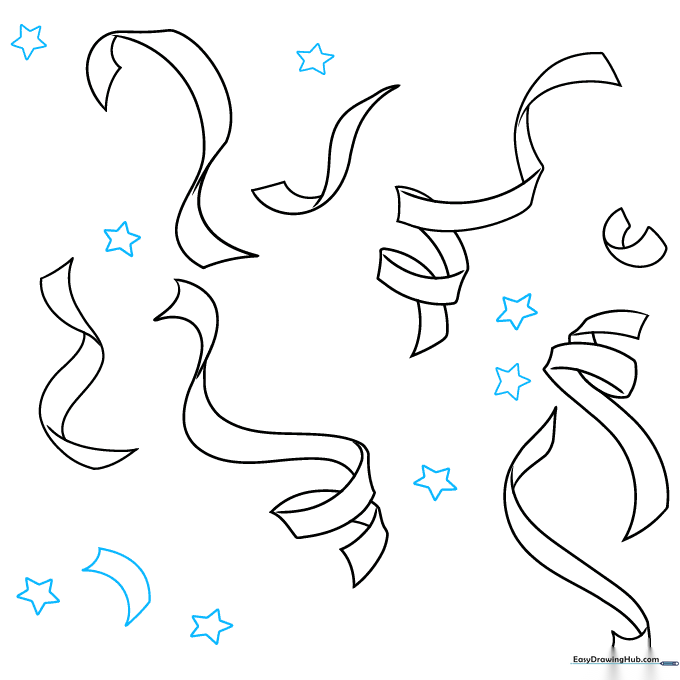
Draw a small rectangular piece and then sprinkle in several five-pointed stars. Tip: Draw the stars in different sizes to create a sense of depth and distance.
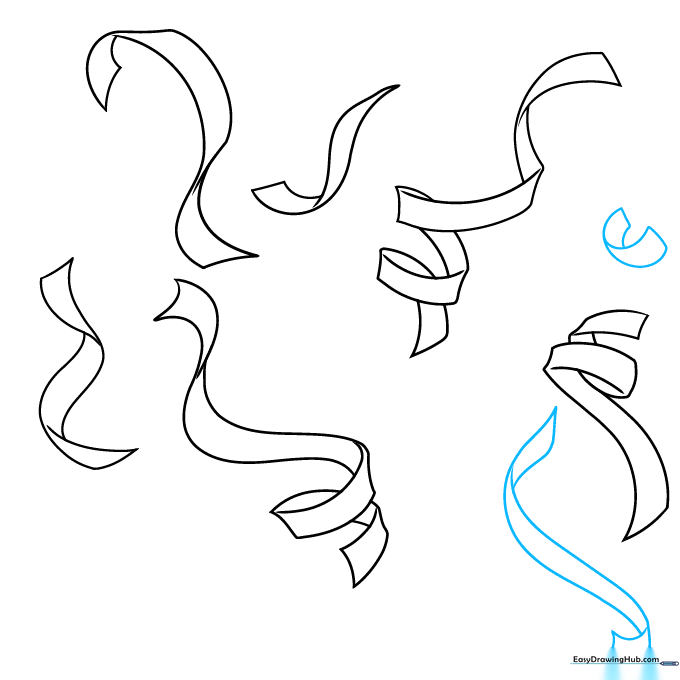
Step 9: Final Touches
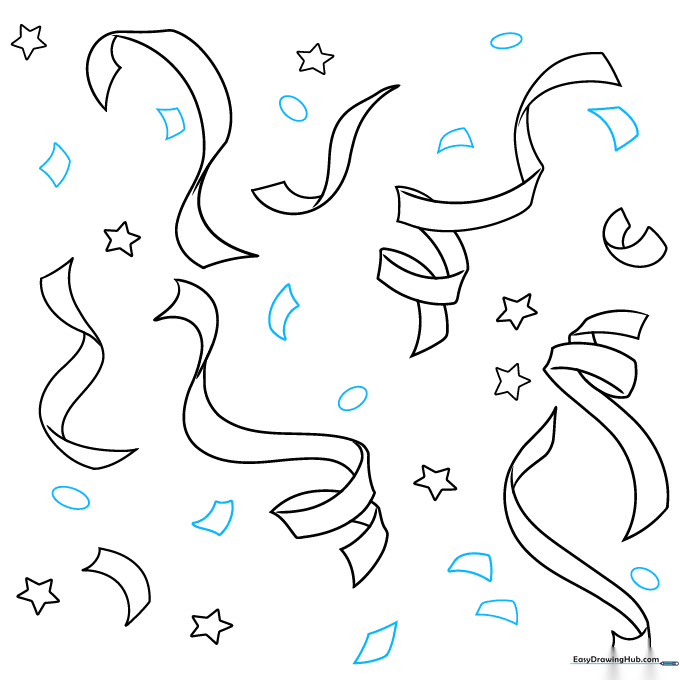
Fill in the empty spaces with small, misshapen squares and ovals. This makes the drawing look like a true explosion of confetti.
Step 10: Bring it to Life with Color

Your outline is complete! Now, grab your brightest markers. Use a variety of colors to make your confetti look festive and vibrant.
More Tutorials


