How to Draw Clouds: Easy 10-Step Guide for Kids
Perfect for young artists ages 5 and up, this tutorial breaks down the art of drawing fluffy clouds into simple, manageable shapes. All you need is a pencil, an eraser, and a piece of paper to get started. By the end of this lesson, you will master the technique of overlapping curves to create depth and volume in your sky scenes.
🎯 Final Result

Step-by-Step Instructions
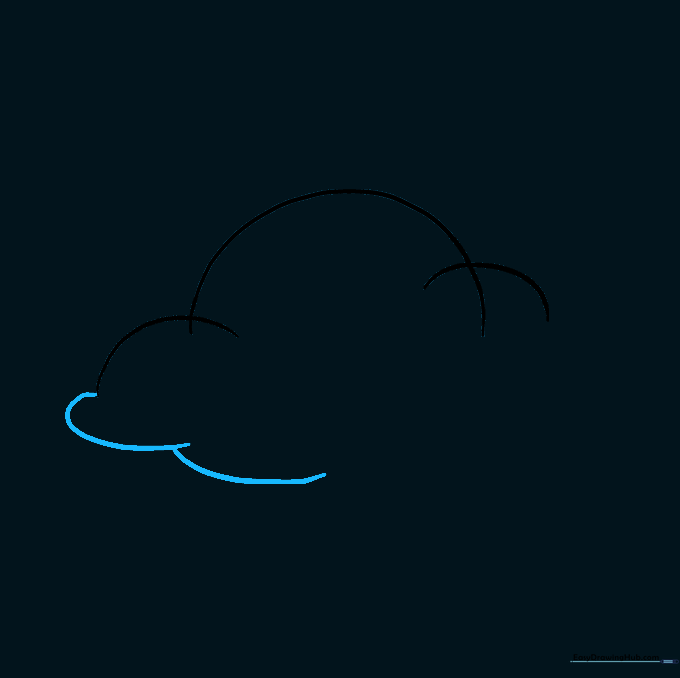
Step 1: Sketching the Top Curve

Start by drawing a soft, curved line to form a half-circle. Teacher's Tip: Keep your pencil pressure light so you can easily adjust the shape later if needed.
Step 2: Adding Fluffiness

Draw a smaller curved line that overlaps the first one. This overlapping technique is the secret to making your cloud look soft and puffy rather than flat.
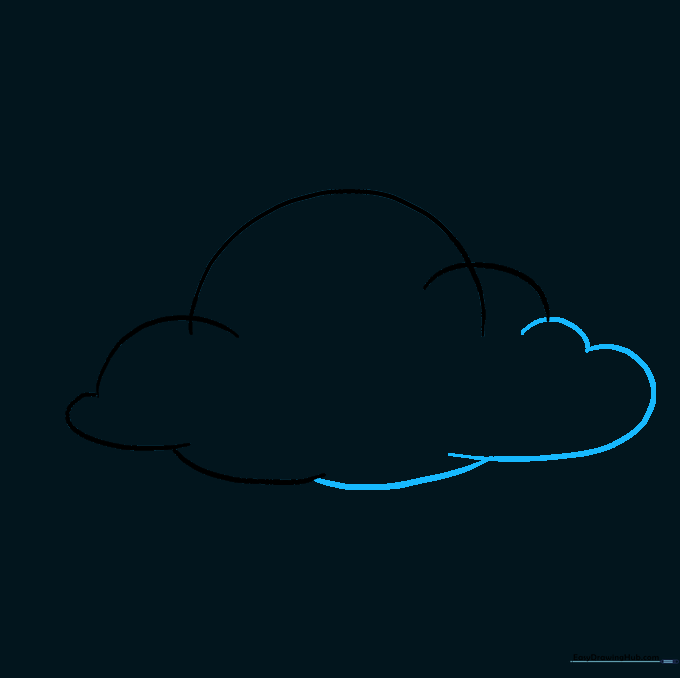
Step 3: Building the Shape

Continue adding another short, curved line that overlaps the previous one. Tip: Try varying the size of your curves to make the cloud look more natural.
Step 4: Defining the Base
Draw a series of connected, curved lines moving across the bottom of your cloud. This creates the 'base' where the cloud looks densest.
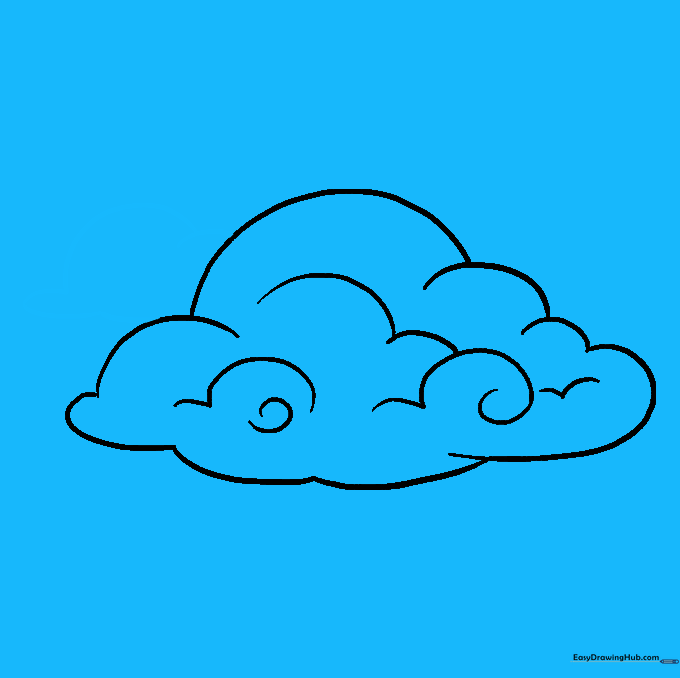
Step 5: Closing the Outline
Continue with your connected curves until you reach the starting point, fully enclosing the cloud shape.
Step 6: Cleaning Up

Use your eraser to remove the overlapping guide lines inside the cloud. This makes the shape look like one solid, fluffy object.
Step 7: Adding Texture

Add small, curved lines inside the cloud to give it depth. Tip: Add a few tiny spirals to mimic the swirling nature of real clouds.
Step 8: Adding Background Clouds
Draw a second, smaller cloud behind the first one. Overlapping objects is a great way to show distance in your drawings.
Step 9: Completing the Scene
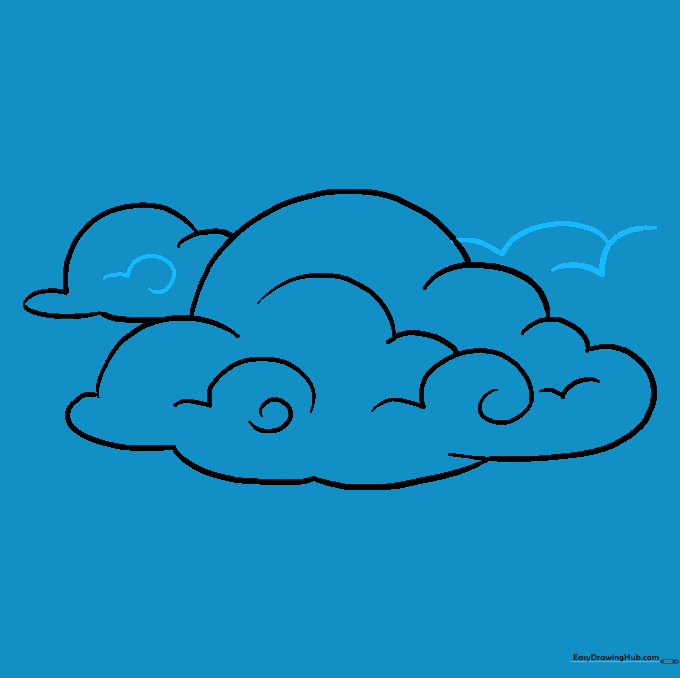
Add detail to your second cloud and draw a third one behind it to fill out your sky scene.
Step 10: Bringing Clouds to Life with Color

Time to color! While clouds are often white, try using light blues, greys, or even sunset pinks and oranges to make your sky look vibrant.
More Tutorials


