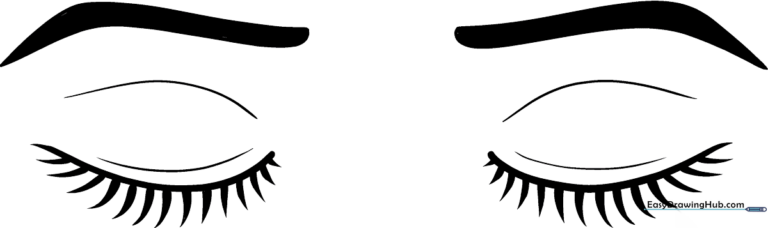
How to Draw Closed Eyes: Simple 9-Step Guide for Beginners
Perfect for young artists ages 6+, this tutorial breaks down the anatomy of closed eyes into simple, manageable shapes. You only need a pencil, an eraser, and a piece of paper to get started. By the end of this lesson, you will have the confidence to add peaceful, sleeping, or happy expressions to any character you create.
🎯 Final Result
Step-by-Step Instructions
Step 1: Sketching the Eyelid Curves
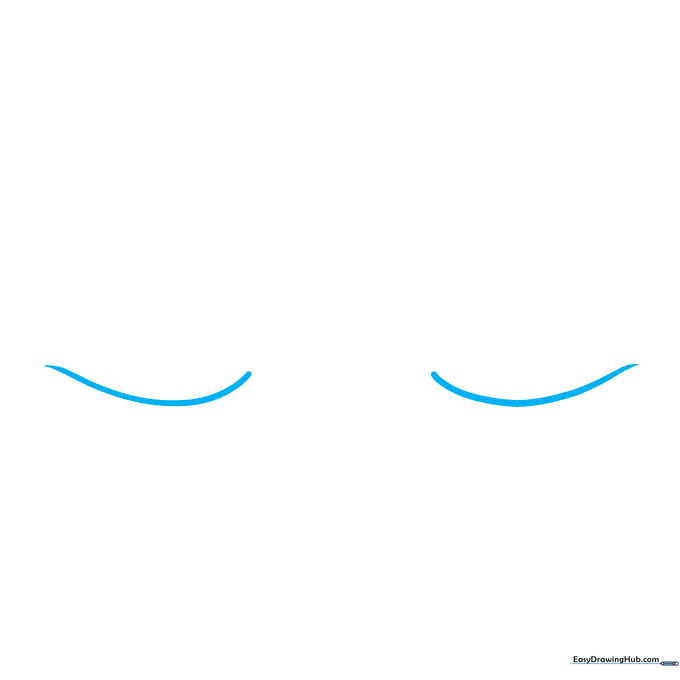
Draw two gentle, downward-curving lines to represent the closed eyelids. Teacher's Tip: Keep your pencil pressure light here; these are just guidelines, and you want them easy to erase if you need to adjust the shape later.
Step 2: Defining the Lid Contour
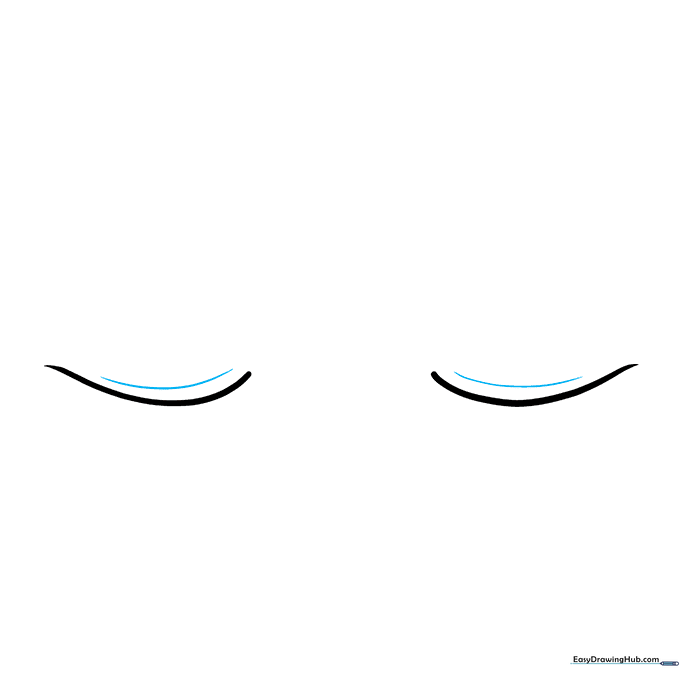
Draw a second, slightly smaller curve above each eyelid. This creates the crease of the lid. Teacher's Tip: Try to keep the distance between the two lines consistent to make the eyes look symmetrical.
Step 3: Adding Depth to the Lids
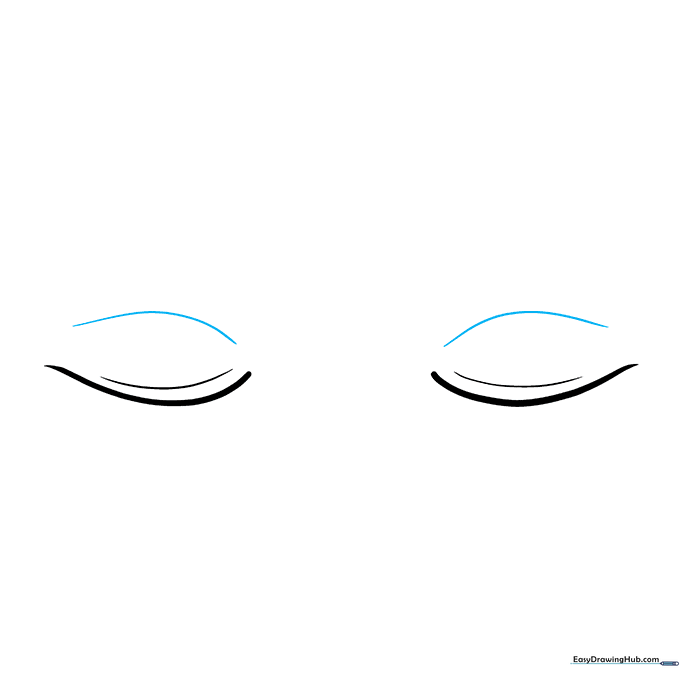
Add a third, subtle curved line above the previous one, bending slightly in the opposite direction. This adds volume to the eyelid. Teacher's Tip: Think of this as the 'thickness' of the skin above the eye.
Step 4: Drawing the First Eyelashes
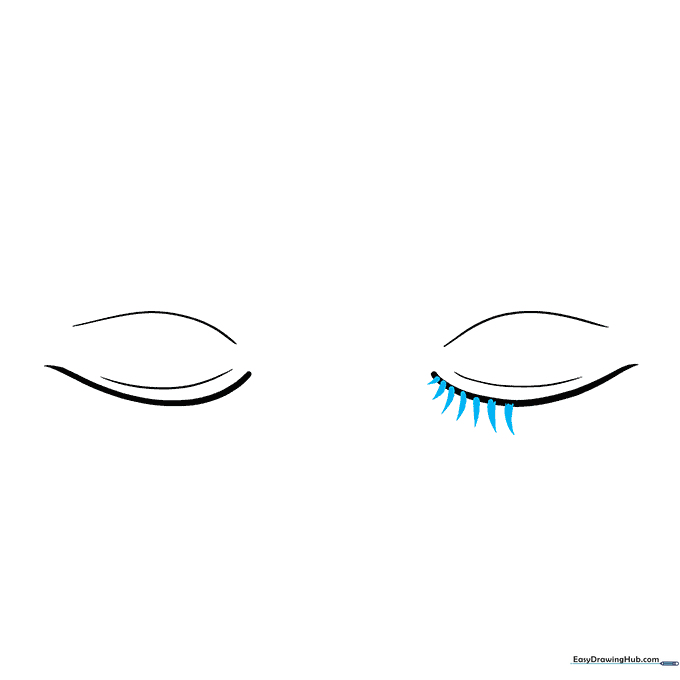
Sketch small, teardrop-shaped lines along the eyelid curve. Teacher's Tip: Start with tiny lashes near the inner corner, and make them gradually longer as you move toward the center of the eye.
Step 5: Completing the First Eye's Lashes
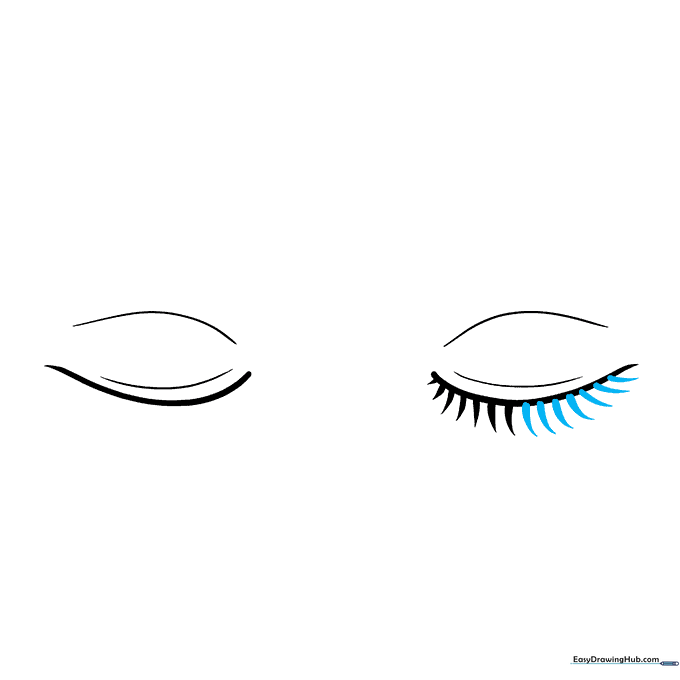
Continue adding lashes, making them shorter again as you reach the outer corner. Teacher's Tip: Don't worry about making them perfectly uniform; real eyelashes have a natural, slightly messy flow.
Step 6: Starting the Second Eye
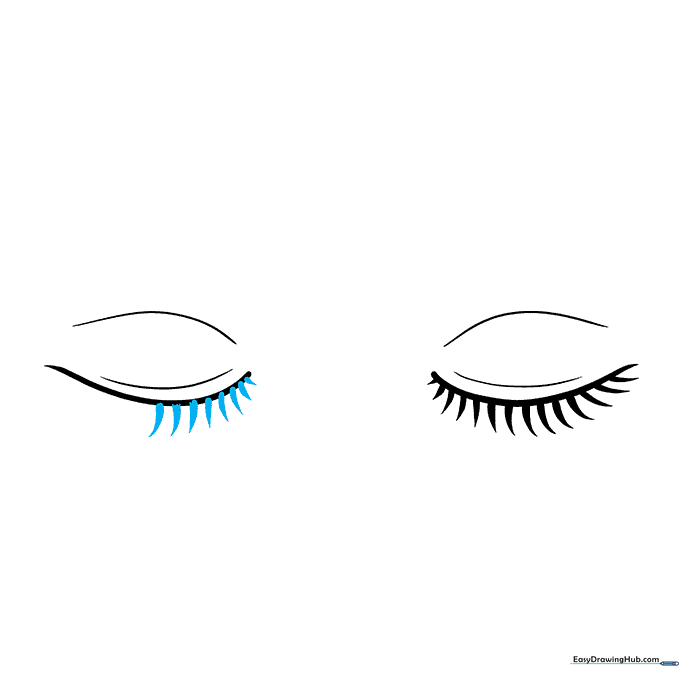
Repeat the lash-drawing process for the second eye. Teacher's Tip: Use your first eye as a mirror guide to ensure the lashes on the second eye follow the same length pattern.
Step 7: Finishing the Second Eye
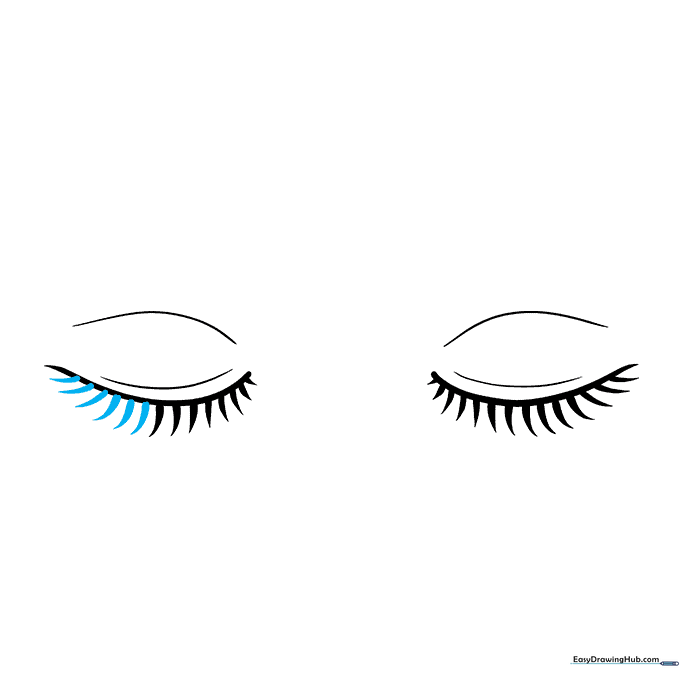
Complete the lashes on the second eye, tapering them down toward the corner. Teacher's Tip: If you make a mistake, gently dab with your eraser—don't rub hard, or you'll smudge the graphite!
Step 8: Sketching the Eyebrows
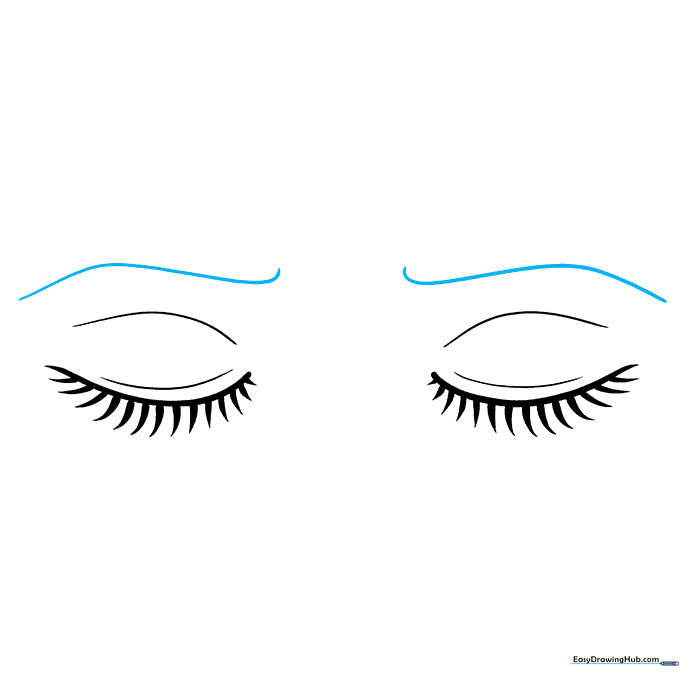
Draw a soft, curved line above each eye to serve as the base for the eyebrows. Teacher's Tip: These should follow the natural arch of the eye socket.
Step 9: Defining the Eyebrows
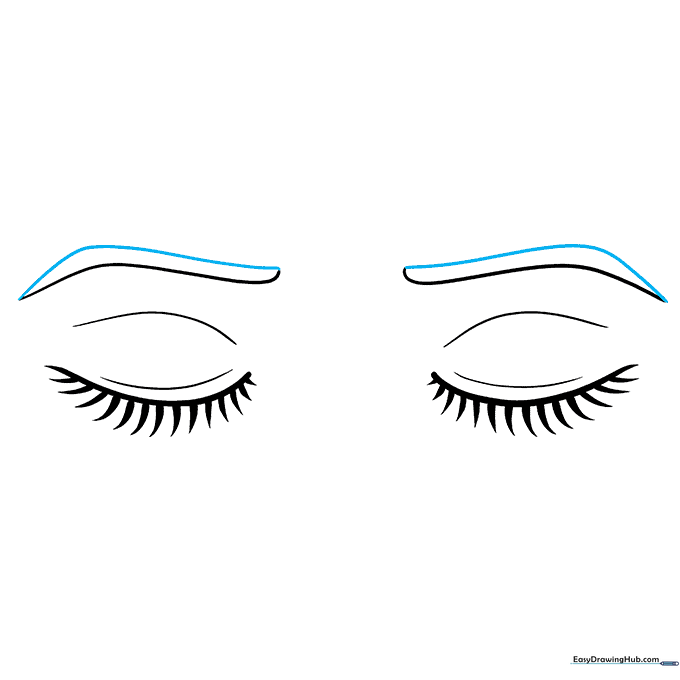
Complete the eyebrows by adding a second line to create a tapered shape. Keep the inner side blunt and rounded, and the outer end pointed. Teacher's Tip: A slight arch in the brow can change the character's expression from peaceful to surprised!
Step 10: Adding Color and Final Touches
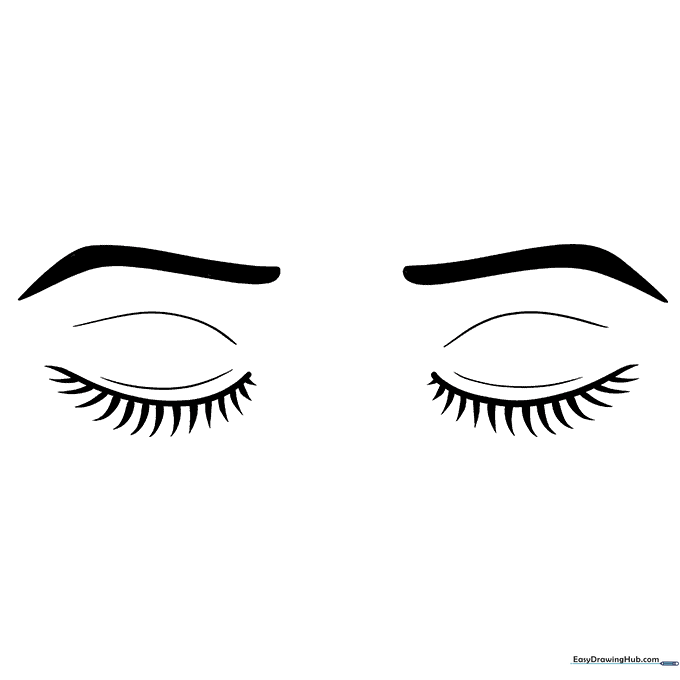
Your closed eyes are ready! Use your favorite skin-tone markers or colored pencils to fill them in. Teacher's Tip: Try adding a tiny bit of shading under the eyelid line to give the face more depth.
More Tutorials


