How to Draw Cleopatra: Easy 10-Step Historical Portrait
Bring history to life with this step-by-step Cleopatra portrait, perfect for young artists ages 7 and up. You will only need a pencil, an eraser, and your favorite coloring markers to complete this royal figure. Follow along to master the iconic Egyptian headdress and regal profile.
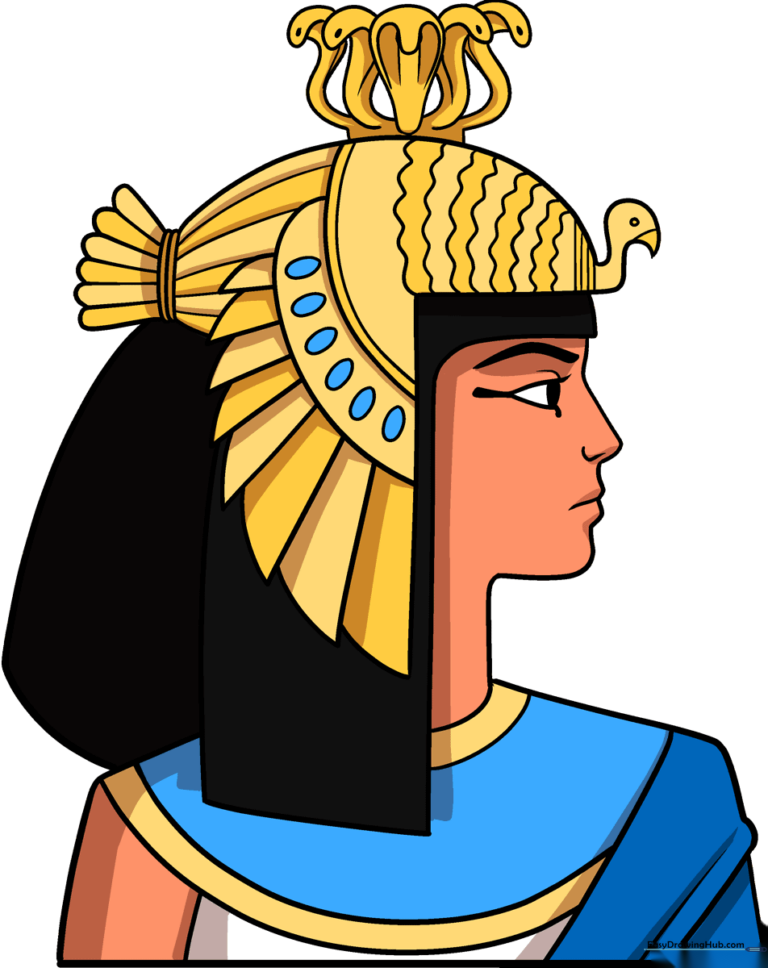
🎯 Final Result
Step-by-Step Instructions
Step 1: Sketching the Profile
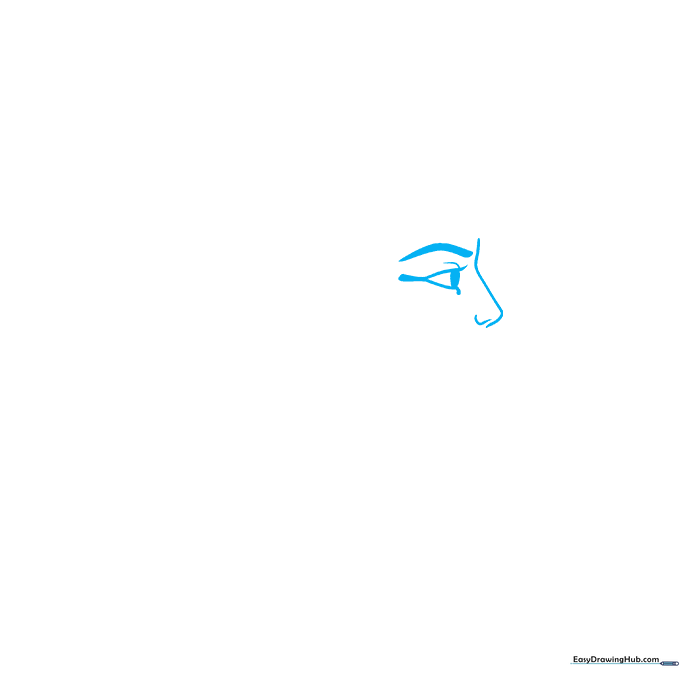
Begin by drawing the bridge of the nose and the brow line. Add a thick, bold line for the eyebrow and a classic winged eyeliner shape. Tip: Draw the pupil as a small, shaded oval to give her a focused, regal gaze.
Step 2: Defining the Face
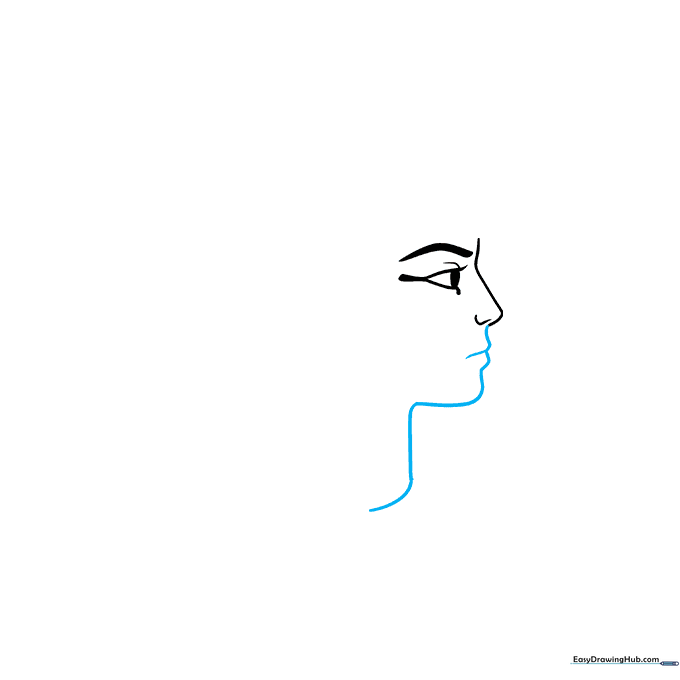
Connect the nose to the upper and lower lips, then curve the line down to form the chin and neck. Tip: Keep the chin line smooth and rounded to give her a graceful, youthful appearance.
Step 3: Framing the Hair
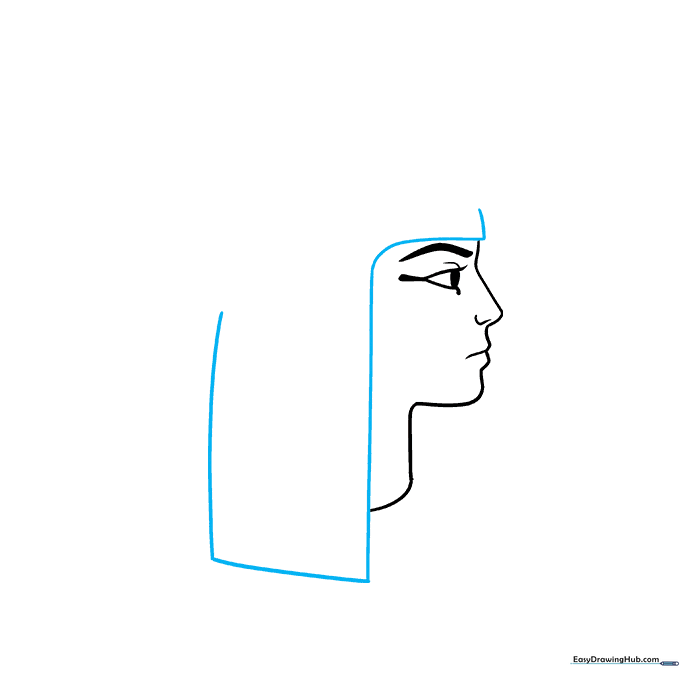
Use long, sweeping curved lines to sketch the rectangular shape of her iconic bob-style hair. Tip: Make sure the lines are symmetrical on both sides of the face for a balanced look.
Step 4: The Royal Headdress
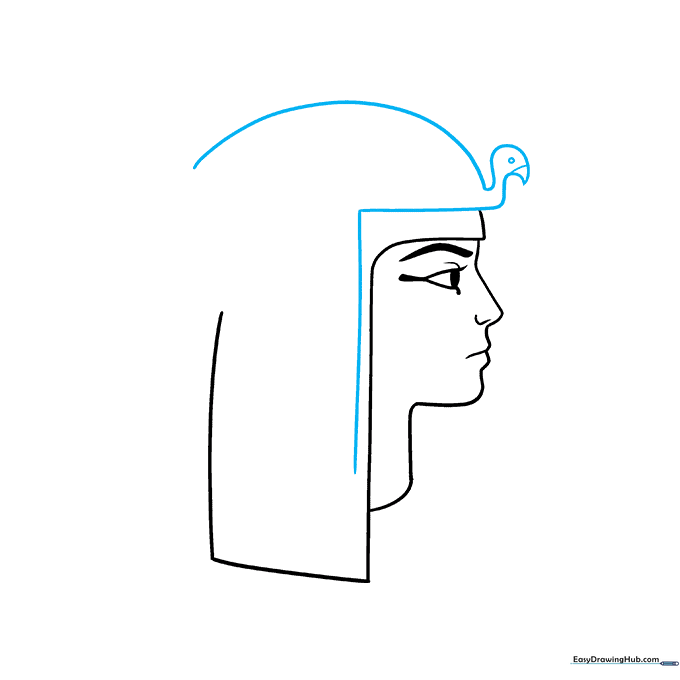
Draw the base of the headdress using straight lines. Above it, sketch the body of a bird figurine. Tip: Use a small circle for the bird's eye to make it look alert and detailed.
Step 5: Adding Wing Details
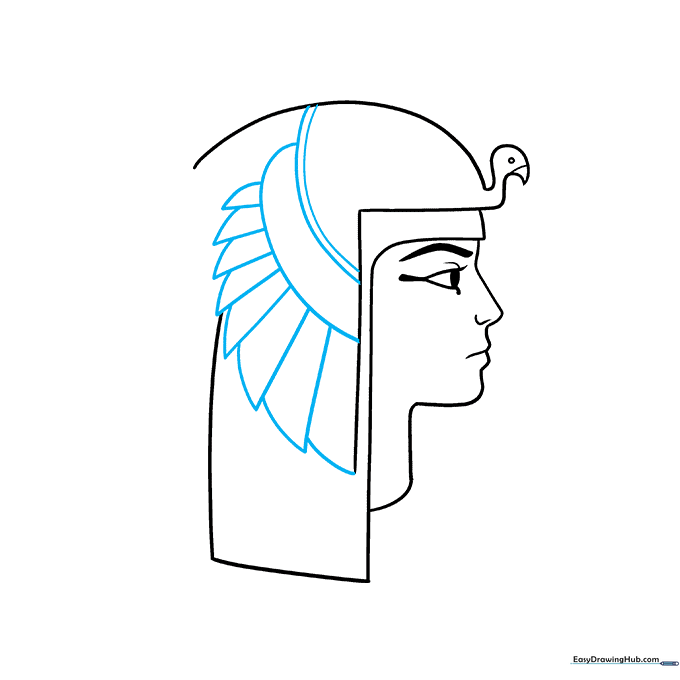
Create the bird's wing pattern using parallel lines. Add rectangular shapes for the feathers. Tip: Keep your spacing consistent to make the wing look organized and professional.
Step 6: Wing and Tail Feathers
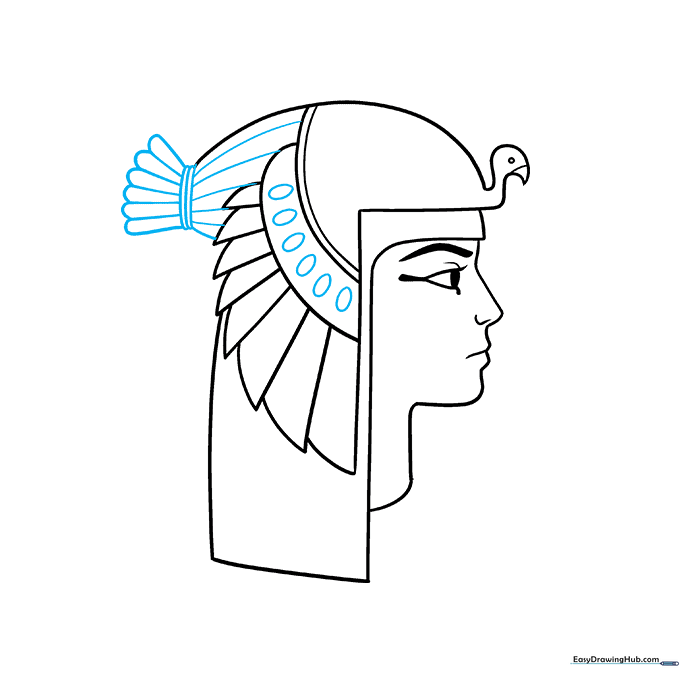
Draw ovals along the wing and add the tail feathers at the back using 'U' shaped lines. Tip: Imagine the tail is like a ponytail being held by a band to help you place the lines correctly.
Step 7: The Cobra Symbol
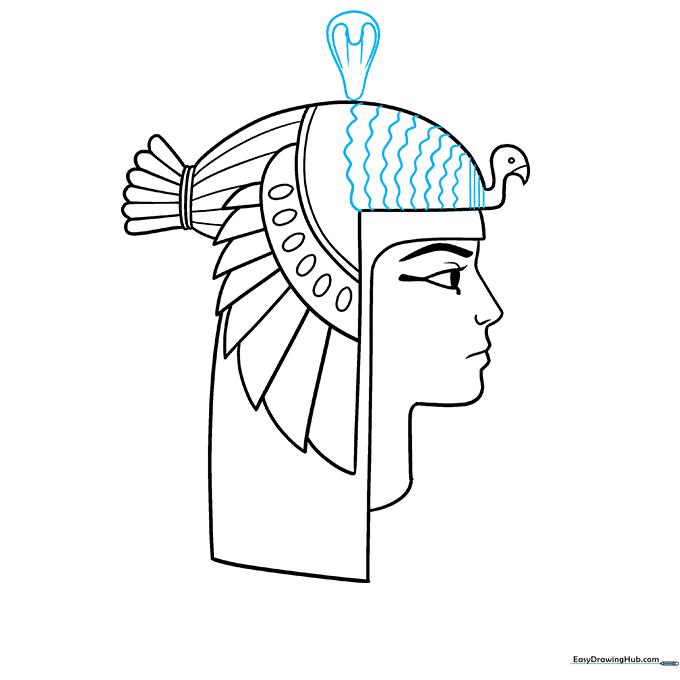
Add texture to the bird with wavy lines, then draw a cobra above it. Enclose a teardrop shape for the snake's hood. Tip: The cobra is a symbol of Egyptian royalty, so take your time to make it look proud and upright.
Step 8: Finalizing the Headdress
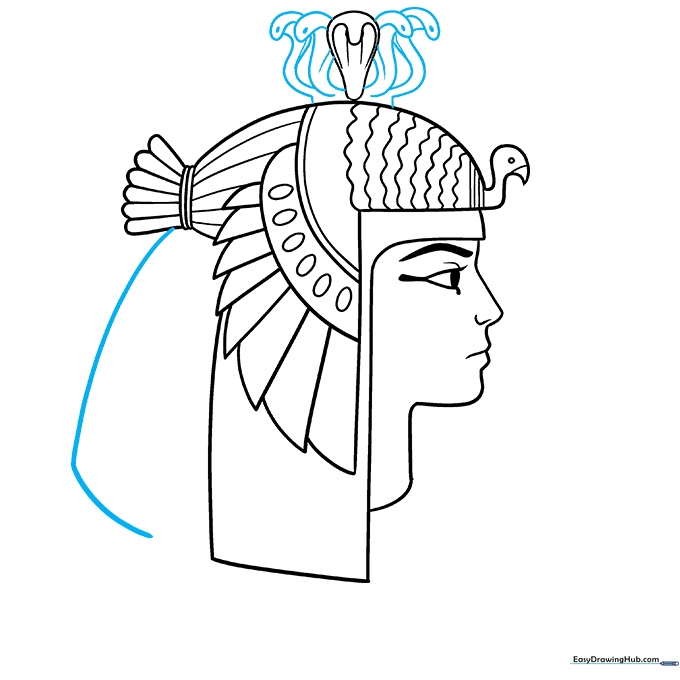
Draw two more snake heads on either side of the first one. Extend a long curved line from the back to complete the hair. Tip: Use small, dark dots for the snake eyes to make them stand out.
Step 9: Drawing the Torso
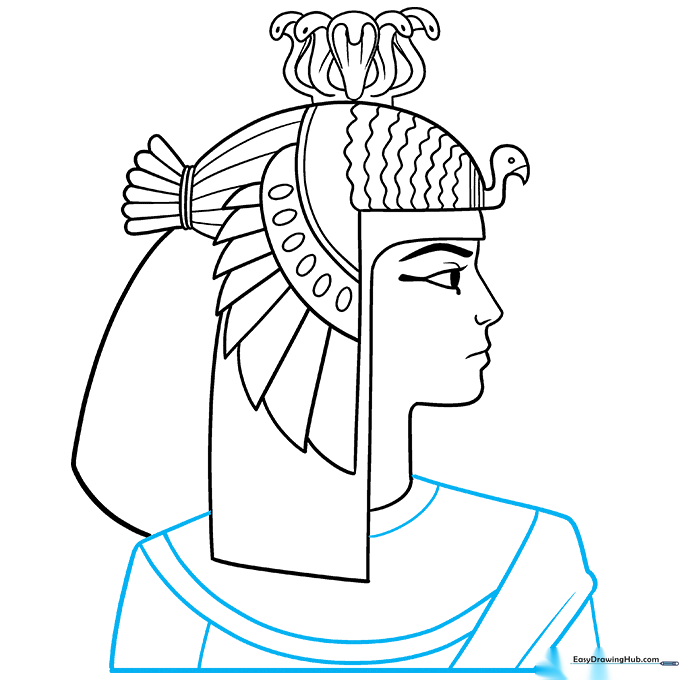
Use soft, curved lines to draw the queen's shoulders and torso. Add simple lines to suggest the folds of her garment. Tip: Keep these lines light to represent the flow of fabric.
Step 10: Adding Color
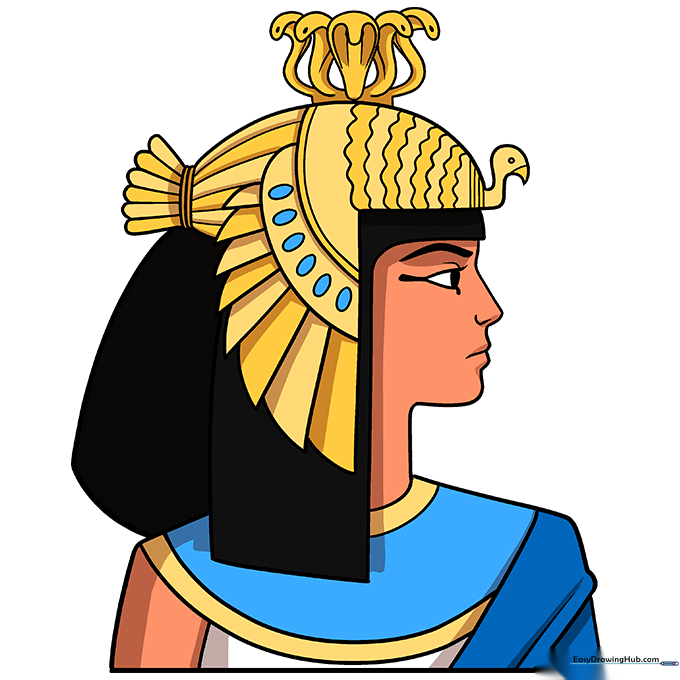
Your outline is ready! Use deep blacks for the hair and vibrant gold for the headdress. Add touches of blue to the garments for a royal Egyptian finish. Tip: Use a light yellow under the gold to make it pop!
More Tutorials


