How to Draw Claws: Easy 9-Step Monster Hand Tutorial
Ready to bring your monsters and creatures to life? This tutorial is perfect for young artists ages 6+ looking to master expressive hand shapes. All you need is a pencil, an eraser, and a piece of paper to start building these fearsome claws.
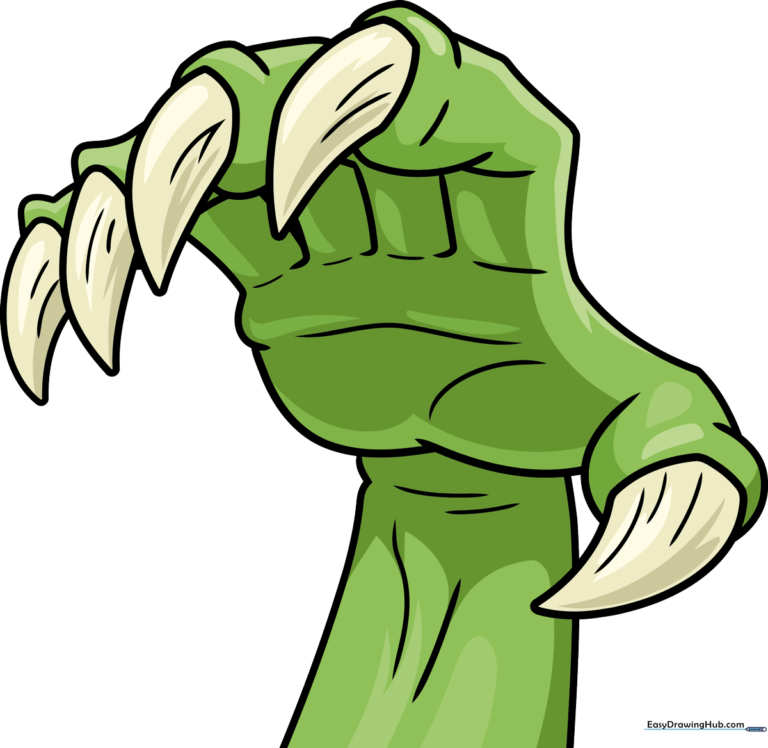
🎯 Final Result
Step-by-Step Instructions
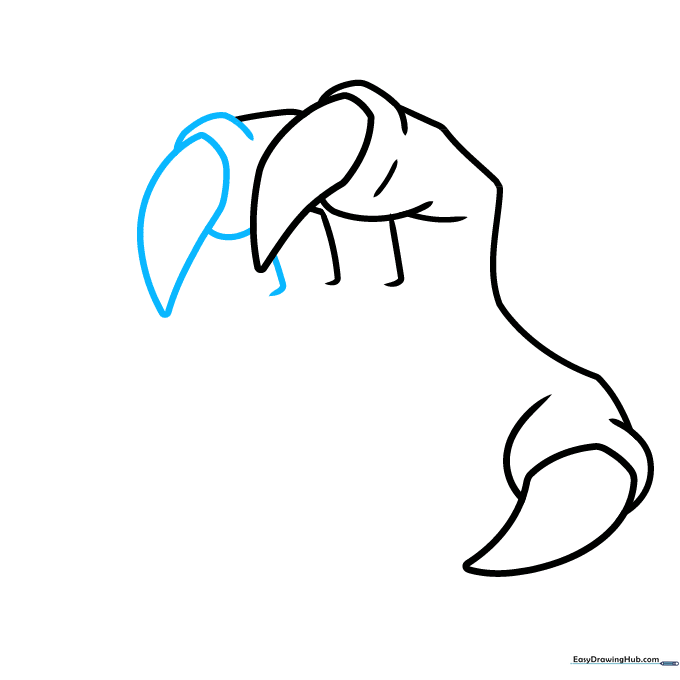
Step 1: Sketching the First Claw
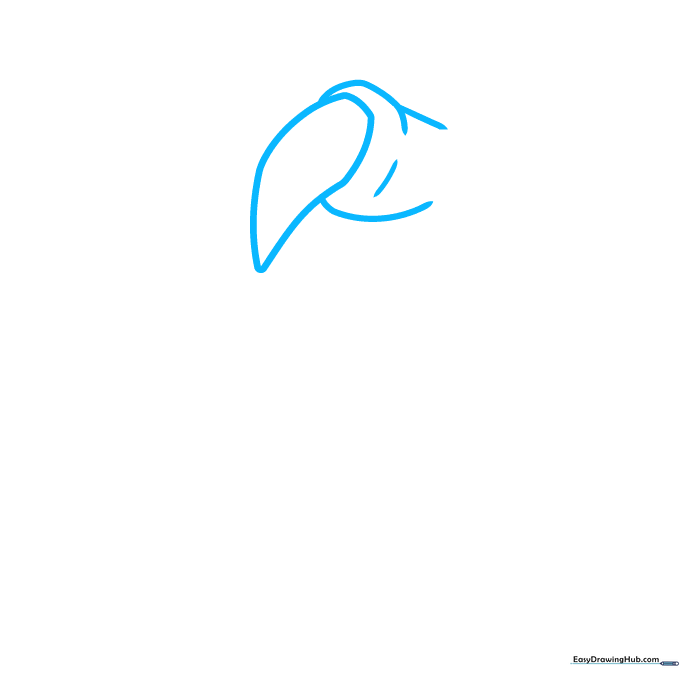
Draw a large, teardrop shape for the primary claw. Tip: Keep the point slightly rounded so it looks like a natural nail rather than a needle.
Step 2: Defining the Finger Structure
Extend a long, curved line from the top of the claw to form the back of the finger. Tip: Think of this like a human finger, but thicker and more rugged.
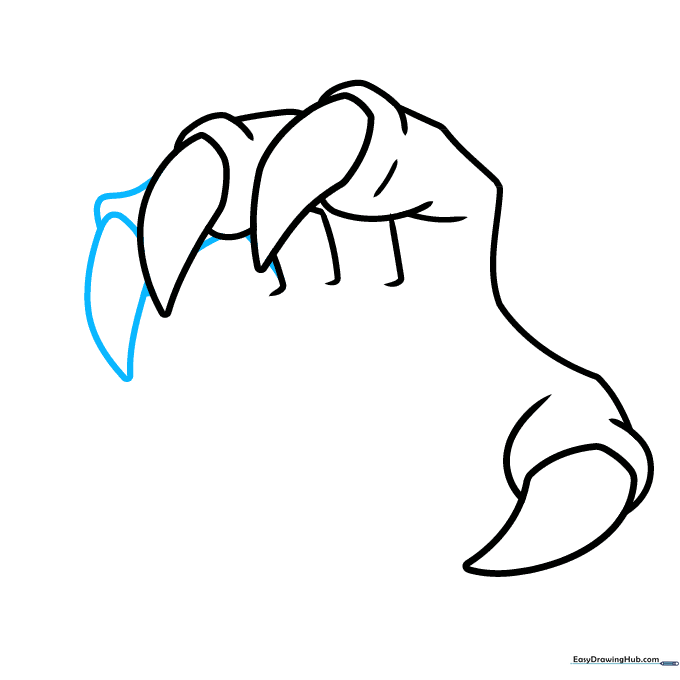
Step 3: Adding the Second Finger
Sketch a second teardrop shape next to the first. Tip: Overlap the lines slightly to show that the fingers are sitting close together on the hand.
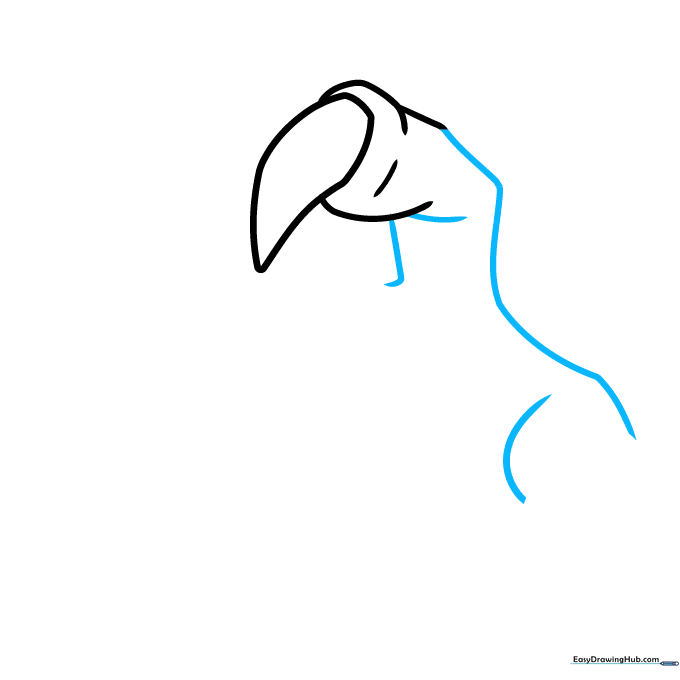
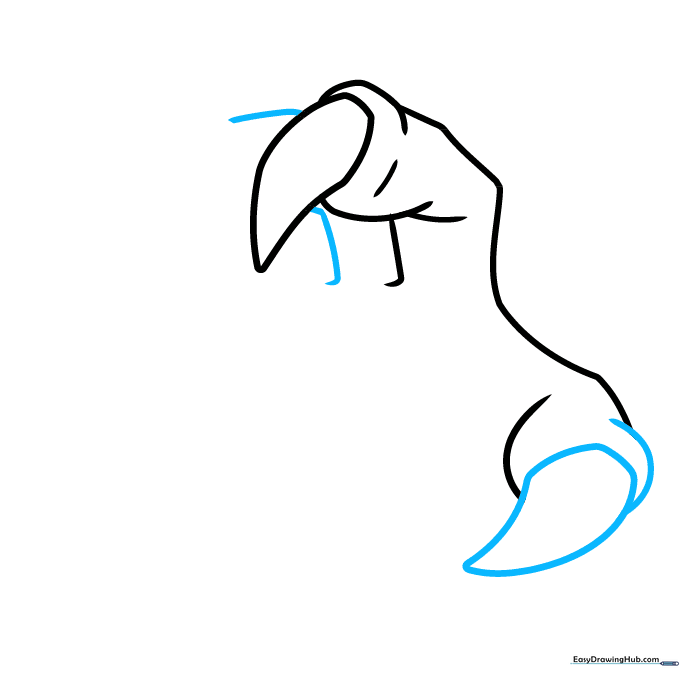
Step 4: Building the Third Digit
Draw a third teardrop claw at the tip of the next finger. Tip: Vary the height of the claws slightly so the hand looks more organic and less like a straight line.
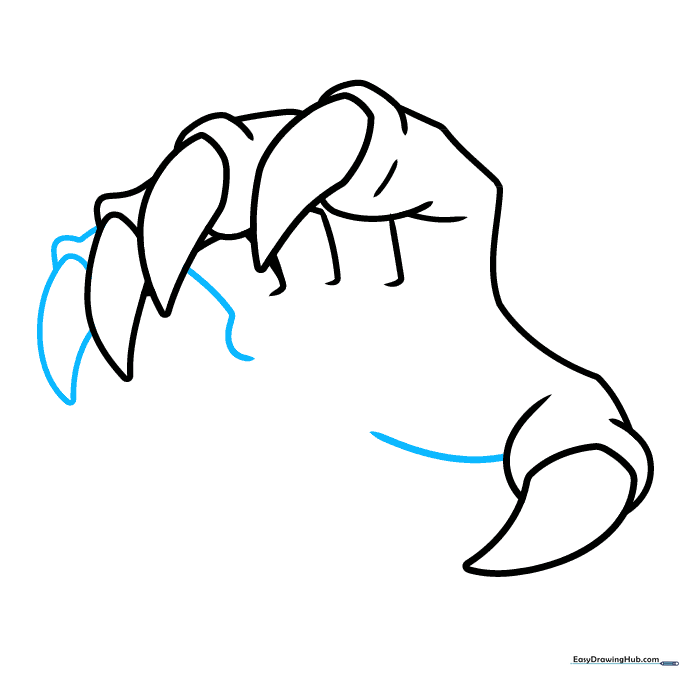
Step 5: Sketching the Fourth Claw
Add a fourth teardrop claw. Tip: Ensure the finger curves downward to suggest the hand is reaching or gripping something.
Step 6: Completing the Hand Shape
Draw the fifth claw and the palm pad below the thumb area. Tip: Use a rounded, soft line for the palm to contrast with the sharp, pointy claws.
Step 7: Defining the Wrist
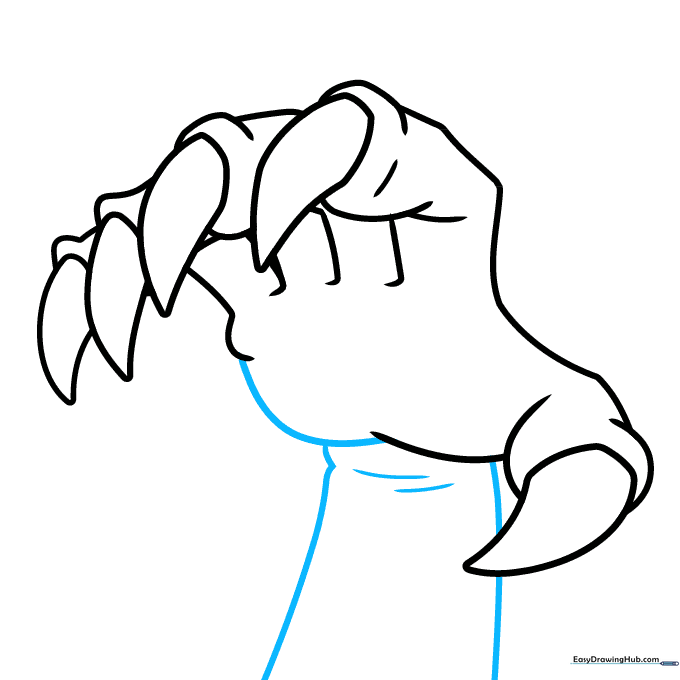
Connect the palm with a curved line and extend two lines downward for the wrist. Tip: Add small, jagged lines at the wrist to suggest thick skin or fur.
Step 8: Adding Texture Details
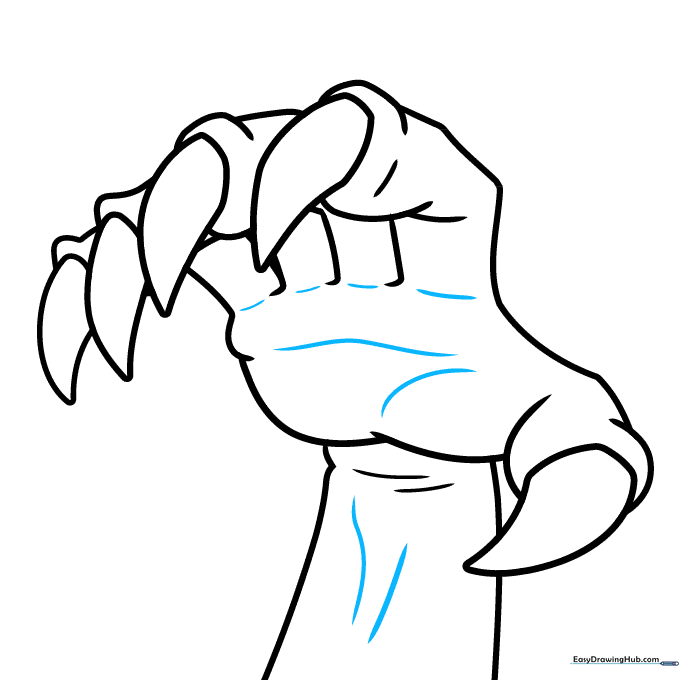
Add short, horizontal lines across the palm and fingers. Tip: These lines represent skin folds and knuckles, which make your drawing look much more realistic.
Step 9: Final Touches
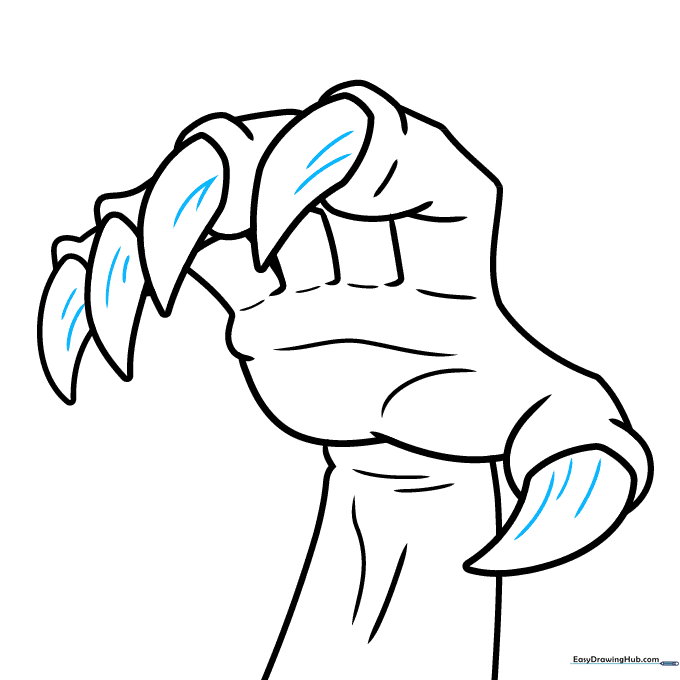
Add small curved lines to the claws to give them a sharp, textured look. Tip: Use a darker pencil pressure here to make the claws pop against the skin.
Step 10: Bringing it to Life with Color
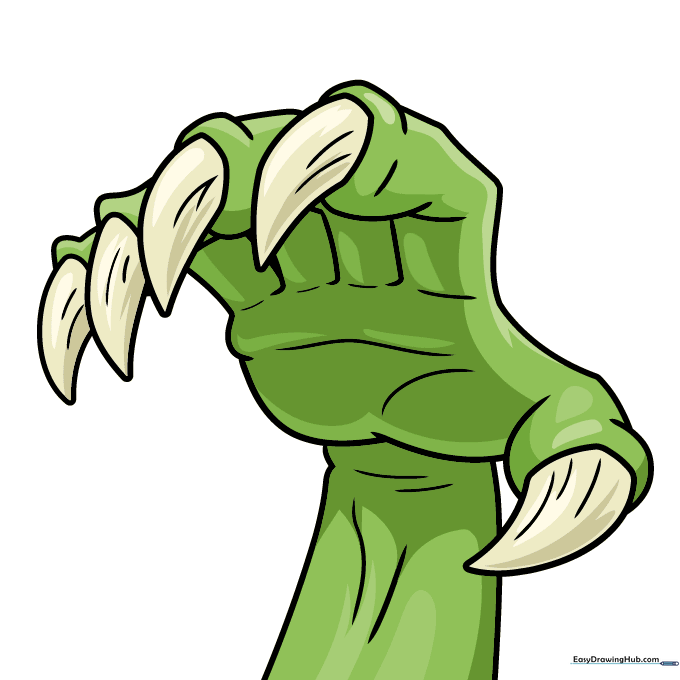
Color your creation! We used a swampy green, but try deep purples or greys for a scarier look. Tip: Use a darker shade at the base of the claws to create a shadow effect.
More Tutorials


