How to Draw Cinnamoroll: Easy 10-Step Guide for Beginners
Bring Sanrio’s beloved Cinnamoroll to life with this beginner-friendly drawing tutorial. Designed for ages 5 and up, this activity requires only a pencil, paper, and an eraser to build confidence and fine motor skills. Follow along to master the signature floppy ears and sweet expression of this iconic character.
🎯 Final Result

Step-by-Step Instructions
Step 1: Sketching the Face

Start by drawing two small, horizontal ovals for the eyes. Between them, sketch a tiny, rounded 'W' shape for the mouth. Teacher's Tip: Keep these features centered to ensure your character looks balanced.
Step 2: Adding Cheeks and Expression
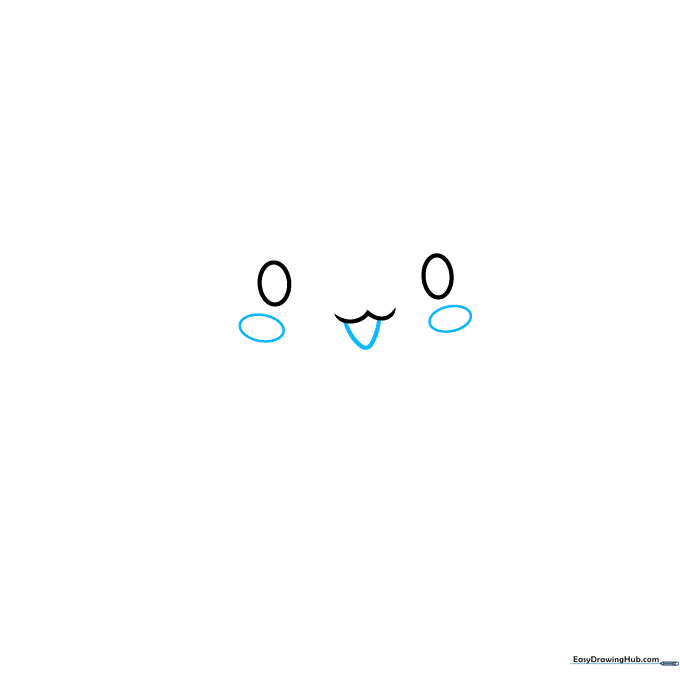
Draw a small 'V' shape below the mouth to show a happy expression. Add a soft, oval-shaped blush mark under each eye. Teacher's Tip: Use light pressure for the blush so it looks like a soft glow rather than a harsh shape.
Step 3: The First Floppy Ear
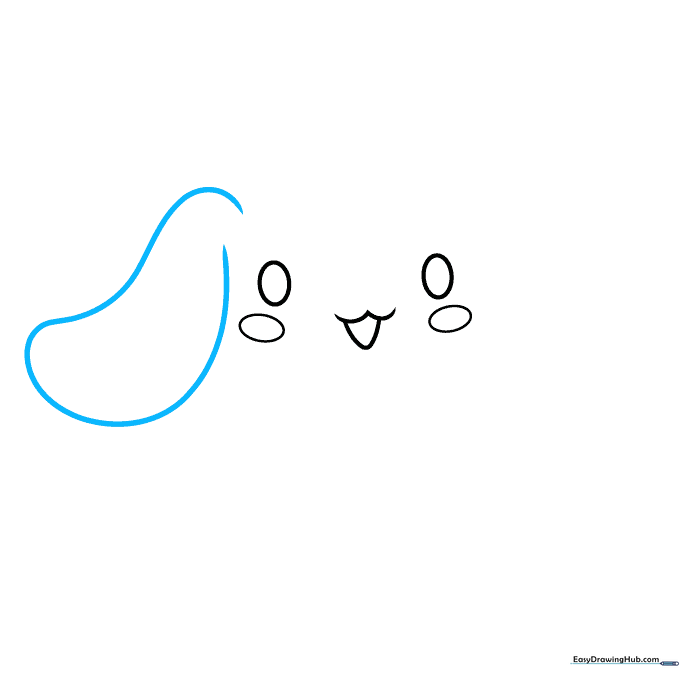
Extend a long, curved line from the top of the head and loop it back to create the first floppy ear. Teacher's Tip: Make the ear look soft and rounded, like a piece of dough, rather than sharp or pointy.
Step 4: Defining the Head Shape
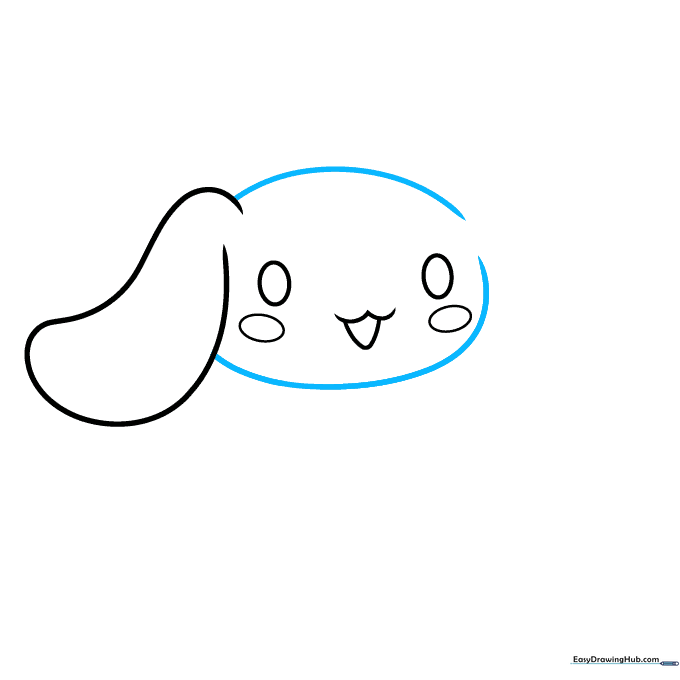
Draw curved lines from the base of the ear to outline the head. Leave a small gap at the top for the second ear. Teacher's Tip: Keep the head shape wide and rounded to maintain the character's 'chibi' proportions.
Step 5: The Second Floppy Ear
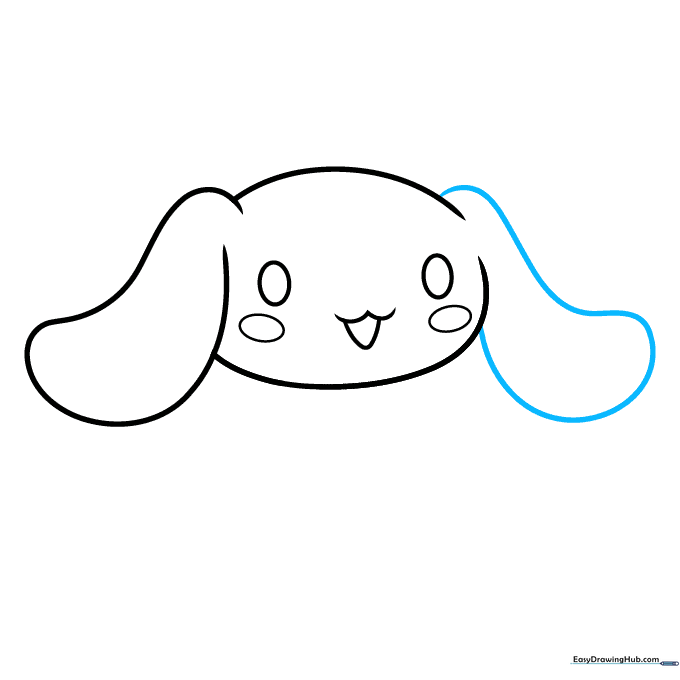
Draw the second ear by extending a curved line from the head opening and looping it back. Teacher's Tip: Try to match the size and curve of the first ear to keep the character symmetrical.
Step 6: Drawing the Arms
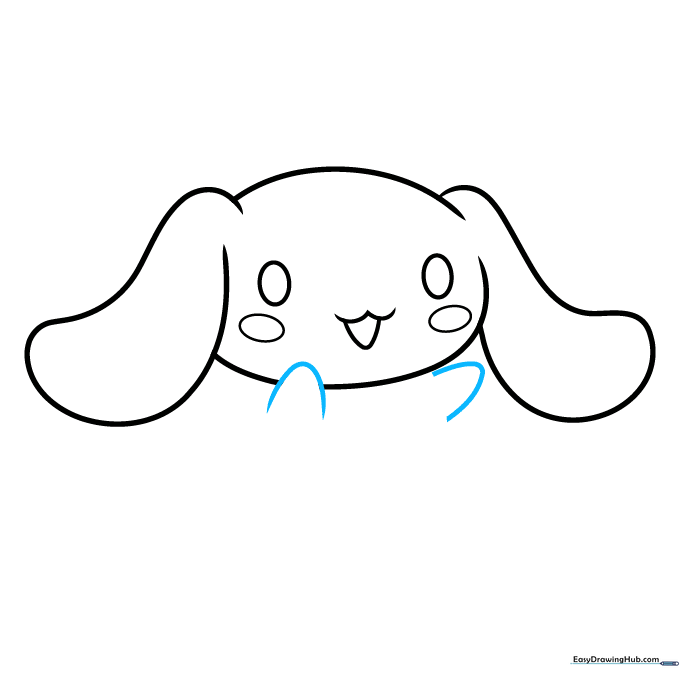
Use 'U' shaped lines to sketch the outstretched arms. If they overlap the face, erase the inner lines for a clean look. Teacher's Tip: Imagine the arms are reaching out for a hug!
Step 7: Body and Legs
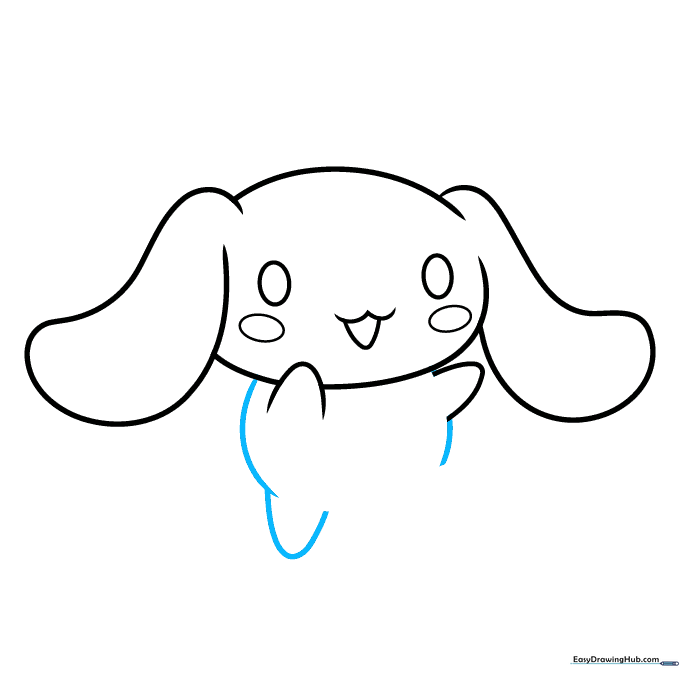
Draw the sides of the body with soft curves and add a 'U' shape for the leg. Teacher's Tip: Keep the body small compared to the head to maintain the cute aesthetic.
Step 8: Finalizing the Pose
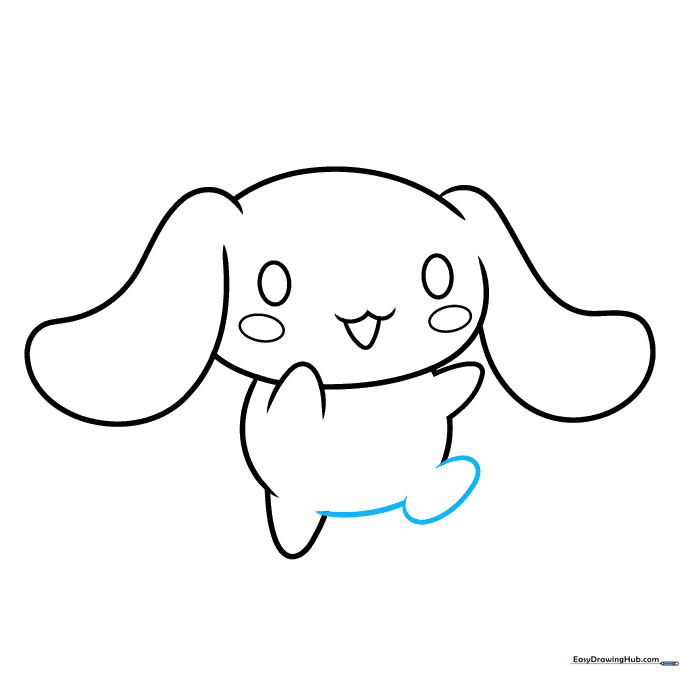
Add a 'C' shape for the upraised paw and connect it to the leg with a smooth curve. Teacher's Tip: This pose adds personality and movement to your drawing.
Step 9: The Signature Tail

Draw the fluffy, spiral-shaped tail using curved lines. Teacher's Tip: Think of a cinnamon roll shape—start from the center and spiral outwards.
Step 10: Adding Color

Your outline is complete! Use blue for the eyes and soft pink for the cheeks. Leave the fur white or add a very light gray shadow. Teacher's Tip: Use light, circular motions with your colored pencils for a smooth, even finish.
More Tutorials


