How to Draw a Sombrero and Maracas: Easy 10-Step Guide
Celebrate culture through art with this festive drawing project, perfect for children ages 5 and up. You will only need a pencil, an eraser, and your favorite markers or crayons to bring these symbols of celebration to life. Follow along to develop your spatial awareness and line-control skills while creating a vibrant holiday-themed illustration.
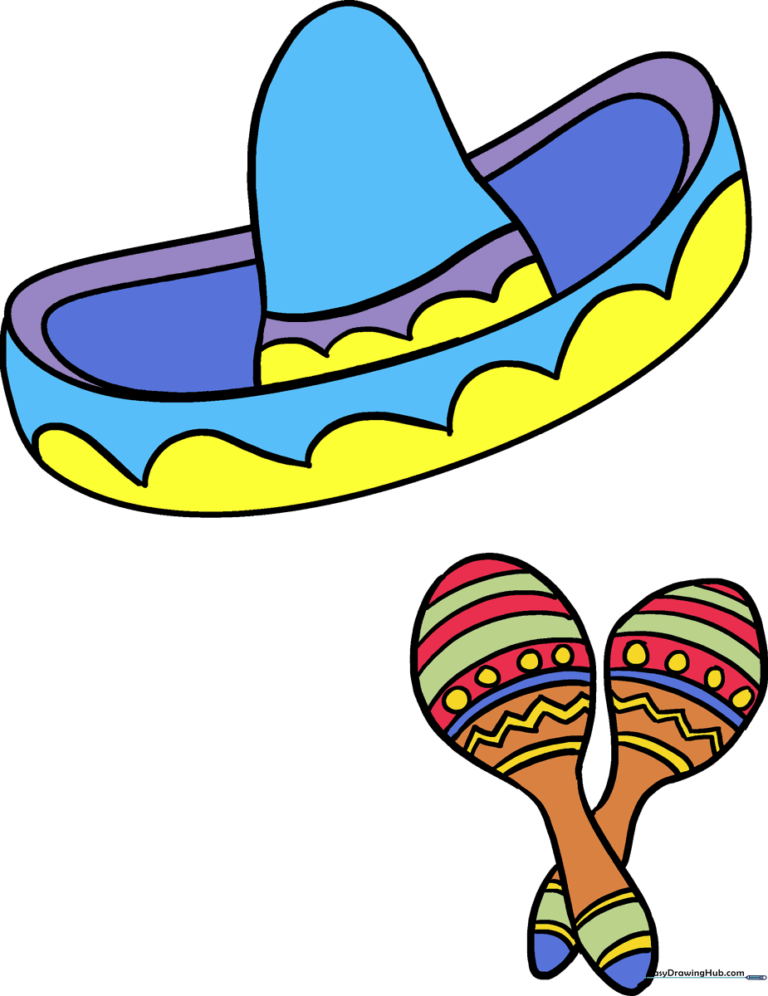
🎯 Final Result
Step-by-Step Instructions
Step 1: Sketching the Sombrero Brim
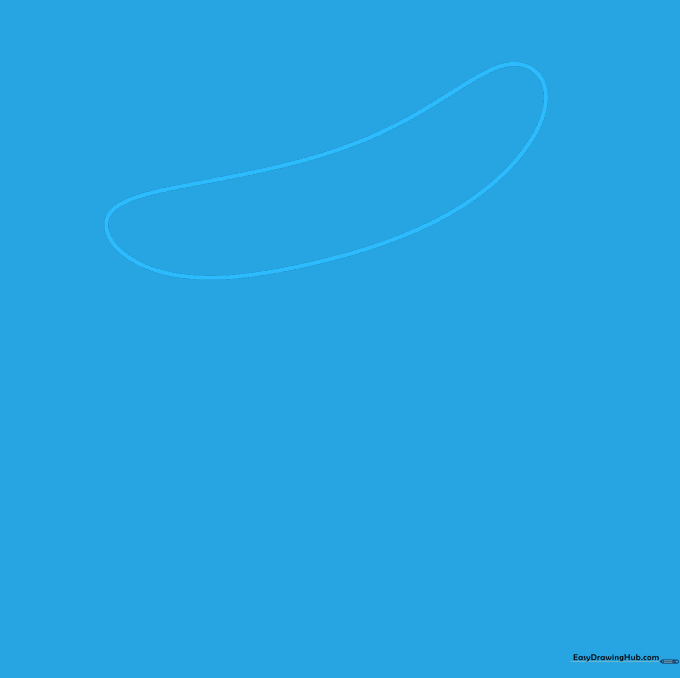
Draw a wide, curved shape that looks like a banana. This forms the base of your sombrero's brim. Teacher's Tip: Keep your pencil pressure light so you can easily adjust the curve if it looks a bit lopsided.
Step 2: Adding Brim Depth
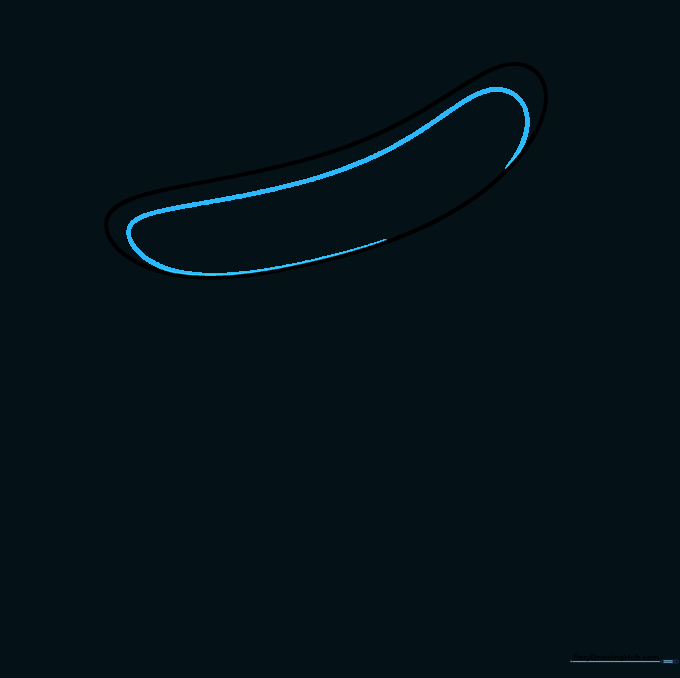
Draw a smaller banana shape inside the first one. This creates the inner fold of the brim. Teacher's Tip: Focus on keeping the distance between the two lines consistent for a professional look.
Step 3: Defining the Front Brim
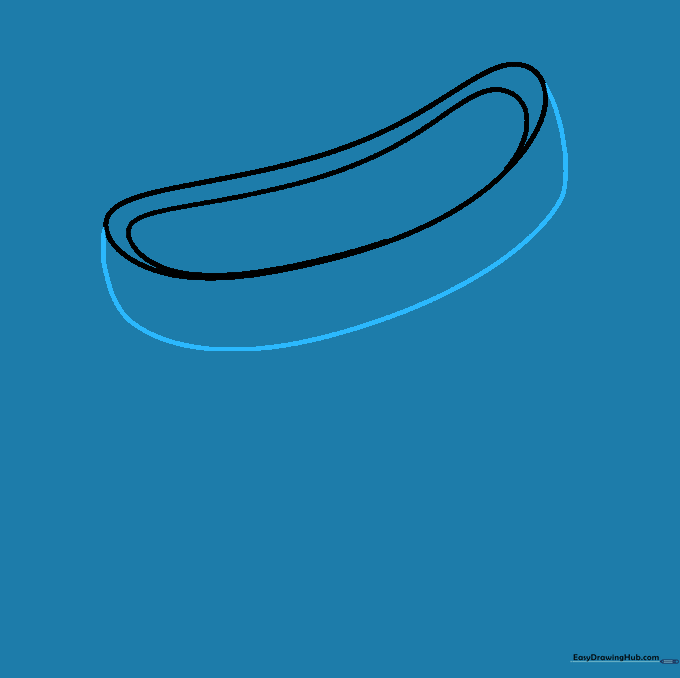
Extend a long, curved line downward from the brim, looping it back to connect on the opposite side. This creates the front edge of the hat. Teacher's Tip: Use a smooth, continuous motion to keep the line looking natural.
Step 4: Drawing the Crown
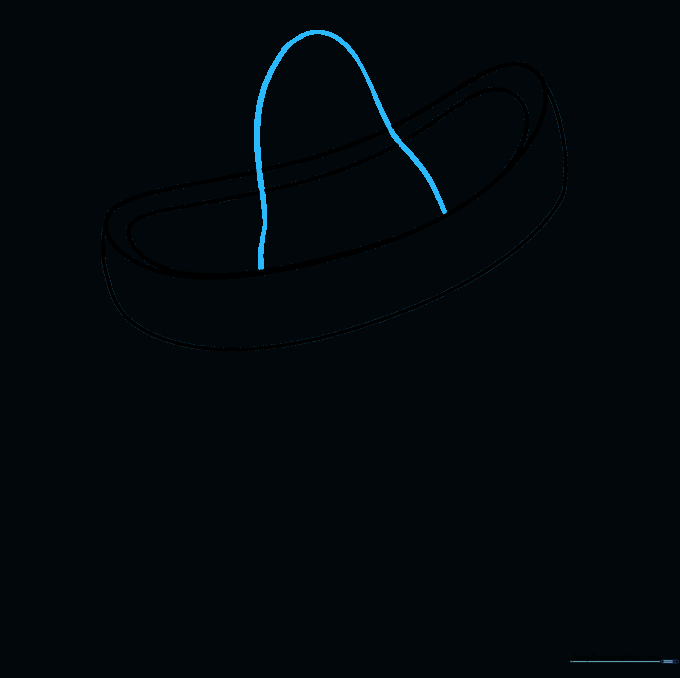
Draw a tall, curved shape rising from the center of the brim to form the crown. Teacher's Tip: Think of this as drawing a rounded mountain sitting on top of your brim.
Step 5: Cleaning the Outline
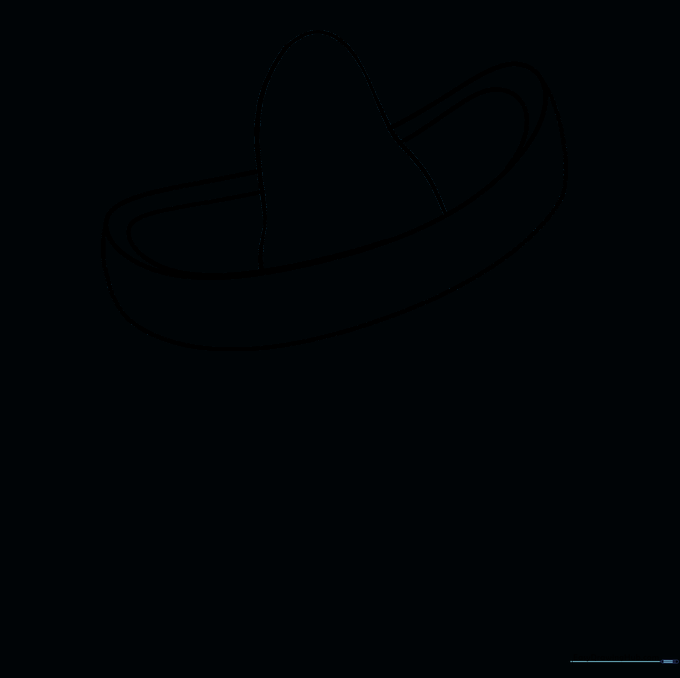
Carefully erase any overlapping guide lines inside the crown. Teacher's Tip: Use a kneaded eraser if you have one—it’s gentler on the paper and leaves less mess.
Step 6: Adding Decorative Patterns
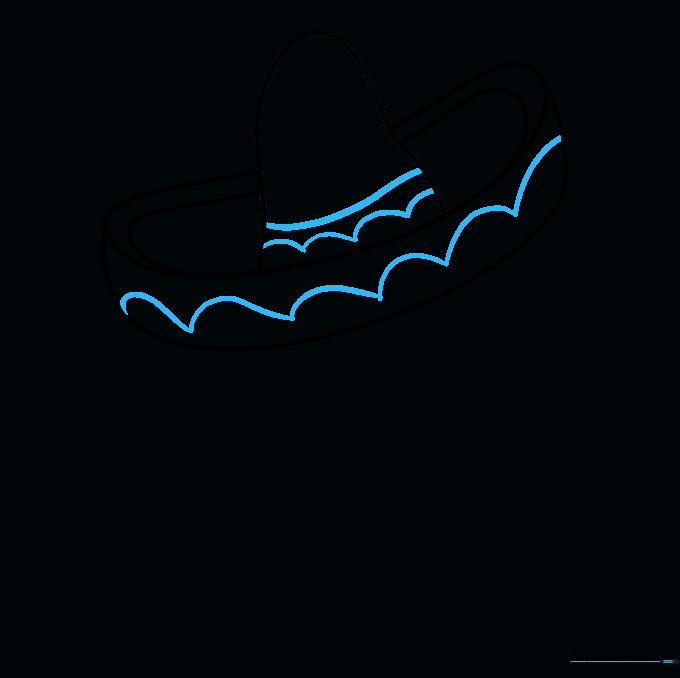
Add wave-like lines to the brim and crown for decoration. Teacher's Tip: Don't worry about making them perfectly symmetrical; hand-drawn patterns look more authentic.
Step 7: Sketching the First Maraca
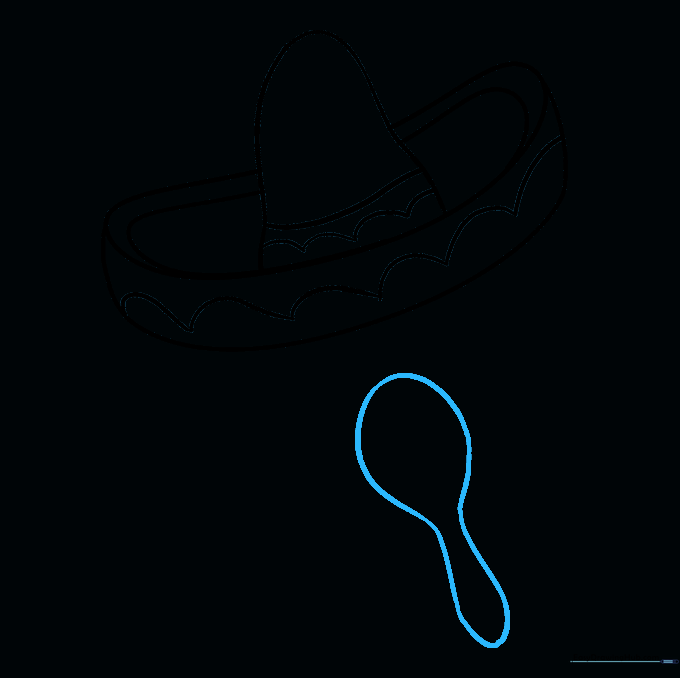
Draw an egg shape for the rattle and a long, thin handle extending from it. Teacher's Tip: Keep the handle straight to ensure the maraca looks balanced.
Step 8: Adding the Second Maraca
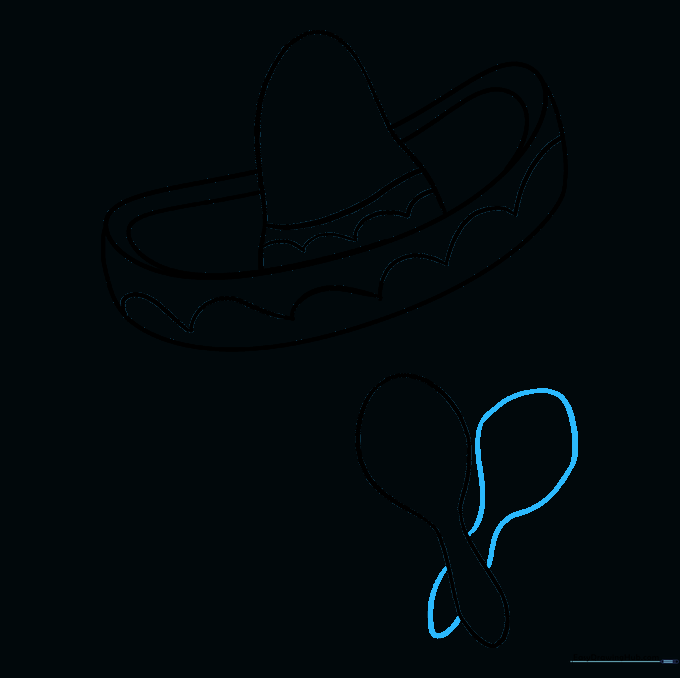
Draw a second maraca behind the first at an angle. Teacher's Tip: Drawing it slightly behind creates a sense of depth and perspective in your composition.
Step 9: Detailing the Maracas
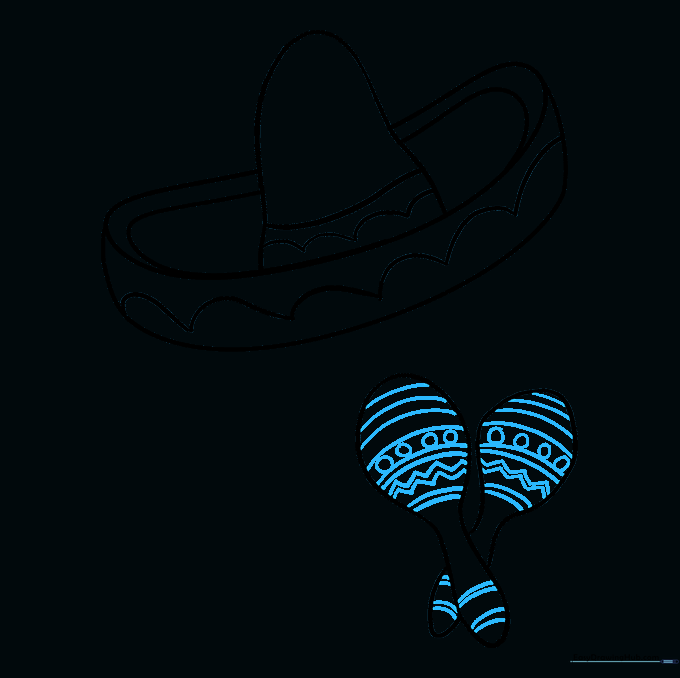
Add parallel lines, zigzags, and small circles to decorate the maracas. Teacher's Tip: Use a fine-liner pen to make these details pop before you start coloring.
Step 10: Adding Color
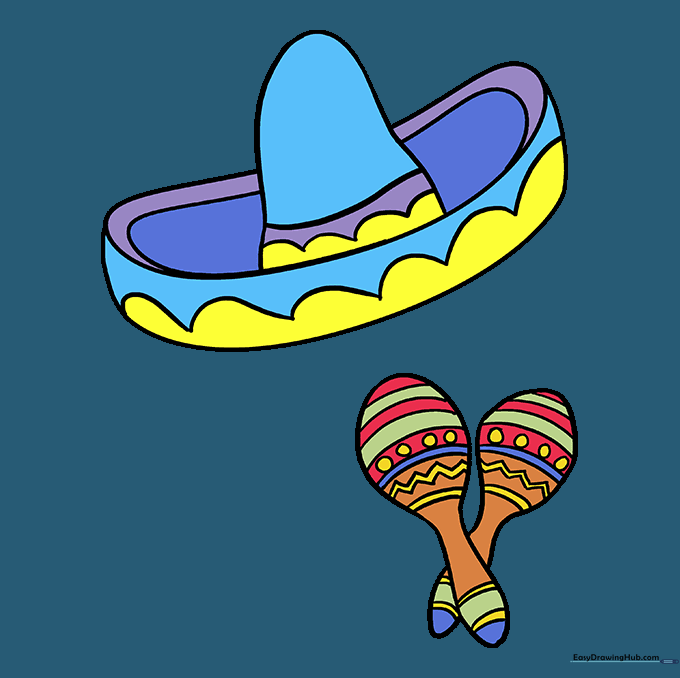
Bring your drawing to life with bright, festive colors! Teacher's Tip: Use warm colors like red, orange, and yellow to capture the spirit of the holiday.
More Tutorials


