How to Draw Chucky’s Face: Easy 9-Step Horror Art Guide
Ready to bring a spooky icon to life? This tutorial is designed for young artists and beginners who want to capture Chucky’s mischievous expression. Grab your pencil, eraser, and a fine-liner to follow along as we break down his features into simple, manageable shapes.
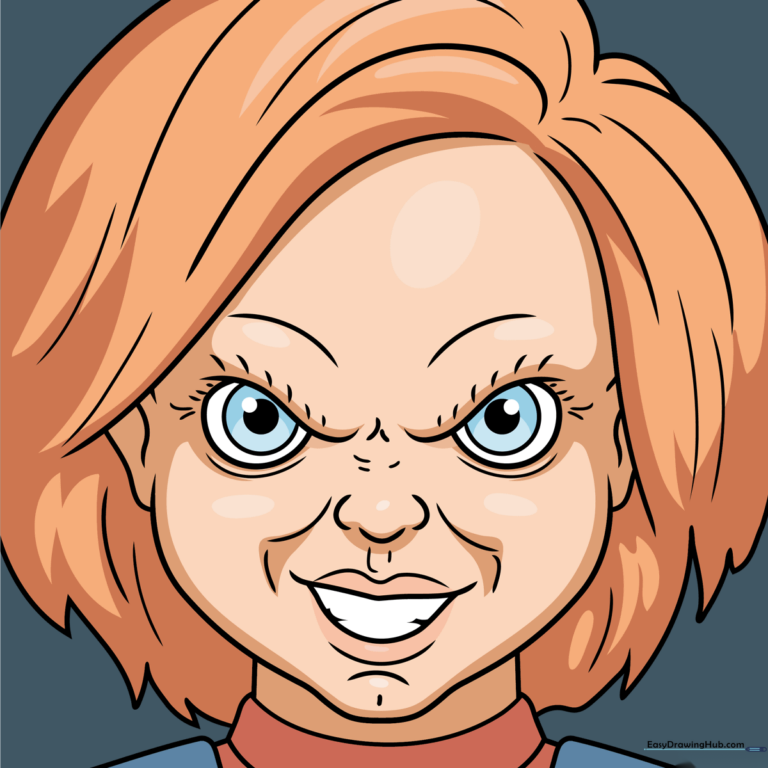
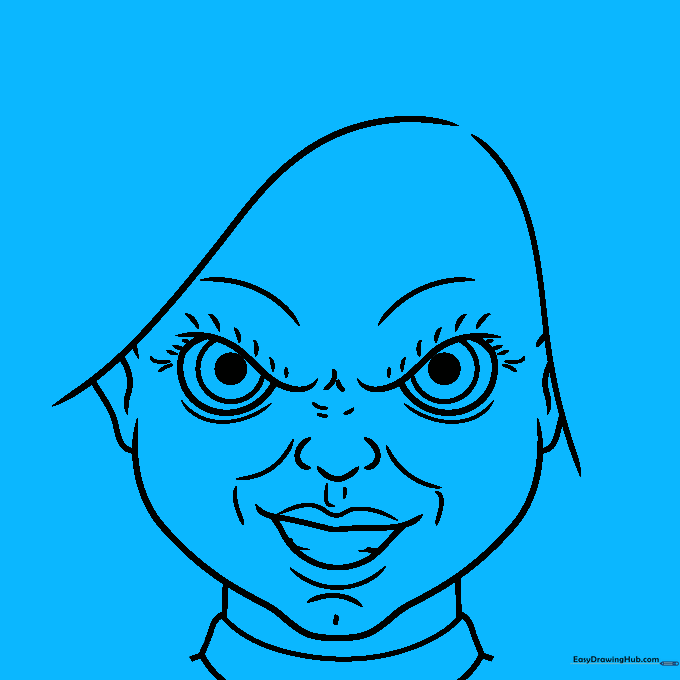
🎯 Final Result
Step-by-Step Instructions
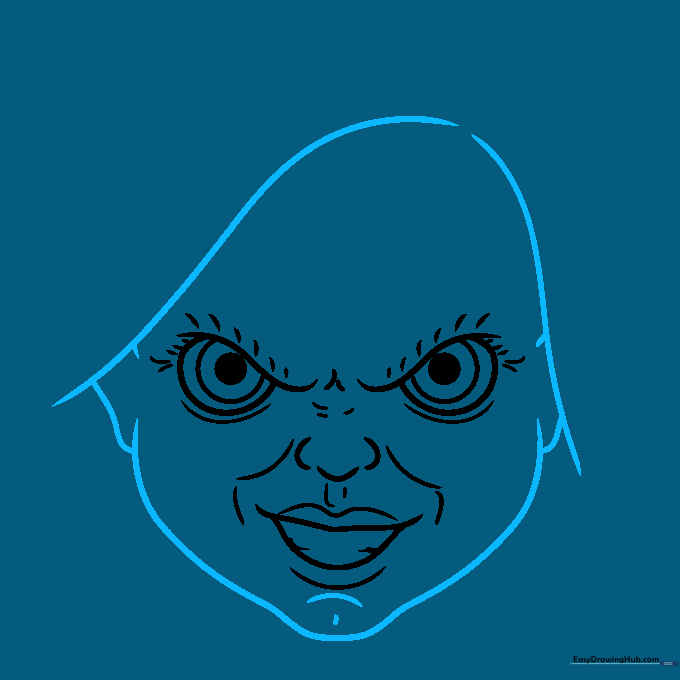
Step 1: Establishing the Eyes
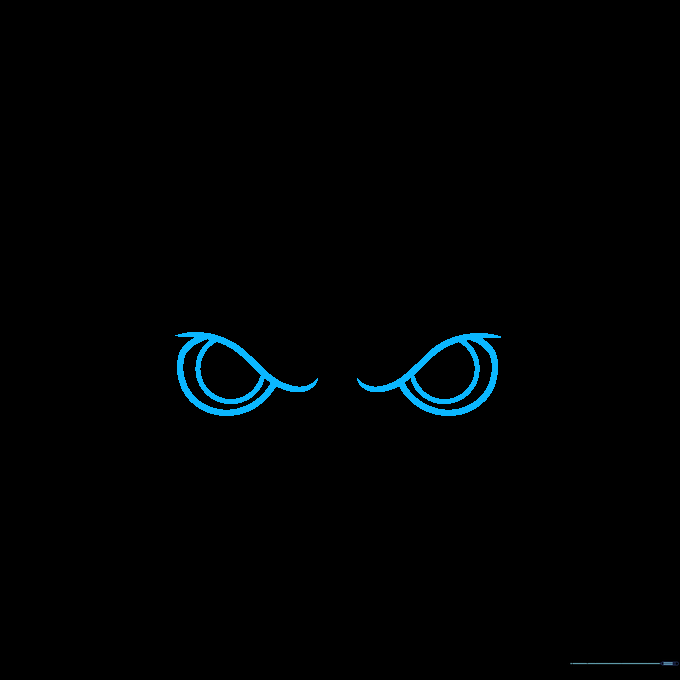
Draw two ovals for the eye sockets and place a circle inside each. Sketch light, curved lines above the eyes to act as the brow ridge. Teacher's Tip: Keep these ovals symmetrical to ensure the face looks balanced from the start.
Step 2: Defining the Gaze
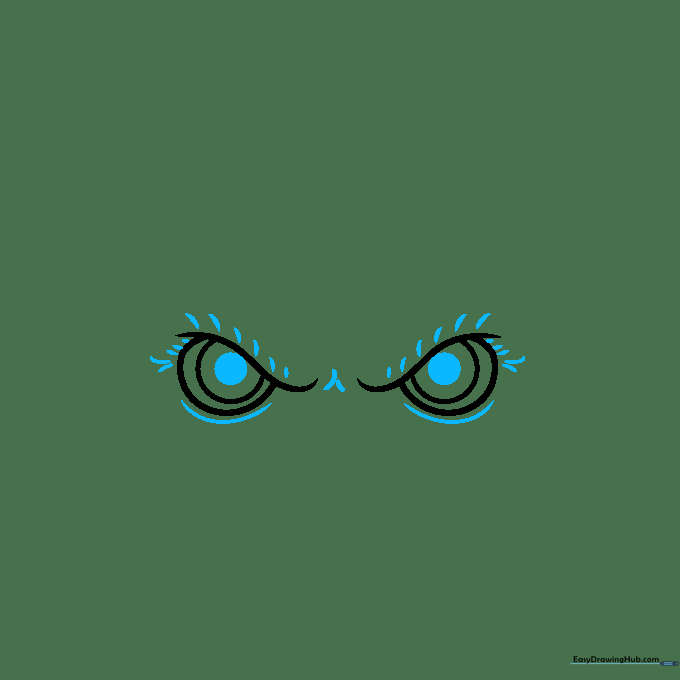
Add a pupil in the center of each eye. Surround the eyes with small dashes to suggest texture, then draw curved lines underneath to form the lower lids. Tip: Use a light touch for the dashes so they look like subtle skin folds.
Step 3: Sketching the Nose and Mouth

Draw a horizontal loop for the nose, framed by two vertical loops. For the mouth, use an uneven, wavy line with a curve underneath. Add more dashes between the eyes to create depth. Tip: The uneven mouth line gives him that classic, slightly crooked smirk.
Step 4: Refining the Mouth
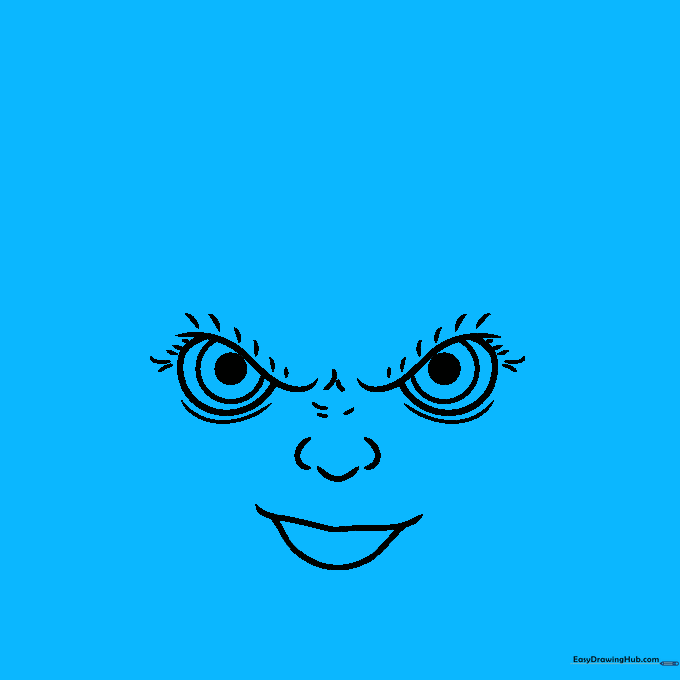
Outline the mouth using a rounded M-shape for the upper lip and a curve for the lower. Sketch small lines around the nose and mouth area to add realism. Tip: These small lines help define the facial muscles.
Step 5: Shaping the Head and Ears
Draw a leaning oval above the face for the hair/hood. Add a loop for the chin, outline the face with wide curves, and add small loops for the ears. Tip: Ensure the chin is rounded to give him that doll-like appearance.
Step 6: Adding the Collar
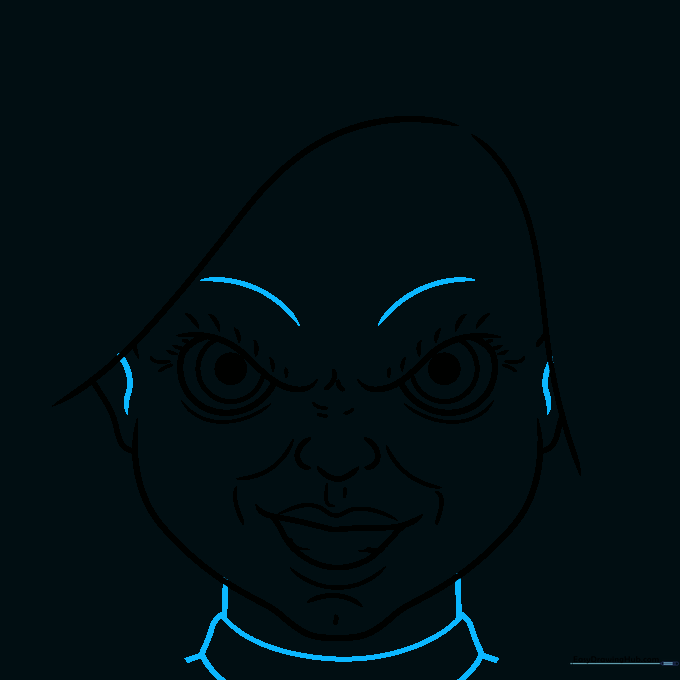
Add detail lines above the eyes and inside the ears. Draw two curved lines for the collar, connecting them to form a tube, and use straight lines to finish the neck. Tip: The collar adds a nice sense of volume to the character.
Step 7: Sketching the Hair
Draw swooping curves above the face to represent hair. On the left, add jagged triangles that look like flames. Add triangles for the shoulders. Tip: Use loose, flowing strokes for the hair to make it look natural.
Step 8: Completing the Hairline

Repeat the previous step for the right side of the hair. Sketch curves around the hairline to connect everything. Tip: Make sure the hair looks messy—it adds to the character's personality!
Step 9: Adding Texture
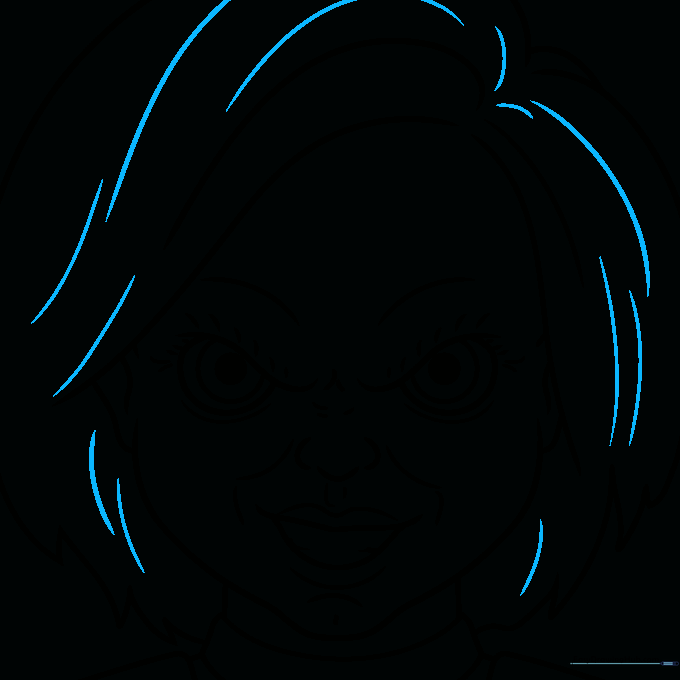
Add more lines throughout the hair to create texture and volume. Tip: Vary the length of your lines to make the hair look more realistic and less like a solid block.
Step 10: Final Outline and Color

Outline your drawing with a black pen. Use tan for the skin, orange for the hair, blue for the eyes, and red for the shirt. Tip: Use light pressure with your colored pencils to blend colors smoothly.
More Tutorials


