How to Draw Chucky: Easy Step-by-Step Guide for Beginners
Ready to bring a spooky character to life? This tutorial is perfect for artists ages 8+ looking to practice character proportions and expressive features. You will need a pencil, an eraser, and a fine-liner pen to complete this stylized doll portrait.
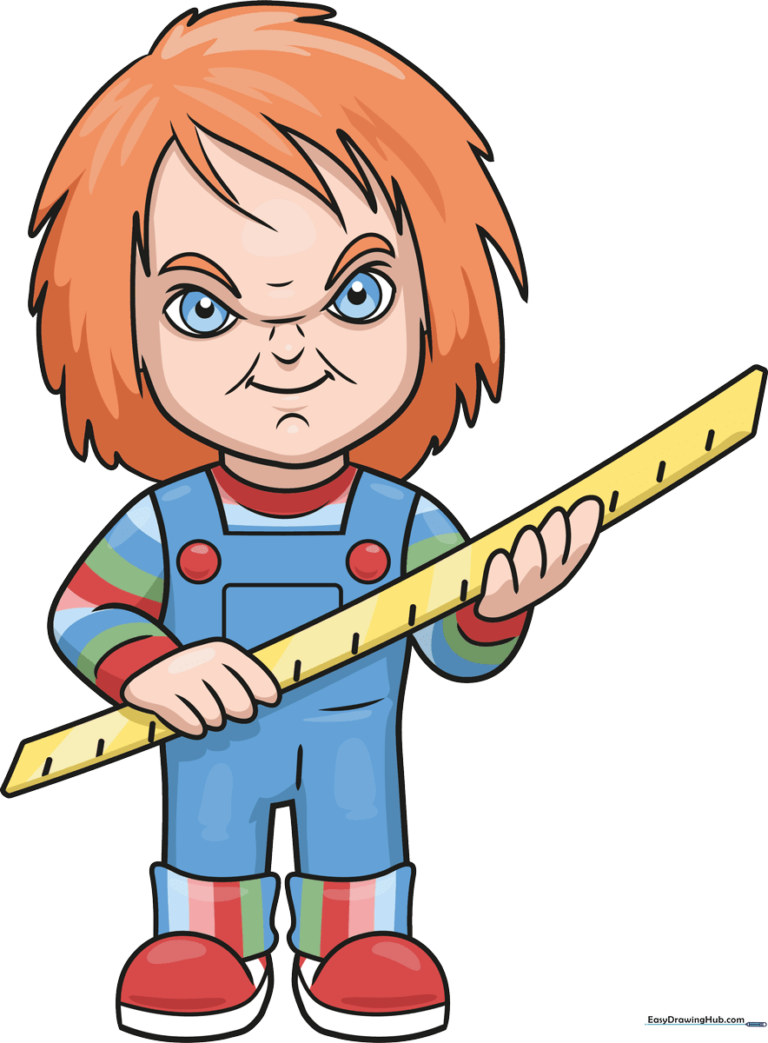
🎯 Final Result
Step-by-Step Instructions
Step 1: Sketching the Expressive Eyes

Start by drawing two football-shaped outlines for the eyes. Add small circles in the center for the pupils. Teacher's Tip: Keep the eyes symmetrical to give the character that signature intense stare; use light, feathery strokes so you can adjust the shape if needed.
Step 2: Defining the Face and Chin
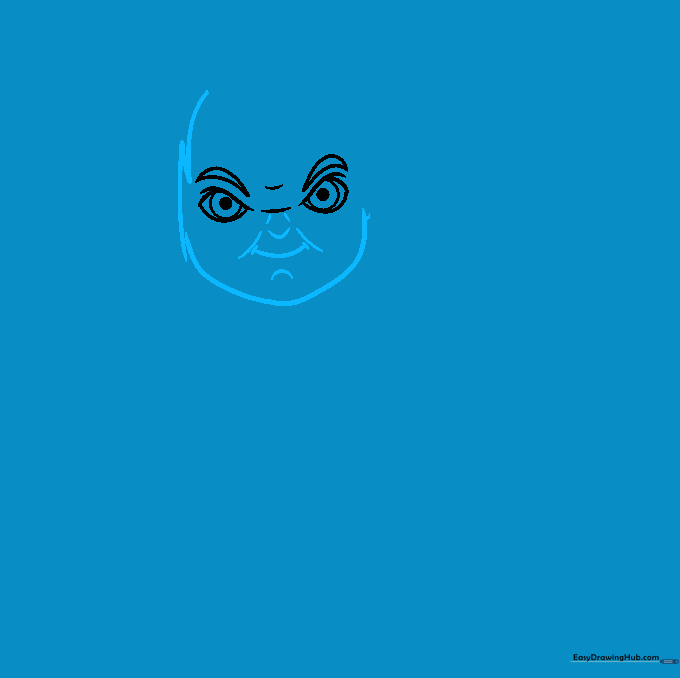
Draw a small U-shape for the nose and a wide, mischievous smile beneath it. Add curved lines for the cheeks and a rounded chin. Teacher's Tip: The placement of the smile is key—keep it slightly off-center if you want to give him a more sinister, playful expression.
Step 3: Adding the Iconic Hairline
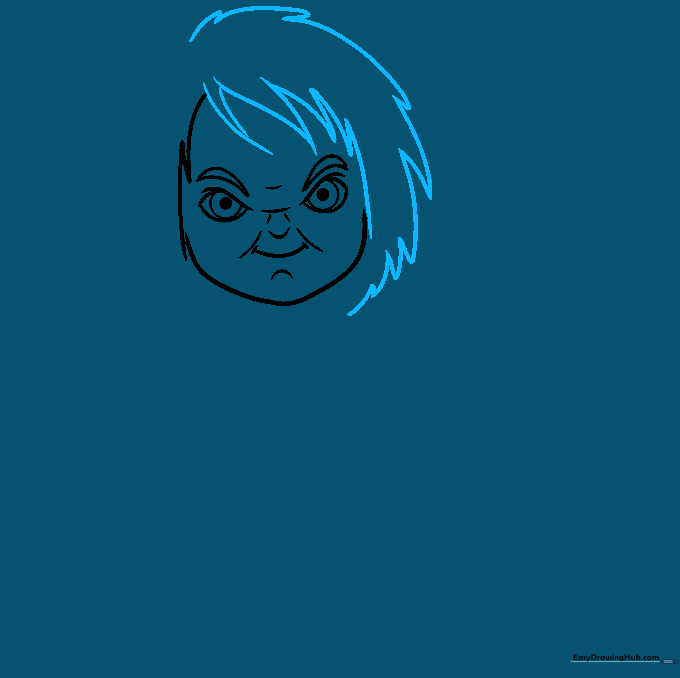
Sketch the hair by drawing large, jagged spikes around the forehead. Teacher's Tip: Don't worry about making the hair perfectly smooth; the messy, wild look is what gives this character his unique personality.
Step 4: Drawing the Neck and Collar
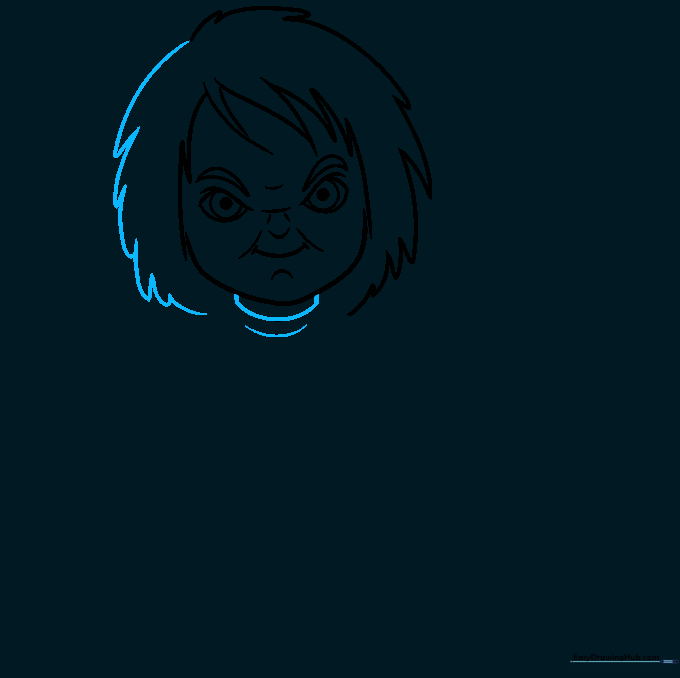
Draw a small U-shape for the neck and a simple curved line for the shirt collar. Teacher's Tip: Keep the neck narrow to emphasize the doll-like proportions of the character.
Step 5: Sketching the Arms and Hands
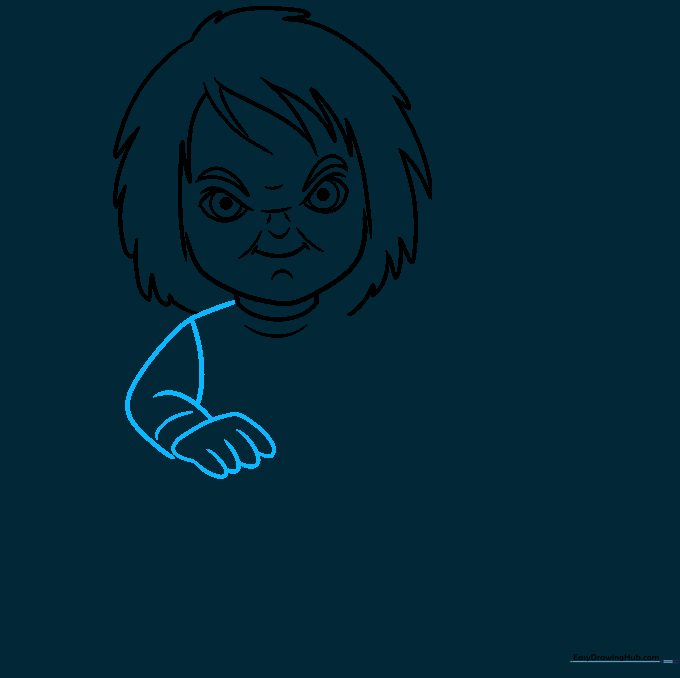
Extend a large C-shape from the neck for the arm, adding four small U-shapes at the end for fingers. Teacher's Tip: Hands are tricky! If you struggle, draw the fingers as simple rounded sausages first, then refine them later.
Step 6: Adding the Prop
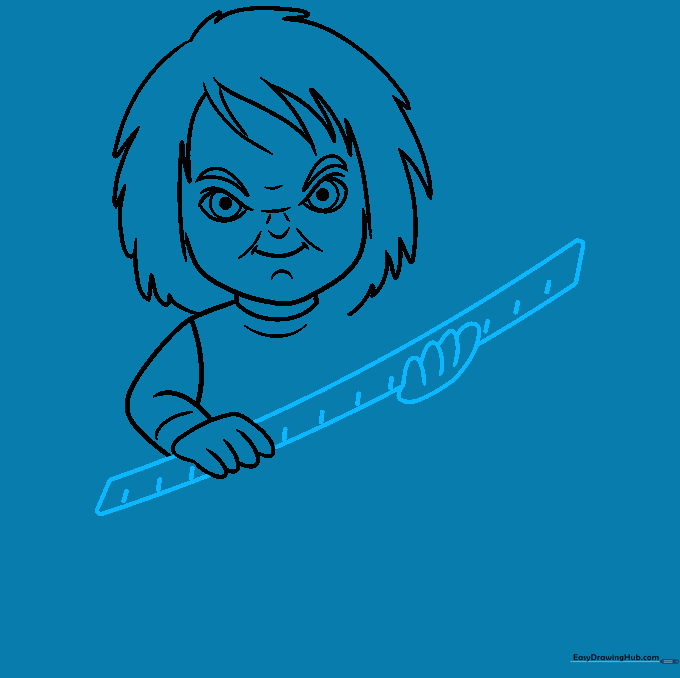
Draw a long rectangle extending from the hand to represent the prop. Add small horizontal lines to create a ruler-like texture. Teacher's Tip: Use a straight edge if you want the lines to look perfectly uniform, or keep them freehand for a more organic, hand-drawn feel.
Step 7: Detailing the Torso
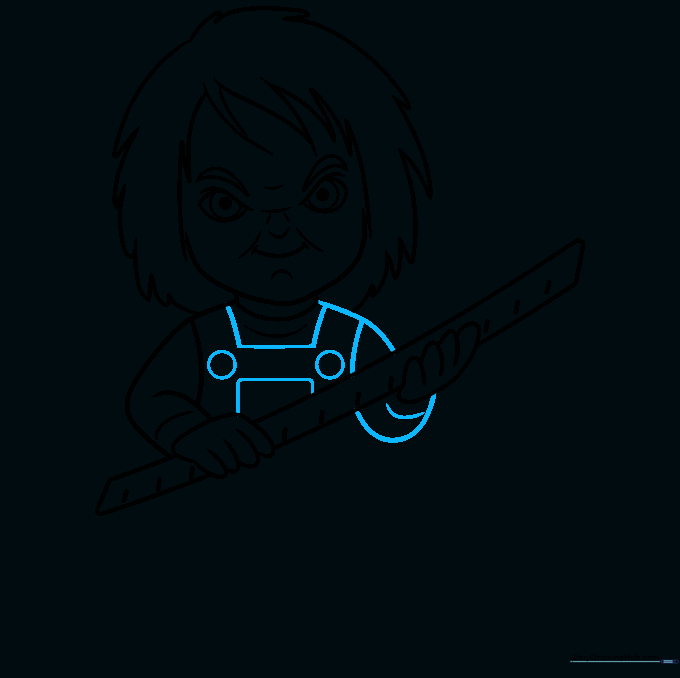
Connect the arm to the body with a U-shape and add two large circles on the shirt for buttons. Teacher's Tip: Ensure the buttons are aligned vertically to keep the character's proportions balanced.
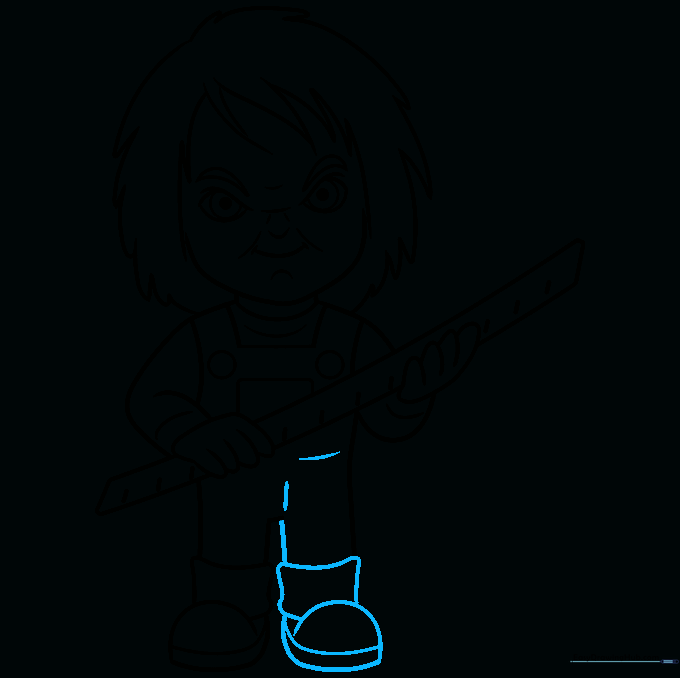
Step 8: Drawing the Boots
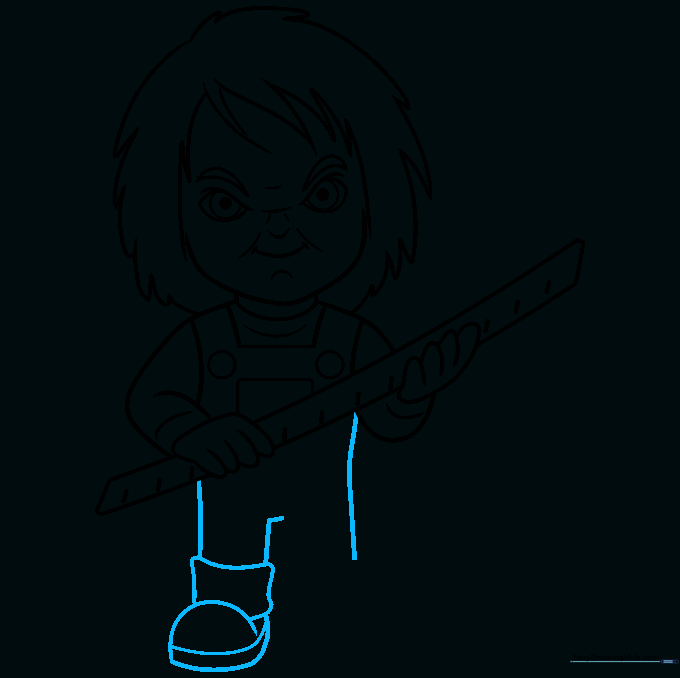
Draw the legs and a boot using an upside-down U-shape with a square base. Teacher's Tip: The square base gives the boot a sturdy, chunky appearance, which fits the doll aesthetic perfectly.
Step 9: Completing the Lower Body
Draw the second boot to match the first and connect the legs in the center. Teacher's Tip: Check that your character is centered on the page before you start inking.
Step 10: Adding Color and Final Touches
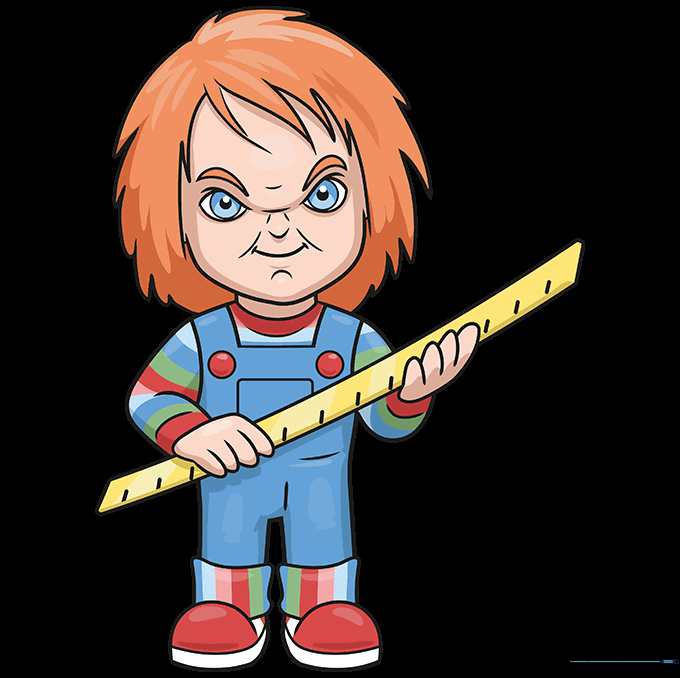
Erase your guide lines and add color! Use bright reds for the hair and classic blue for the overalls. Teacher's Tip: Use a darker shade of red in the shadows of the hair to give your drawing more depth and a professional look.
More Tutorials


