How to Draw a Christmas Present: Easy 10-Step Guide
Bring some holiday cheer to your sketchbook with this fun, screen-free activity perfect for artists ages 5 and up. You only need a pencil, an eraser, and your favorite markers to create a festive gift box. Follow these simple steps to master basic 3D shapes and ribbon details.
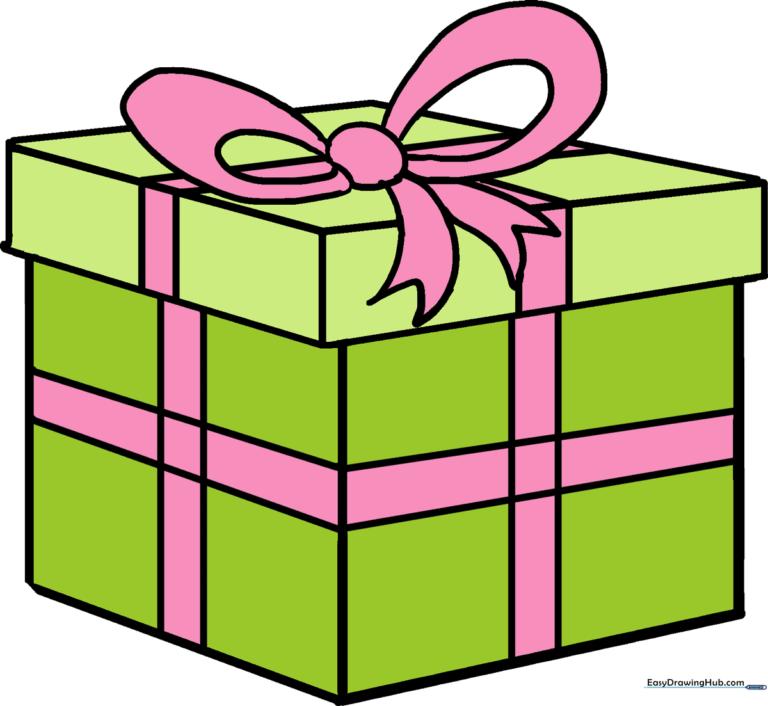
🎯 Final Result
Step-by-Step Instructions
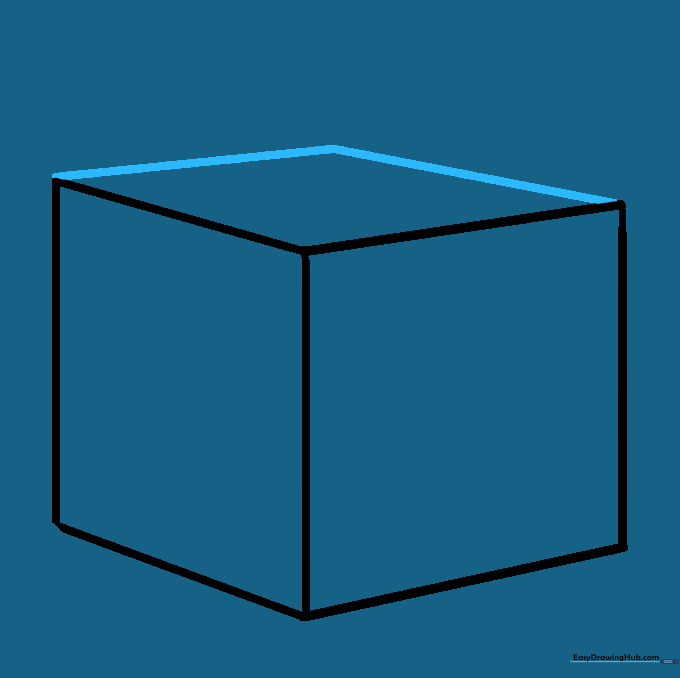
Step 1: Sketching the Base

Start by drawing a slanted square. The top and bottom lines should be parallel and diagonal, while the sides remain vertical. Teacher's Tip: Keep your pencil pressure light here; this is just the foundation for our 3D box.
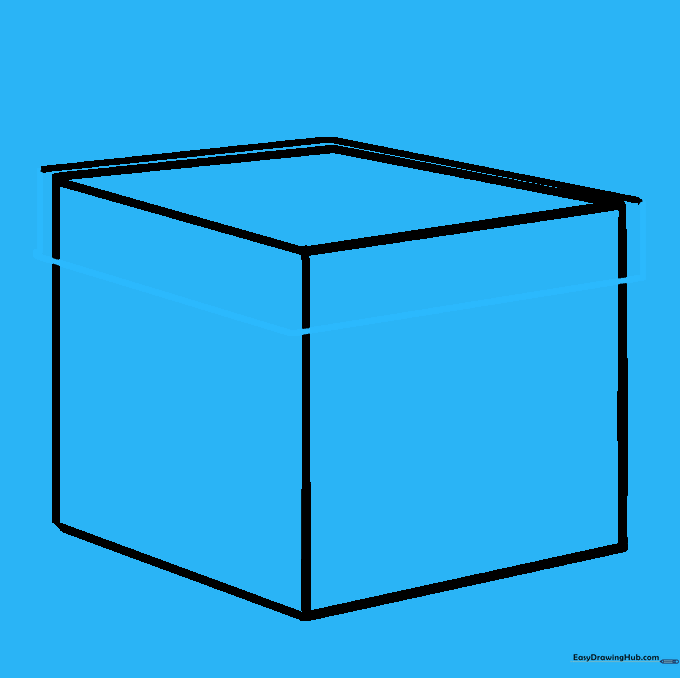
Step 2: Adding Depth

Extend parallel lines from the top and bottom corners of your square to create the side panel. Connect them with a vertical line. Teacher's Tip: Use a ruler if you struggle with straight lines, but freehand is great for building muscle memory!
Step 3: Creating the Top
Draw two diagonal lines extending from the top corners to enclose the top of the box. This creates the 'lid' surface. Teacher's Tip: Make sure these lines match the angle of your base lines for a realistic perspective.
Step 4: Defining the Lid

Add a set of parallel lines just above the top surface. This creates the thickness of the box lid. Teacher's Tip: Keep these lines close to the edge to make the lid look like it's resting on top of the box.
Step 5: Closing the Lid
Draw short vertical lines down from the lid edges and connect them to finish the lid's shape. Teacher's Tip: Check that your corners align with the box body below.
Step 6: Cleaning Up

Carefully erase any overlapping guide lines inside the lid area. Teacher's Tip: Use a kneaded eraser if you have one; it's gentler on the paper and leaves less mess.
Step 7: Adding Lid Dimension
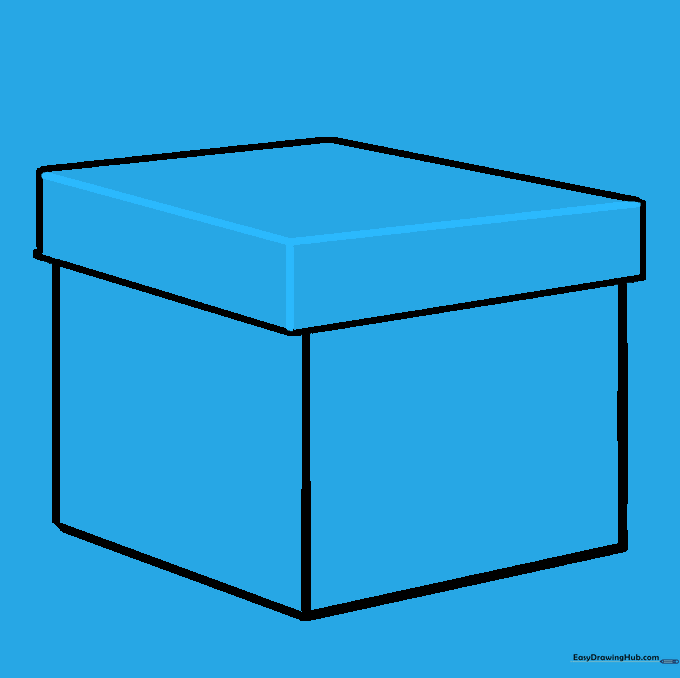
Draw two lines parallel to the bottom of the lid to give it a 3D edge. Connect the corners. Teacher's Tip: This small detail makes your drawing look professional and solid.
Step 8: Drawing the Bow
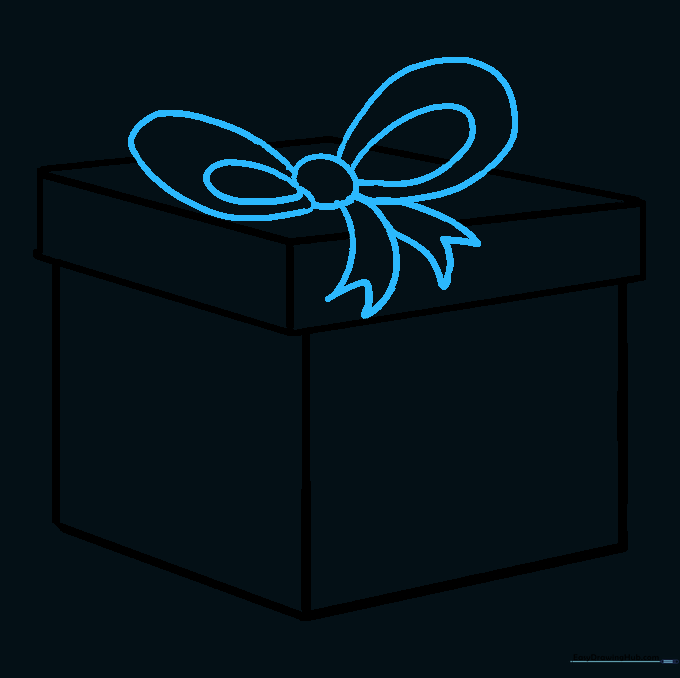
Draw a circle on the lid, then add two large loops on either side. Add ribbon tails hanging down. Teacher's Tip: Think of the bow as two 'C' shapes back-to-back. Don't forget the little notches at the ends of the ribbons!
Step 9: Adding Ribbon Details

Draw lines across the box to represent the ribbon wrapping. Teacher's Tip: Make sure the lines go over the edges of the box to show they are wrapped around it.
Step 10: Final Coloring

Time to bring your gift to life! Use bright colors for the paper and ribbon. Teacher's Tip: Try coloring the ribbon a contrasting color to make it stand out against the box.
More Tutorials


