How to Draw Christmas Ornaments: Easy 10-Step Guide
Bring the holiday spirit to your sketchbook with this fun, step-by-step ornament drawing guide. Designed for artists ages 5 and up, this activity requires only a pencil, eraser, and paper to create a festive masterpiece. Follow along to practice symmetry and basic geometric shapes while building confidence in your artistic skills.
🎯 Final Result

Step-by-Step Instructions
Step 1: Sketching the Hanging String

Start by drawing a long, gentle curved line near the top of your paper. Teacher's Tip: Keep your pencil pressure light so you can easily adjust the placement of your ornaments later.
Step 2: Drawing the First Ornament

Extend a short line from the string, then draw a small rounded shape for the bow knot. Add two curved loops for the bow, and finish with a circle for the ornament base. Teacher's Tip: Use your eraser to clean up overlapping lines inside the bow for a professional look.
Step 3: Adding the Second Ornament

Draw another vertical line from the string. Create an upside-down 'U' shape for the ornament cap, then draw a perfect circle beneath it. Teacher's Tip: If drawing a perfect circle is tricky, try tracing a small coin or bottle cap.
Step 4: Adding Festive Patterns
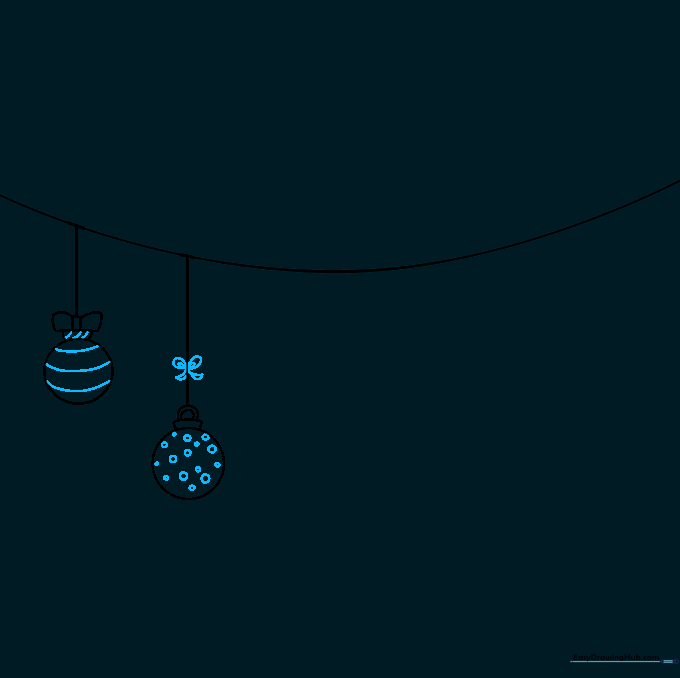
Decorate your ornaments with curved stripes and polka dots. Add a bow above the second ornament to match the first. Teacher's Tip: Varying the patterns makes your drawing look more dynamic and interesting.
Step 5: Sketching the Third Ornament
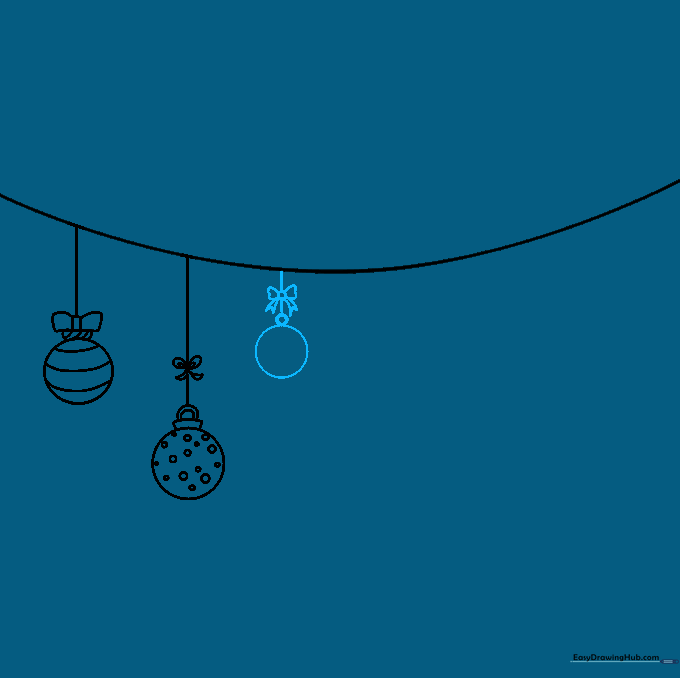
Draw a third hanging line. Add a small circle for the cap and a larger circle for the ornament body. Don't forget the bow! Teacher's Tip: Try to space your ornaments evenly to keep the composition balanced.
Step 6: Creating a Star Ornament
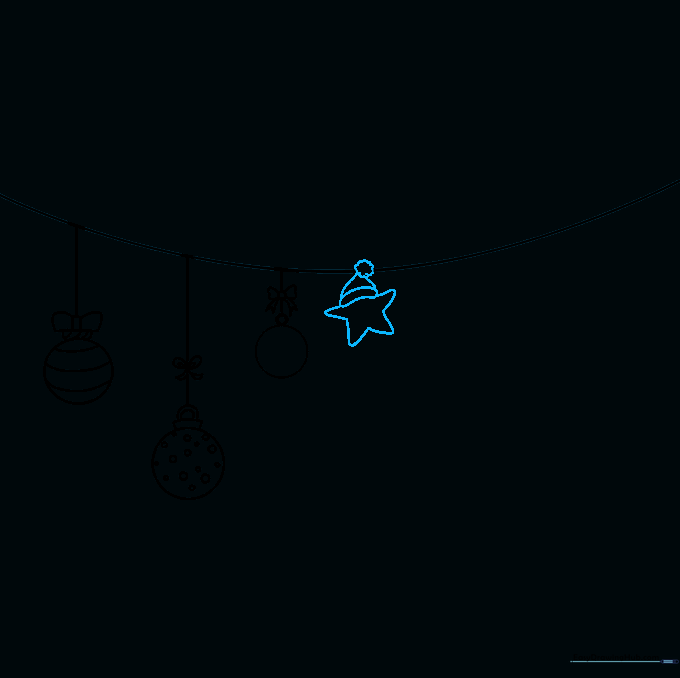
Draw a small circle, then sketch a five-pointed star beneath it. Add a curved band at the top of the star to look like a Santa hat. Teacher's Tip: Use short, quick strokes for the hat's fuzzy trim to give it a soft texture.
Step 7: Adding Character Details
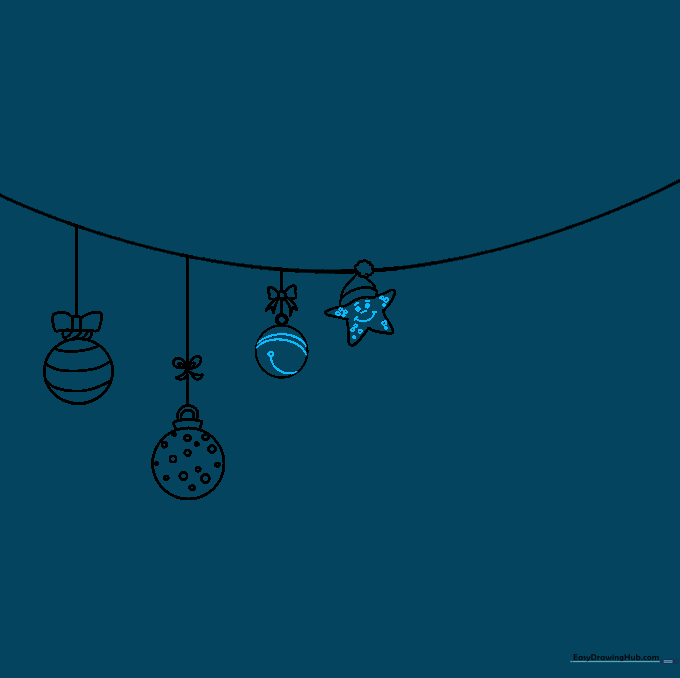
Give your star a happy face! Add a jingle bell detail to the round ornament by drawing a curved line and a small shaded circle at the bottom. Teacher's Tip: A simple smile adds personality to your holiday art.
Step 8: Drawing a Stocking Ornament
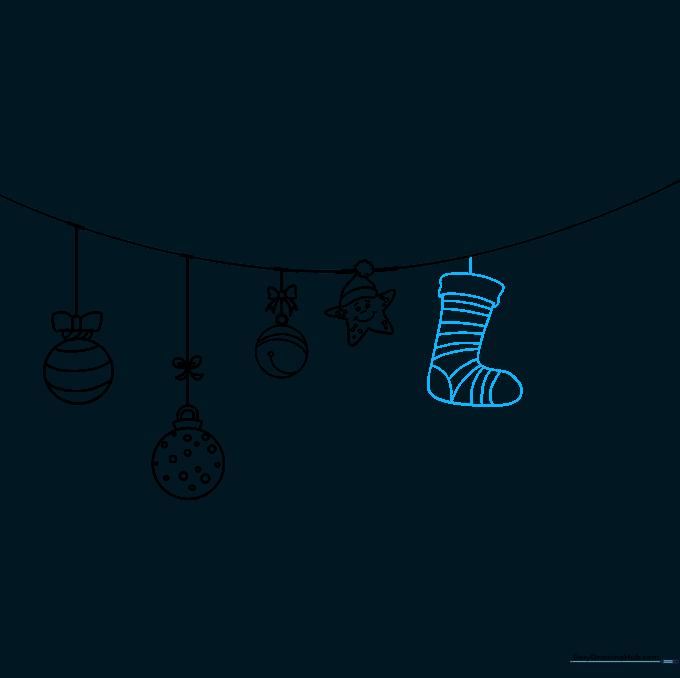
Sketch a rounded 'L' shape to form a stocking. Add a band at the top and stripes for decoration. Teacher's Tip: Keep the corners of the stocking rounded so it looks soft and cozy.
Step 9: Final Ornament Details

Add one final ornament by drawing a small triangle and rectangle, followed by a series of circles. Enclose the shape and add decorative lines. Teacher's Tip: This is a great time to check your drawing and erase any stray guidelines.
Step 10: Bringing It to Life with Color
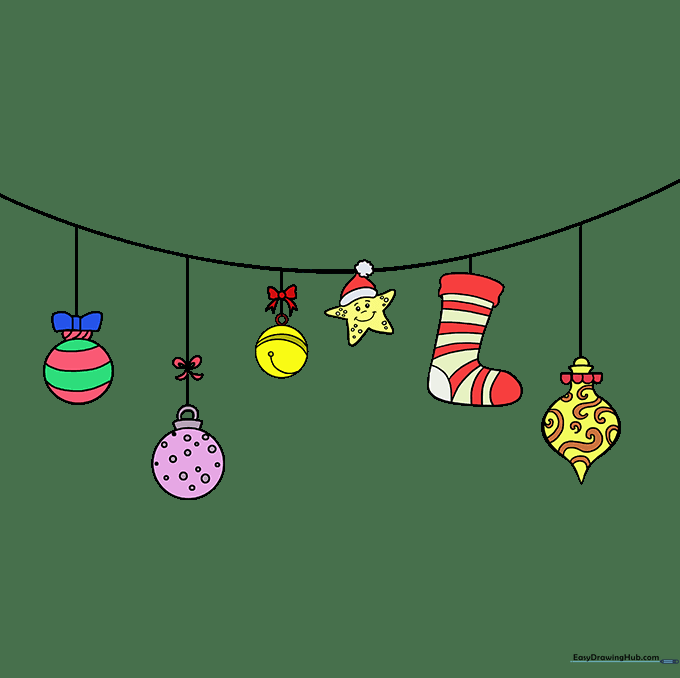
Use bright, festive colors like red, green, and gold to fill in your ornaments. Teacher's Tip: Use colored pencils or markers to add highlights to the round ornaments to make them look shiny and reflective.
More Tutorials


