How to Draw Christmas Lights: Easy 5-Step Guide
Bring holiday cheer to your sketchbook with this fun, beginner-friendly drawing activity. Designed for artists ages 5 and up, this guide uses basic shapes to build confidence and fine motor control. All you need is a pencil, an eraser, and your favorite markers to get started.
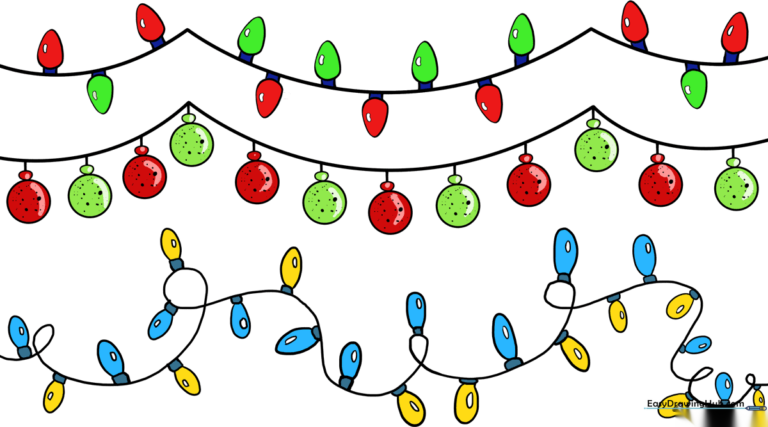
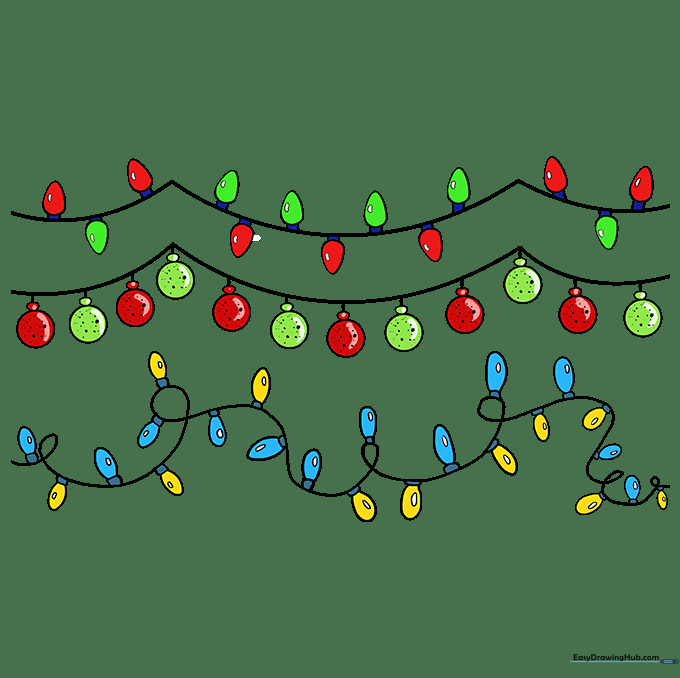
🎯 Final Result
Step-by-Step Instructions
Step 1: Sketching the Wavy Wires

Draw two parallel, wavy lines that curve across your page. These act as the foundation for your light strands. Teacher's Tip: Use long, sweeping motions with your wrist rather than short, choppy strokes to keep the wires looking fluid.
Step 2: Adding the First Bulbs

Add small rounded rectangles along the top wire, then cap them with teardrop shapes. Place a tiny oval inside each to represent a glass highlight. Teacher's Tip: Keep the bulbs evenly spaced to help your drawing look balanced.
Step 3: Filling the Bottom Wire

Repeat the process on the bottom wire, drawing upside-down teardrops. Teacher's Tip: If your hand gets tired, take a quick break! Drawing repetitive shapes is great practice for steadying your hand.
Step 4: Adding Decorative Ornaments
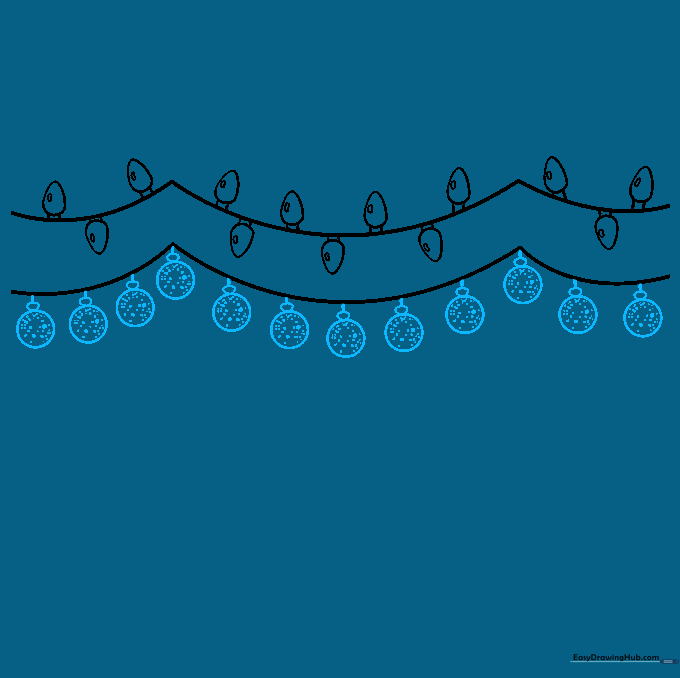
Draw short lines hanging from the wire, ending in small and large circles. Add dots for texture. Teacher's Tip: Varying the size of these circles creates visual interest and depth in your artwork.
Step 5: Drawing a Tangled Strand
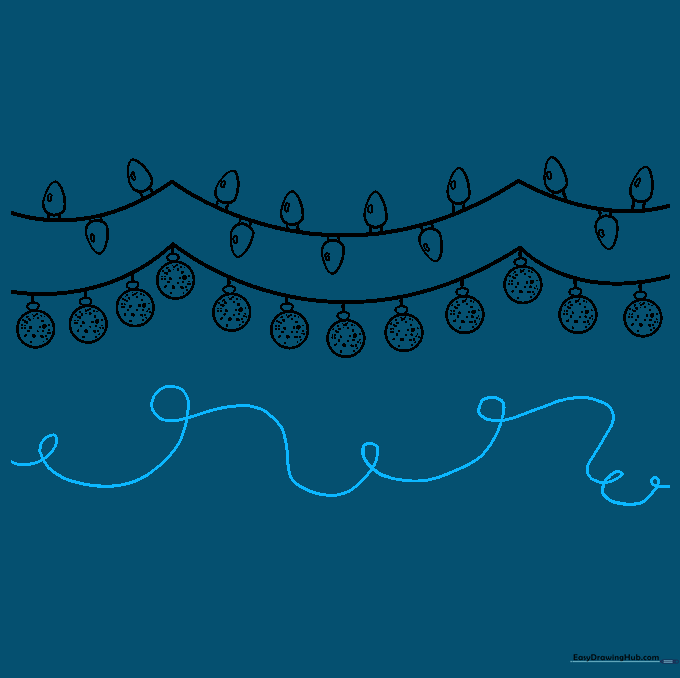
Sketch a long, curling line that loops and crosses itself. This adds a realistic, 'tangled' look to your drawing. Teacher's Tip: Don't worry if the line isn't perfect; tangled wires are naturally messy!
Step 6: Adding Bulbs to the Loop
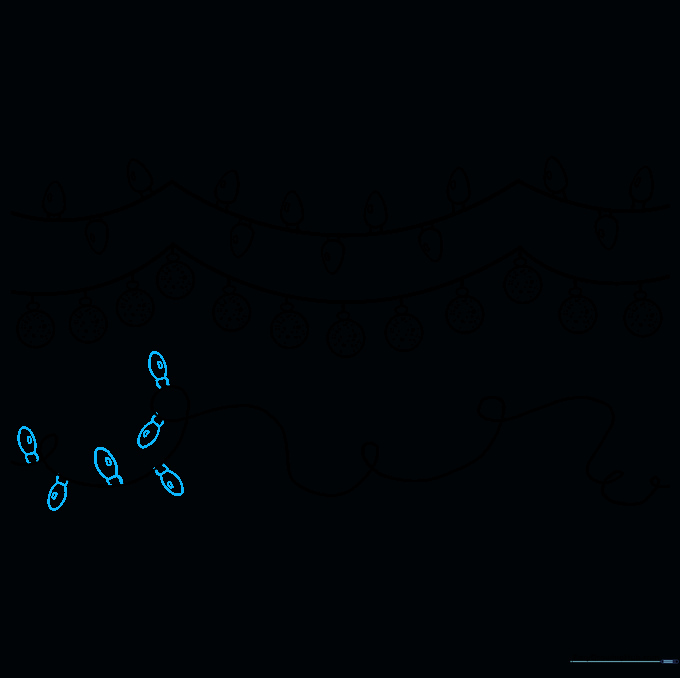
Add more rounded rectangles and pointed ovals along your new tangled strand. Teacher's Tip: Rotate your paper if it makes drawing the curves easier for your hand.
Step 7: Detailing the Bulbs

Continue adding bulbs along the strand, remembering to include the small oval 'shine' mark in each one. Teacher's Tip: The shine mark is what makes the bulb look like glass rather than solid plastic.
Step 8: Filling the Strand

Keep adding bulbs until the strand looks full. Teacher's Tip: Don't feel like you have to make every bulb identical; slight variations make your drawing look more natural.
Step 9: Finalizing the Outline

Add the final bulbs to the ends of the strand to complete your sketch. Teacher's Tip: Use a black fine-liner to trace your pencil lines before erasing your guidelines for a clean, professional look.
Step 10: Bringing it to Life with Color
Time to color! Use bright reds, greens, blues, or yellows. Teacher's Tip: Leave the small oval 'shine' mark white to make the bulbs look like they are glowing.
More Tutorials


