How to Draw Chilli Heeler: Easy Step-by-Step Guide
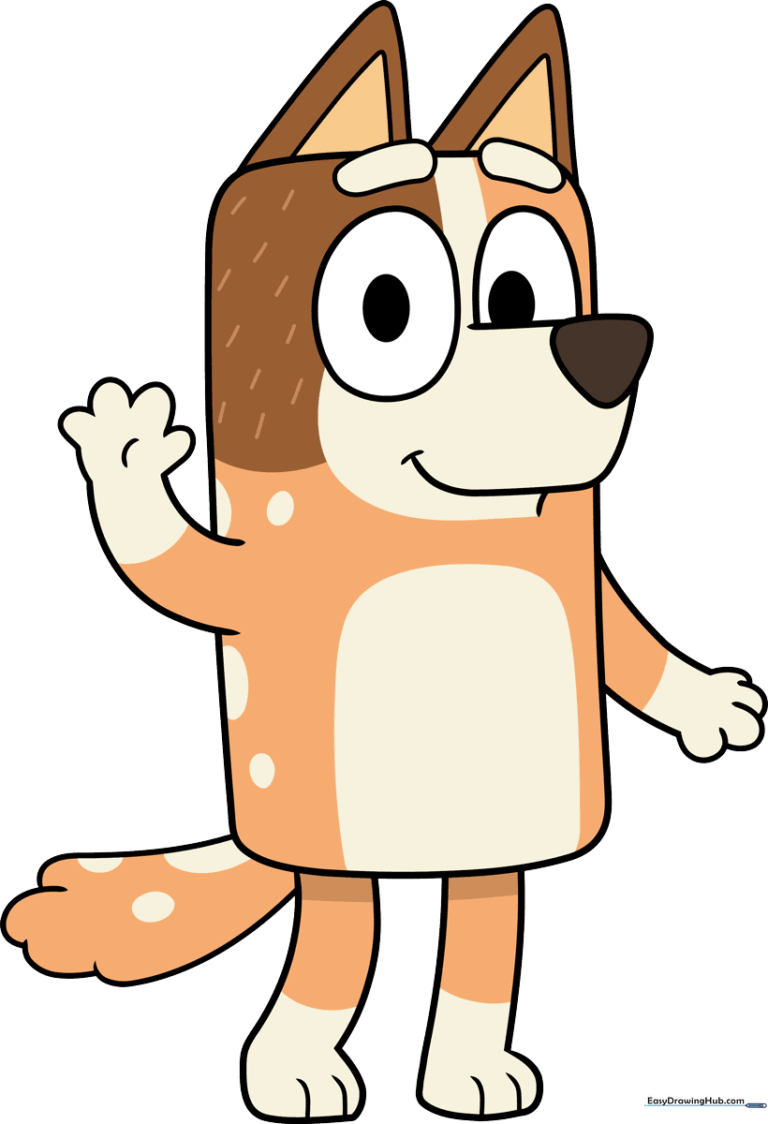
Bring Mum from Bluey to life with this fun, guided drawing activity. Designed for artists ages 5 and up, this tutorial requires only a pencil, paper, and an eraser to capture Chilli’s kind expression. Follow these steps to build confidence and develop your character drawing skills.
🎯 Final Result
Step-by-Step Instructions
Step 1: Sketching the Eyes and Snout
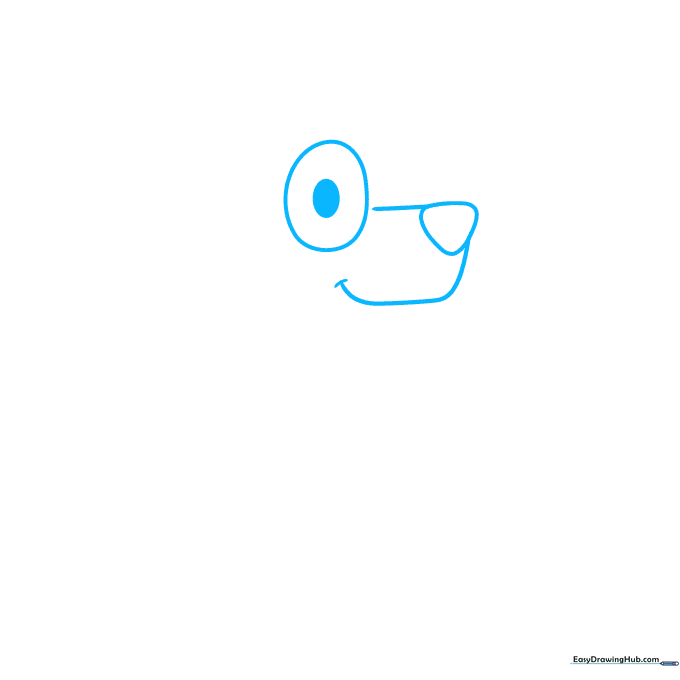
Start by drawing a large oval for the eye with a smaller shaded oval inside for the pupil. Add a rounded, upside-down triangle for the nose. Tip: Keep your pencil pressure light so you can easily adjust the snout shape if needed.
Step 2: Defining the Head Shape
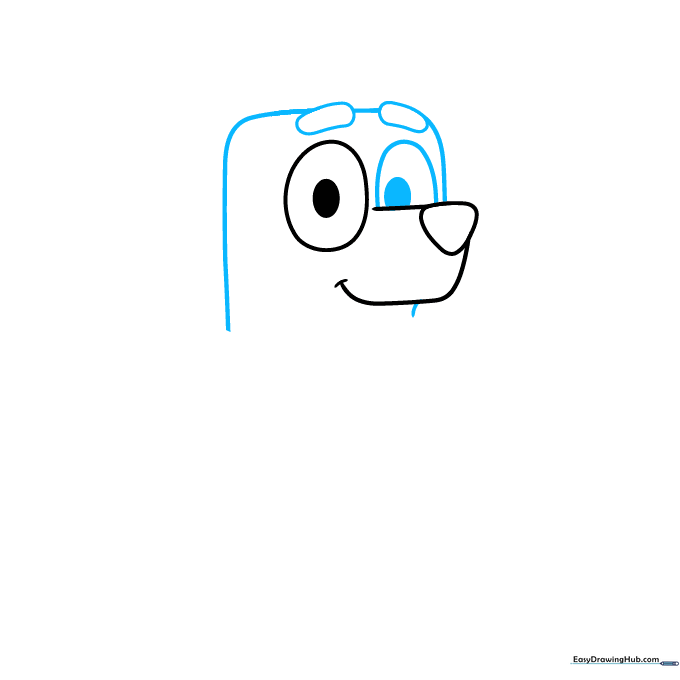
Draw the second eye to match the first, then add rounded eyebrows above them. Use curved lines to connect these features into a rectangular head shape. Tip: Use short, soft strokes to help maintain the 'cartoon' aesthetic.
Step 3: Adding Ears and Arm
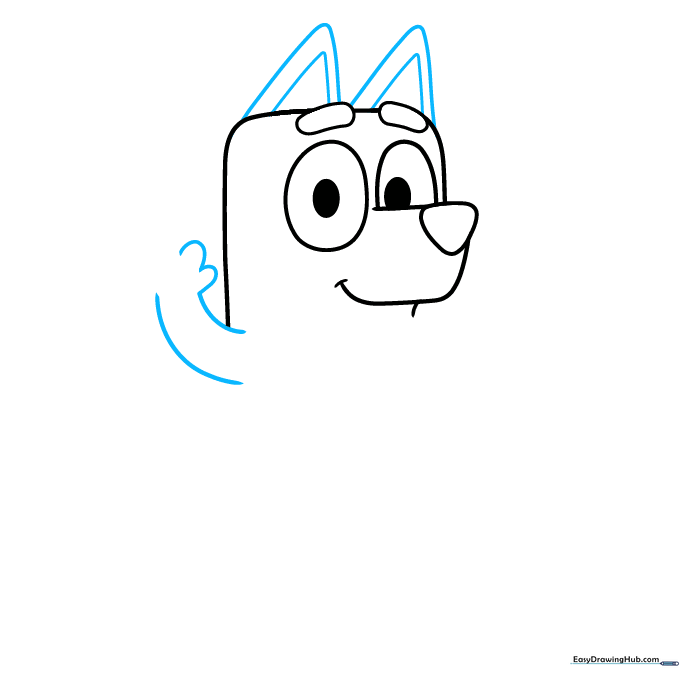
Sketch two triangles on top of the head for the ears, adding a smaller triangle inside each for depth. Begin the waving arm using smooth, curved lines. Tip: Ensure the ears are symmetrical to give her that friendly look.
Step 4: Sketching the Body
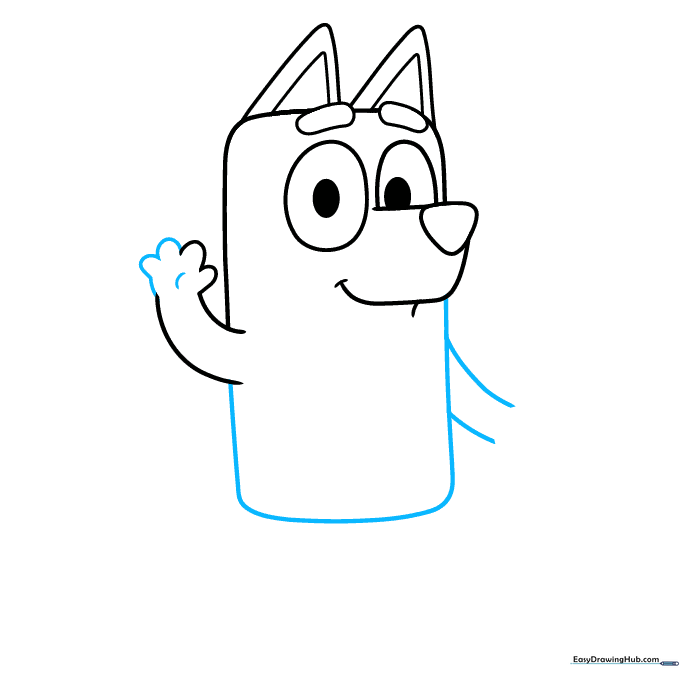
Complete the waving hand with a contour line for the palm. Draw a long, curved line to enclose the rectangular body, then extend two lines to start the second arm. Tip: Keep the body shape slightly rounded at the corners to match the show's style.
Step 5: Adding the First Leg
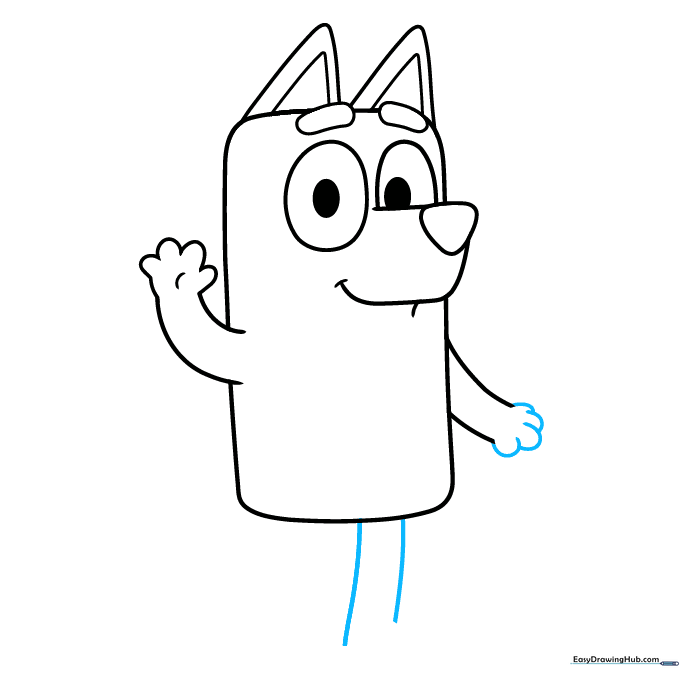
Use overlapping curved lines to finish the paw. Extend two lines downward from the body to begin the first leg. Tip: Think of the leg as a soft cylinder—keep the lines parallel but slightly curved.
Step 6: Completing the Legs
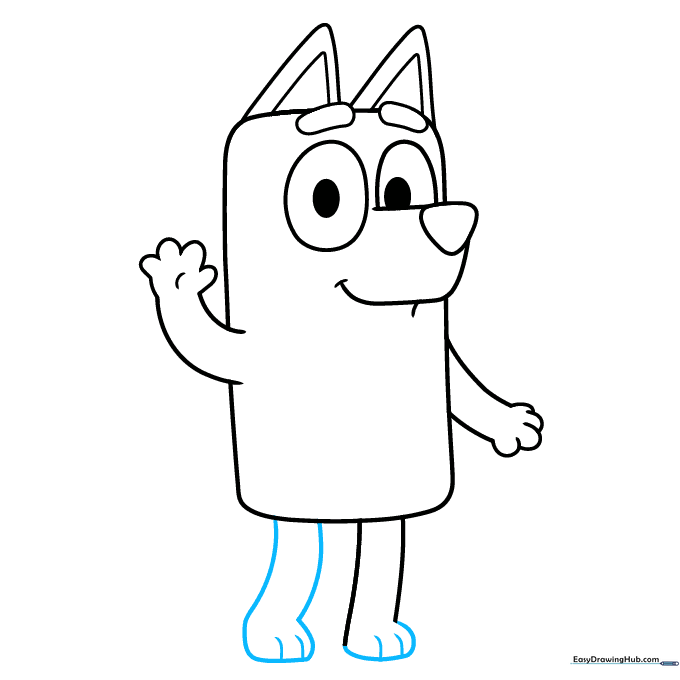
Use short, curved lines to define the toes on the first paw. Repeat the process to draw the second leg. Tip: Make sure the legs look sturdy to support her character design.
Step 7: Tail and Forehead Details
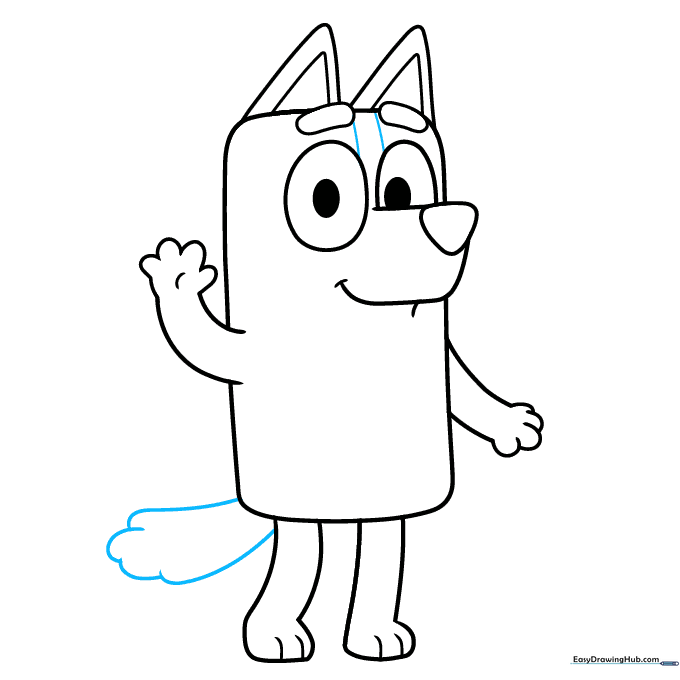
Draw a bushy, curved tail extending from the back. Add a pair of lines down the center of her forehead to define her markings. Tip: Use a sweeping motion for the tail to give it a sense of movement.
Step 8: Adding Body Markings
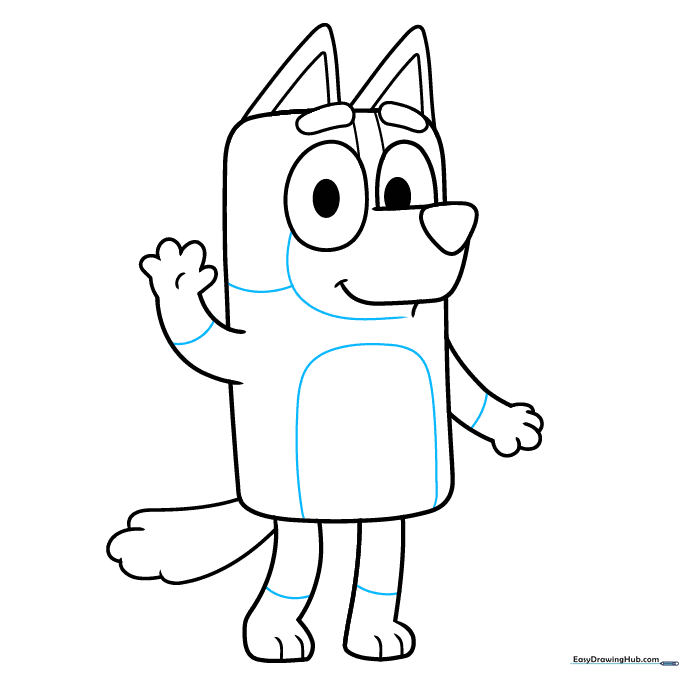
Add curved bands to the arms and legs, and draw a rounded shape on the tummy to define her coat pattern. Tip: These lines don't need to be perfect; they help guide your coloring later.
Step 9: Final Details

Add small spots to the back and tail, and include short lines on the back of the head for texture. Tip: Use a fine-liner or dark pencil to go over your final outline before erasing your guide marks.
Step 10: Bring Chilli to Life with Color
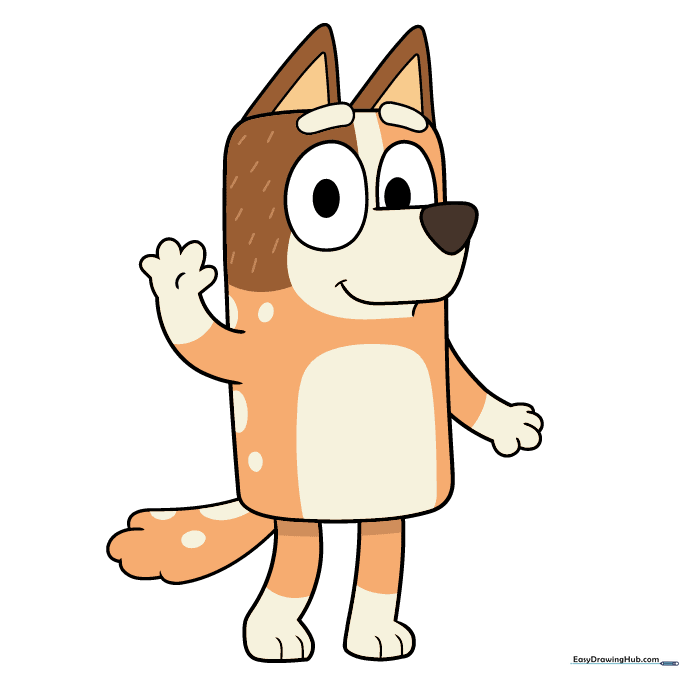
Your outline is complete! Use shades of brown, from light beige to chocolate, to color your Chilli Heeler. Tip: Use a light touch with your crayons to blend the colors smoothly, just like in the show.
More Tutorials


