How to Draw the Cheshire Cat: Easy 10-Step Guide
Ready to bring Wonderland to your sketchbook? This tutorial is perfect for young artists looking to practice character proportions and expressive line work. You will need a pencil, an eraser, and your favorite coloring markers to capture that iconic, mischievous grin.
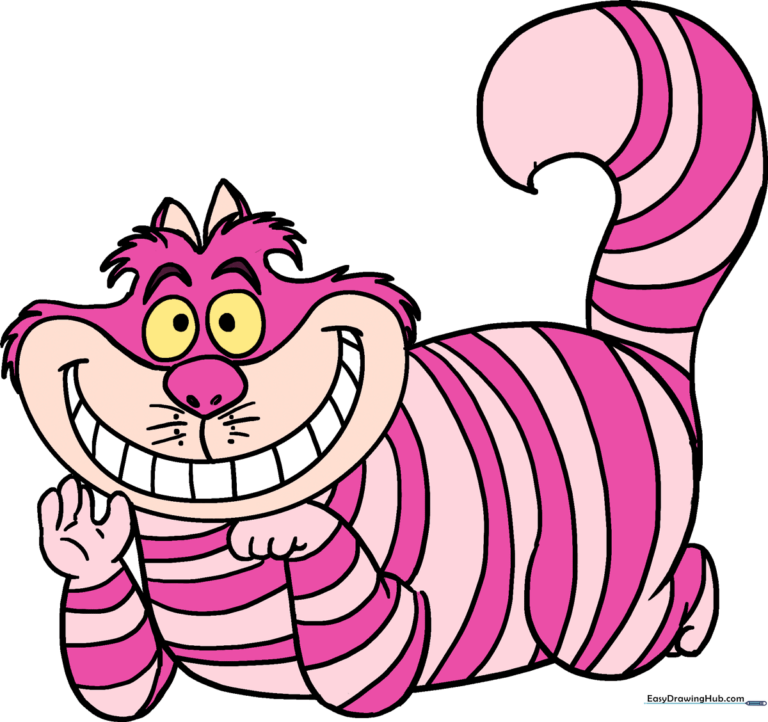
🎯 Final Result
Step-by-Step Instructions
Step 1: Sketching the Head Base

Draw a light circle to serve as the foundation for the head. Teacher's Tip: Keep this circle loose and light—it’s just a guide, and we’ll be erasing it later!
Step 2: Mapping the Iconic Smile

Draw a long, curved banana-like shape beneath the circle. This defines the width of that famous grin. Tip: Ensure the curve is symmetrical to give the cat a balanced, happy expression.
Step 3: Outlining the Body

Sketch an irregular rounded shape beneath the head to form the cat's plump body. Tip: Don't worry about perfection here; the Cheshire Cat is known for his fluid, changing shape.
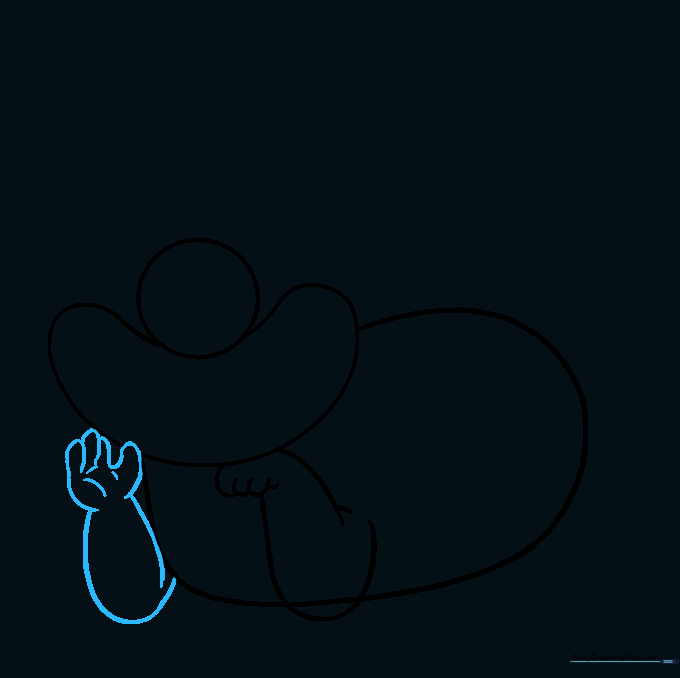
Step 4: Sketching the First Arm

Use a large 'U' shape for the arm and smaller 'U' shapes for the fingers. Tip: Keep the lines soft and rounded to make the cat look cuddly and cartoonish.
Step 5: Adding the Second Arm
Outline the second arm with curved lines, adding short strokes to the palm for detail. Tip: Adding these small lines helps create the illusion of depth and texture.
Step 6: Fur and Ears
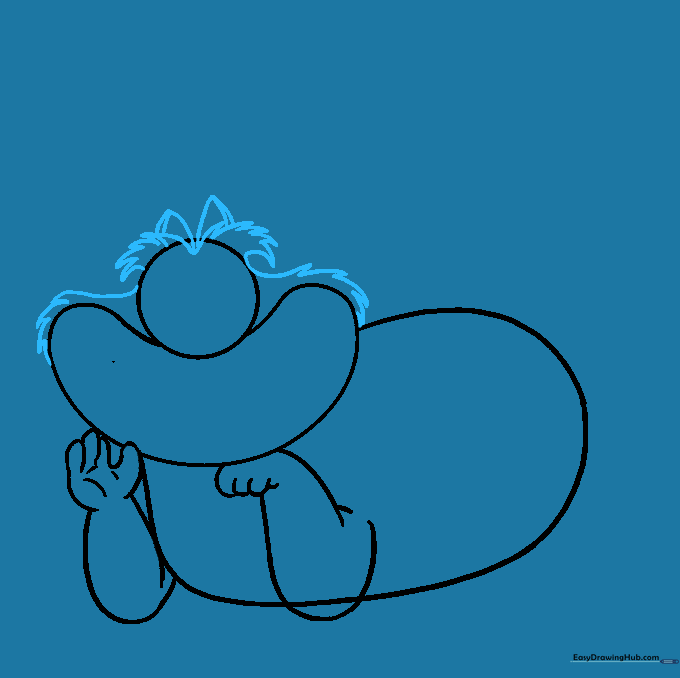
Add jagged, short lines around the head for fur, and draw two rounded triangles on top for ears. Tip: Use quick, flicking motions with your pencil to make the fur look realistic and fluffy.
Step 7: Tail and Back Leg

Draw a long, pointed tail and a back leg using 'U' shapes. Tip: Make the tail curve gracefully to give the character a sense of movement.
Step 8: Cleaning the Sketch

Carefully erase your overlapping guide lines and the original circle. Tip: Use a kneaded eraser if you have one—it’s gentler on the paper and picks up graphite cleanly.
Step 9: Adding Facial Features and Stripes
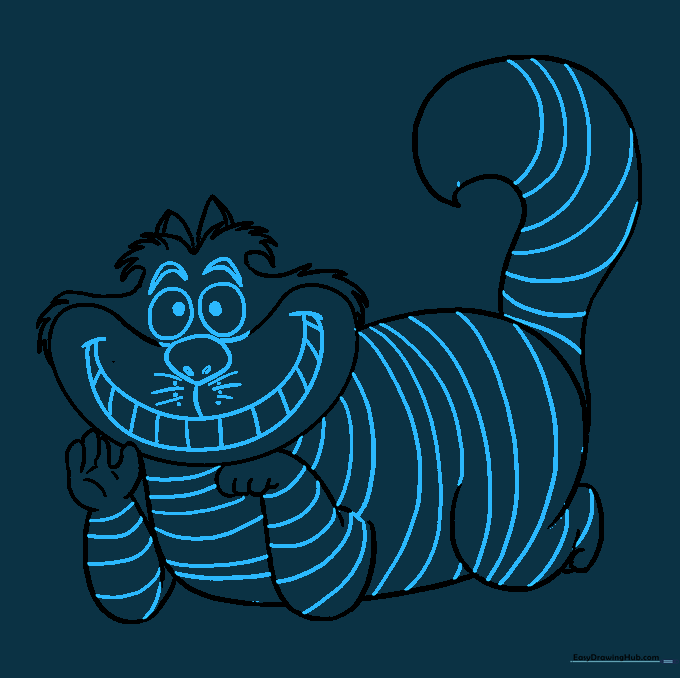
Draw the wide smile, teeth, nose, large eyes, and whiskers. Add stripes across the body. Tip: Take your time with the eyes—they are the window to the cat's personality!
Step 10: Bringing Him to Life with Color
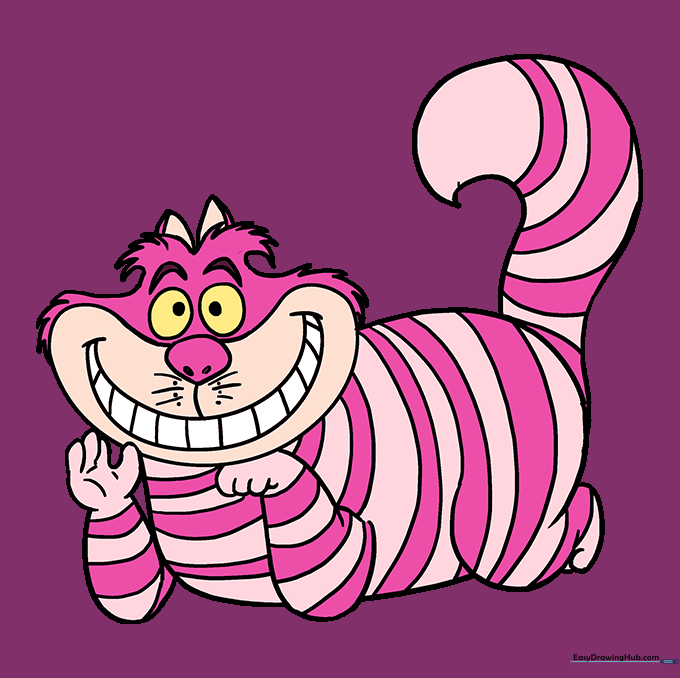
Fill in your drawing with vibrant pinks and purples. Tip: Use light pressure for a soft look or heavy pressure for a bold, magical appearance.
More Tutorials


