How to Draw Charlie Brown: Easy 10-Step Guide for Kids
Bring the iconic Peanuts character to life with this simple, step-by-step drawing guide. Designed for young artists and beginners, this tutorial uses basic shapes to build confidence and fine motor skills. Grab your pencil, eraser, and paper, and let’s start sketching everyone’s favorite blockhead!
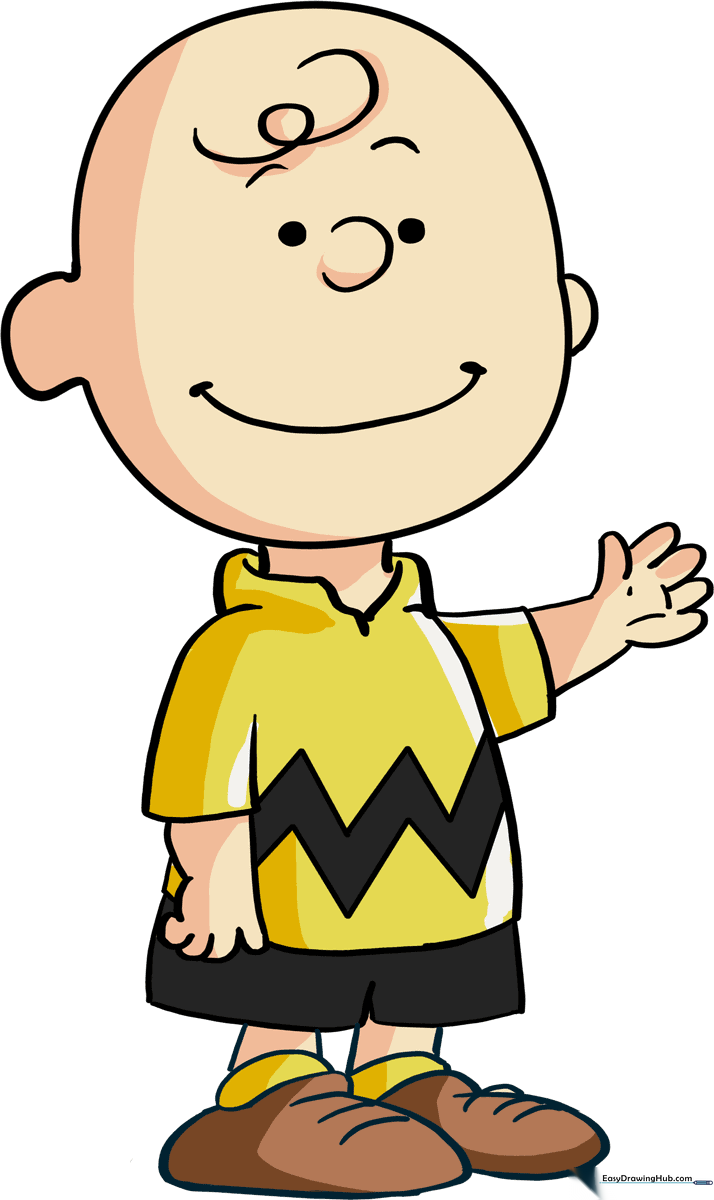
🎯 Final Result
Step-by-Step Instructions
Step 1: Sketching the Head

Draw a large, round shape for the head, but leave a small gap on the sides. Use two 'C' shaped lines to close these gaps and form his ears. Teacher's Tip: Keep the circle loose and round; don't worry about it being perfect, as Charlie Brown’s head is famously round!
Step 2: Adding the Signature Curl

Draw a small, spiraling line on the forehead to represent his iconic single curl of hair. Tip: Make this curl small and off-center to capture his classic look.
Step 3: Drawing the Face

Add two small, shaded circles for eyes. Use simple curved lines for his eyebrows, a tiny nose, and a gentle smile. Tip: Keep the facial features centered and low on the face to give him that youthful, innocent expression.
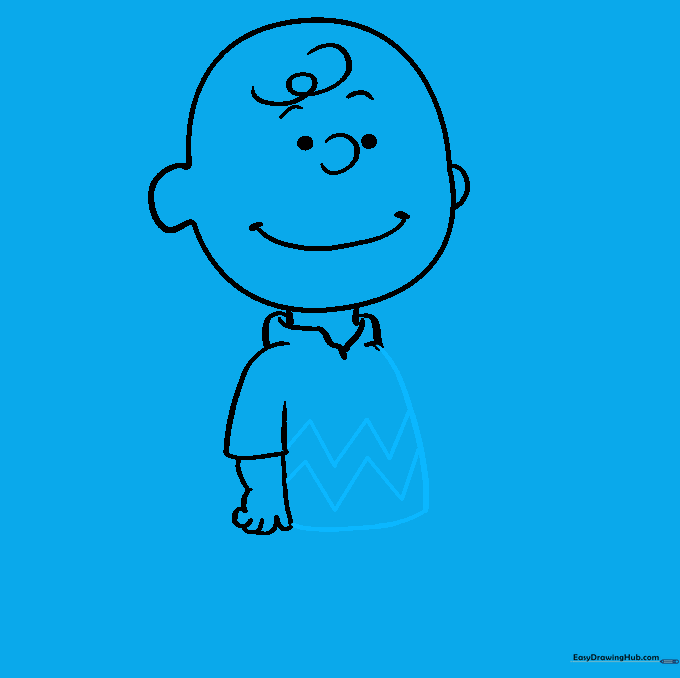
Step 4: The Neck and Collar

Draw two short vertical lines under the head for the neck, then add a simple collar using overlapping curved lines. Tip: Ensure the collar is wide enough to look like a classic t-shirt neckline.
Step 5: Arms and Hands

Sketch the sleeve using a long, slightly curved line with pointed corners. Extend two lines for the arm and use 'U' shapes to create the fingers. Tip: Keep the fingers rounded and soft; Charlie Brown's hands are simple and mitten-like.
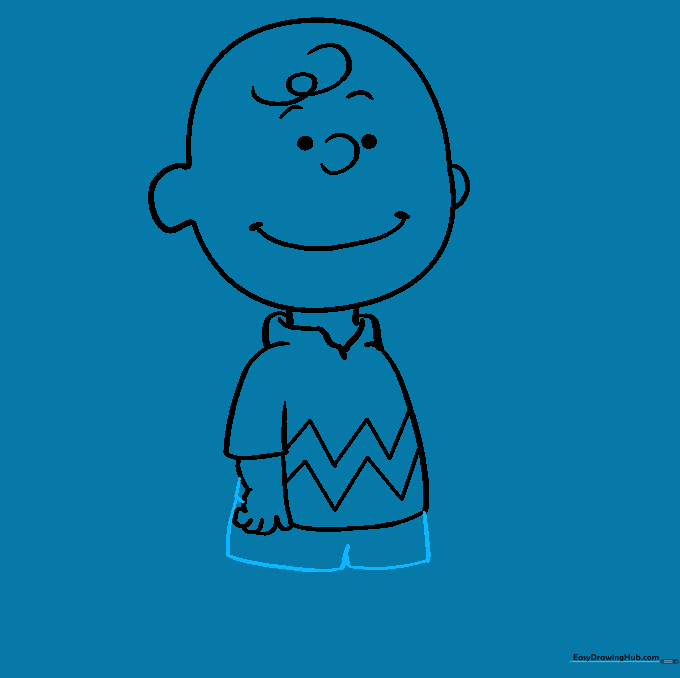
Step 6: The Zigzag Shirt
Outline the shirt with two curved lines and add the signature zigzag pattern across the middle. Tip: Make the zigzags sharp and consistent for that authentic Peanuts look.
Step 7: Drawing the Pants
Draw two lines downward from the shirt to form the pants. Connect the bottom of the pant legs with a 'V' shape to show the fold. Tip: Keep the pants slightly baggy for a natural cartoon style.
Step 8: Adding the Second Arm
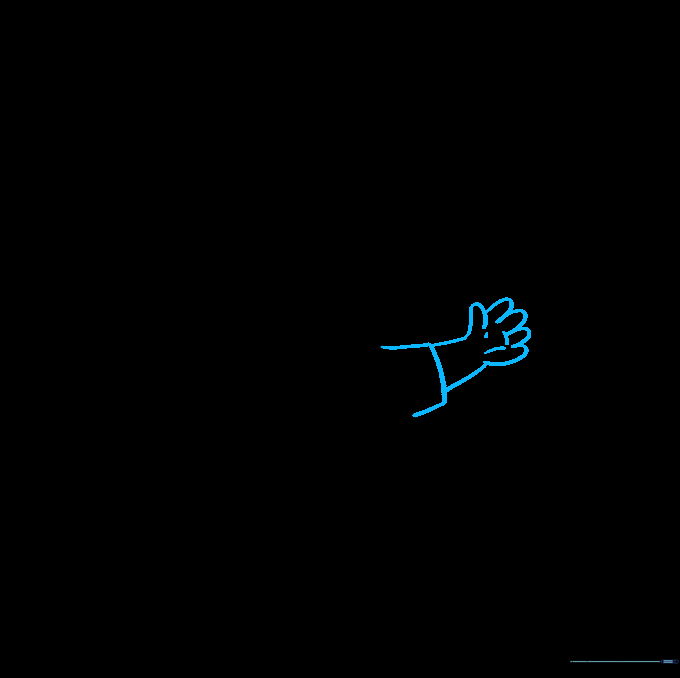
Repeat the process from Step 5 to draw the other sleeve and arm. Add small lines on the palm to show detail. Tip: Ensure the arm is positioned naturally, as if he is waving or standing still.
Step 9: Finalizing the Legs and Shoes
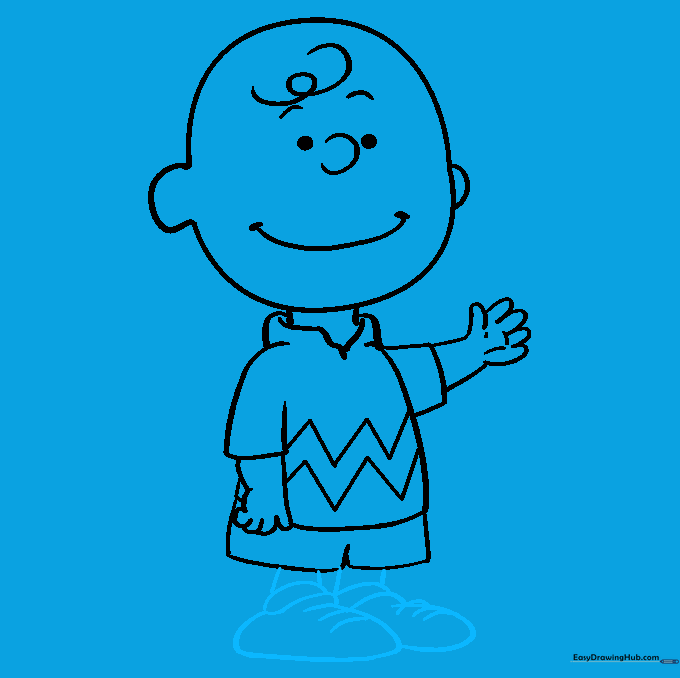
Draw the legs extending from the pants and add rounded shapes for the shoes. Include a line for the sock and a few curved lines for shoelaces. Tip: Keep the shoes simple and slightly oversized to match the cartoon proportions.
Step 10: Adding Color
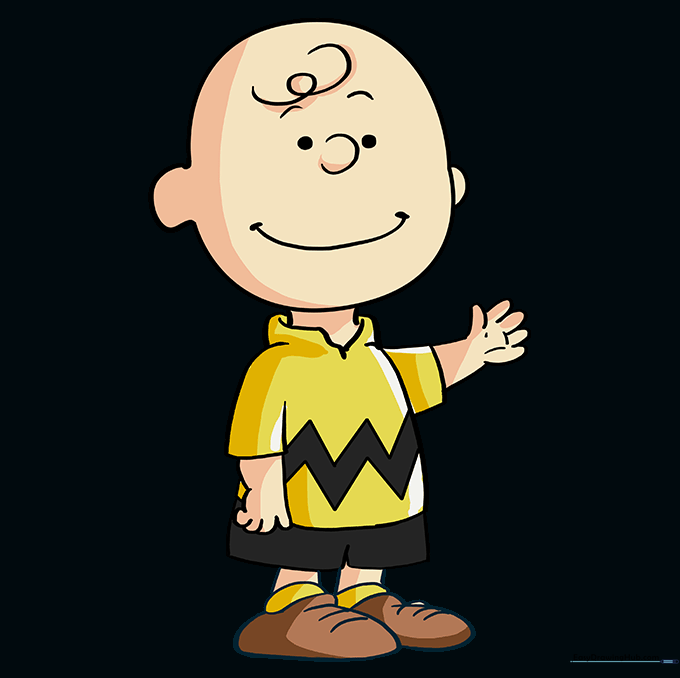
Bring your drawing to life! Use bright yellow for his shirt, black for the zigzag stripe, and your choice of skin tone for his face and hands. Tip: Use a black fine-liner to trace your pencil lines before coloring for a professional, clean look.
More Tutorials


