How to Draw Charizard: Easy 21-Step Pokémon Guide
Ready to bring the iconic Fire-type Pokémon to life? This tutorial is perfect for artists ages 8+ who want to capture Charizard’s powerful stance. Grab your pencils and an eraser, and let’s break down this complex character into manageable, fun shapes.
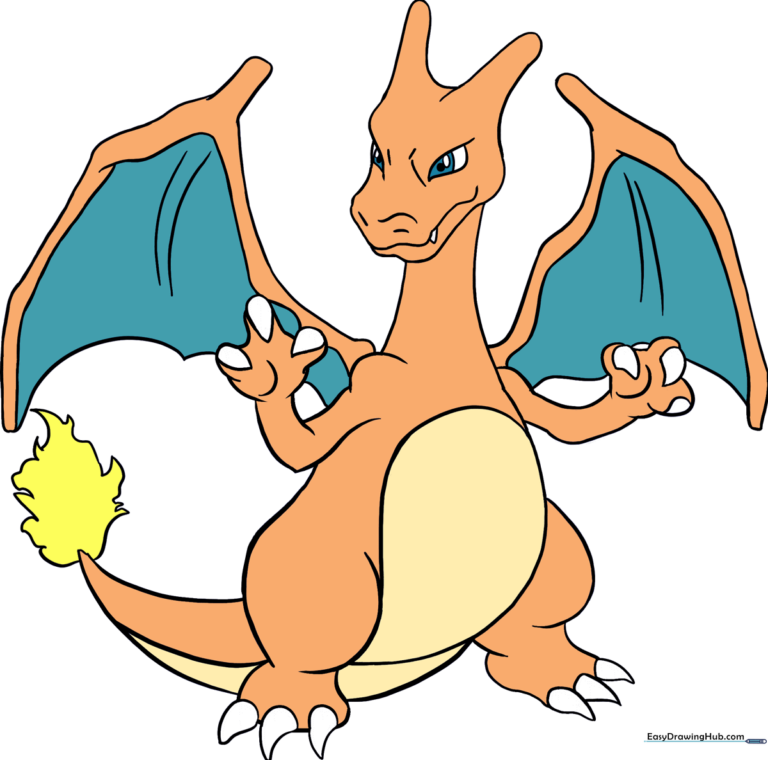
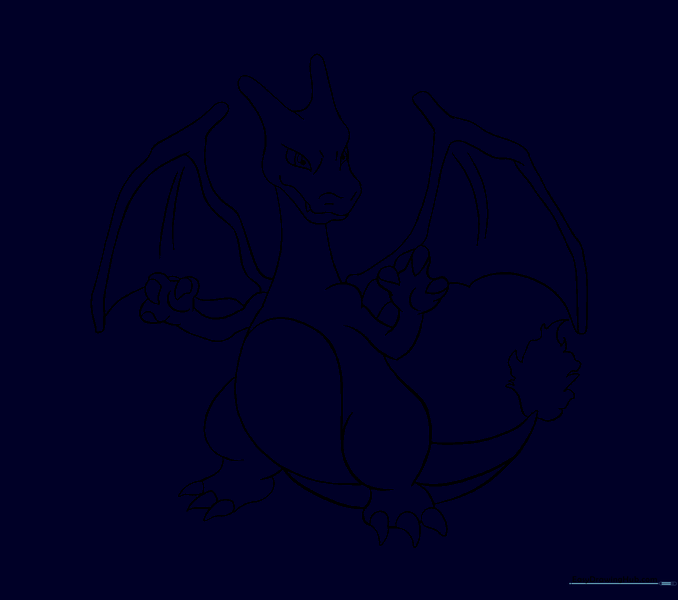
🎯 Final Result
Step-by-Step Instructions
Step 1: Sketching the Head Base

Draw a light circle in the center of your page to serve as the head. Teacher's Tip: Keep your pencil pressure very light so you can easily erase this guide later.
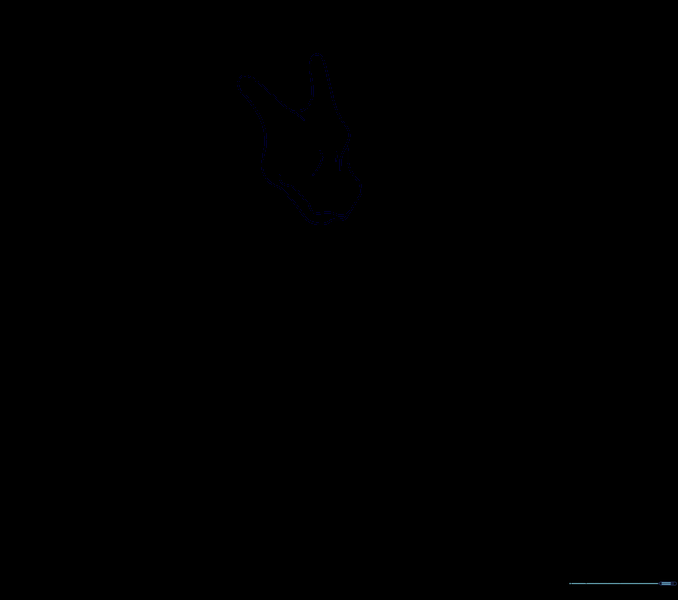
Step 2: Defining the Horns
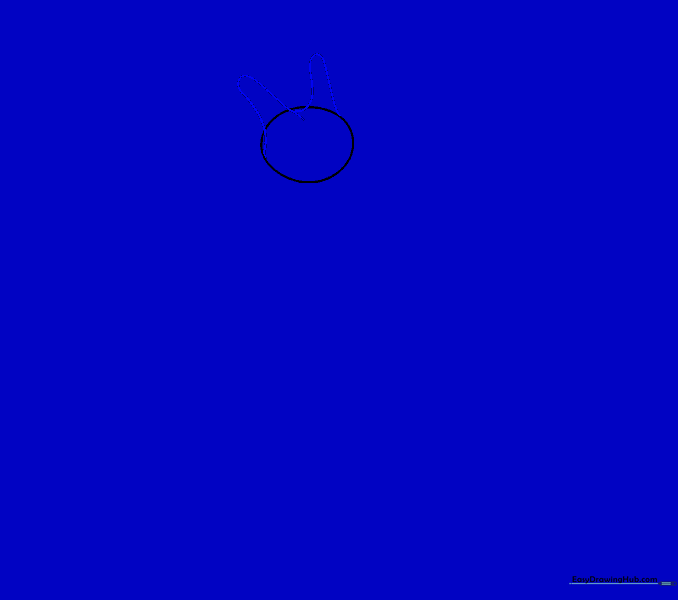
Add two curved lines on top of the head circle. These will become Charizard's signature horns. Tip: Make these curves sharp at the ends to give him that fierce look.
Step 3: Mapping the Facial Features

Draw a vertical curved line down the center of the circle, and two more on the right side. These act as your roadmap for placing the eyes and snout correctly.
Step 4: Shaping the Snout
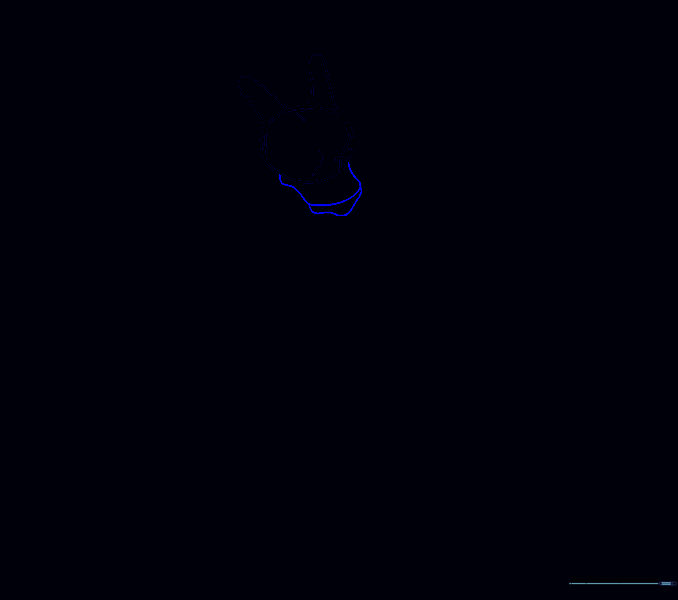
Extend a curved line from the bottom of the circle to form the snout. Connect it to the right-side guideline. Tip: Keep the snout blunt, not too pointy, to match his character design.
Step 5: Drawing the Jawline
Draw a strong, curved line from the base of the left horn down to the tip of the snout to create the jaw. This gives Charizard his powerful, determined expression.
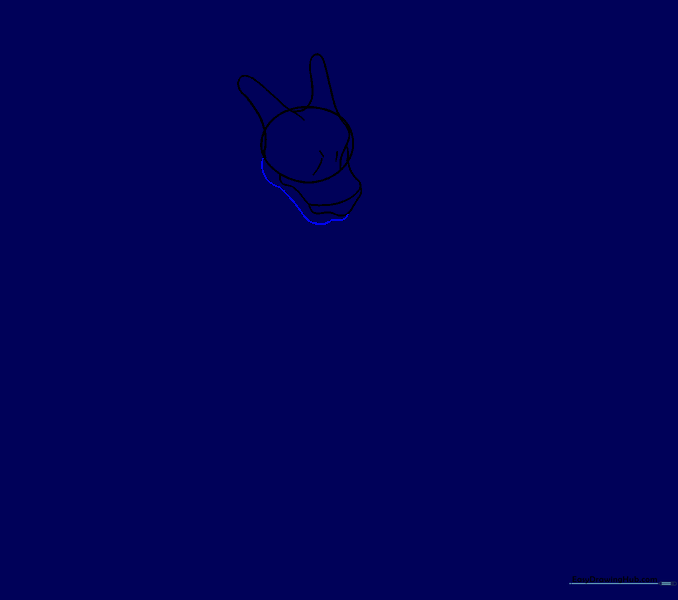
Step 6: Cleaning Up Guides
Carefully erase the original circle and the snout guidelines. Now you have a clean outline of the head and jaw!
Step 7: Sketching the Neck
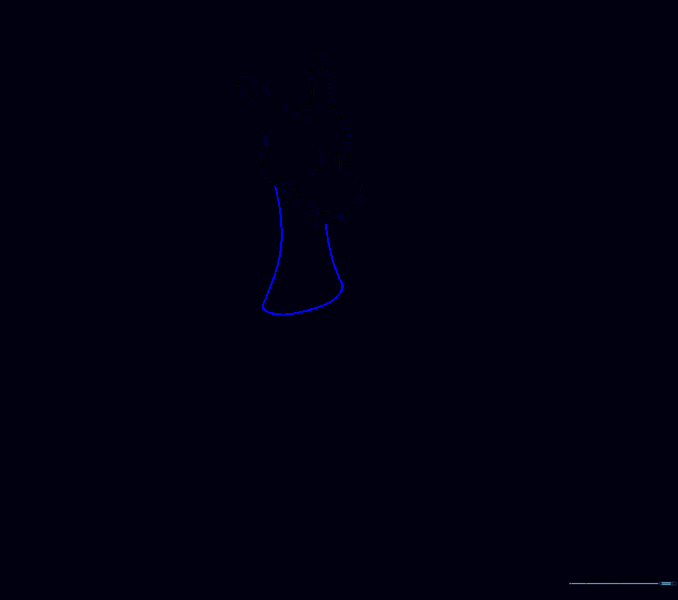
Draw two curved lines extending down from the head to form the neck. Connect them at the bottom with a short curve. Tip: Keep the neck thick to show Charizard's strength.
Step 8: The Body Shape
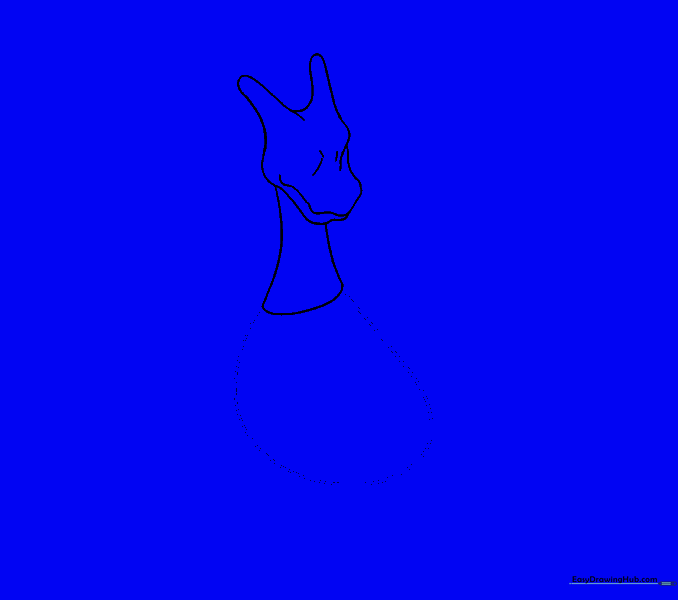
Draw a large, rounded shape below the neck for the torso. Don't worry about perfection; it will be covered by arms and legs later.
Step 9: Adding Limbs
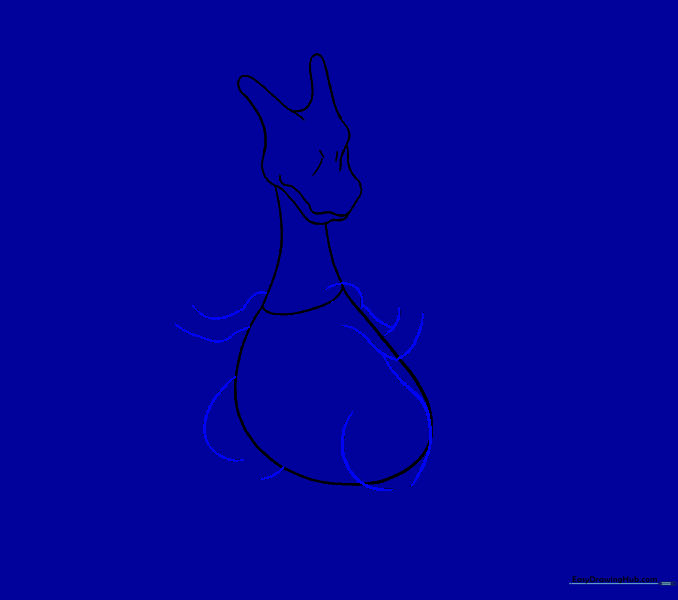
Sketch the arms and legs using simple curved lines. The arms extend from the body, while the legs are drawn with two lines each to give them a sturdy, muscular look.
Step 10: Hands and Feet
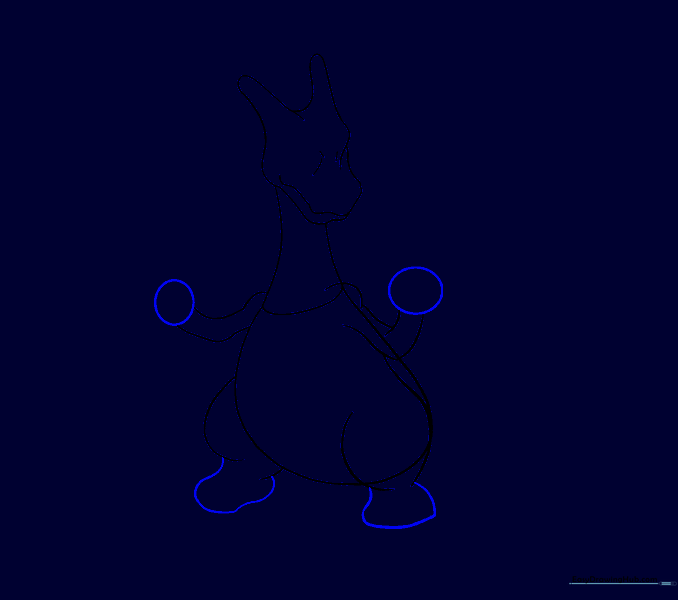
Add circles at the end of the arms for hands. For the feet, use a bulbous, curved line to connect the leg lines. This creates the base for the claws.
Step 11: Drawing the Claws
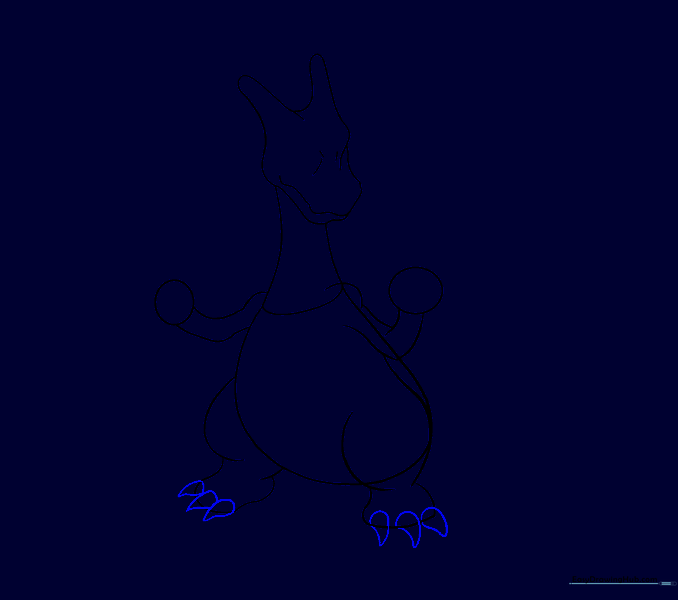
Draw three curved triangles on each foot for the claws. Tip: Make them slightly sharp to capture Charizard's dragon-like features.
Step 12: Refining the Legs
Erase the overlapping lines where the claws meet the feet and where the legs meet the body for a clean, finished look.
Step 13: Adding Hand Claws

Draw three claws on each hand using curved lines. Add a line through the middle of the hand to give it dimension.
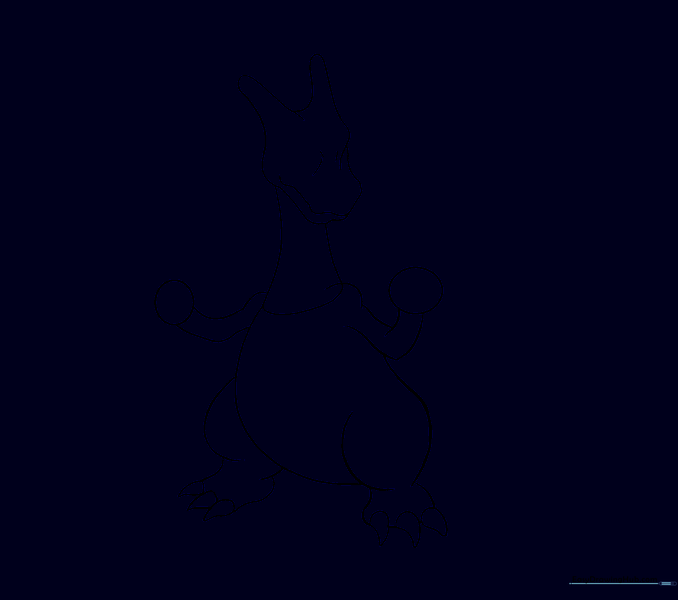
Step 14: Cleaning the Hands

Erase the circular guide lines from the hands so only the claws and hand shape remain.
Step 15: Drawing the Tail
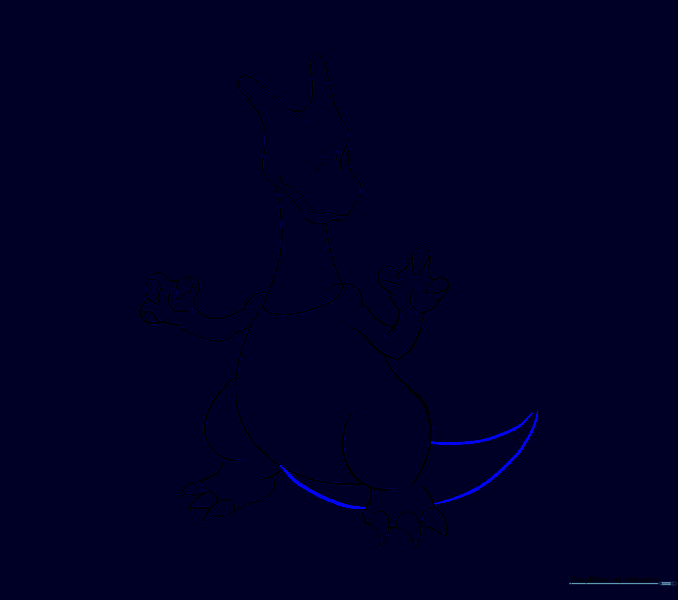
Extend a long, curved line from the leg to form the tail. Make it taper to a point. Tip: Ensure the tail has a nice, natural curve to show movement.
Step 16: Belly and Flame
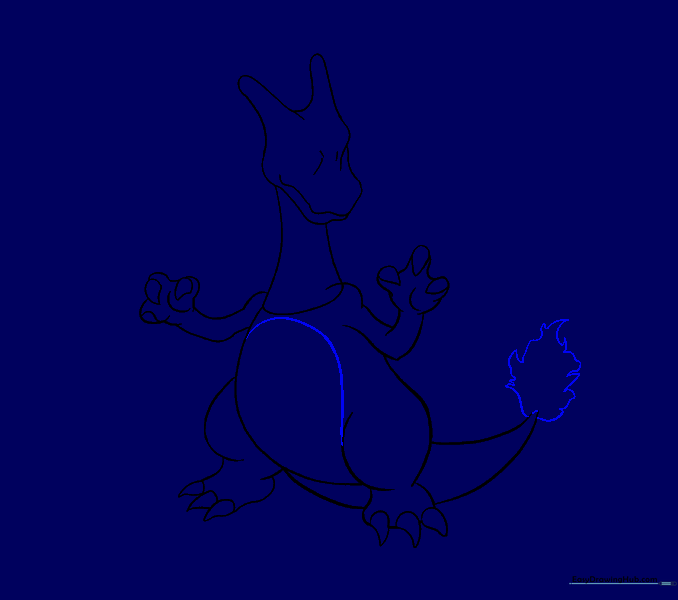
Draw a curved line for the belly and a jagged, squiggly line at the tail tip for the flame. Tip: Use quick, light strokes for the flame to make it look energetic.
Step 17: Tail Details
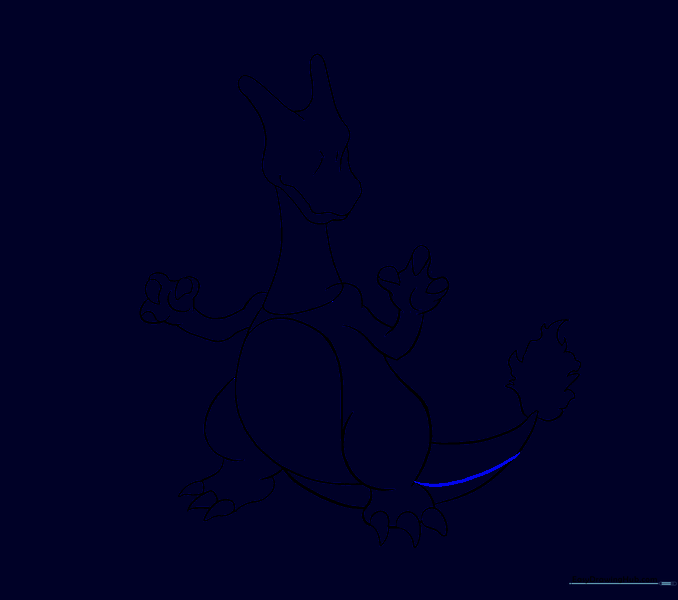
Add a curved line along the tail to add depth and muscle definition.
Step 18: Wings and Face
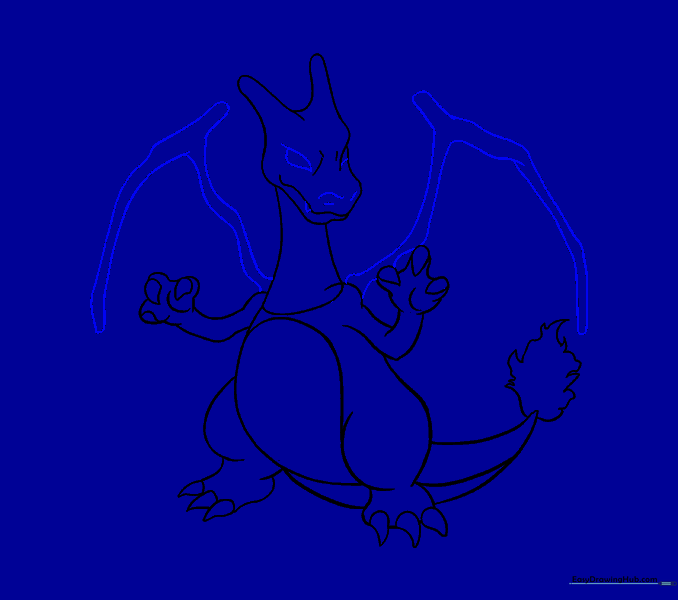
Draw the large wings using wavy lines. Add the eye, nostrils, and a small triangular tooth. Tip: Keep the wings wide to emphasize his size.
Step 19: Wing Detail
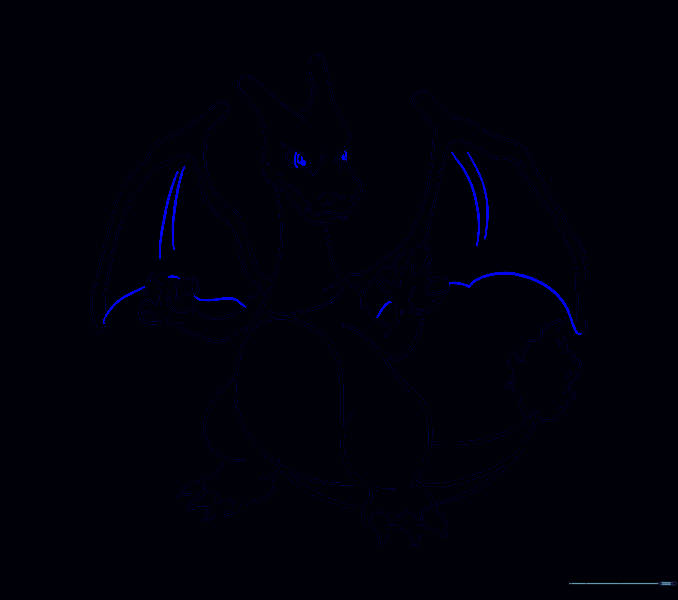
Connect the wings to the back with an 'M' shaped curve. Add vertical lines to the wings for texture. Finish the eyes with a pupil and highlight.
Step 20: Final Cleanup
Erase any remaining guide lines from the neck and body to reveal your clean line art.
Step 21: Bring Him to Life with Color

Time to color! Use orange for the body, teal for the wings, light yellow for the belly, and bright yellow/red for the tail flame. Tip: Use light pressure for the belly to keep it soft and bright.
More Tutorials


