How to Draw Catwoman: Easy 10-Step Guide for Beginners
Ready to bring Gotham's most elusive anti-hero to life? This tutorial is perfect for young artists ages 7+ looking to master character proportions. Grab a pencil, an eraser, and a piece of paper to follow along as we break down her iconic mask and features into simple, manageable shapes.
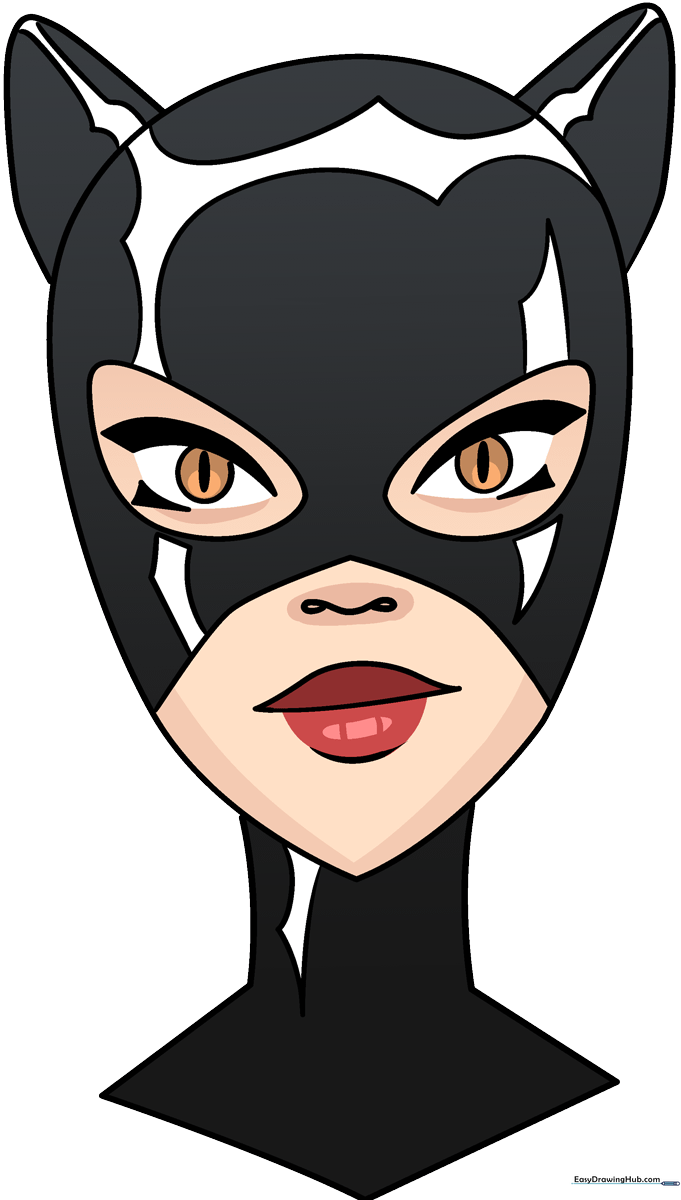
🎯 Final Result
Step-by-Step Instructions
Step 1: Sketching the Head Shape
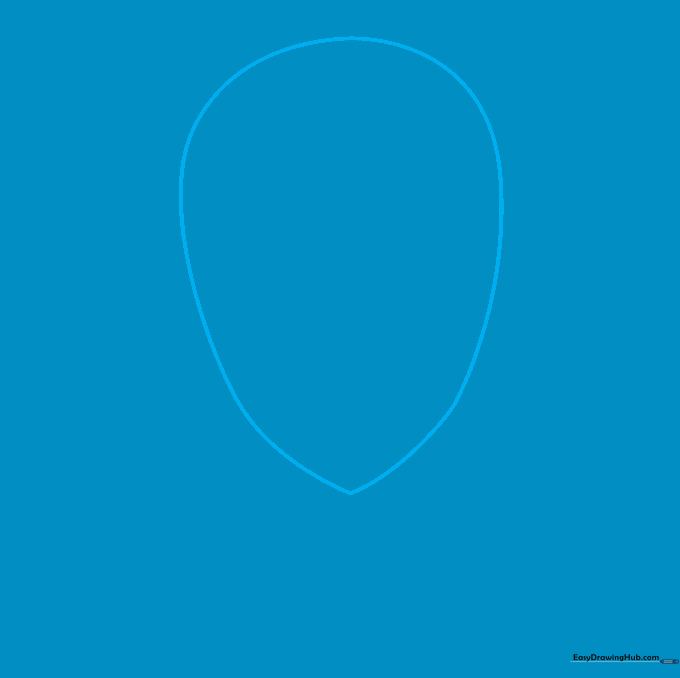
Draw a long, curved line to create an inverted teardrop shape. This will be the base for Catwoman’s head. Teacher's Tip: Keep your pencil pressure light so you can easily erase any stray lines later.
Step 2: Defining the Mask Opening
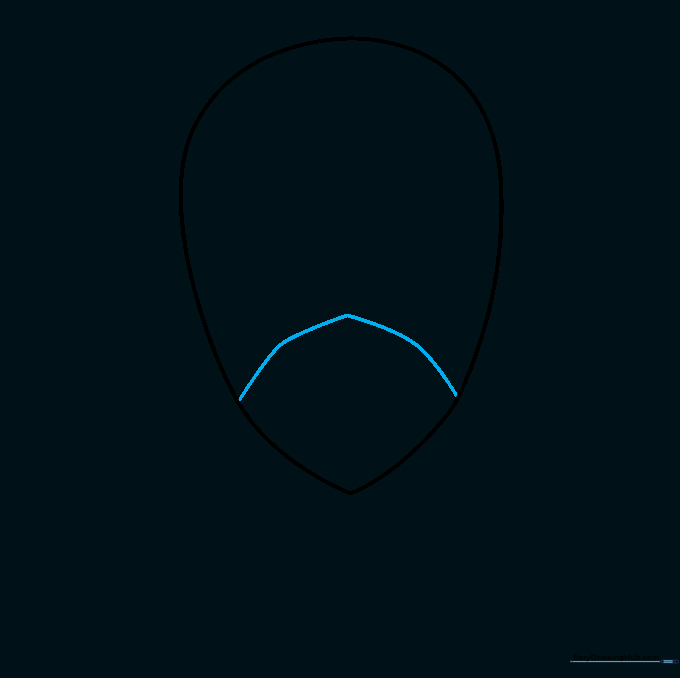
Draw two curved lines from the sides of the face that meet at a gentle point in the center. This creates the signature opening for her mask. Tip: Try to keep the curves symmetrical for a balanced look.
Step 3: Sketching the Eye Openings
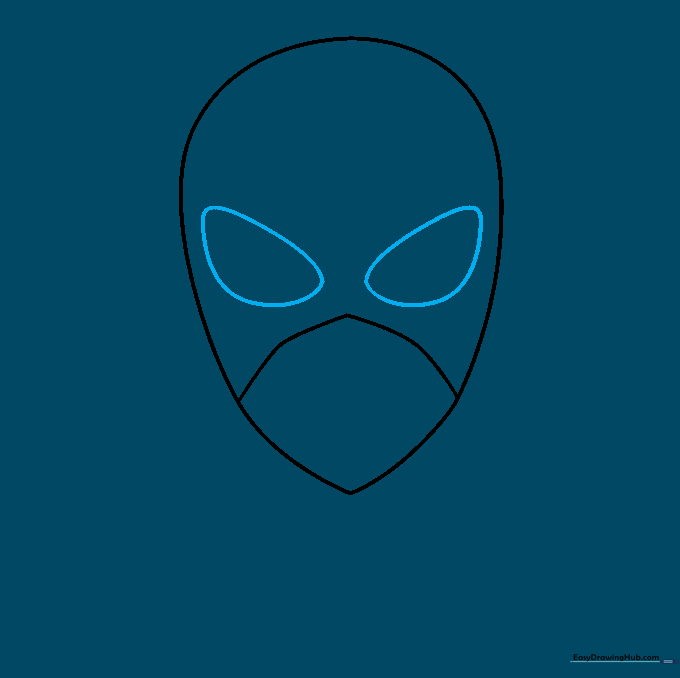
Use long, curved lines to draw two irregular, rounded shapes inside the mask area. These are the openings for her eyes. Tip: Make sure they are spaced evenly so she doesn't look cross-eyed!
Step 4: Adding Nose, Mouth, and Chin
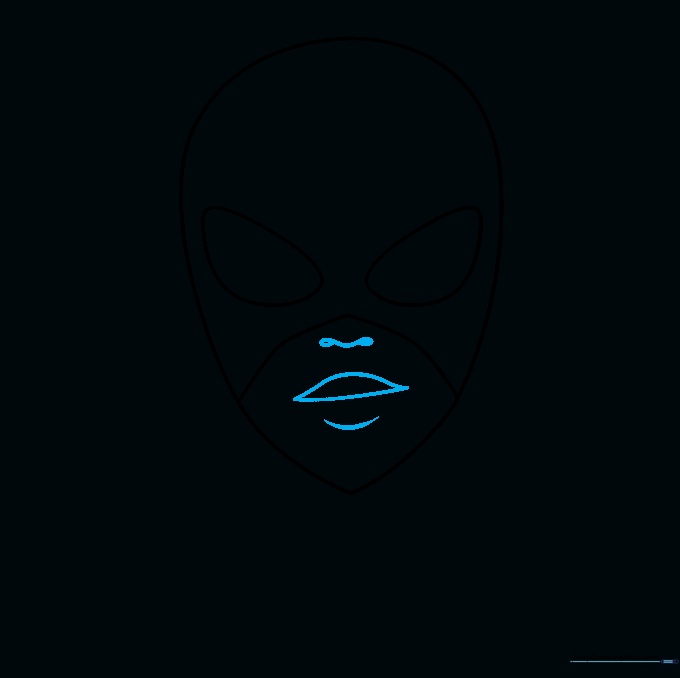
Draw a small curved line for the nose with tiny teardrop shapes for nostrils. Add a pointed mouth below, and finish with a 'U' shaped line to contour the chin. Tip: Keep the mouth small to maintain her mysterious, serious expression.
Step 5: Drawing the Neck and Suit
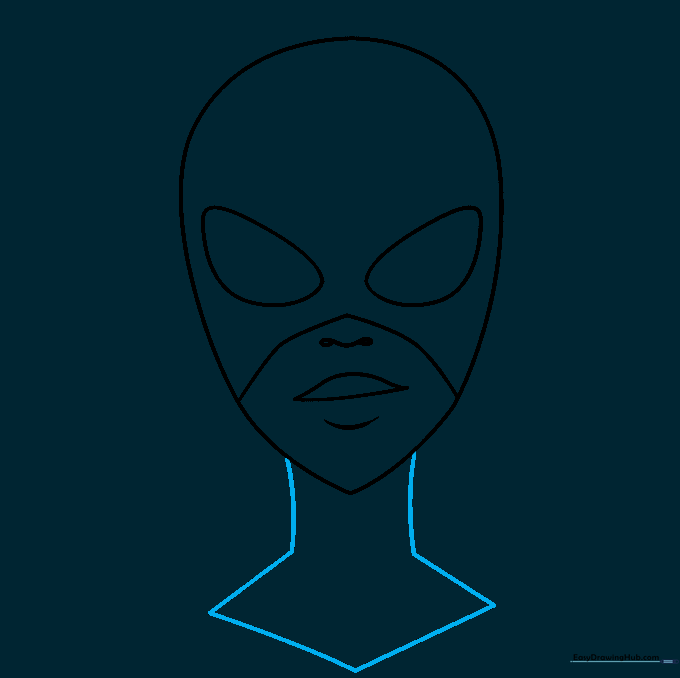
Extend two curved lines downward for the neck, then draw a diamond shape below to represent the collar of her suit. Tip: Use a ruler if you struggle to keep the diamond lines straight.
Step 6: Detailing the Eyes
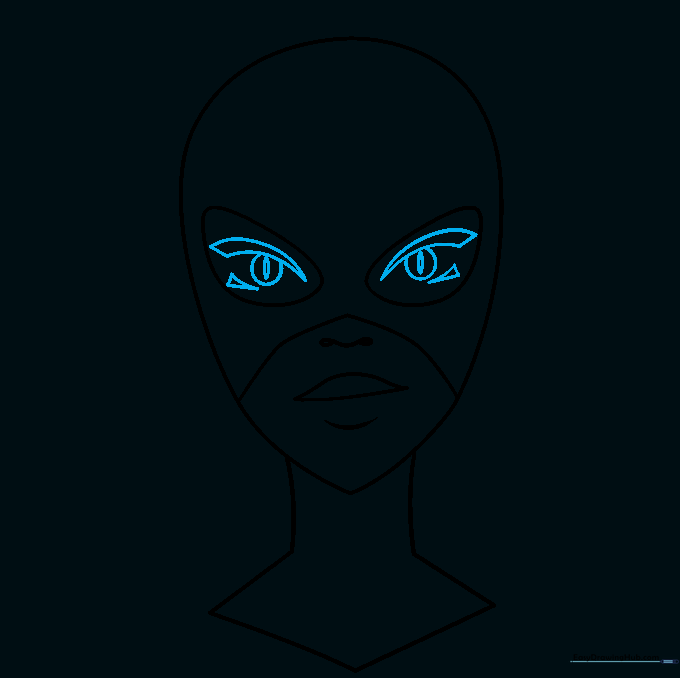
Draw sharp eyebrows, partial circles for the iris, and slit-like pupils. Add a small triangle to the side of each eye for depth. Tip: Slit pupils give her that feline, stealthy look!
Step 7: Adding Cat Ears
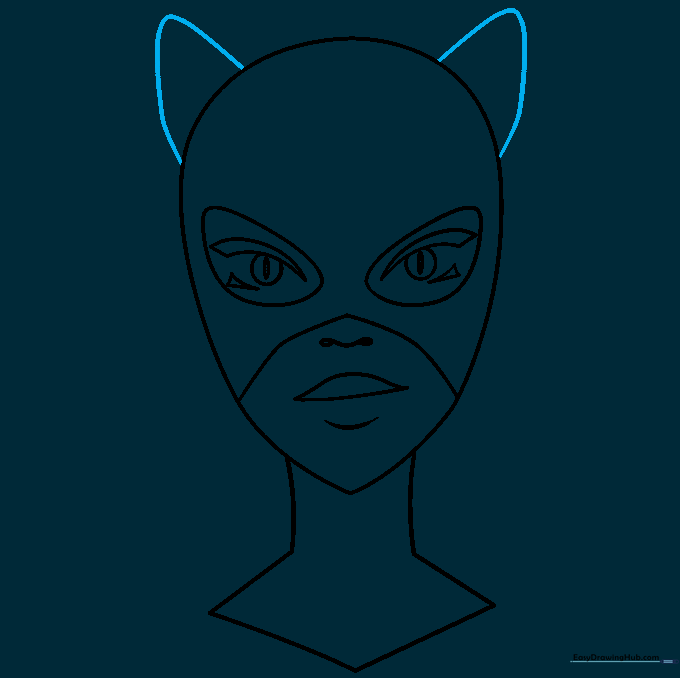
Draw two rounded triangular shapes on top of the head for her ears. Tip: Make sure they are placed at the same height so the mask looks balanced.
Step 8: Adding Mask Highlights

Draw curved lines across the ears and head to create a 'shine' effect. Connect these lines toward the eyes. Tip: These highlights make the mask look like it's made of sleek, shiny leather.
Step 9: Finalizing the Outline
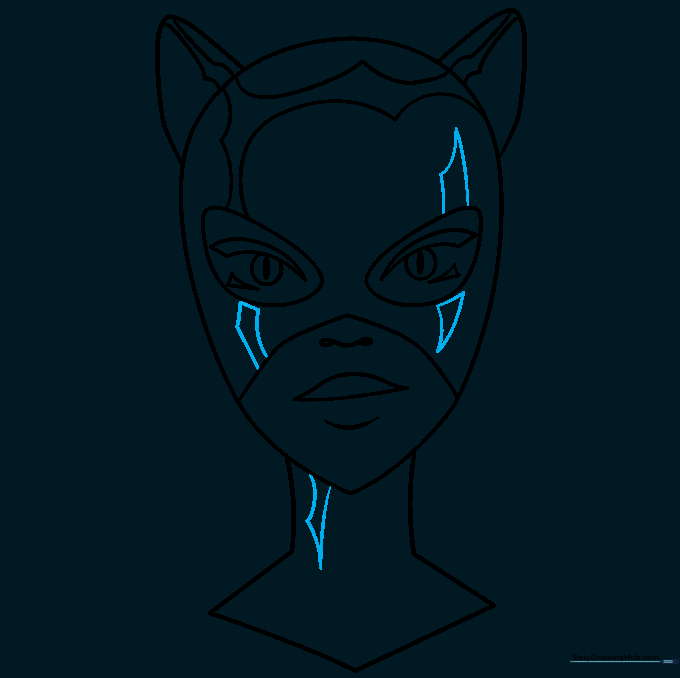
Add pointed shapes around the eyes and neck to refine the mask's edges. Tip: Use a darker pencil or a fine-liner pen to go over your final lines for a crisp, professional look.
Step 10: Coloring Your Masterpiece
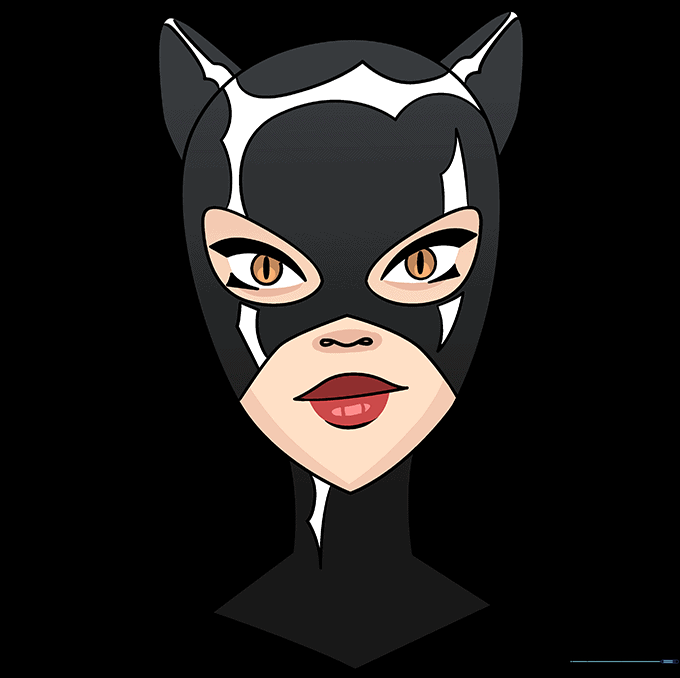
Color your Catwoman! Use deep blacks and greys for her suit, leaving the highlighted areas lighter to show the shine. Tip: Use a white gel pen to add extra 'pop' to the highlights.
More Tutorials


