How to Draw Realistic Cat Eyes: Easy Step-by-Step Guide
Ready to bring your feline drawings to life? This tutorial is perfect for young artists and beginners looking to capture the mysterious, captivating look of cat eyes. Grab your pencil and eraser, and follow along to learn how to construct realistic facial features with confidence.
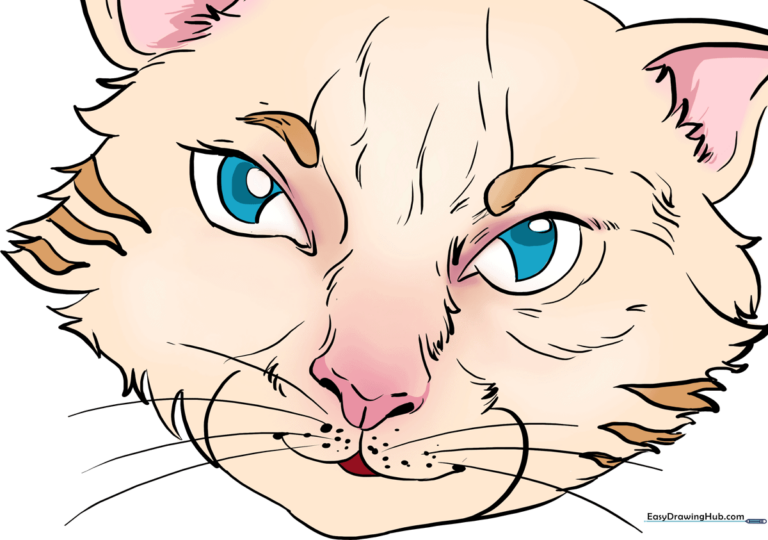
🎯 Final Result
Step-by-Step Instructions
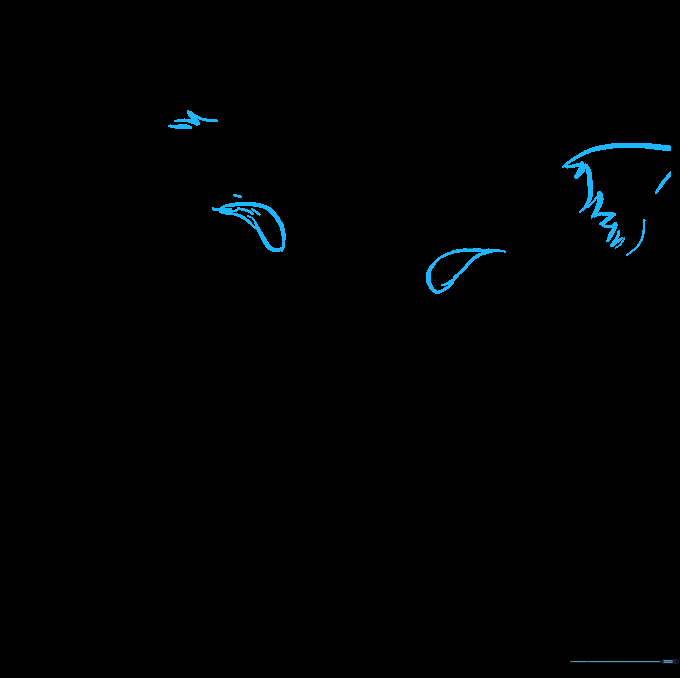
Step 1: Sketching the First Eye

Start by drawing a soft half-circle for the upper eyelid. Connect the ends with a curved line to form a point at the inner corner. Tip: Keep your pencil pressure light so you can easily adjust the shape if it looks a bit lopsided.
Step 2: Mirroring the Second Eye
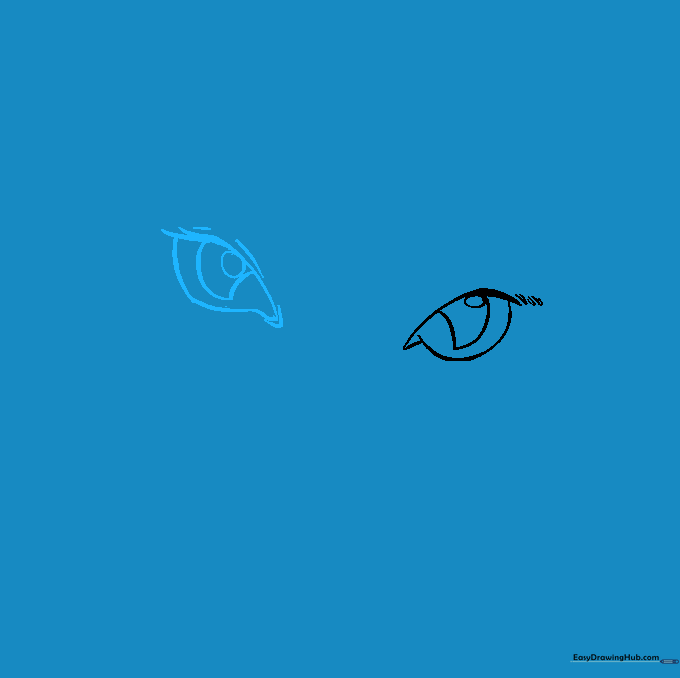
Repeat the process for the second eye, ensuring it is symmetrical to the first. Add two curved lines inside to create the iconic vertical slit pupil. Tip: Use a small oval inside the pupil to represent the light reflection, which makes the eye look shiny and alive.
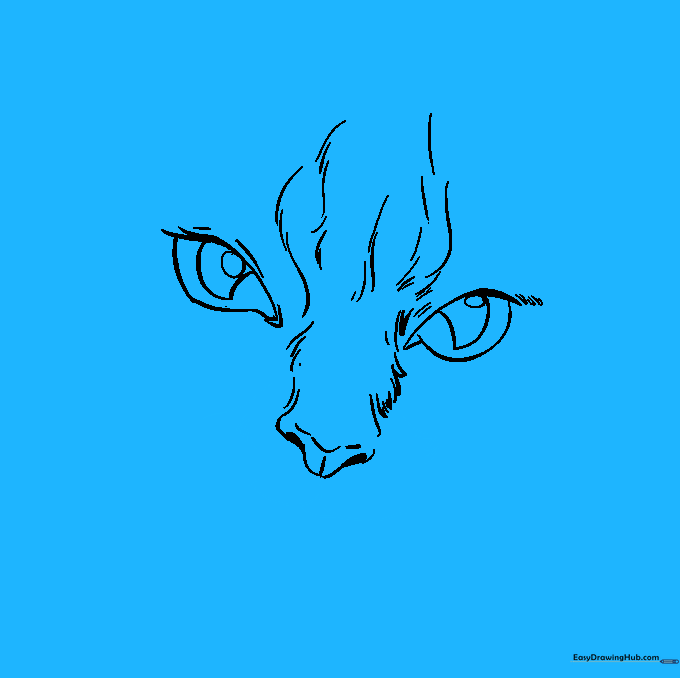
Step 3: Defining the Nose
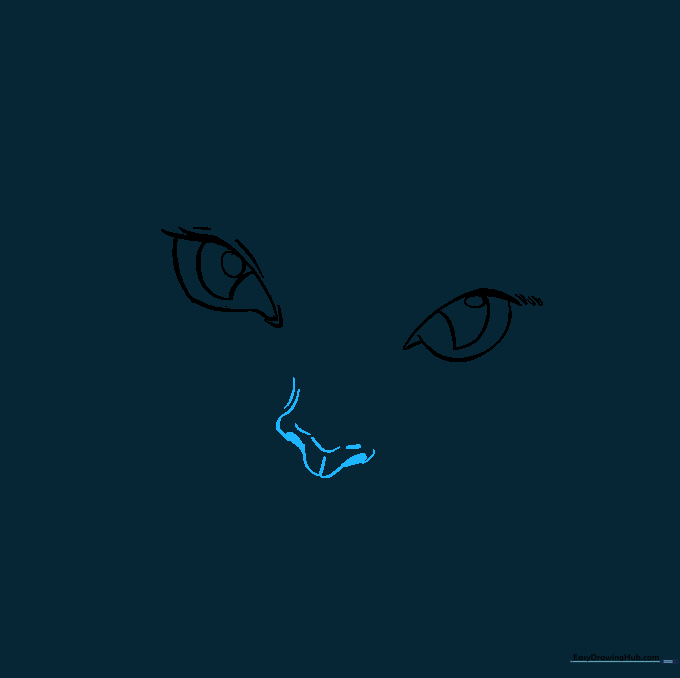
Draw a rounded 'V' shape centered below the eyes. Add small shaded ovals at the bottom of the 'V' for nostrils. Tip: A tiny upward curve from the bottom of the nose helps define the cat's muzzle structure.
Step 4: Adding Fur Texture
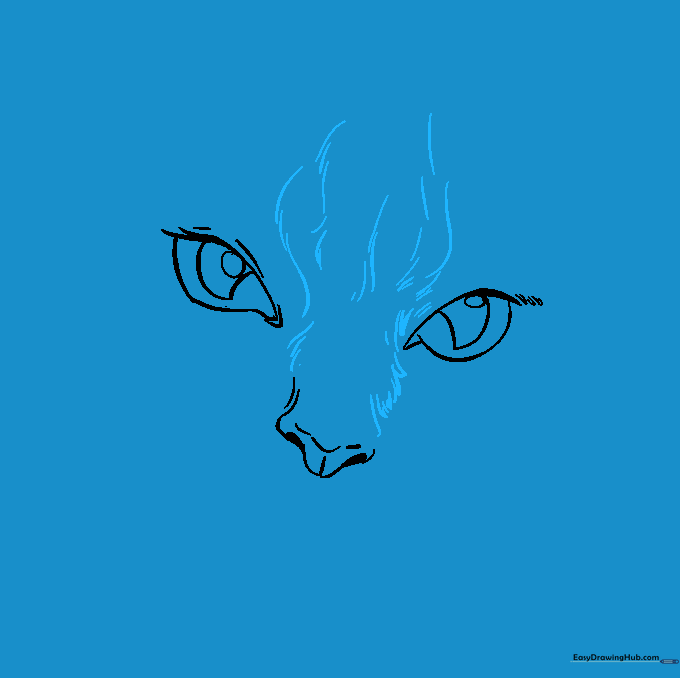
Use short, overlapping strokes to contour the bridge of the nose and the forehead. Tip: Think of these as 'fur marks'—keep your strokes quick and flick your wrist to make them look like soft hair.
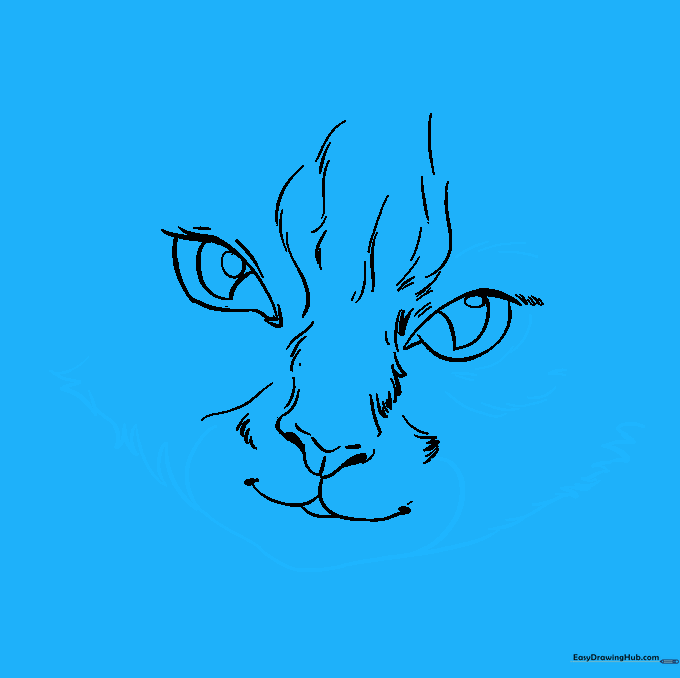
Step 5: Drawing the Mouth
Draw two overlapping 'U' shapes beneath the nose to create the mouth. Add a small triangle below for the chin. Tip: Place a tiny dot at each corner of the mouth to give your cat a subtle, friendly expression.
Step 6: Shaping the Cheeks
Use jagged, short lines to outline the cheeks and chin. This creates the illusion of fluffy fur. Tip: Vary the length of your lines to make the fur look natural rather than perfectly uniform.
Step 7: Outlining the Head and Ears
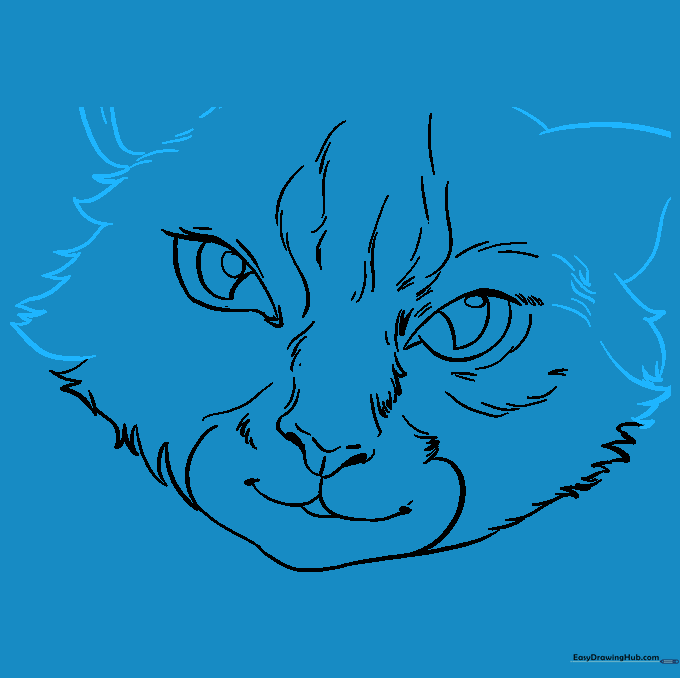
Continue the jagged line pattern to enclose the top of the head and the triangular ears. Tip: Make the ears slightly pointed to give the cat an alert, curious look.
Step 8: Adding Ear and Brow Detail
Add inner lines to the ears for depth and draw curved lines above the eyes to represent eyebrows. Tip: The eyebrows help convey emotion—try angling them slightly to change the cat's mood!
Step 9: Final Touches and Whiskers
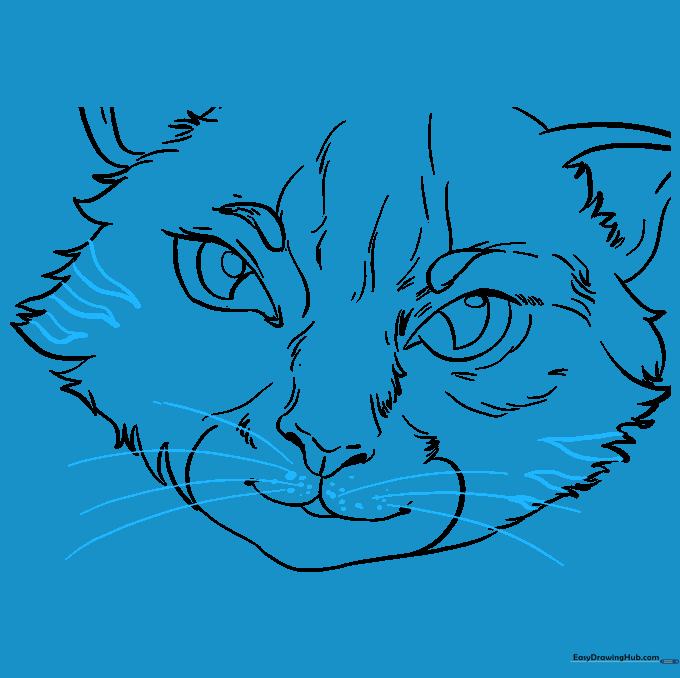
Add stripes to the face and draw long, sweeping lines for the whiskers. Tip: Draw whiskers with a single, confident motion to keep them looking sharp and fluid.
Step 10: Bring Your Drawing to Life with Color
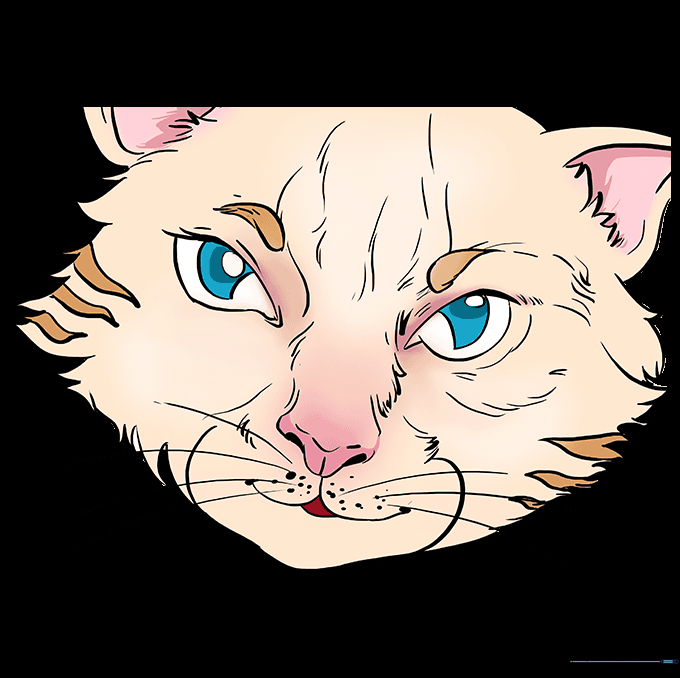
Time to color! Use your favorite pencils or markers to fill in the eyes. Tip: Use a lighter shade for the iris and a darker shade for the pupil to create a realistic, glowing effect.
More Tutorials


