How to Draw Casper the Friendly Ghost: Easy 9-Step Guide
Bring everyone's favorite friendly ghost to life with this simple drawing guide, perfect for artists ages 5 and up. All you need is a pencil, an eraser, and a sheet of paper to master this iconic character. Follow these steps to build confidence in your sketching skills while creating a fun, spooky-cute masterpiece.
🎯 Final Result

Step-by-Step Instructions
Step 1: Sketching the Expressive Eyes
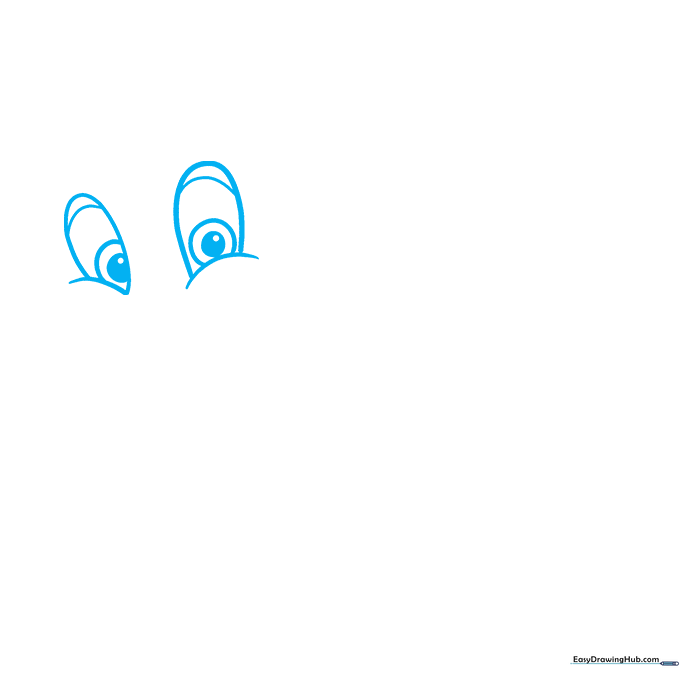
Start by drawing two large, friendly oval eyes. Add curved lines above them for eyelids. Teacher's Tip: Draw the eyes close together to give him that classic, sweet Casper look.
Step 2: Adding the Happy Mouth
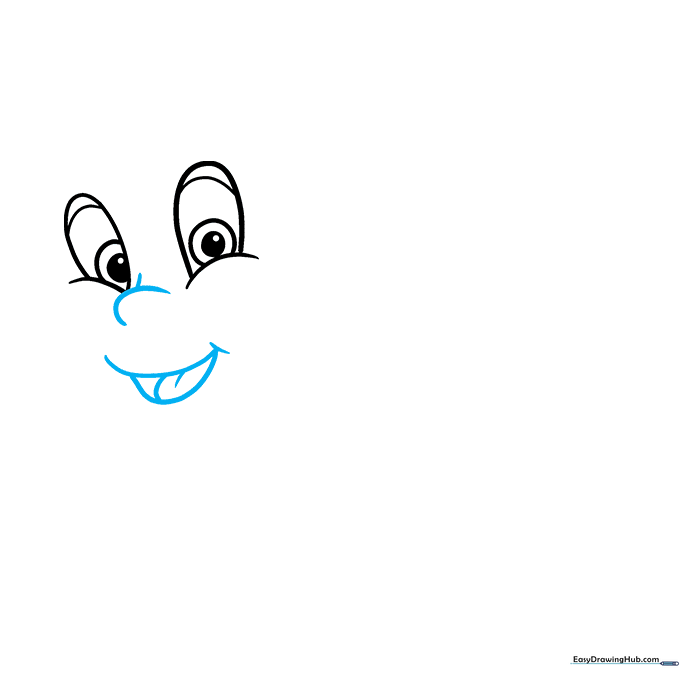
Draw a small, upturned nose and a wide, happy smile. Add a small curved line inside for the tongue. Teacher's Tip: Keep the mouth shape simple; a gentle curve makes him look much friendlier.
Step 3: Shaping the Head
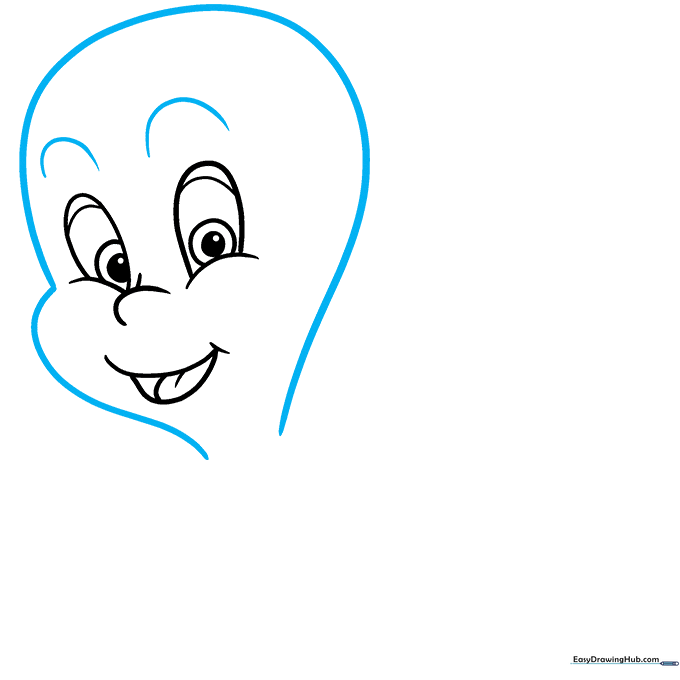
Outline the head with long, smooth curved lines and add two small 'U' shapes for eyebrows. Teacher's Tip: Use a light touch here—the head should look round and soft, not rigid.
Step 4: Sketching the First Arm
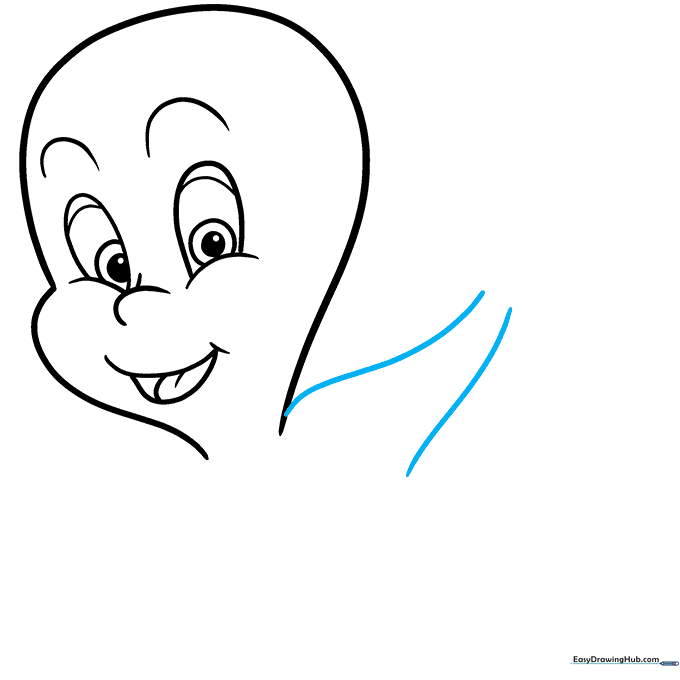
Draw two curved lines extending from the head to form the first arm. Teacher's Tip: Imagine the arm is floating, so keep the lines fluid and slightly wavy.
Step 5: Defining the Hand
Extend the second arm and draw a hand using a line that loops back on itself. Add a small curve for the palm. Teacher's Tip: Don't worry about fingers—ghost hands are often drawn as simple, rounded mittens!
Step 6: Completing the Arms

Refine the remaining hand and forearm with a smooth, continuous line. Teacher's Tip: Ensure the line connects naturally to the body so he looks like one solid, ghostly shape.
Step 7: Drawing the Tail
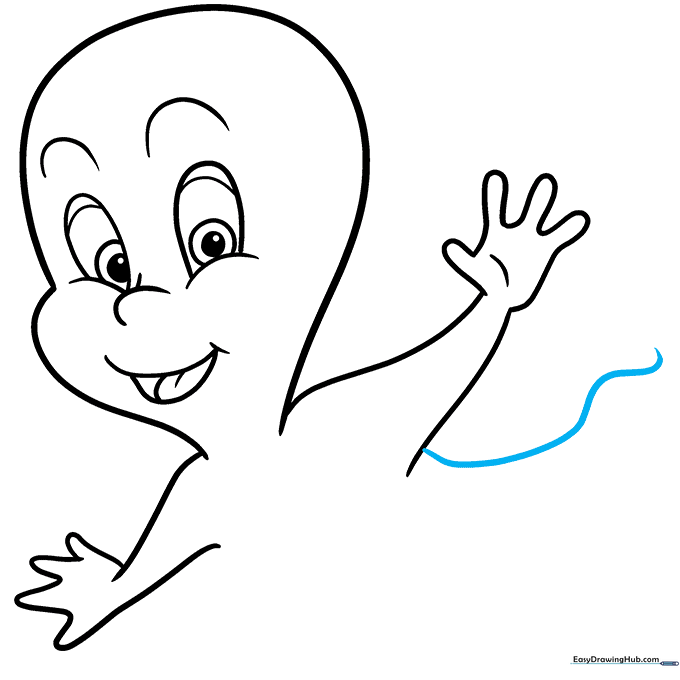
Extend a long, wavy line from the bottom of the arm. This creates the flowing tail of the ghost. Teacher's Tip: Make the tail look like it's trailing behind him to show movement.
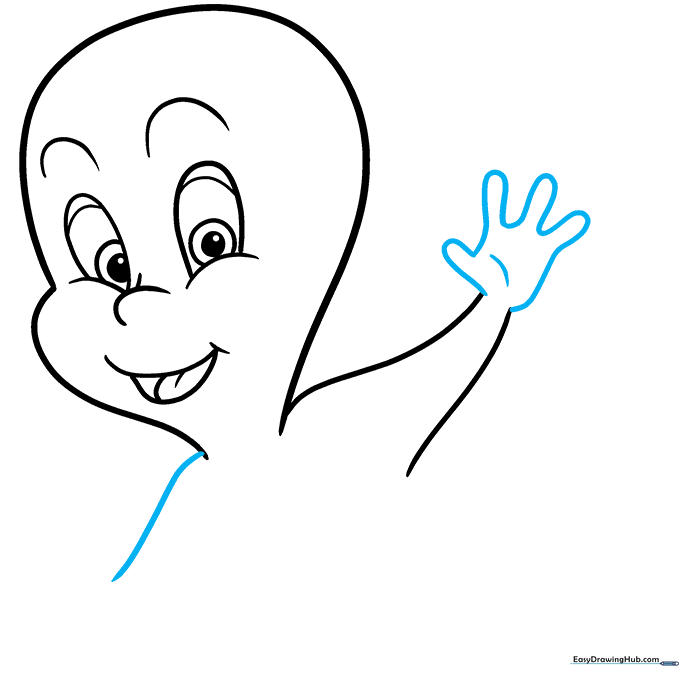
Step 8: Adding the Belly

Draw a long, gentle curved line to form the belly. Teacher's Tip: Keep this line soft to maintain his friendly, round appearance.
Step 9: Finalizing the Outline

Connect the belly and tail with a final wavy line. Erase any overlapping sketch lines. Teacher's Tip: Use a dark pencil to go over your final lines, making them bold and clean.
Step 10: Bringing Casper to Life with Color

Color the eyes blue and the tongue pink. Keep the body white, but add very light grey shading along the edges to give him a 3D, ghostly effect. Teacher's Tip: Use a light touch with the grey to keep him looking airy!
More Tutorials


