How to Draw Cartoon Hair: Easy 10-Step Guide
Ready to give your character some personality? This tutorial is perfect for young artists ages 5+ to learn how to draw stylized pigtails. All you need is a pencil, an eraser, and a piece of paper to get started on this fun, screen-free creative project.
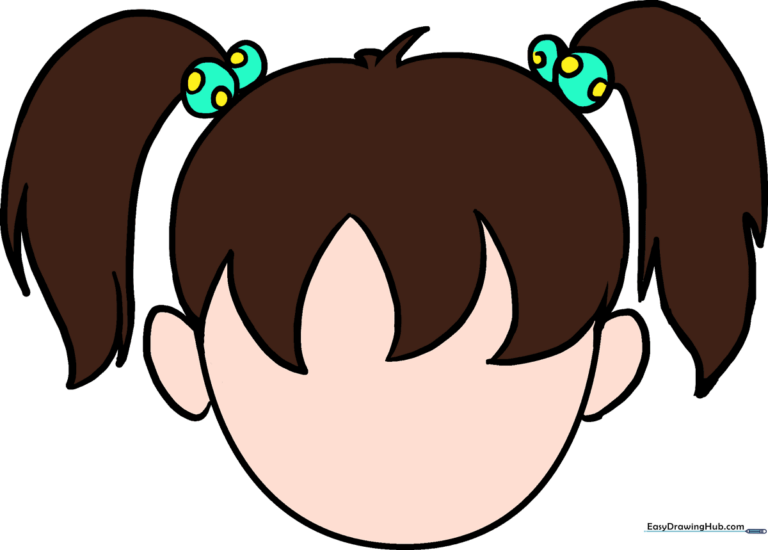
🎯 Final Result
Step-by-Step Instructions
Step 1: Sketching the Head Base

Draw a light circle to serve as the head. Teacher's Tip: Keep your pencil strokes very faint so you can easily erase them later—this is just a guide for placement!
Step 2: Defining the Face Shape

Extend a line from the sides of your circle to create a rounded chin shape. Teacher's Tip: Think of this as drawing a 'U' shape attached to the bottom of your circle.
Step 3: Adding Ear Guides
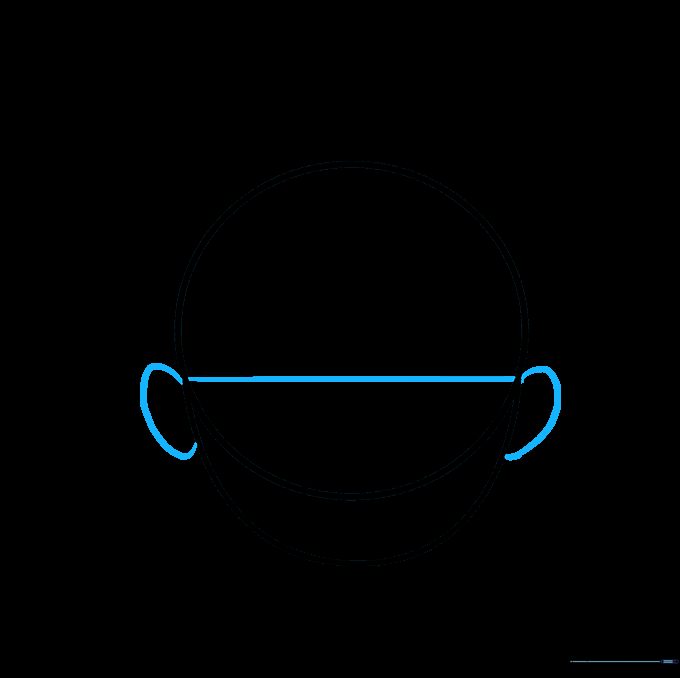
Draw a horizontal line across the middle of the head and add two small curves for ears. Teacher's Tip: Aligning the top of the ears with the horizontal line helps keep your character's features symmetrical.
Step 4: Cleaning the Guide Lines
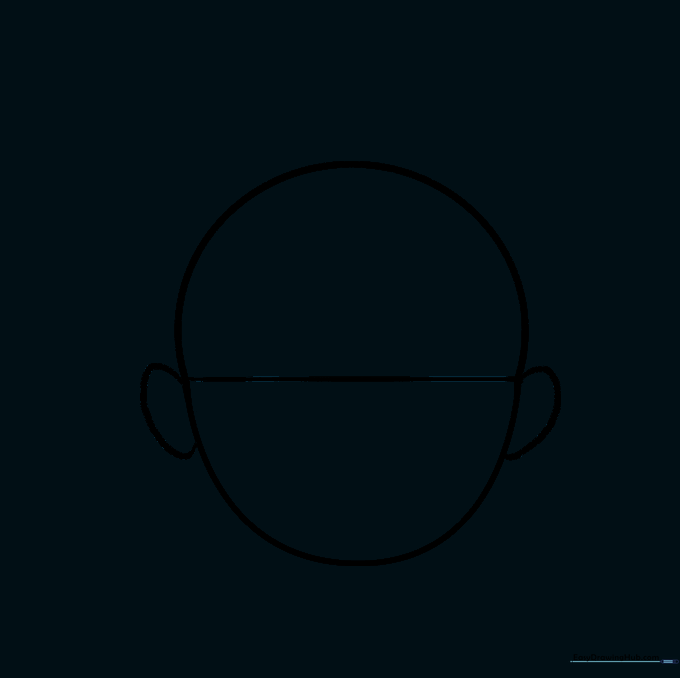
Carefully erase the horizontal line inside the head. Teacher's Tip: Use a soft eraser and gentle pressure to avoid smudging your paper.
Step 5: Outlining the Hairline
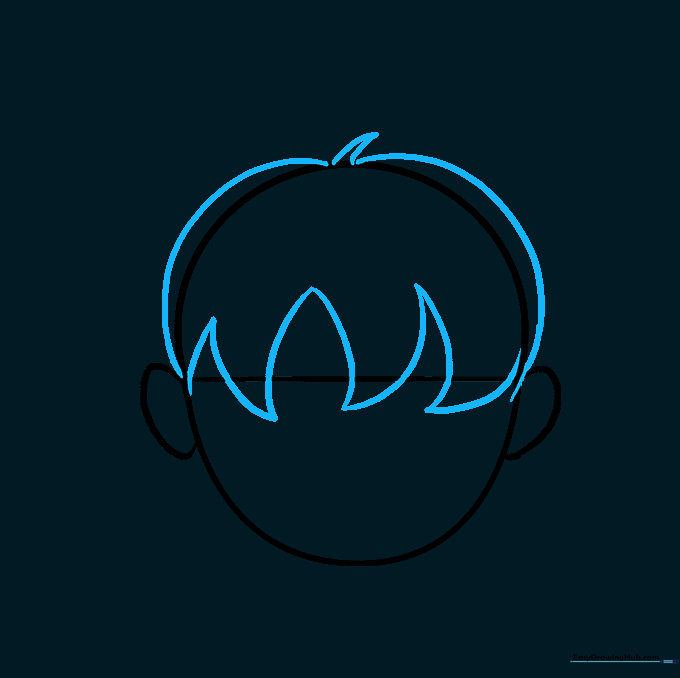
Draw the hair outline using connected, curved lines that sit slightly outside the head shape. Teacher's Tip: Make the hair look 'bouncy' by using varying curve sizes—this adds volume to your character's style.
Step 6: Adding Hair Ties
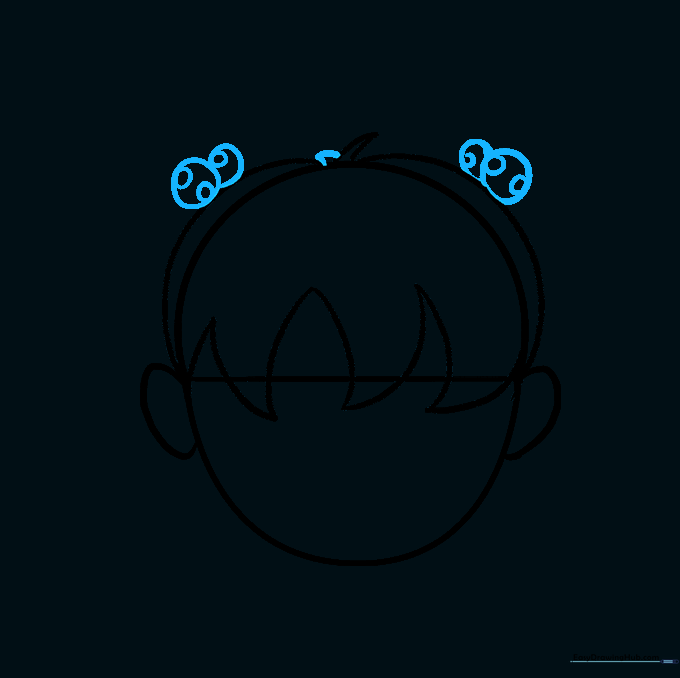
Draw two small circles on each side for hair ties, and add tiny circles inside them for polka dots. Teacher's Tip: Adding patterns like polka dots is a great way to customize your character's accessories!
Step 7: Finalizing the Head Outline
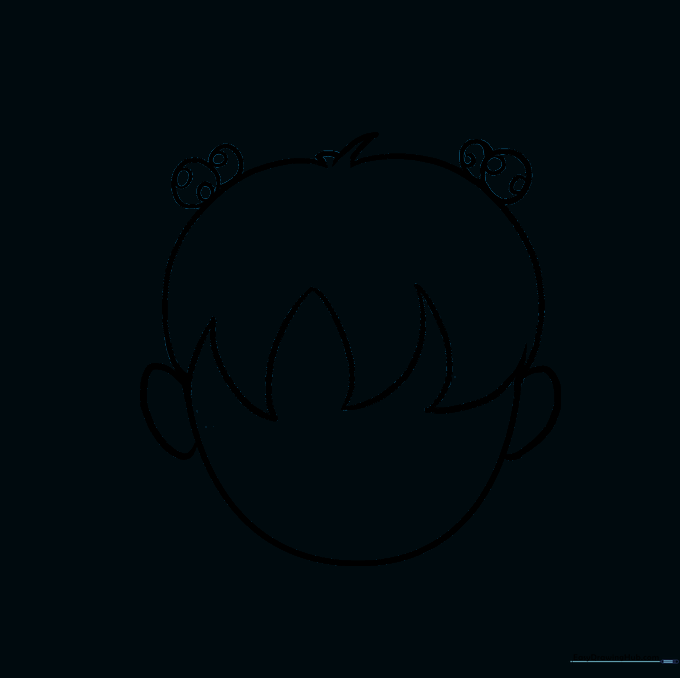
Erase any remaining guide lines from the original circle. Teacher's Tip: Now that the outline is clean, you can go over your final lines with a darker pencil or pen to make them pop.
Step 8: Drawing the First Pigtail
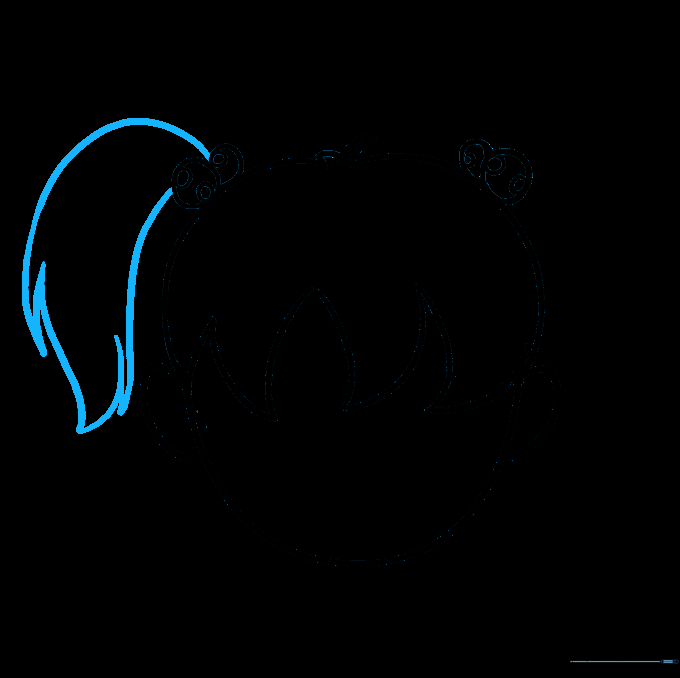
Draw the first pigtail using long, jagged curved lines. Teacher's Tip: Don't worry about making the lines perfectly straight; hair naturally has movement and texture.
Step 9: Drawing the Second Pigtail
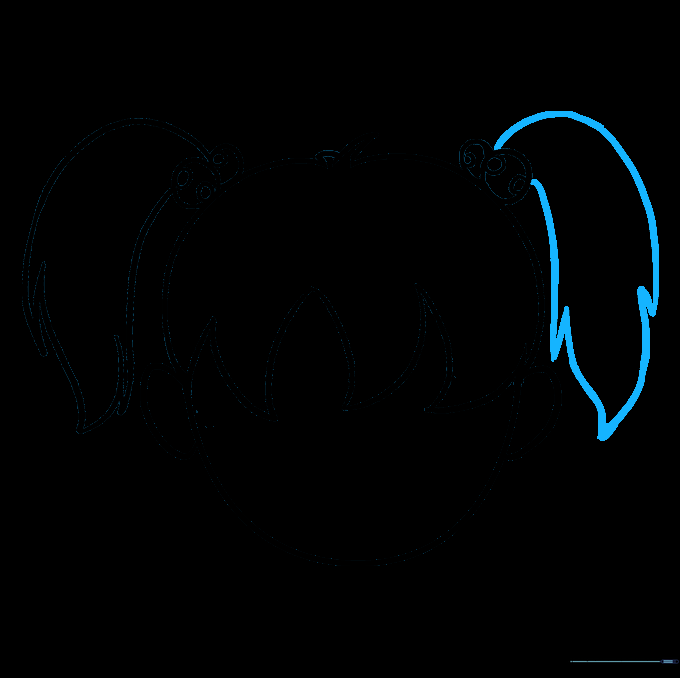
Repeat the process for the second pigtail on the opposite side. Teacher's Tip: Try to match the length and 'jaggedness' of the first pigtail to keep the drawing balanced.
Step 10: Adding Color
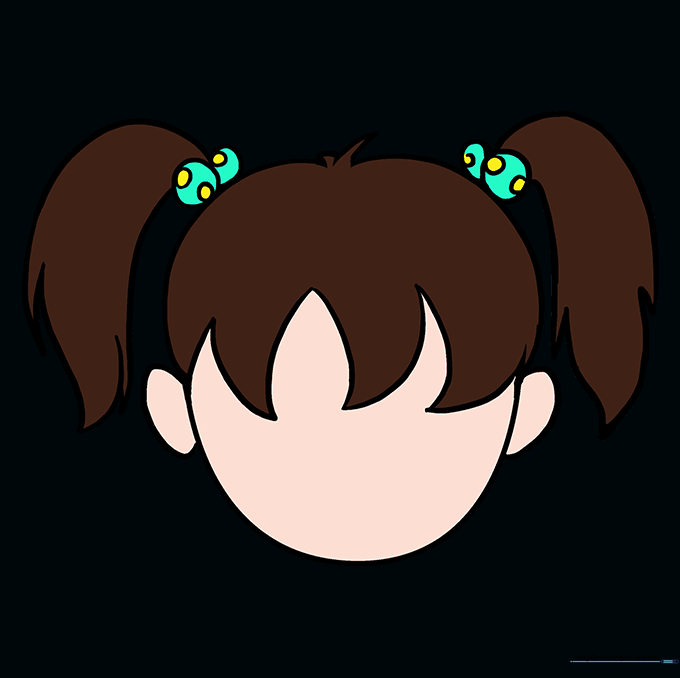
Bring your character to life with color! Whether you choose natural tones or bright, fun colors like blue or purple, the choice is yours. Teacher's Tip: Use light pressure with your crayons or markers to create smooth, even color blocks.
More Tutorials


