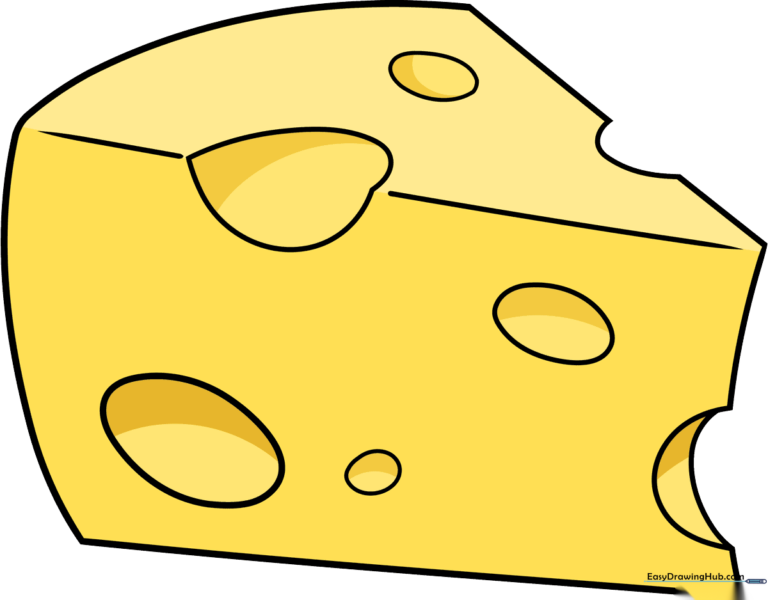
How to Draw Cartoon Cheese: Easy 9-Step Guide
Perfect for young artists ages 5 and up, this cartoon cheese tutorial is a fun way to practice basic geometric shapes. All you need is a pencil, an eraser, and a piece of paper. Follow along to create a playful, hole-filled wedge that brings a touch of whimsy to your sketchbook.
🎯 Final Result
Step-by-Step Instructions
Step 1: Sketching the Base
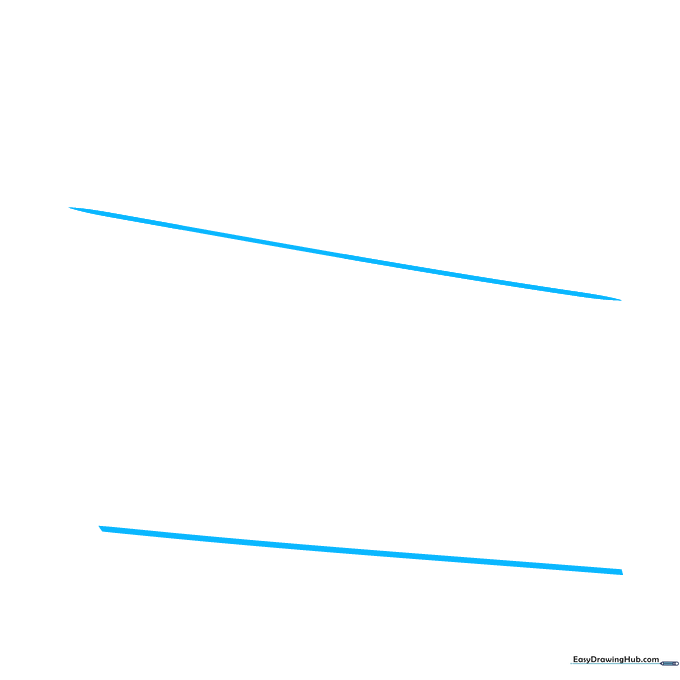
Start your drawing with two diagonal lines that angle downward. Teacher's Tip: Keep your pencil pressure light so you can easily adjust the width of your cheese wedge later.
Step 2: Defining the Curves
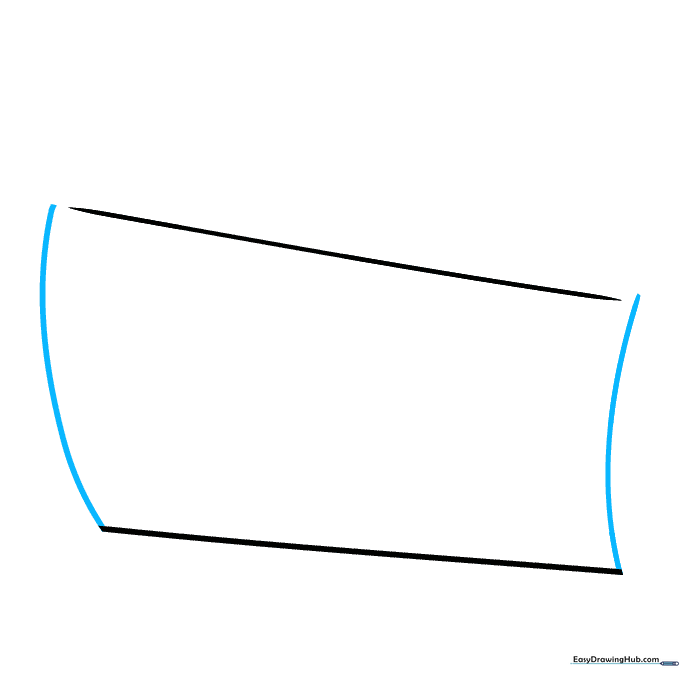
Draw two soft curves between your diagonal lines. Tip: Leave a small gap between the curves and the top line to give your cheese a more organic, rounded look.
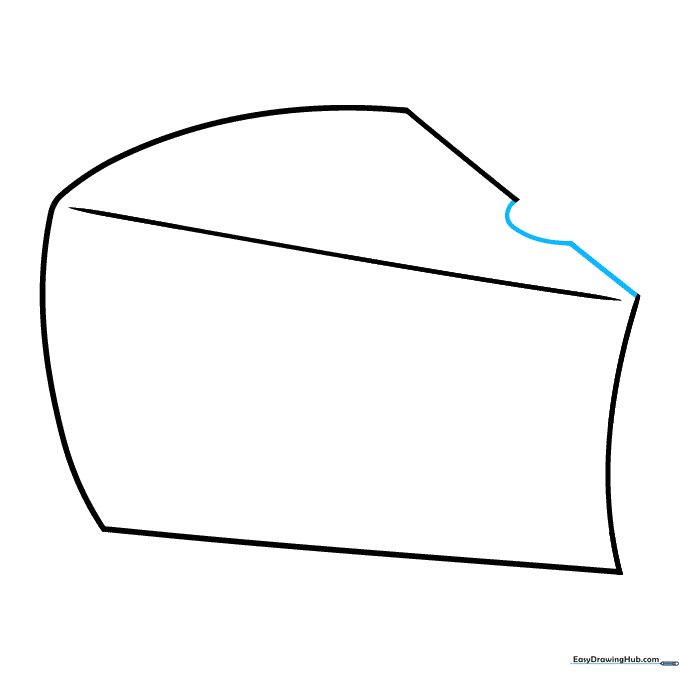
Step 3: Creating the Top Edge
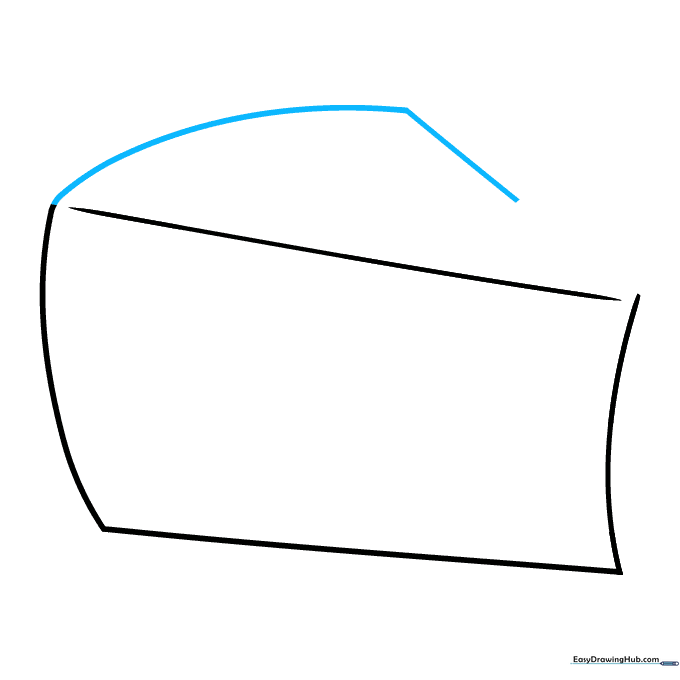
Add a curve at the top pointing upward, then a straight line extending in the opposite direction. Tip: Imagine the top of the cheese is like a gentle hill.
Step 4: Adding the First Hole
Sketch a small loop before continuing your line. This creates the classic 'Swiss cheese' look. Tip: Don't worry if the loop isn't perfect; cheese holes come in all shapes!
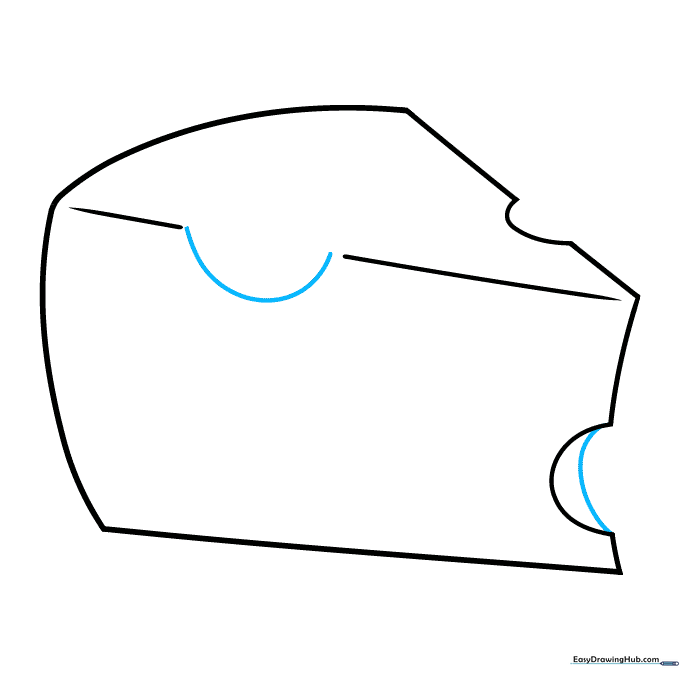
Step 5: More Texture

Cut another loop out of the vertical line you drew earlier. Tip: Varying the size of these loops makes your drawing look more realistic and less repetitive.
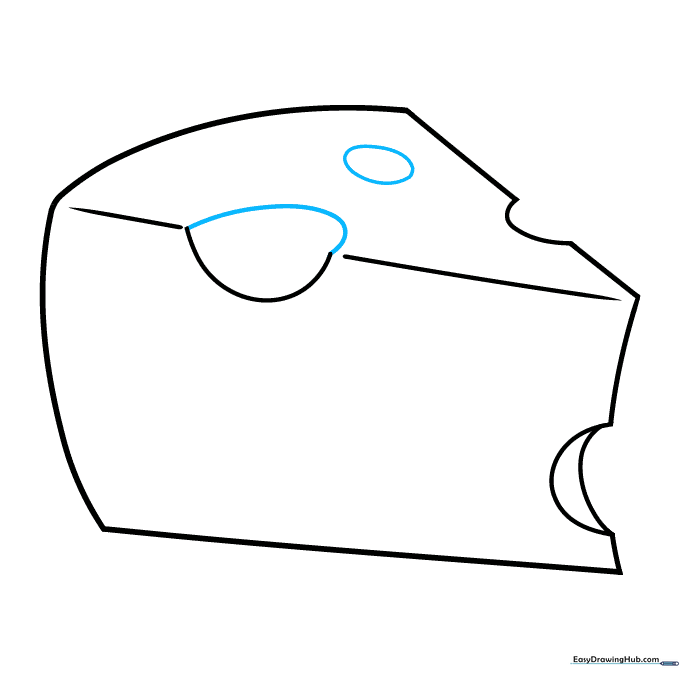
Step 6: Adding Depth
Add a loop to the right side and another near the top edge. Tip: Placing holes near the edges makes the cheese look like it has volume.
Step 7: Refining the Holes
Draw an oval and a curve pointing to the right. Tip: Use short, quick strokes to keep the lines smooth.
Step 8: Final Details
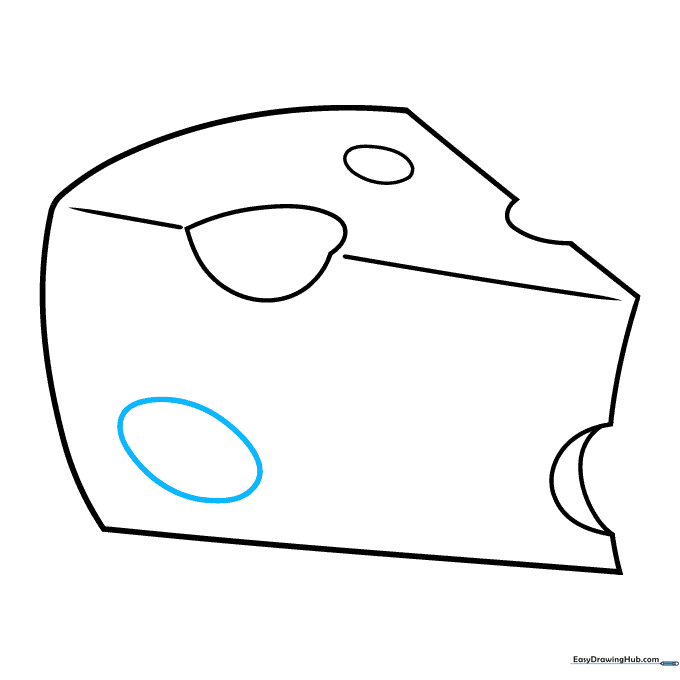
Outline another oval near the bottom. Tip: Make this one slightly smaller to show perspective.
Step 9: Completing the Outline
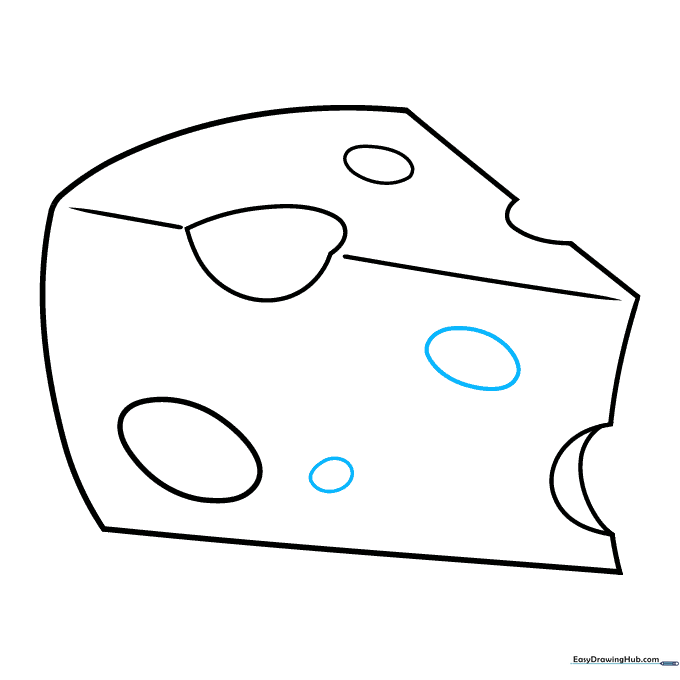
Sketch two final ovals of different sizes. Your cheese wedge is now complete! Tip: Erase any overlapping guidelines to clean up your sketch before coloring.
Coloring Your Masterpiece
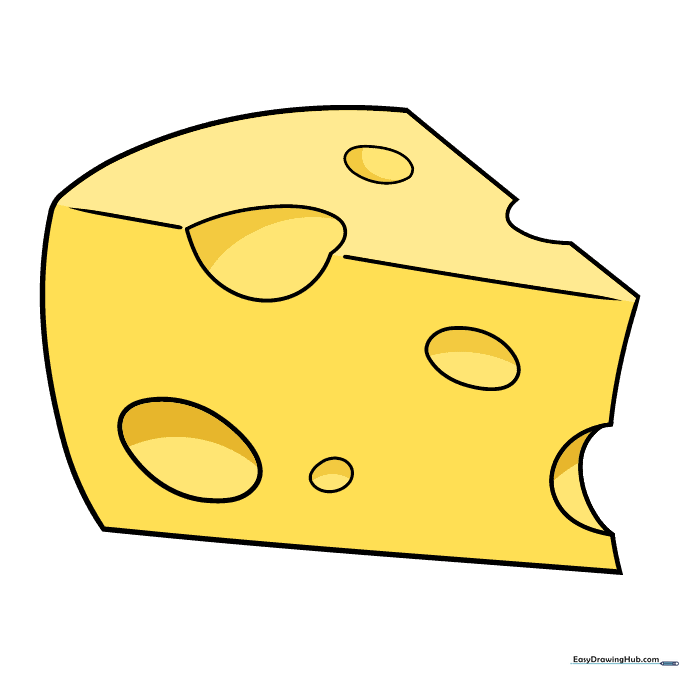
Bring your cheese to life using three shades of yellow. Use the lightest yellow for the top and a darker shade inside the holes to create depth. Tip: Try adding a touch of orange or even blue-streaks if you want to draw a fancy 'gourmet' cheese!
More Tutorials


