How to Draw Carnage: Easy Step-by-Step Guide
Bring the iconic symbiote villain to life with this step-by-step tutorial designed for young artists and comic fans. You will need a pencil, an eraser, and a black fine-liner to capture his jagged, chaotic features. Follow along to master the fluid, organic shapes that define Carnage’s terrifying look.
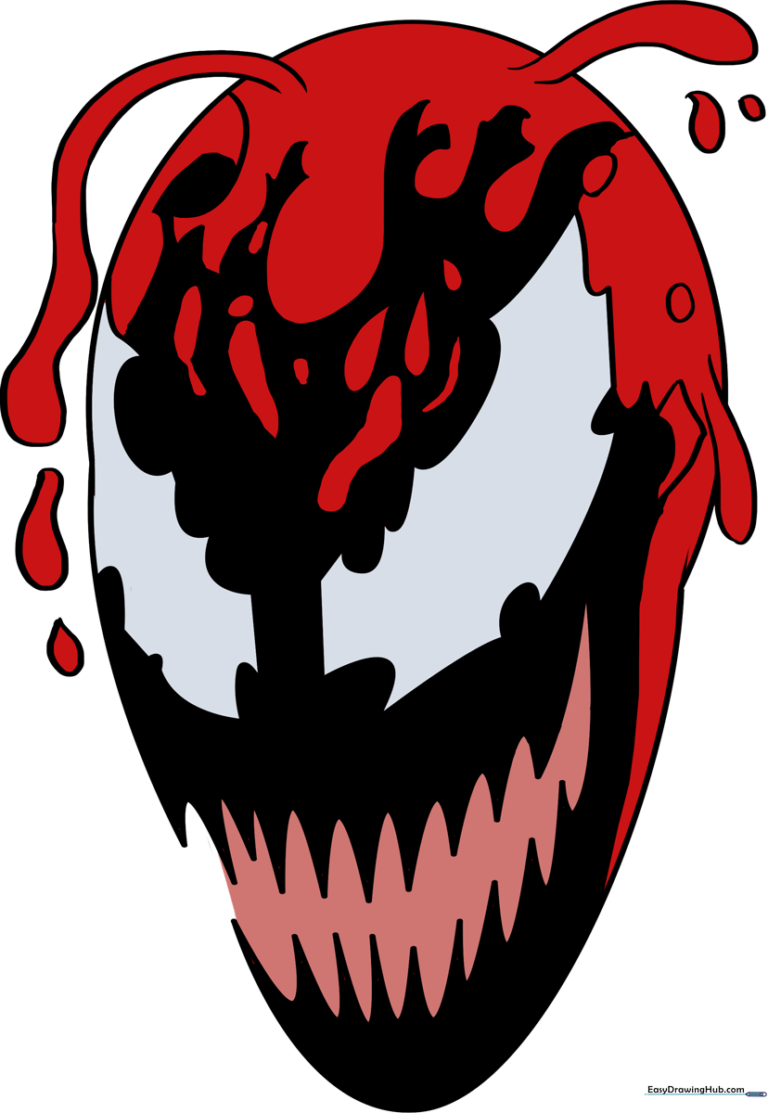
🎯 Final Result
Step-by-Step Instructions
Sketching the Base Head Shape

Start by drawing a large, slightly irregular oval. Teacher's Tip: Keep your pencil strokes very light here; this is just a guide that we will erase later to keep the final drawing clean.
Defining the Upper Jaw
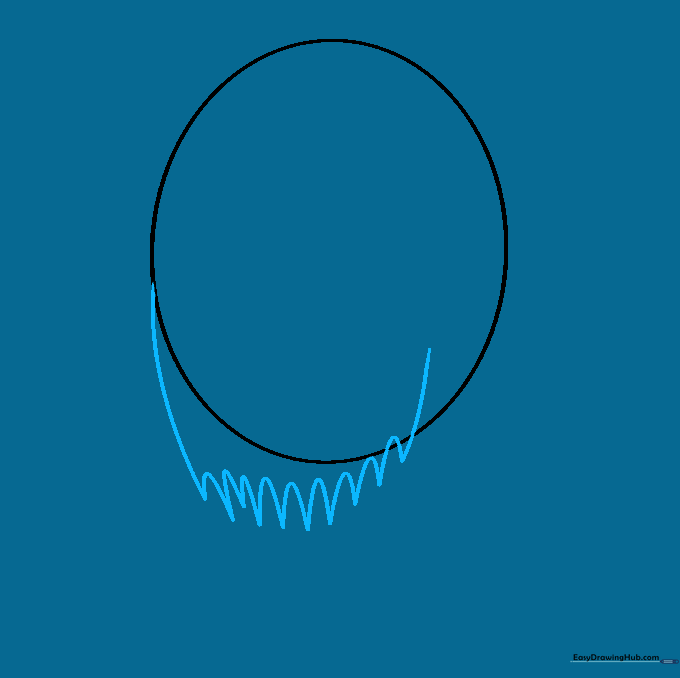
Draw a curved line downward from the side of the oval. Use a series of interconnected, inverted 'U' shapes to create the sharp, jagged upper teeth. Teacher's Tip: Make the teeth different sizes to give him that menacing, uneven look.
Forming the Lower Jaw
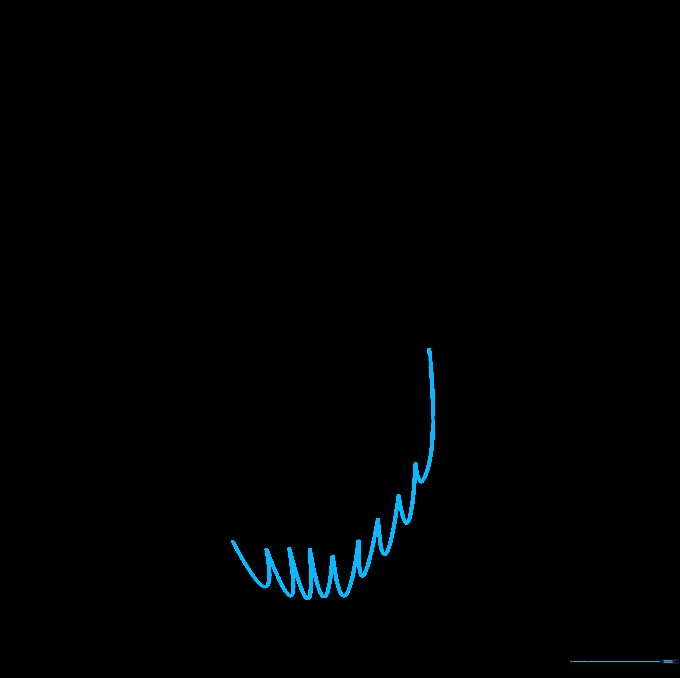
Add a second row of connected 'U' shapes below the first to form the lower jaw. Connect them just inside the oval guide. Teacher's Tip: Ensure the teeth overlap slightly to make the mouth look like it's snapping shut.
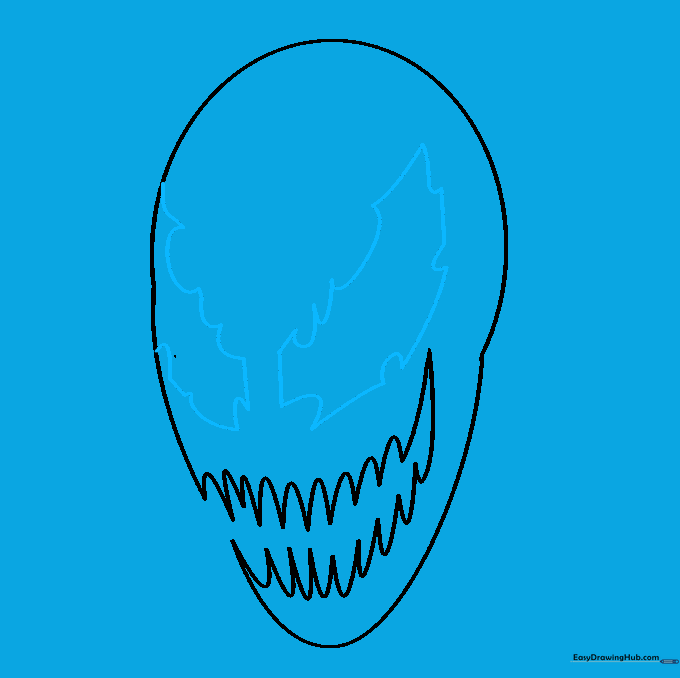
Connecting the Jawline

Draw a long, curved line from the bottom jaw back up to the side of the head. This creates the structure of the lower face. Teacher's Tip: Use a smooth, continuous motion to keep the line looking fluid.
Cleaning the Outline

Carefully erase the original oval lines that overlap with the jaw. Teacher's Tip: Use a kneaded eraser if you have one; it’s gentler on the paper and helps you remove only the lines you don't need.
Drawing the Eyes
Outline the eyes using a series of straight and 'U' shaped lines. Teacher's Tip: Make the eyes look aggressive by angling the inner corners downward toward the nose area.
Adding Symbiote Texture

Use curved lines across the top of the head to create a liquid, shifting pattern. Teacher's Tip: Think of these as ripples in water; they should look like they are moving or flowing.
Adding Liquid Droplets
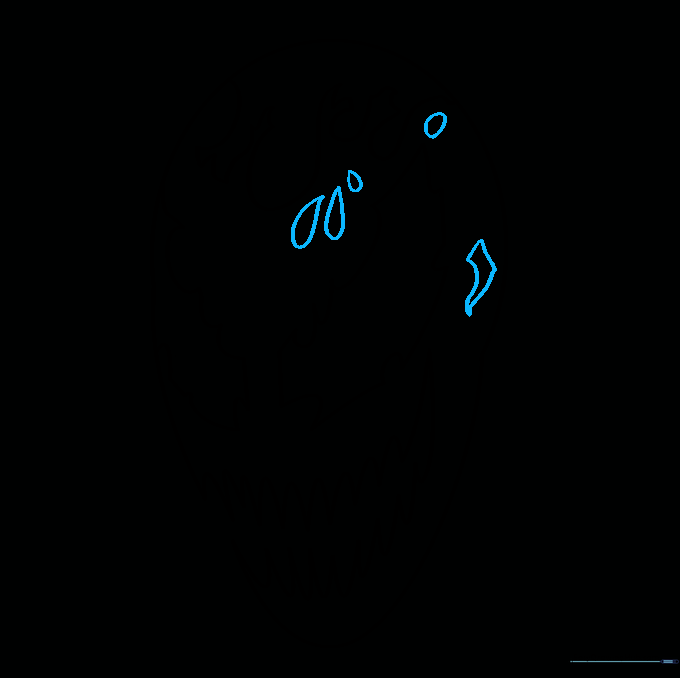
Draw small, irregular droplets around the eyes and top of the head. Teacher's Tip: Vary the size of the droplets to create a more natural, chaotic look.
Drawing the Tendrils
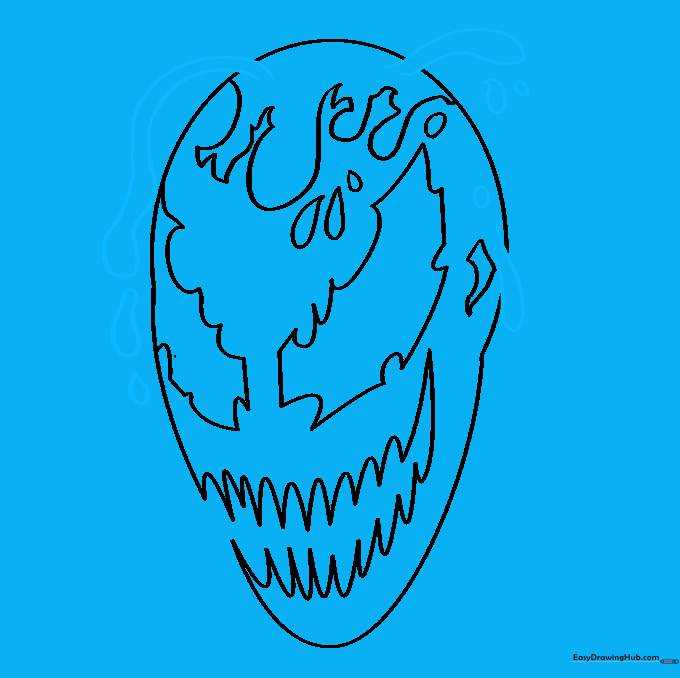
Use long, curved lines that double back to create tendrils emerging from the head. Teacher's Tip: Let these lines overlap slightly to add depth and make the symbiote look like it's reaching out.
Coloring Your Drawing

Fill in your drawing using red for the main body and black for the deep shadows and tendrils. Teacher's Tip: Use a darker red in the crevices to add a 3D effect to your character.
More Tutorials


