How to Draw a Cardinal: Easy 10-Step Bird Drawing Guide
Capture the beauty of nature with this step-by-step cardinal drawing tutorial, perfect for artists ages 7 and up. You will need a pencil, eraser, and paper to bring this iconic winter bird to life. Follow along to master basic shapes and feather texturing techniques.
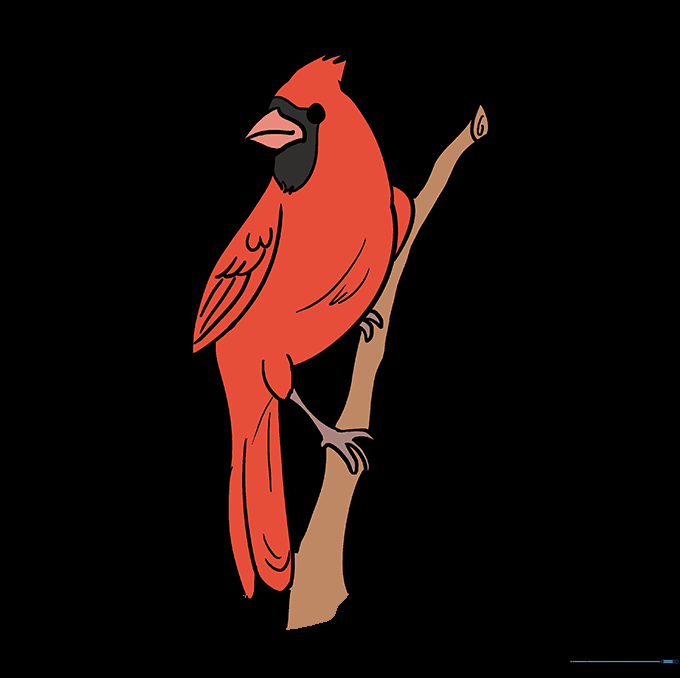
🎯 Final Result

Step-by-Step Instructions
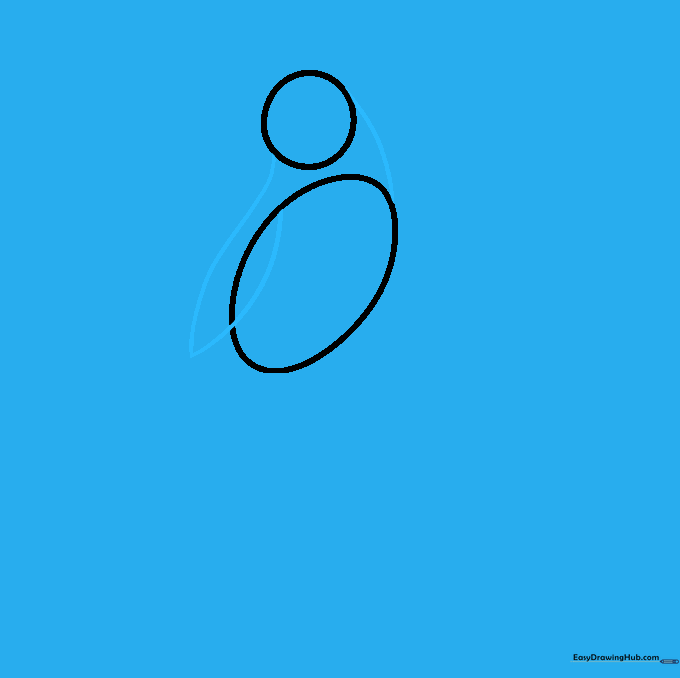
Step 1: Sketching the Head

Draw a light circle to serve as the head. Teacher's Tip: Keep this circle about the size of a quarter; drawing it lightly makes it much easier to refine the beak shape later.
Step 2: Defining the Body

Draw a tilted oval beneath the head for the body. Tip: Angle the oval slightly downward to give your bird a natural, perching posture.
Step 3: Creating the Wing
Connect the head and body with a curved line, then sketch the wing on the side. Tip: Imagine the wing as a teardrop shape that tapers to a point to show movement.
Step 4: Sketching the Tail
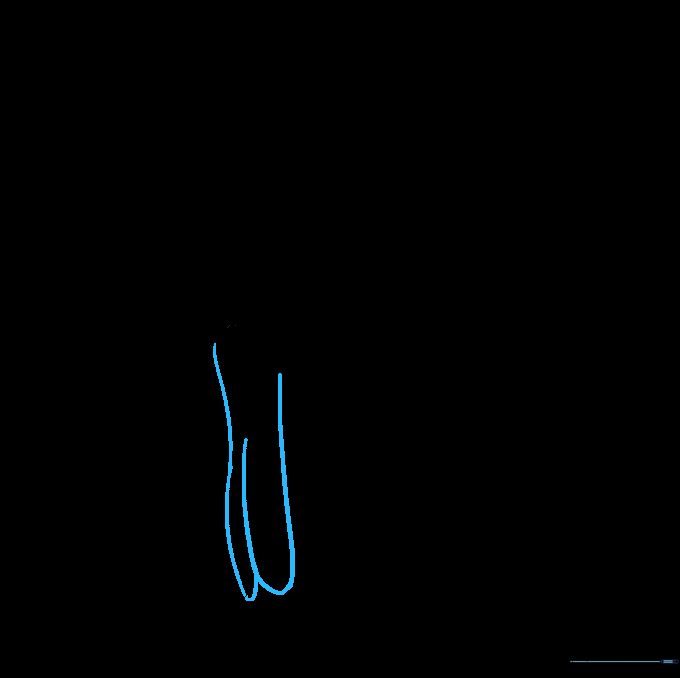
Extend a long, curved 'J' shape from the body to form the tail. Tip: Make the tail long and elegant to balance the weight of the bird's head.
Step 5: Cleaning the Outline

Gently erase the overlapping lines inside the bird's body. Tip: Use a kneaded eraser if you have one; it lifts graphite without damaging the paper surface.
Step 6: Drawing the Feet
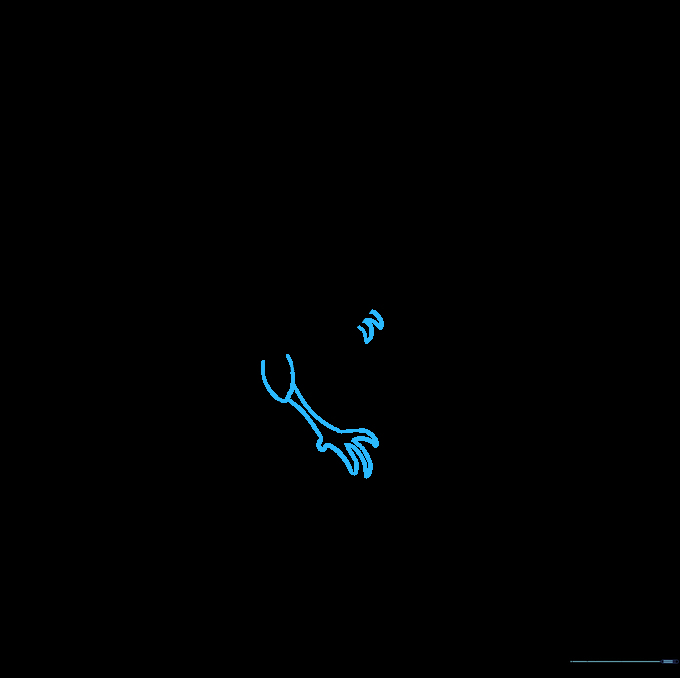
Add the legs and toes using small, curved shapes. Tip: Cardinals have strong feet for gripping branches; keep the toes slightly hooked.
Step 7: Adding Facial Features
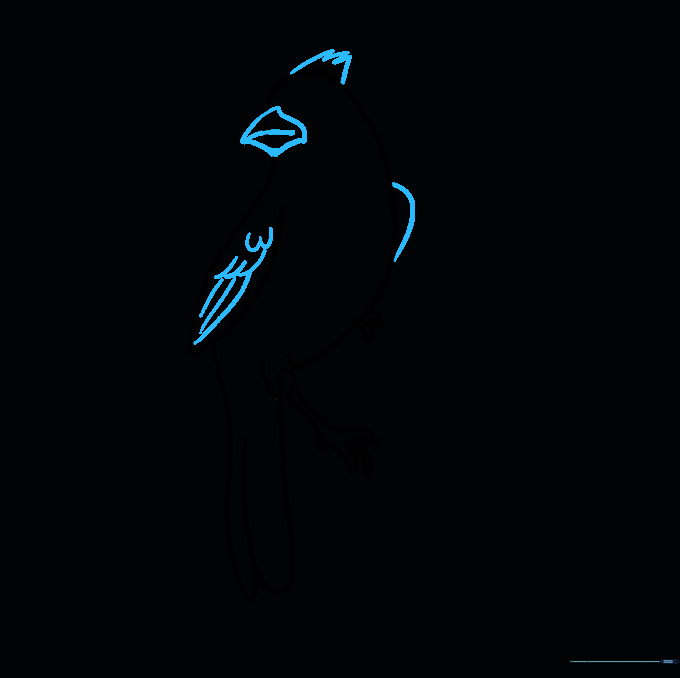
Draw the iconic crest and beak. Tip: Use short, jagged strokes for the crest to mimic the texture of real feathers.
Step 8: Refining the Details

Clean up any remaining construction lines and sharpen your edges. Tip: Check your proportions one last time before moving to the final details.
Step 9: Adding the Eye and Perch
Draw the eye and a twig for the bird to sit on. Tip: Add a small white highlight in the eye to make your cardinal look alive and alert.
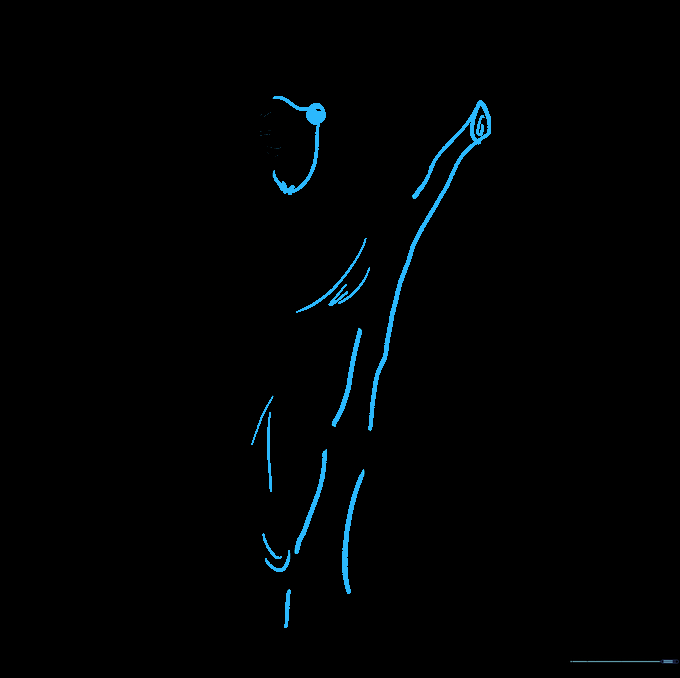
Step 10: Coloring Your Cardinal
Add vibrant red colors for the male cardinal, including the signature black mask around the beak. Tip: Use light pressure with your red pencil to create shading and depth in the feathers.
More Tutorials


