How to Draw Captain Marvel: Easy 10-Step Guide
Ready to bring Carol Danvers to life? This tutorial is perfect for young artists ages 7+ who want to master superhero proportions. Grab your pencil, eraser, and paper, and follow along to build your character from the head down to her powerful energy blasts.
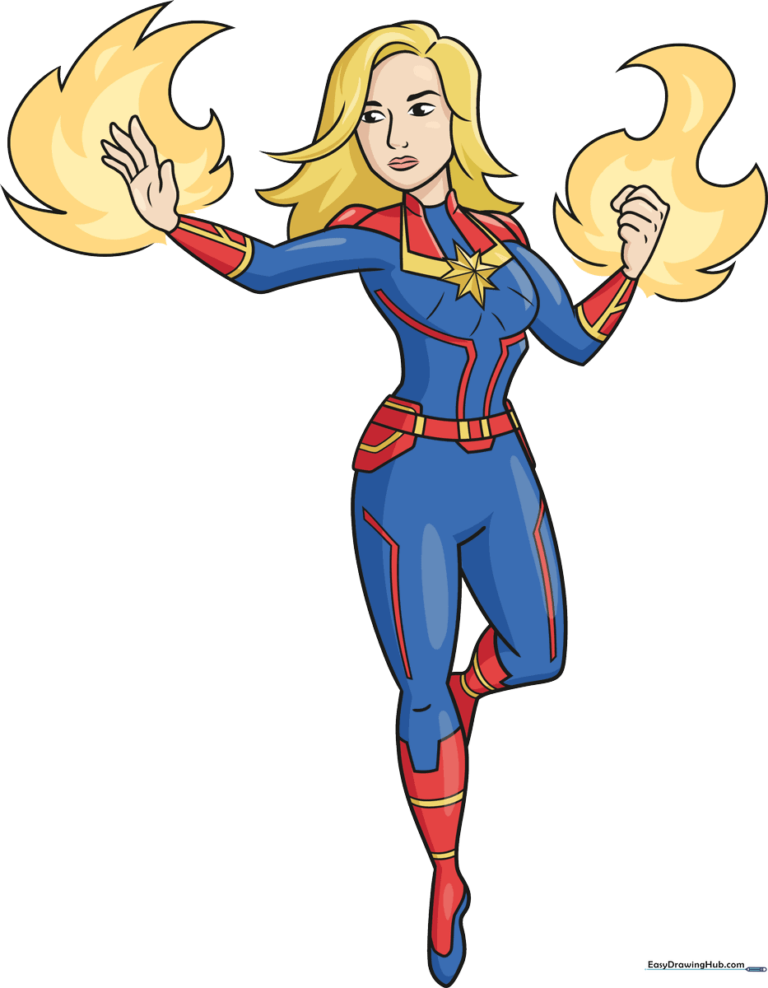
🎯 Final Result
Step-by-Step Instructions
Step 1: Sketching the Face

Start by drawing the superhero's face. Use light, curved lines to outline the hair and chin. Sketch the eyes, nose, and lips. Teacher's Tip: Keep your pencil pressure light here so you can easily erase and adjust the facial features until they look just right.
Step 2: Defining the Hair

Use curved lines to build the hair. Create locks by drawing pairs of lines that meet at sharp points. Tip: Overlap your lines slightly to give the hair a natural, layered look rather than a flat shape.
Step 3: Shoulders and Starburst
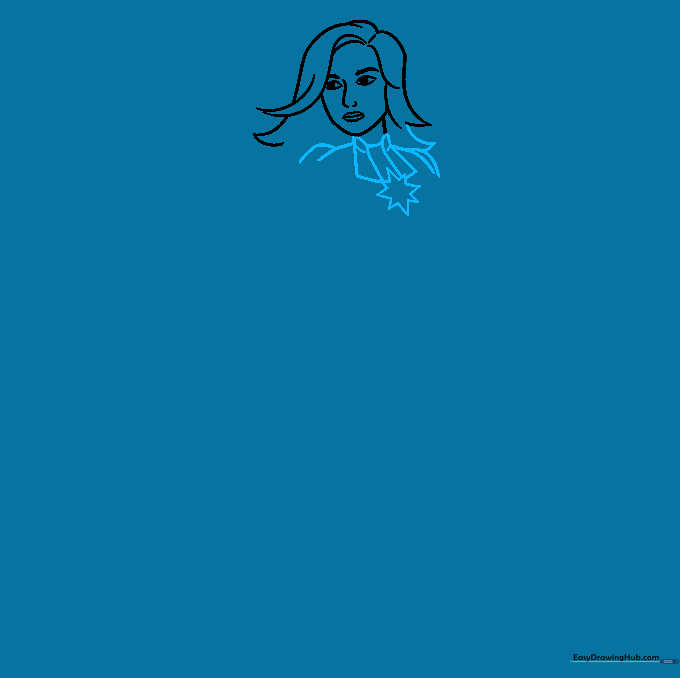
Sketch the shoulders and the collar of the uniform using rectangular shapes. In the center, draw an 8-pointed starburst. Tip: Use a ruler if you struggle with straight lines, but try freehand to build better hand control!
Step 4: Arms and Fists
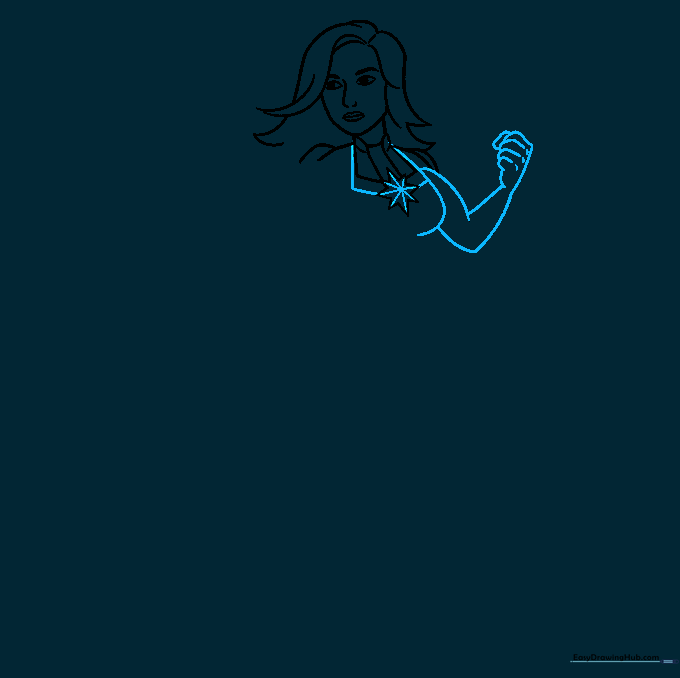
Draw the muscular upper arm, lower arm, and a clenched fist. Add a short line across each knuckle to show the fingers. Tip: Keep the fist compact to make her look ready for action.
Step 5: The Extended Arm
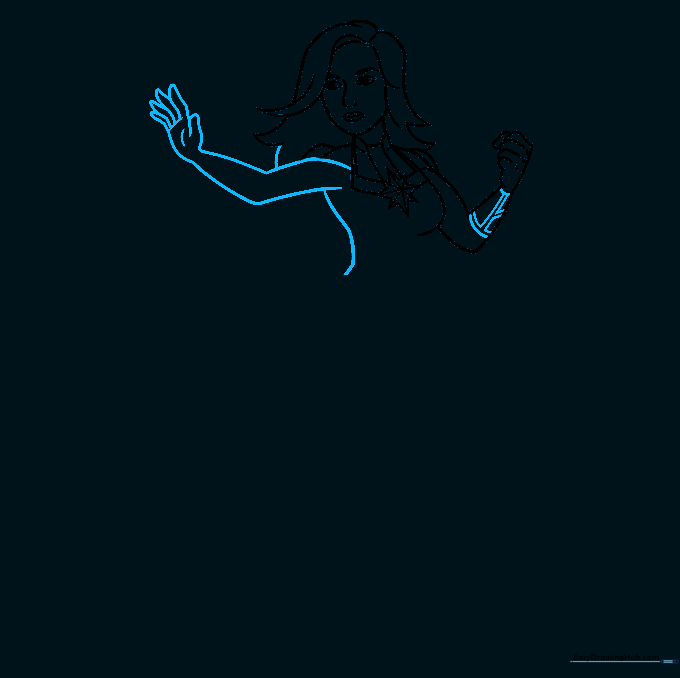
Sketch the extended arm, paying attention to the bend at the elbow. Add a gauntlet on the wrist using branching lines. Tip: Look at your own arm in a mirror to see how the elbow bends—it helps with drawing realistic movement!
Step 6: Torso and Belt
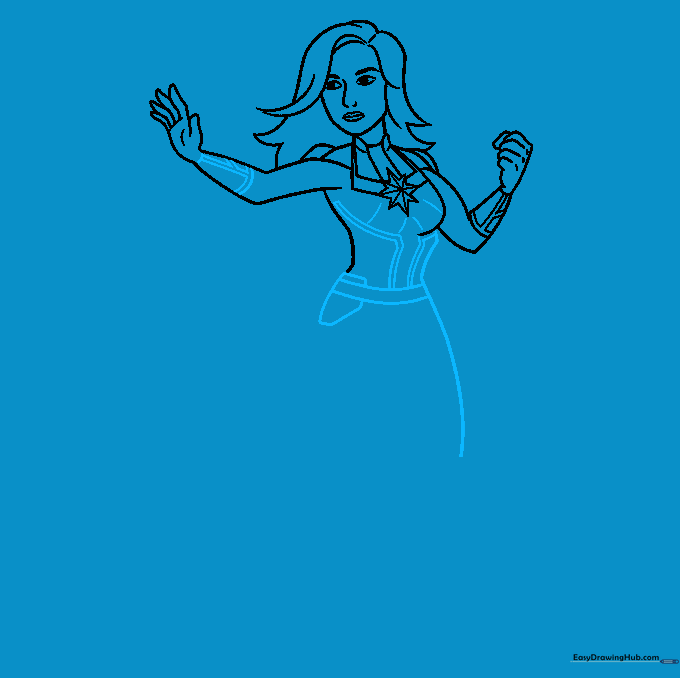
Outline the abdomen and add the utility belt with holster shapes. Tip: Keep your belt lines parallel to ensure the uniform looks symmetrical and professional.
Step 7: Legs and Details

Outline the legs and thighs. Add more geometric details to the utility belt. Tip: Use small, light marks to map out where the legs go before committing to the final dark lines.
Step 8: Boots and Embellishments
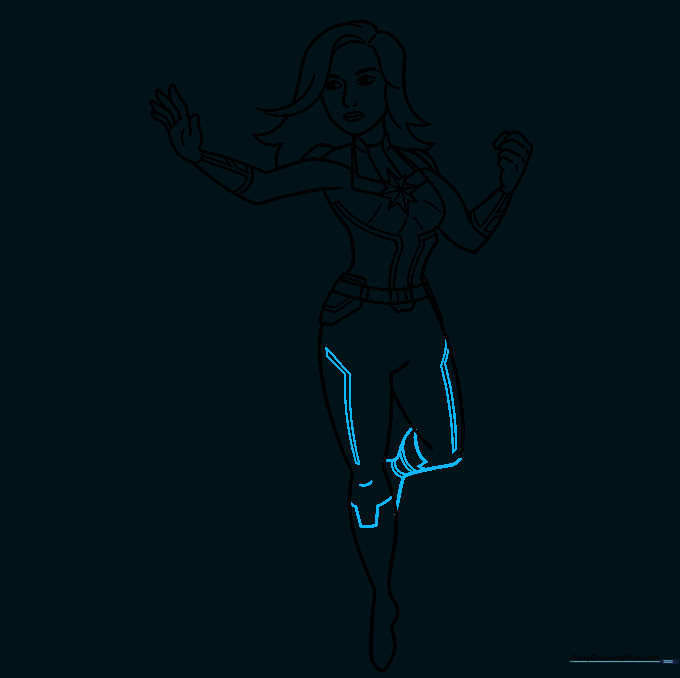
Complete the second leg, showing it bent at the knee. Add lines across the legs to define the tops of the boots. Tip: Adding these horizontal lines helps create the illusion of fabric texture.
Step 9: Final Touches and Energy
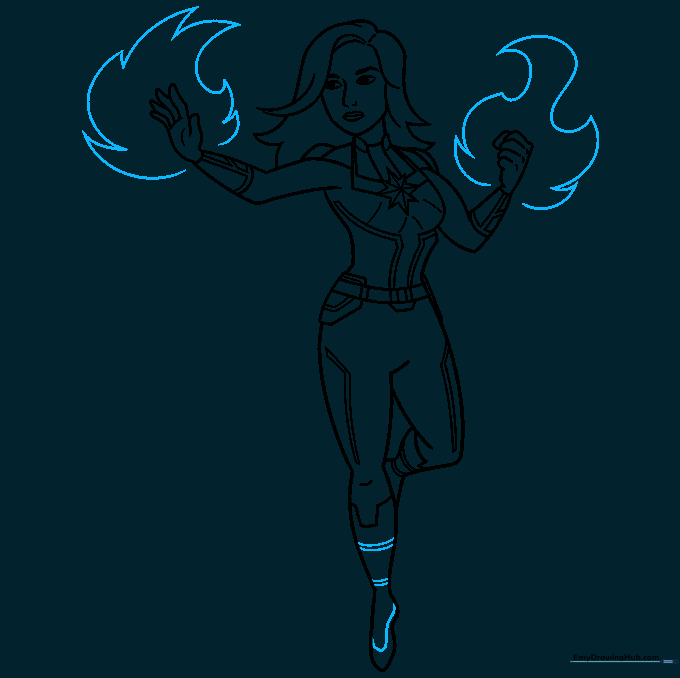
Finish the boots and draw flames around her hands using sharp, jagged lines. Tip: Make the flames look 'hot' by varying the size of the points—some long, some short.
Step 10: Bring Her to Life with Color
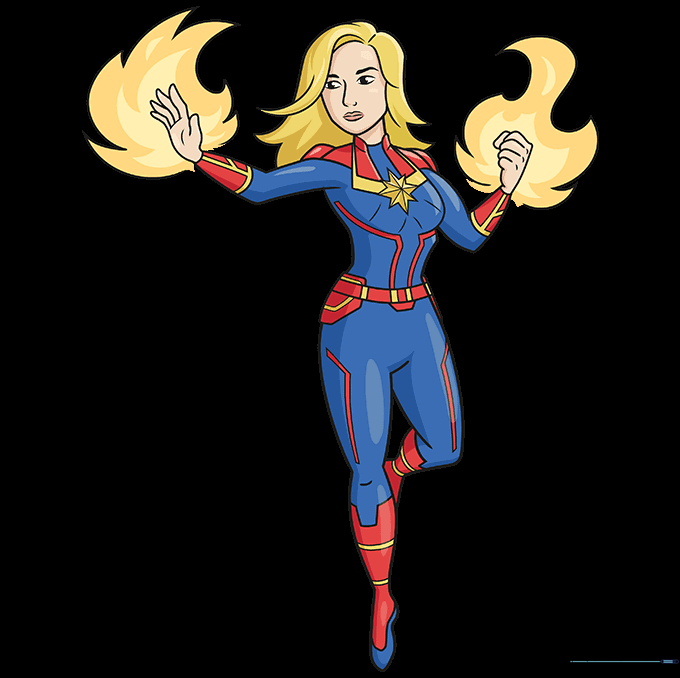
Time to color! Use bold blue, red, and yellow to match her iconic suit. Tip: Use colored pencils or markers to fill in the spaces, and try to keep your strokes in one direction for a clean, professional finish.
More Tutorials


