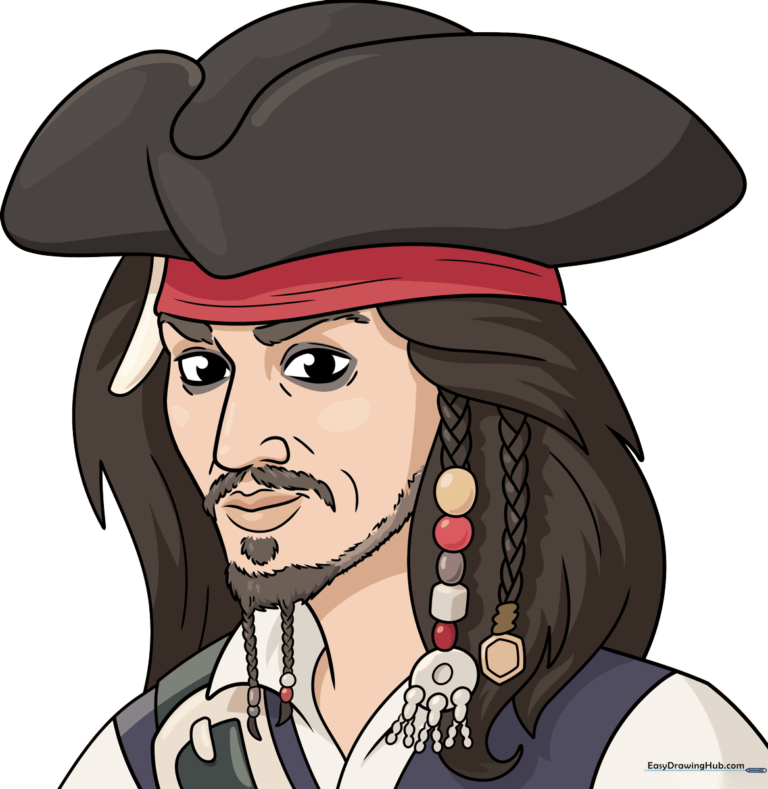
How to Draw Captain Jack Sparrow: Easy 9-Step Guide
Ready to capture the legendary pirate on paper? This guide is designed for artists ages 8+ who want to practice facial proportions and textured hair details. Grab a pencil, an eraser, and a piece of paper to bring this iconic character to life in just a few simple stages.
🎯 Final Result
Step-by-Step Instructions
Step 1: Sketching the Facial Features
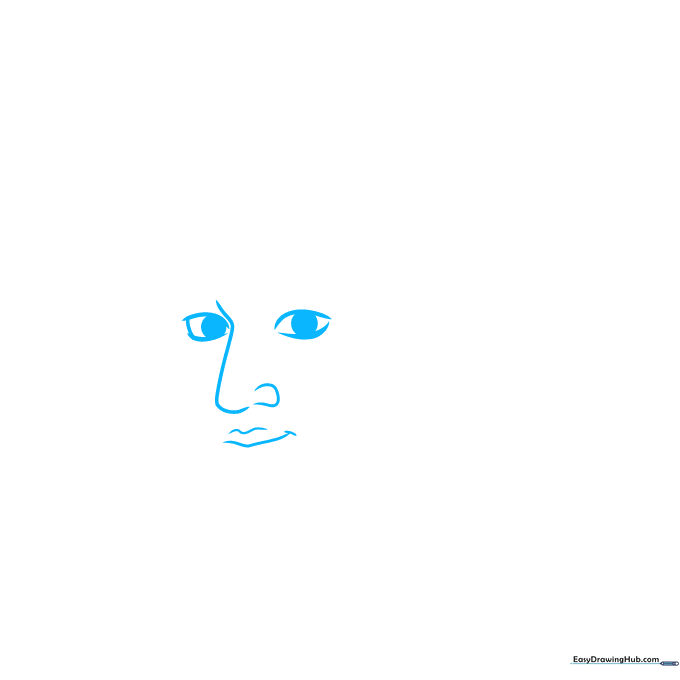
Start by sketching the eyes, nose, and mouth. Teacher's Tip: Keep the eyes symmetrical and leave enough space between them for the bridge of the nose. Use light, soft strokes so you can adjust the expression later.
Step 2: Defining the Jaw and Beard
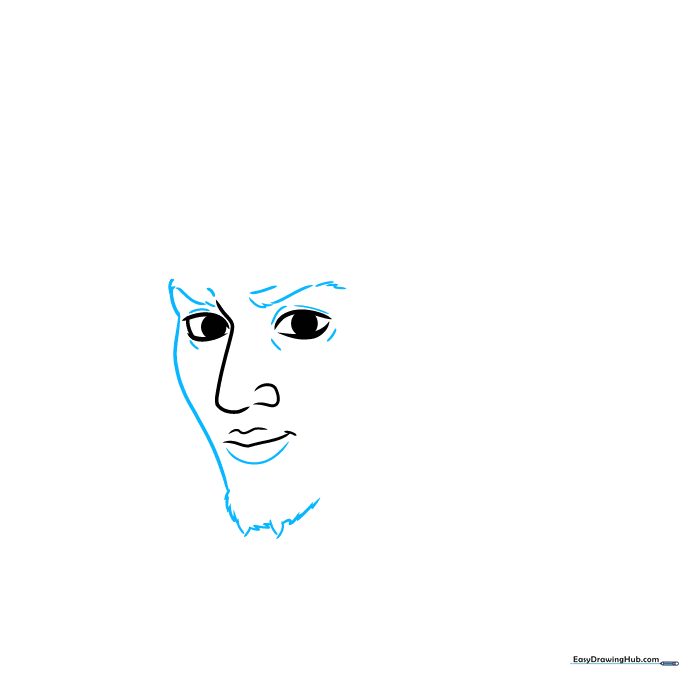
Outline the face shape, curving down toward the chin. Use short, jagged, 'v' shaped strokes at the chin to create the look of his signature scruffy beard.
Step 3: Adding the Beaded Braids
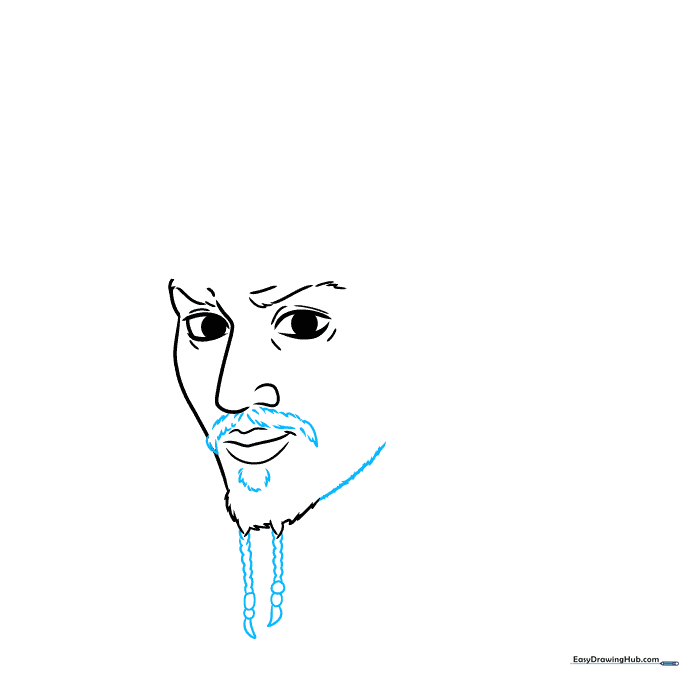
Add the mustache and soul patch using quick, short lines. Below the chin, draw small ovals and circles connected by lines to represent his iconic beaded braids. Tip: Vary the size of the beads to make the hair look more realistic.
Step 4: Sketching the Hat and Bandana
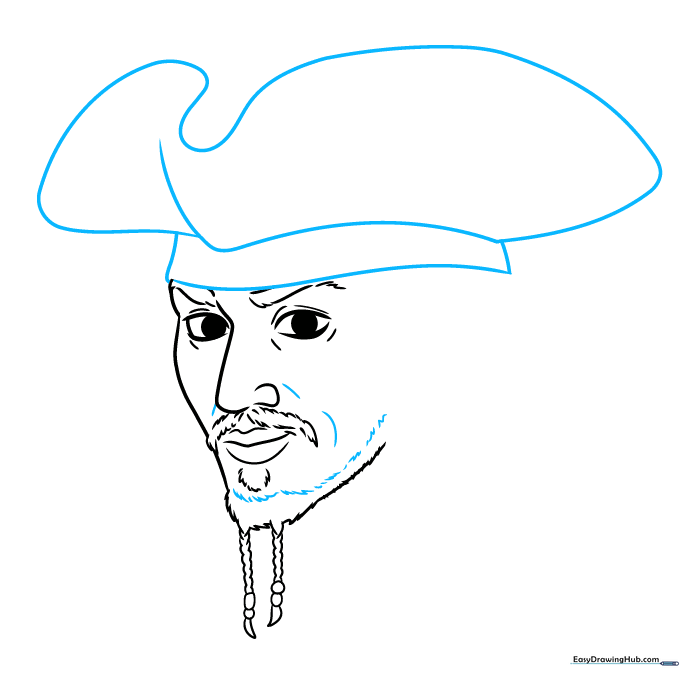
Draw the wide brim of the pirate hat using a long, wavy line that loops back on itself. Beneath the hat, draw a rectangular shape for the bandana. Tip: Keep the hat brim slightly asymmetrical to give it that 'worn-in' pirate look.
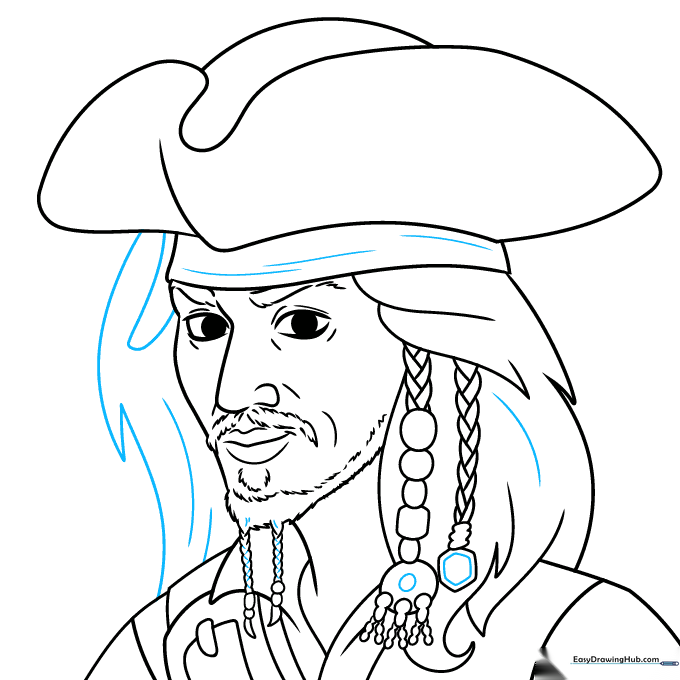
Step 5: Detailing the Hair
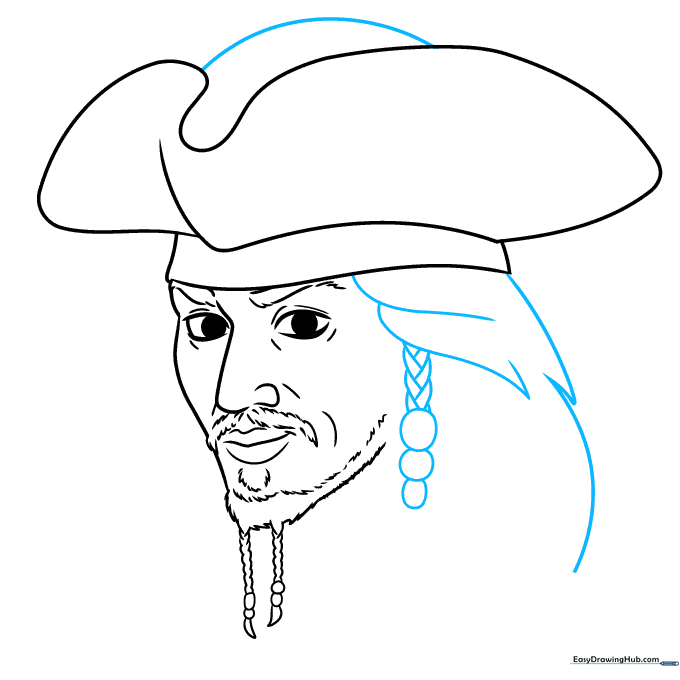
Add volume to the sides of his face with overlapping curved lines for his hair. Draw a larger, thicker braid on the side. Tip: Use 'S' shaped curves to make the hair look wavy rather than straight.
Step 6: Adding Braid Ornaments
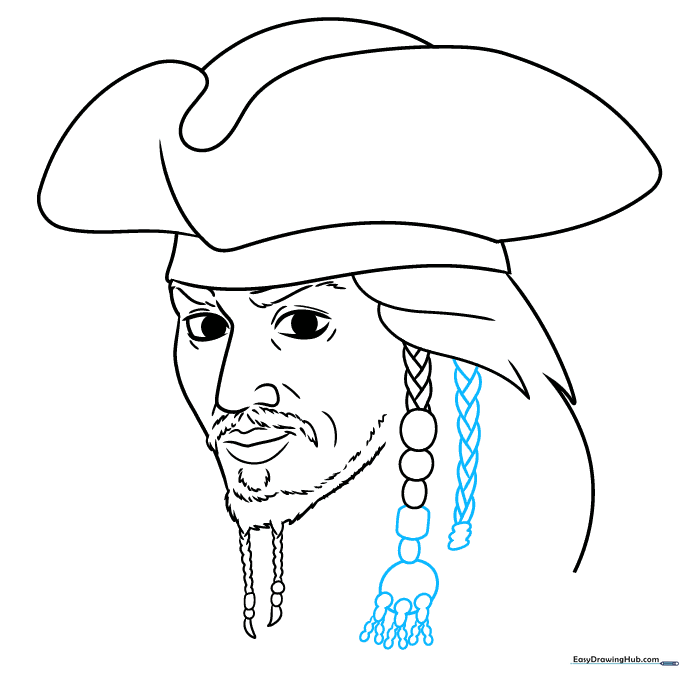
Decorate the braids with various geometric shapes like rectangles and circles to represent his trinkets. Draw a second braid with a rectangular hair tie at the end. Tip: Don't worry about making these perfect; pirate accessories are meant to look a bit cluttered!
Step 7: Drawing the Neck and Garments
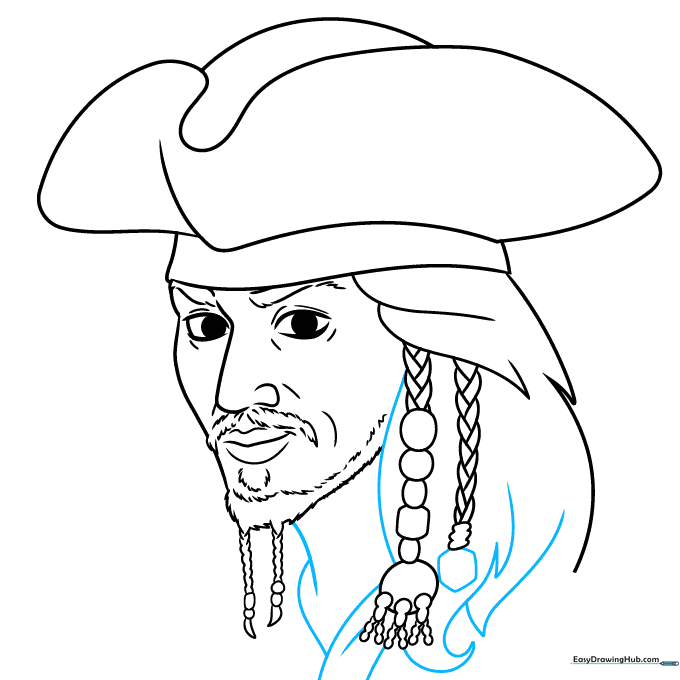
Use flowing, curved lines to draw the neck and the top of his shirt collar. Ensure the lines overlap slightly to create the appearance of fabric folds.
Step 8: Adding Shoulders and Buckles
Draw the shoulders and sleeves using curved lines. Add a strap across the chest with a small square for the buckle. Tip: Keep the buckle small to maintain the correct scale of the character.
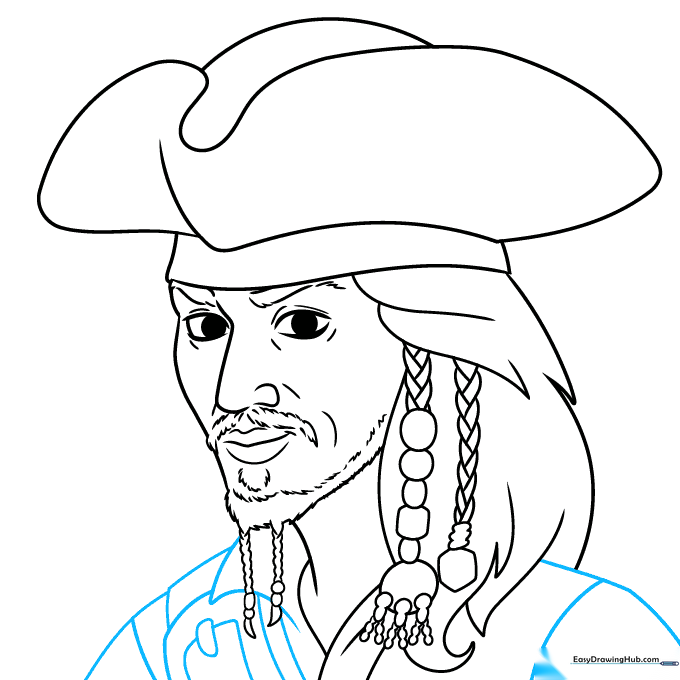
Step 9: Final Touches and Cleanup
Complete the hair on the opposite side and add final details to the bandana. Add small circles and hexagons inside the beads for texture. Erase your guide lines and prepare for coloring!
Step 10: Coloring Your Masterpiece
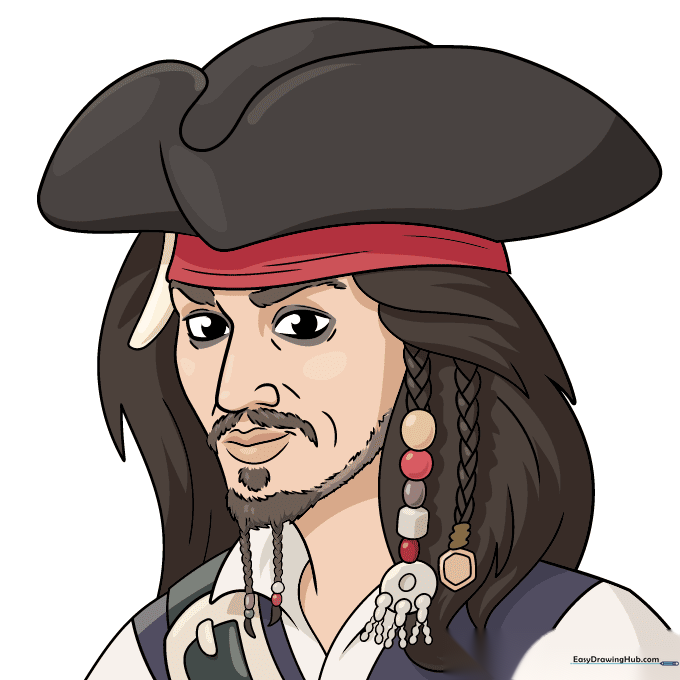
Time to bring Jack to life! Use deep browns for his hair, a vibrant red for the bandana, and black for the hat. Tip: Use light pressure with your pencil to create shadows under the hat brim for a 3D effect.
More Tutorials


