How to Draw C-3PO: Easy 10-Step Star Wars Tutorial
Bring everyone's favorite protocol droid to life with this step-by-step guide. Designed for young artists and Star Wars fans, this tutorial uses basic geometric shapes to build C-3PO’s complex mechanical frame. Grab your pencil, eraser, and paper, and let’s get building!
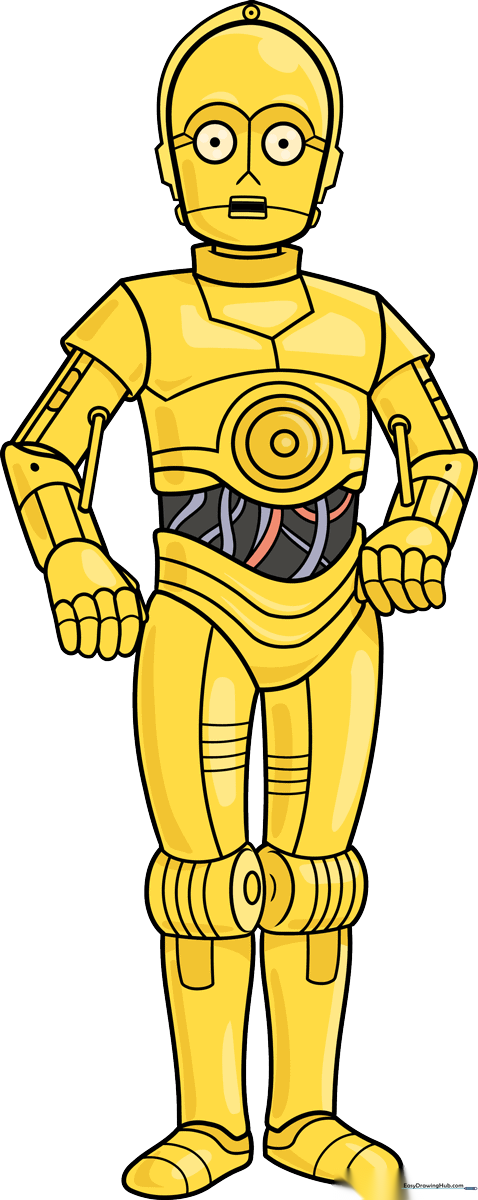
🎯 Final Result
Step-by-Step Instructions
Step 1: Sketching the Head

Draw a rounded shape that is flat on the bottom for the head. Inside, add two circles for the eyes with small dots for pupils. Teacher's Tip: Keep the eyes symmetrical to give him that classic, polite C-3PO expression.
Step 2: Adding Facial and Neck Details
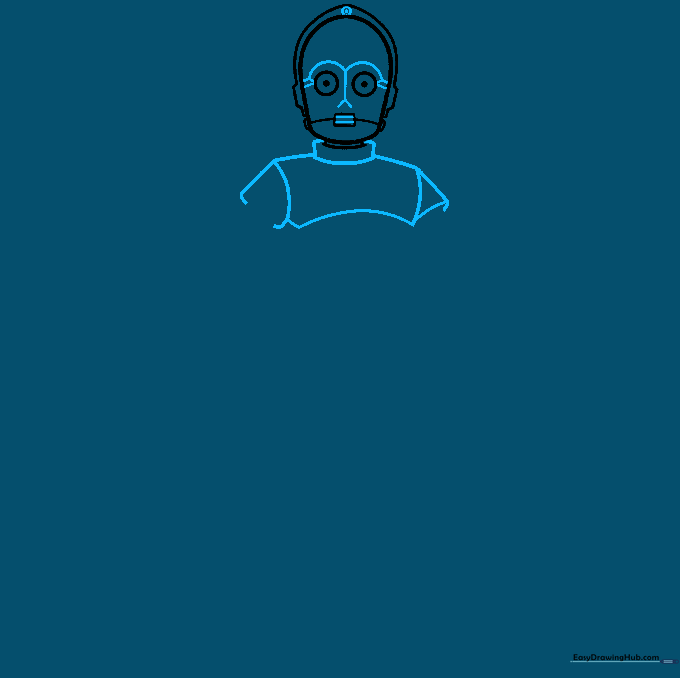
Add a dot at the top of the head, curved lines above the eyes, and a 'Y' shape between them. Sketch the neck as a curved rectangle and the chest as a larger curved rectangle. Tip: Use light pressure here; these are structural guidelines.
Step 3: Detailing the Torso and Arms
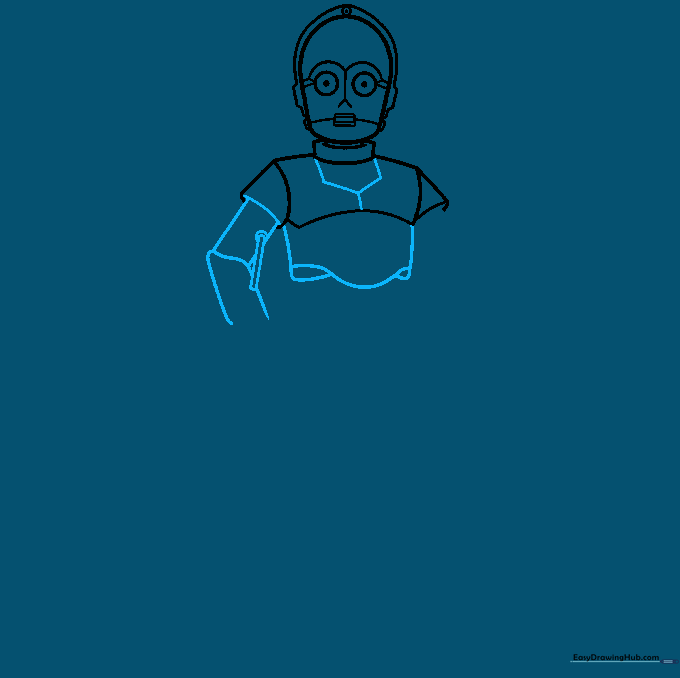
Detail the chest with a half-hexagon shape. For the arms, draw a series of irregular, rounded rectangles. Tip: Think of the arm segments like a stack of blocks; keep them slightly separated to show the joints.
Step 4: Completing the Arms and Hands
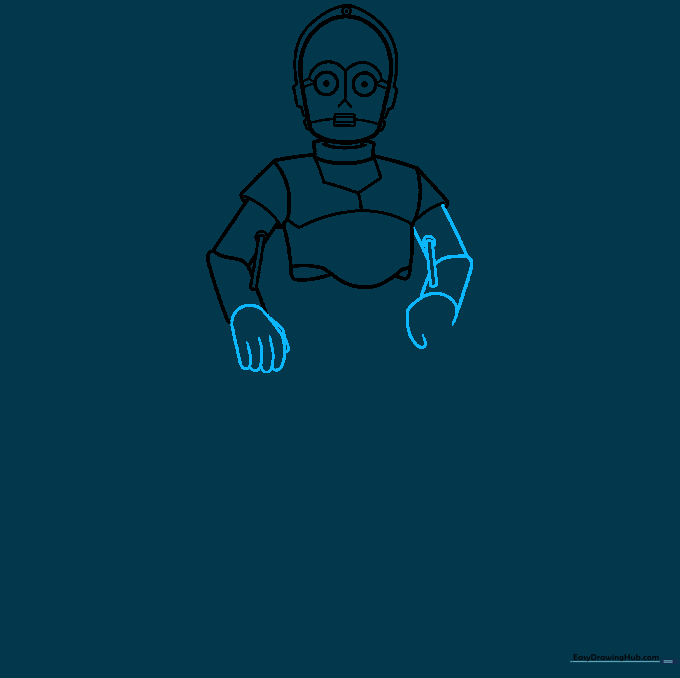
Repeat the arm process for the second arm. Sketch the hands using simple curved lines for the fingers. Tip: Don't worry about perfect fingers; keep them rounded to match the droid's mechanical aesthetic.
Step 5: Refining the Arm Joints
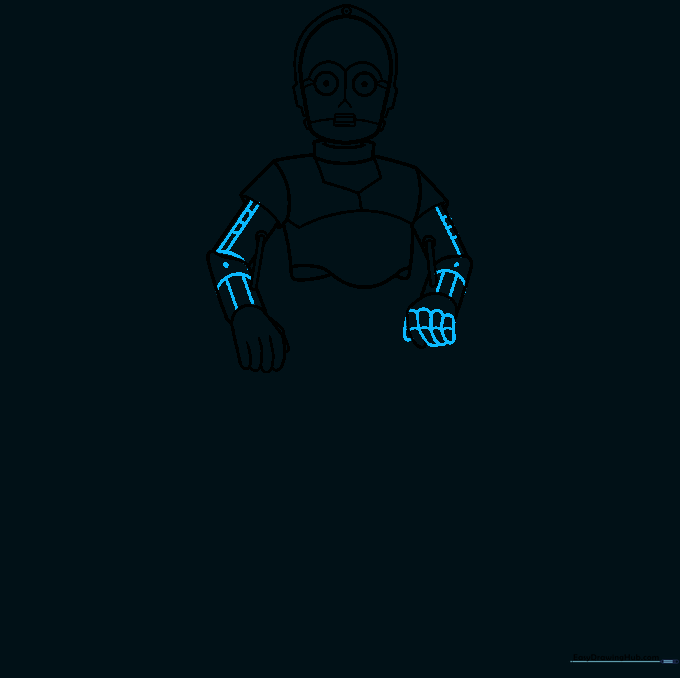
Add two parallel lines across the upper arms and use short, horizontal strokes to create a banded effect. Tip: These small lines represent the hydraulic joints of the droid.
Step 6: Torso and Hip Structure
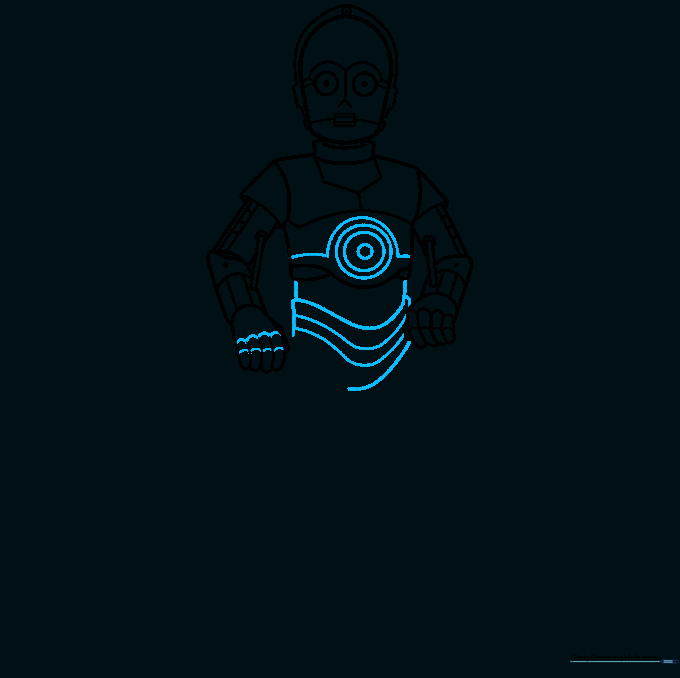
Draw a half-circle on the torso with smaller circles inside. Add layers of curved lines at the base to form the hips. Tip: This creates the illusion of depth in his mechanical midsection.
Step 7: Sketching the First Leg
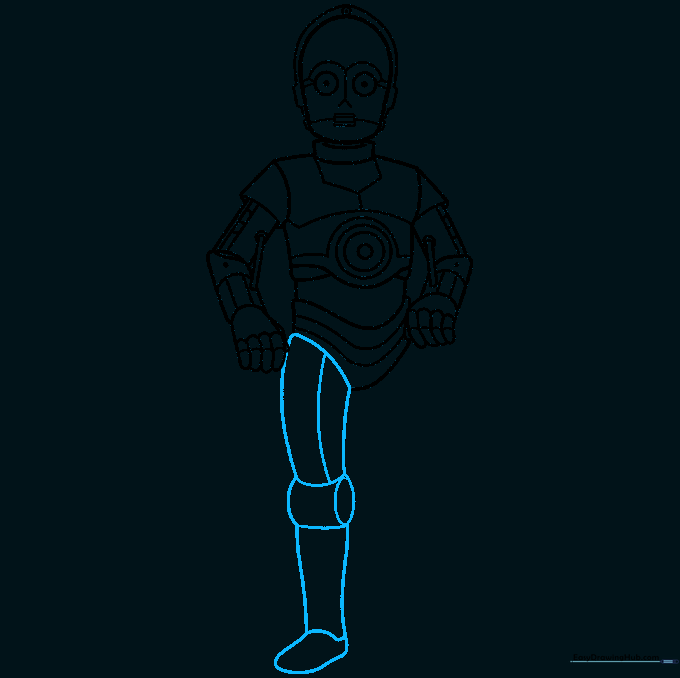
Enclose four irregular shapes for the leg, detailing them with curved lines to show the knee and shin plates. Tip: Keep the shapes slightly rounded to maintain the 'cartoon' style.
Step 8: Adding the Second Leg
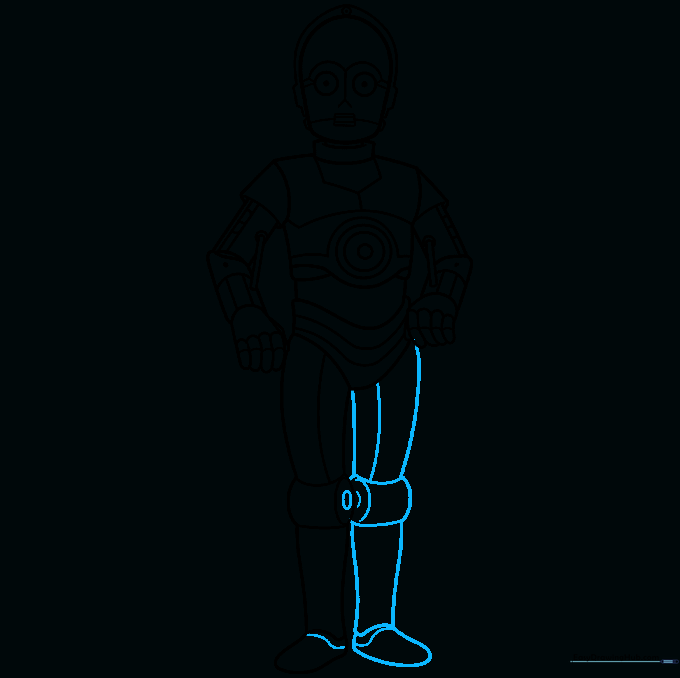
Mirror the first leg for the second. Add small ovals for the knee joint and a curved line across the top of the foot. Tip: Use the first leg as a reference to ensure the droid looks balanced.
Step 9: Final Mechanical Details
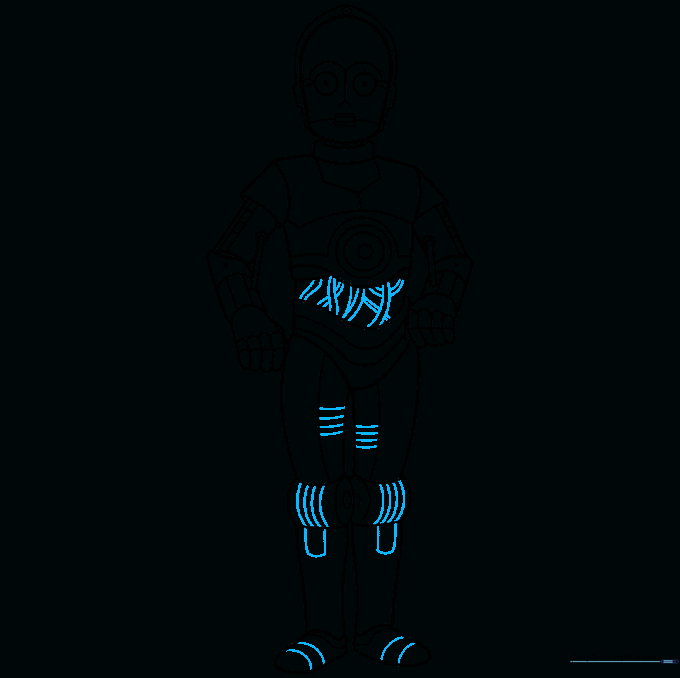
Refine the legs and feet with extra curved lines. Add overlapping parallel lines across the torso to represent exposed wires. Tip: This is where the character really starts to look like a droid!
Step 10: Bringing C-3PO to Life with Color
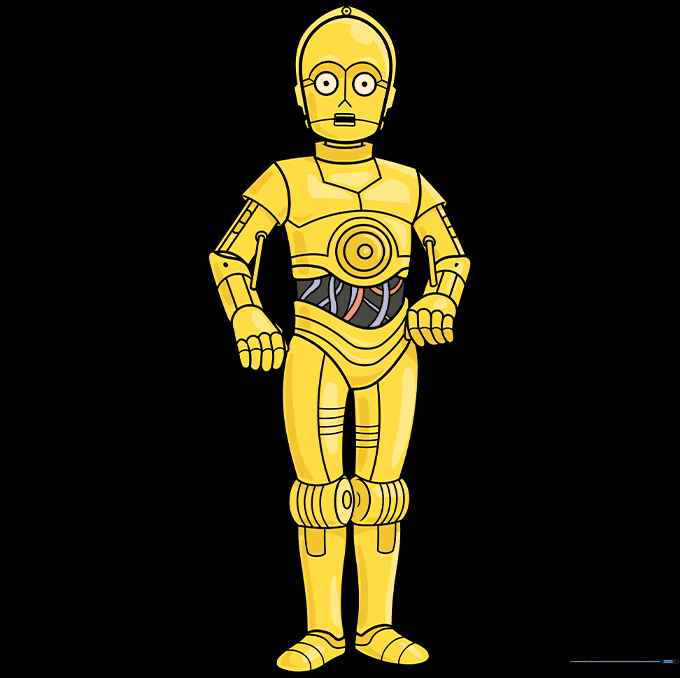
Color your droid! Use bright gold for the main body. If you want to be movie-accurate, you can color one leg silver. Tip: Use a darker gold or brown for shading the edges to give him a 3D, metallic look.
More Tutorials


