How to Draw Buzz Lightyear: Easy Step-by-Step Guide
Ready to take your art to infinity and beyond? This tutorial is perfect for young space rangers ages 7+ who want to master drawing Buzz Lightyear. You'll only need a pencil, an eraser, and some paper to bring this iconic toy to life while practicing symmetry and geometric shapes.
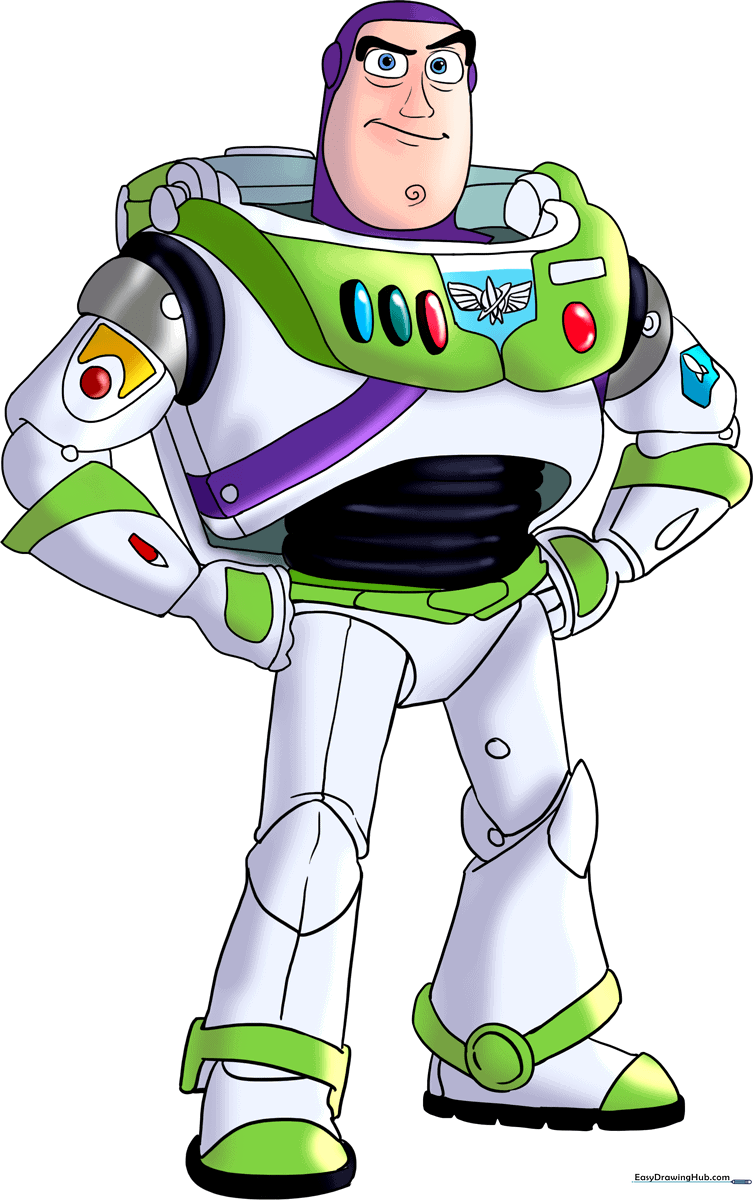
🎯 Final Result
Step-by-Step Instructions
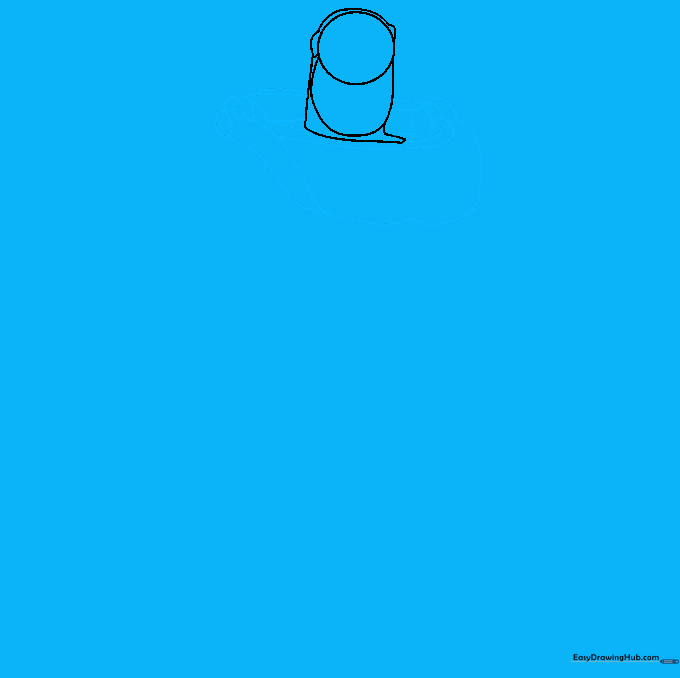
Step 1: Sketching the Head

Draw a light circle for the head and a curved line below it for the chin. Teacher's Tip: Keep your pencil pressure very light here; you'll be erasing these guide lines later to make the helmet look clean.
Step 2: Framing the Helmet

Draw a long, curved line around the face to create the edge of his space helmet. Teacher's Tip: Try to keep the space between the face and the helmet line even on both sides to maintain symmetry.
Step 3: Defining the Neck and Collar
Add a series of stacked, irregular rings at the base of the head to form the collar. Teacher's Tip: Think of these as layers of armor; make each ring slightly wider than the one above it.
Step 4: Designing the Chest Plate
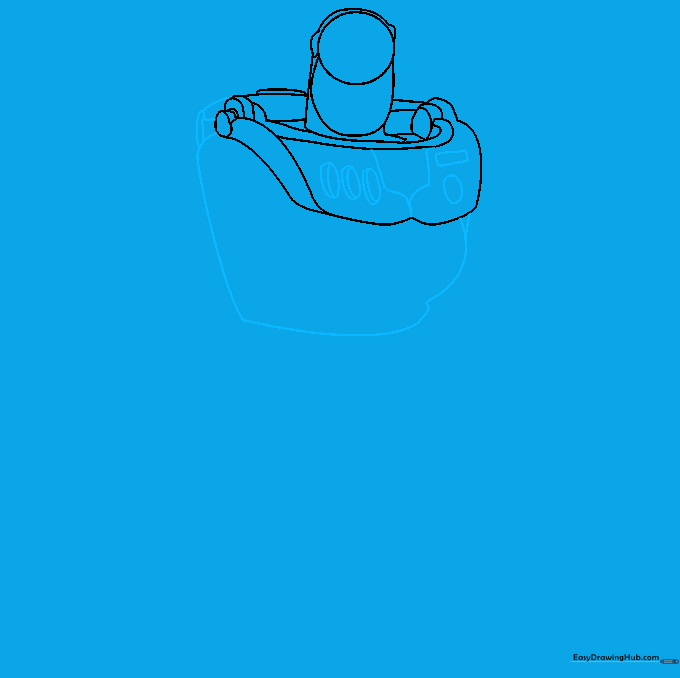
Draw the chest armor using a large, irregular shape. Add the control panel details: three small ovals on one side and a circle with a rectangle on the other. Teacher's Tip: Use a ruler if you struggle to keep the control panel buttons straight!
Step 5: Sketching the Arm
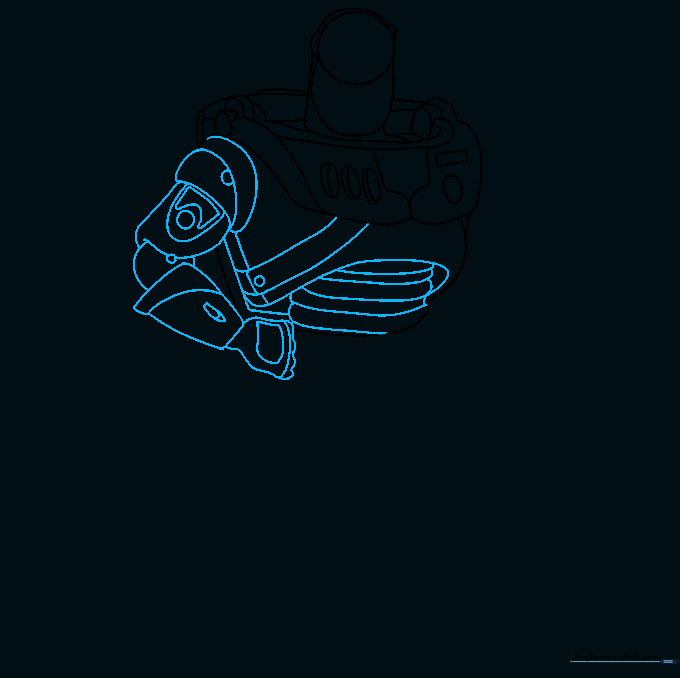
Draw the arm using overlapping rounded shapes to show the joints. Teacher's Tip: If you make a mistake, don't worry—just erase and try again. Drawing is all about refining your lines.
Step 6: Facial Features
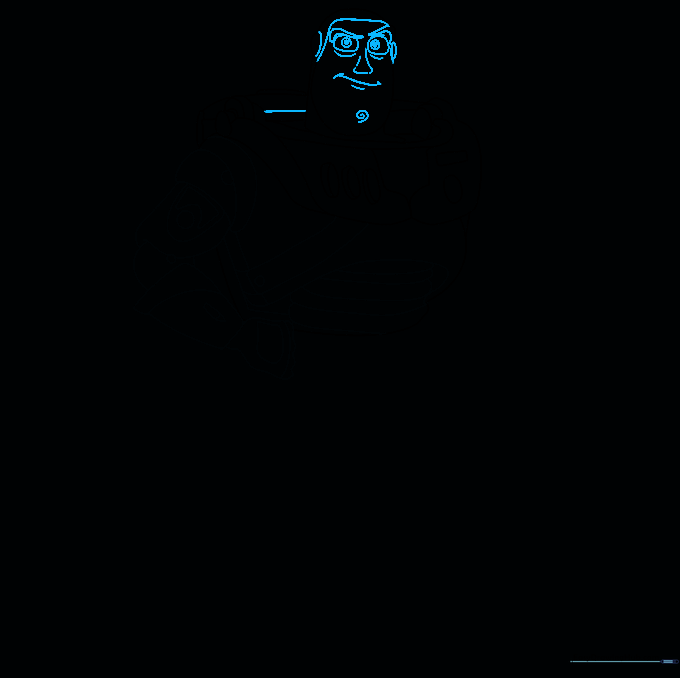
Add the eyes, eyebrows, nose, and that famous smirk. Don't forget the small spiral on his chin! Teacher's Tip: Draw the eyes as large ovals first, then add the pupils to give him his confident expression.
Step 7: Second Arm and Belt
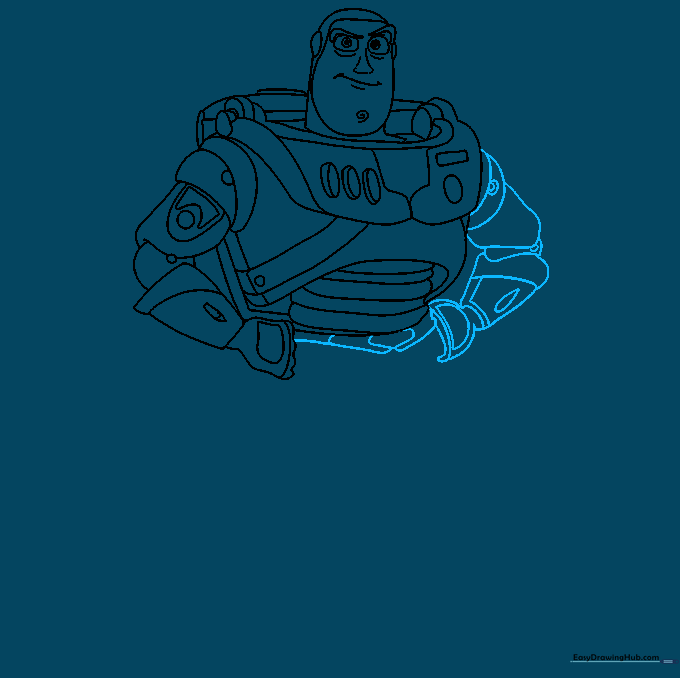
Draw the second arm and add the utility belt across his waist. Teacher's Tip: Segment the belt into small rectangles to make it look like real space gear.
Step 8: Legs and Knees
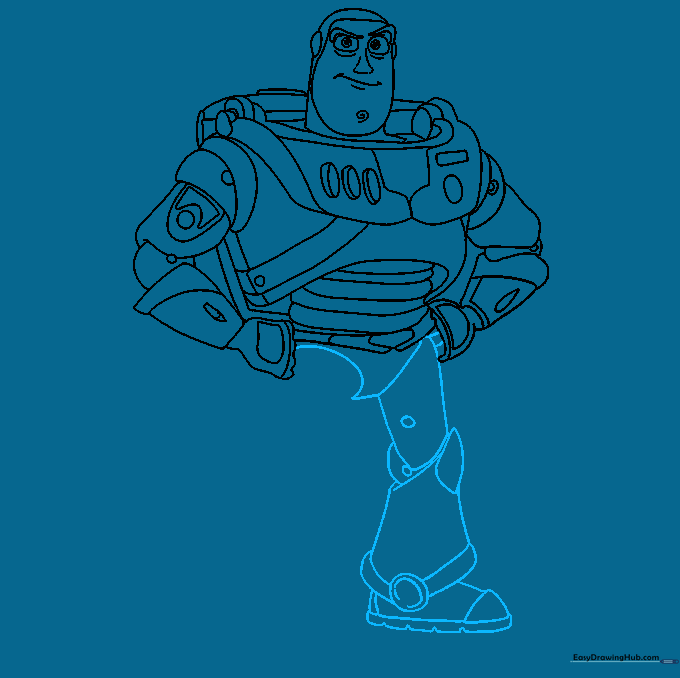
Sketch the upper and lower leg segments, including the knee joints. Teacher's Tip: Use curved lines to show the bulkiness of his space suit pants.
Step 9: Finishing the Feet

Draw the feet with sturdy, rounded shapes at the bottom. Teacher's Tip: Make sure the feet look wide enough to support his space suit!
Step 10: Adding Color
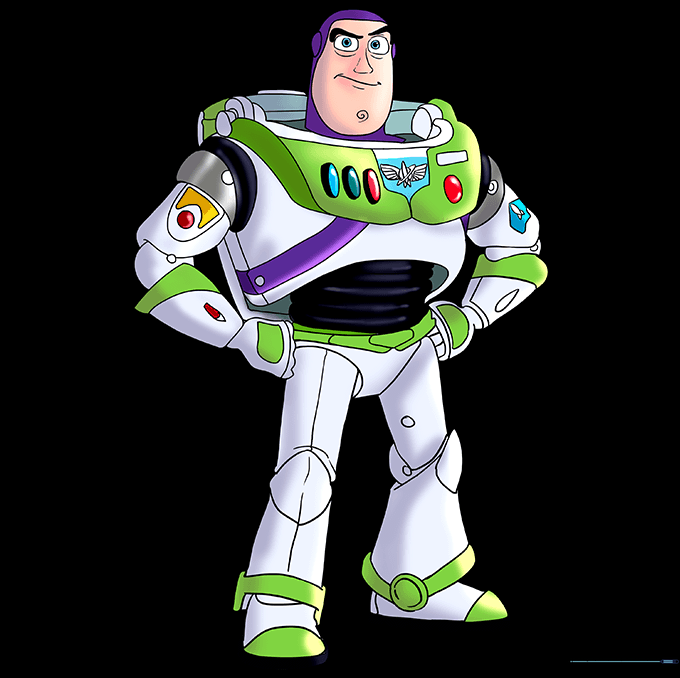
Time to bring Buzz to life! Use white, purple, and lime green to color his suit. Teacher's Tip: Use light pressure with your crayons or markers to keep the colors smooth and vibrant.
More Tutorials


