How to Draw Bumblebee: Easy 10-Step Transformers Guide
Ready to bring your favorite Autobot to life? This tutorial is perfect for young artists ages 7+ who love Transformers. You will need a pencil, an eraser, and some paper to master Bumblebee’s iconic robotic features through simple geometric shapes.
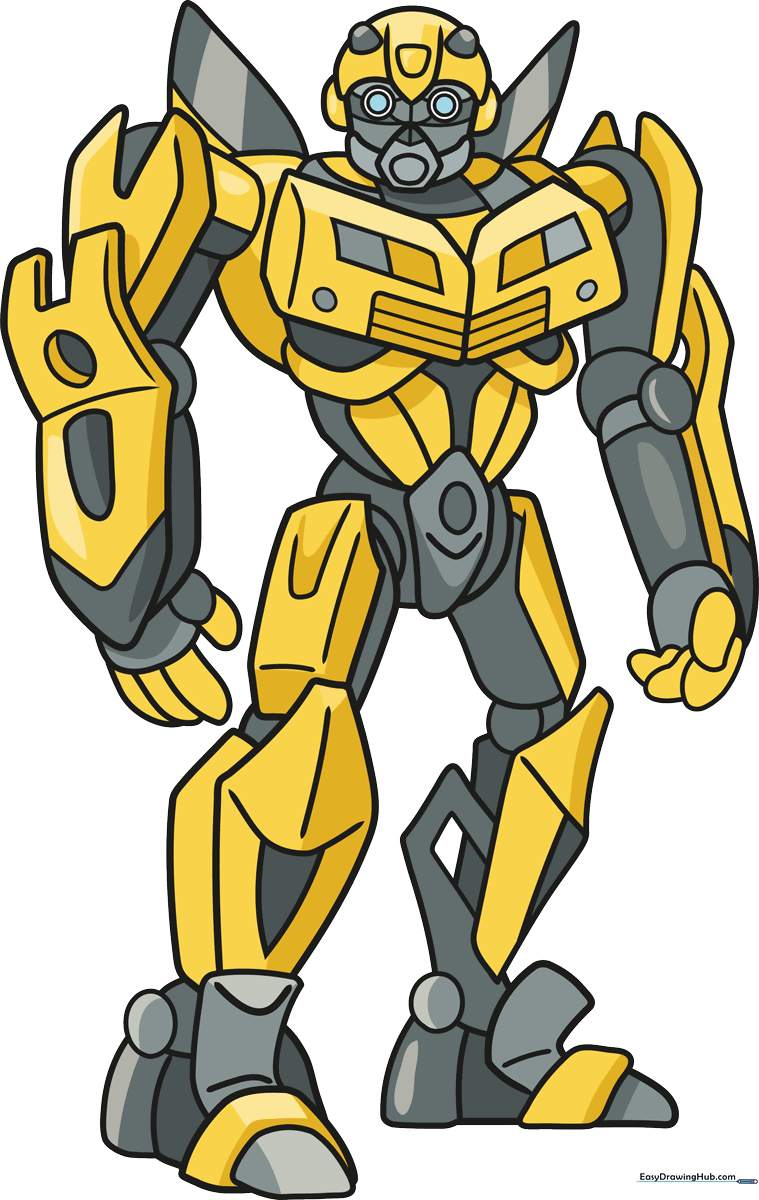
🎯 Final Result
Step-by-Step Instructions
Step 1: Sketching the Head and Face
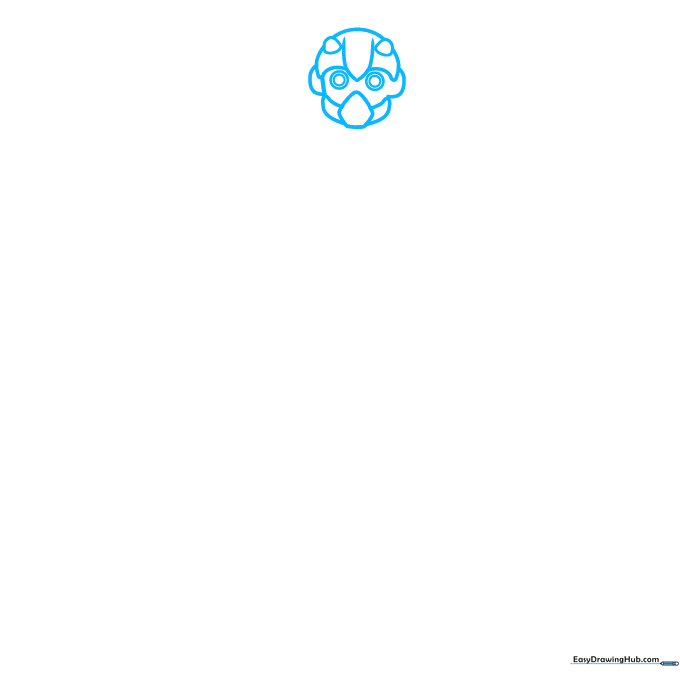
Draw a rounded pentagon for the head. Add two small circles for eyes and a pointed semi-oval above them. Tip: Keep your pencil lines light so you can easily erase the construction lines later.
Step 2: Adding Facial Details
Add small geometric shapes inside the face to create the robotic look. Below the head, sketch two blocky, angular shapes for the neck area. Tip: Use a ruler if you want your robot lines to look extra sharp and mechanical.
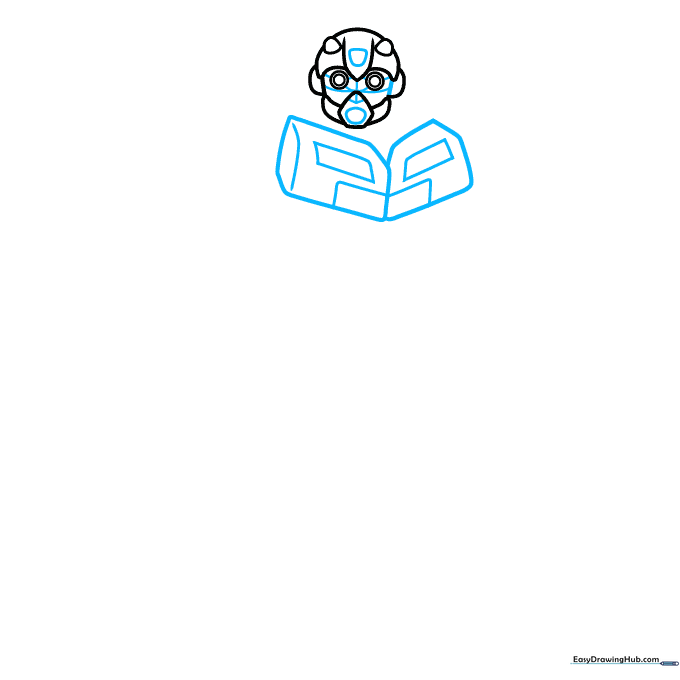
Step 3: Building the Torso
Draw a heart-like shape for the chest with a dip in the center. Add a cylinder behind it to give the body depth. Tip: Think of the chest as a series of interlocking plates rather than one solid shape.
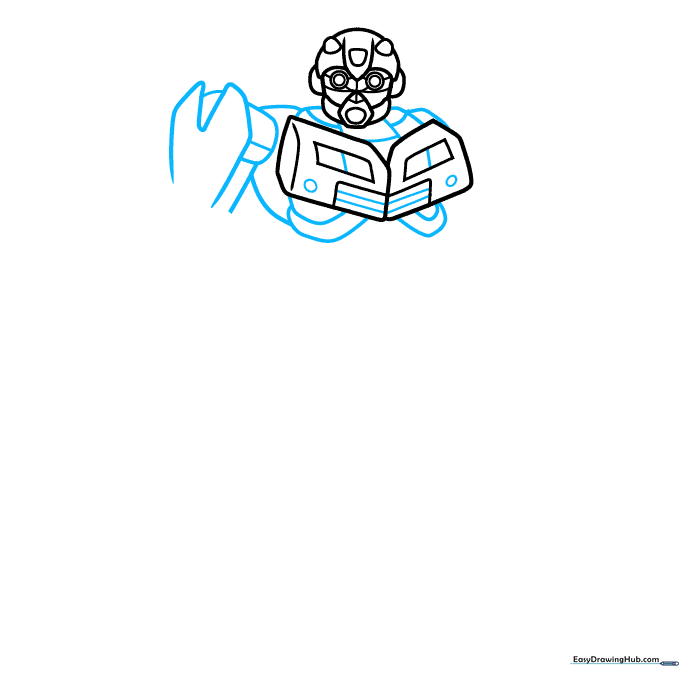
Step 4: Sketching the Arm
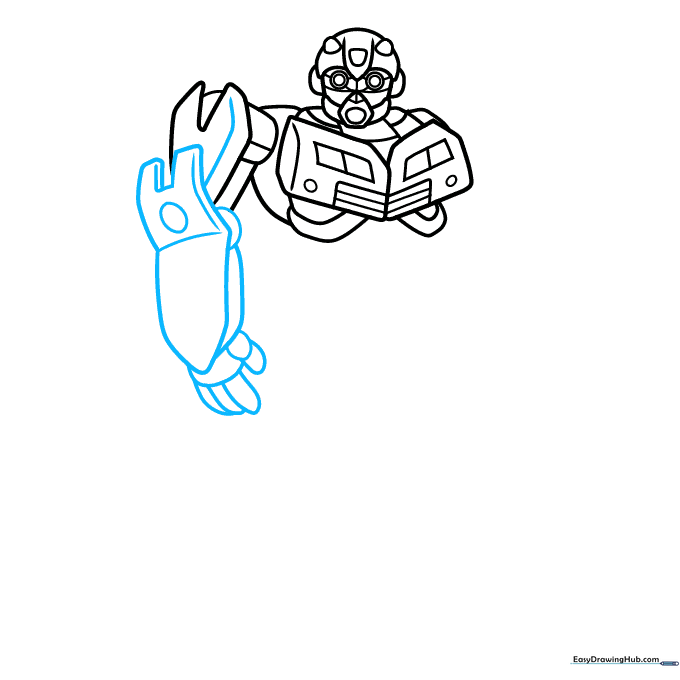
Create the arm using parallel arrows and rectangles. Add small ovals for the fingers. Tip: Don't worry if the fingers look a bit boxy; Bumblebee is a robot, so sharp edges are perfect!
Step 5: Defining the Shoulders
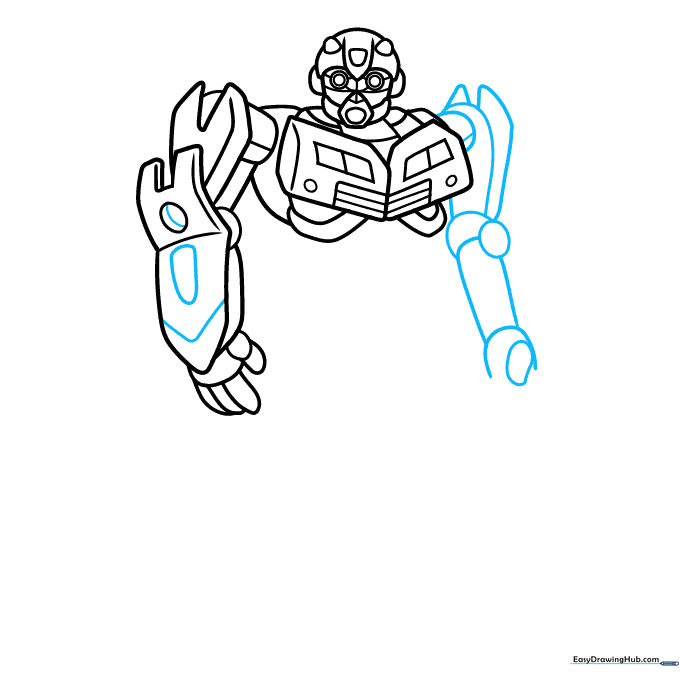
Outline the right arm with ovals and circles to show joints. Add triangles behind the shoulder to create a wing-like effect. Tip: Use a circular motion to draw the shoulder joints so they look like rotating parts.
Step 6: Lower Body Structure
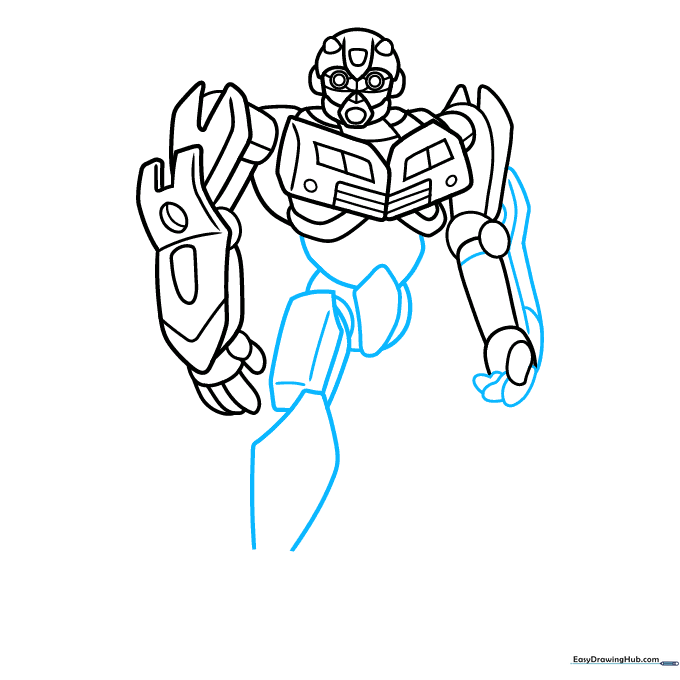
Draw an uneven pentagon for the hip area and connect it to the torso. Add rectangular shapes for the upper legs. Tip: Keep your lines parallel to maintain the 'mechanical' look of the character.
Step 7: Shaping the Feet
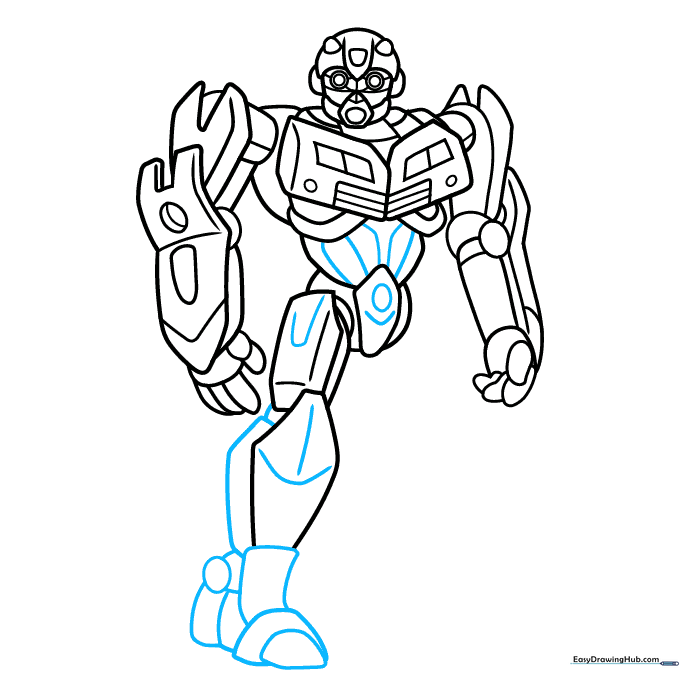
Outline the feet using boulder-like shapes and rectangles. Add an oval in the center of the body for detail. Tip: Ensure the feet look sturdy, as they are the base of your robot.
Step 8: Adding Knee Details
Add a circle for the knee and cylinders for the leg structure. Overlap these with rectangles. Tip: Use small dashes to represent bolts or screws on the armor plating.
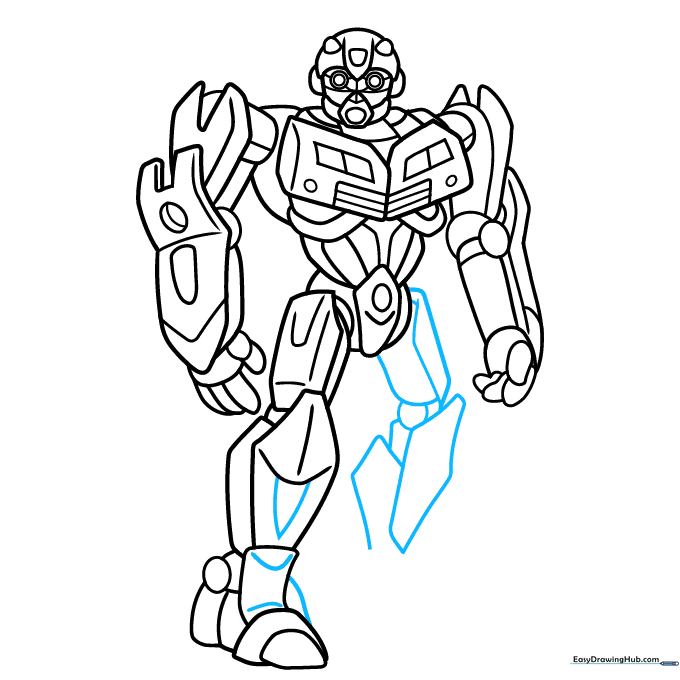
Step 9: Finalizing the Outline
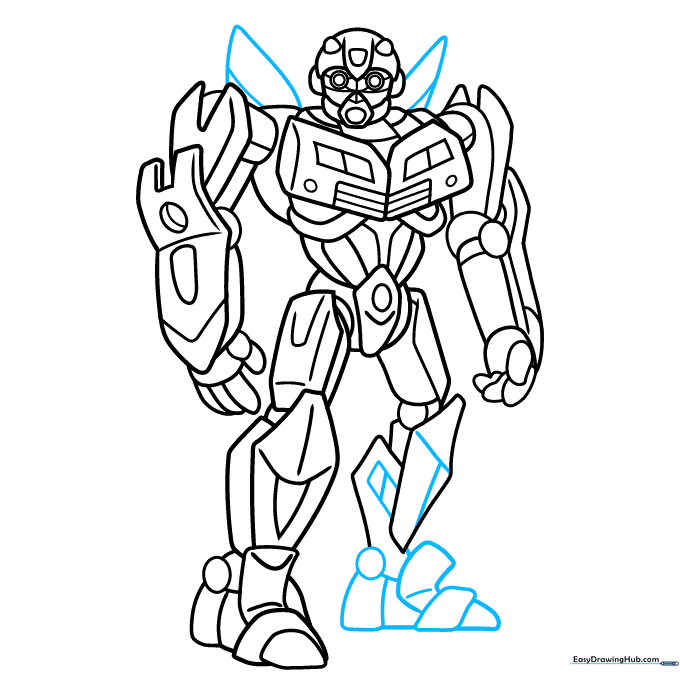
Add the ankle circles and finish the leg shapes. Draw rounded triangles for the wings on the back. Tip: Check that your lines are clean before moving on to the coloring stage.
Step 10: Color Your Bumblebee
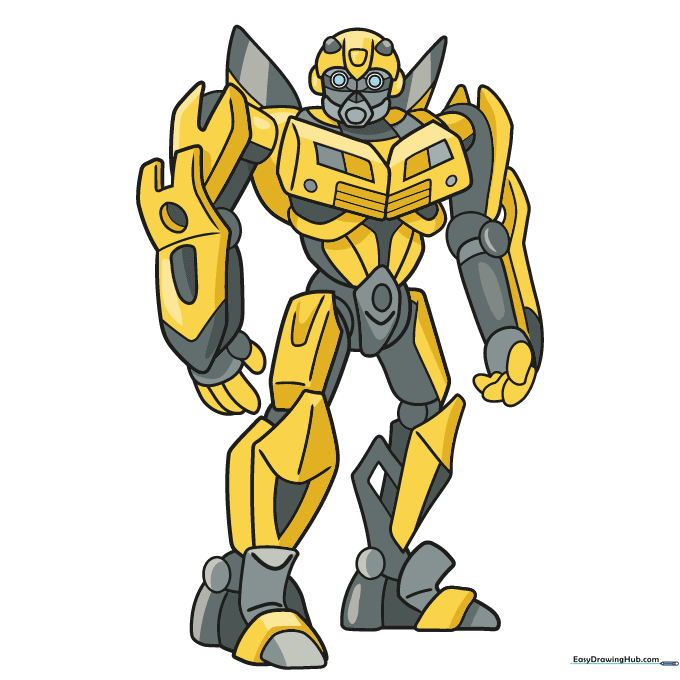
Go over your lines with a black marker. Color the body in bright yellow and gray. Use blue for the eyes to give him that 'energized' look. Tip: Use a yellow marker for the main body and a silver or grey pencil for the mechanical joints.
More Tutorials


