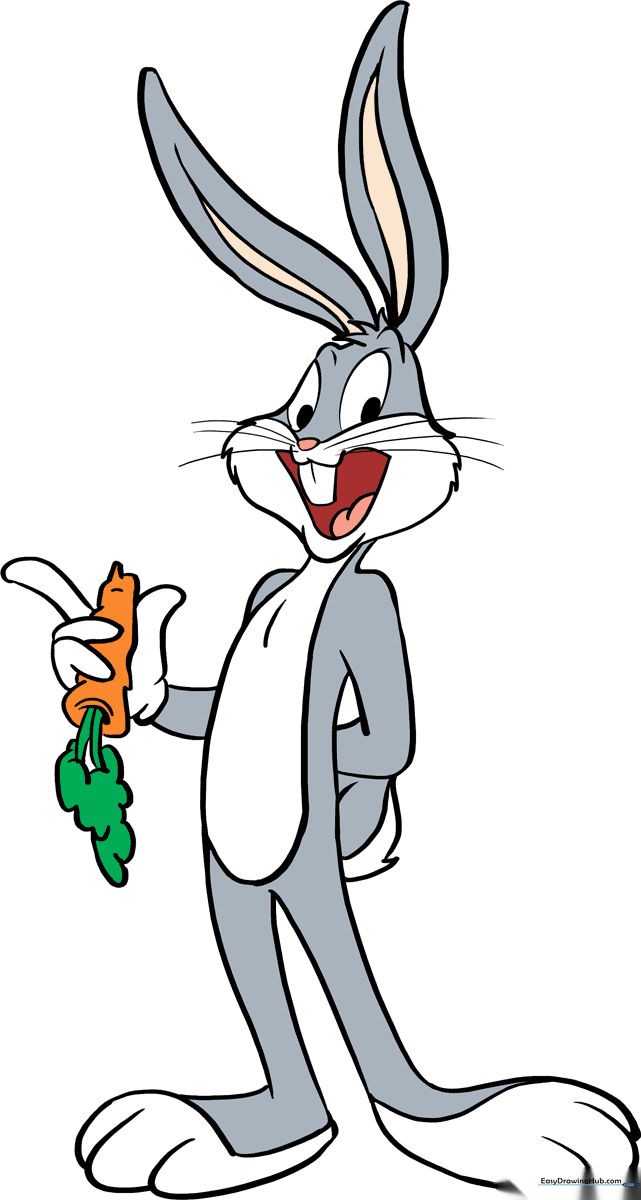
How to Draw Bugs Bunny: Easy 10-Step Cartoon Guide
Bring the iconic Looney Tunes star to life with this easy, step-by-step drawing tutorial. Designed for young artists and beginners, you only need a pencil, paper, and an eraser to master Bugs Bunny's classic pose. Follow along to develop your character sketching skills and create your own cartoon masterpiece.
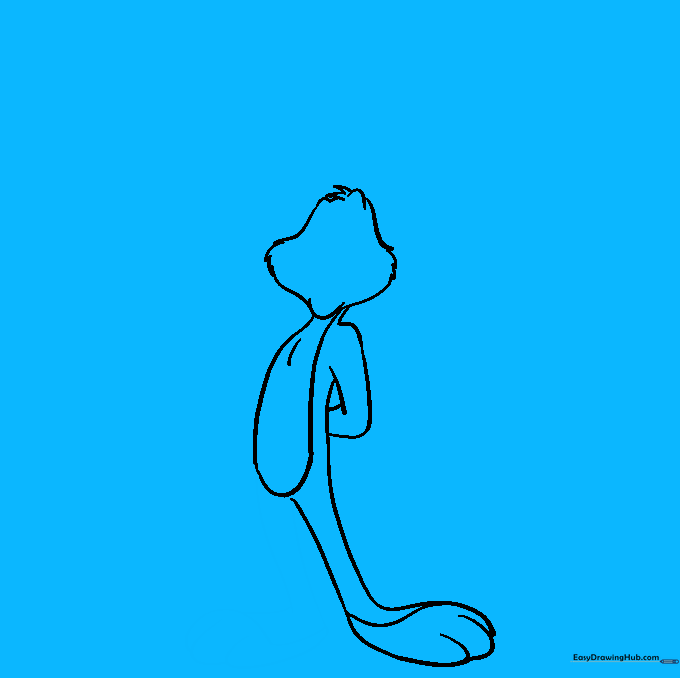
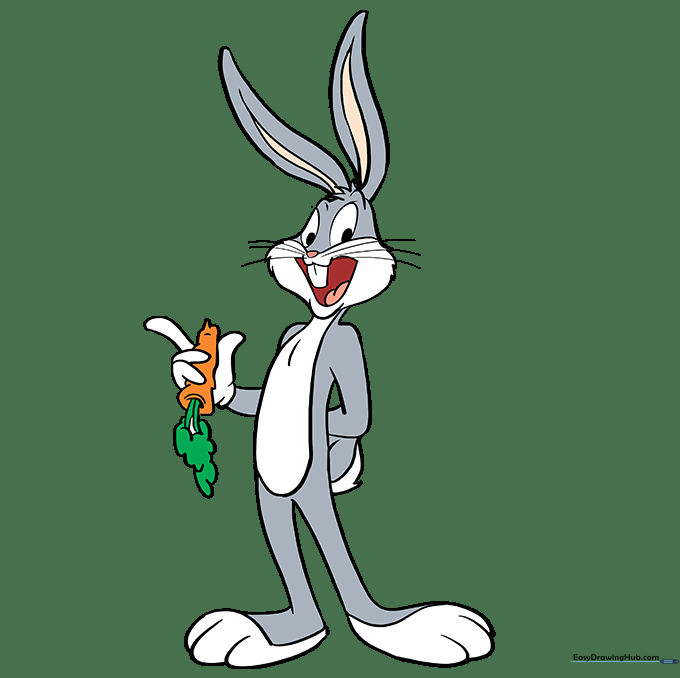
🎯 Final Result
Step-by-Step Instructions
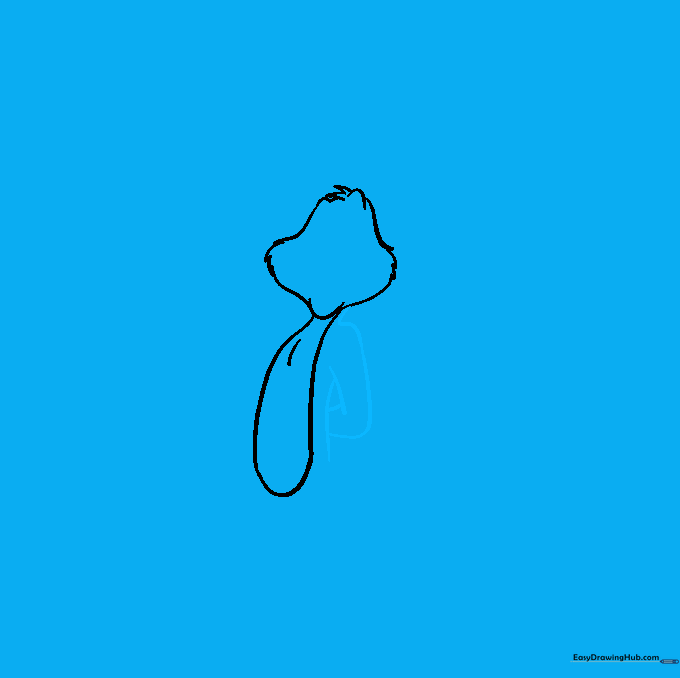
Step 1: Sketching the Head Shape

Lightly sketch a curved diamond shape for the head. The rounded corners represent his forehead, cheeks, and chin. Teacher's Tip: Keep your pencil strokes very light so you can easily erase the guidelines later!
Step 2: Defining the Torso
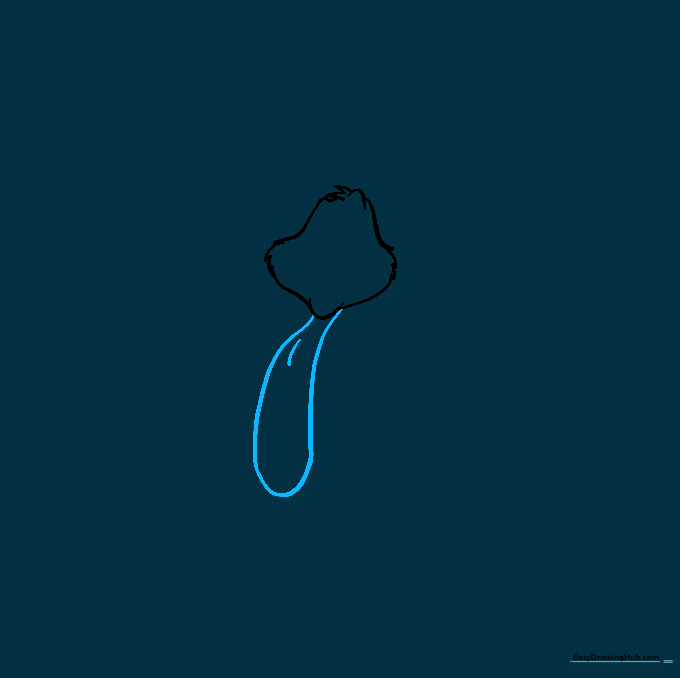
Extend a long, curved line downward from the head and loop it back to form the belly. Add a short contour line for the chest. Teacher's Tip: Think of this shape like a soft bean; keep the lines smooth and fluid.
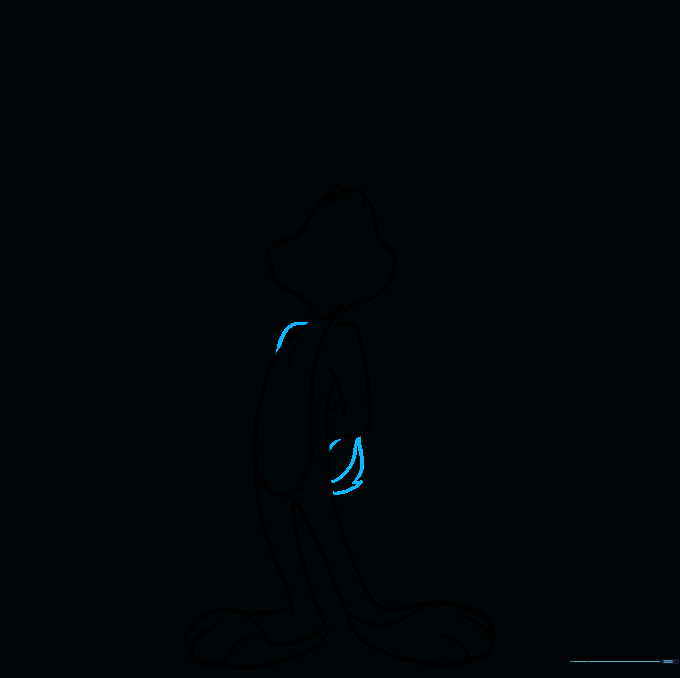
Step 3: Adding the Neck and Arm
Use smooth, curved lines to connect the head to the torso and sketch the side of the arm. Teacher's Tip: Don't press too hard; these are just the foundational shapes for his posture.
Step 4: Drawing the First Foot
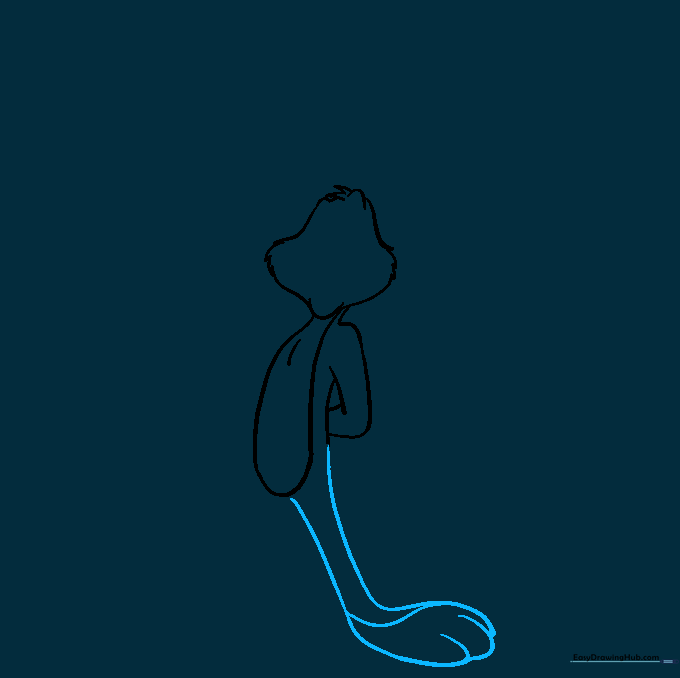
Draw a long, curved line from the torso, doubling it back to create the foot. Add small overlapping curves for the toes. Teacher's Tip: Bugs has large, expressive feet—don't be afraid to make them look nice and chunky!
Step 5: Sketching the Second Leg
Extend another curved line from the belly to meet the top of the leg, forming the second foot. Repeat the toe details. Teacher's Tip: Ensure the feet are roughly the same size to keep the character balanced.
Step 6: Adding the Shoulder and Tail
Draw the far shoulder and a fluffy, rounded tail. Add a line down the tail to show the color separation. Teacher's Tip: Use short, quick strokes for the tail to give it a soft, furry texture.
Step 7: Drawing the Arm and Carrot
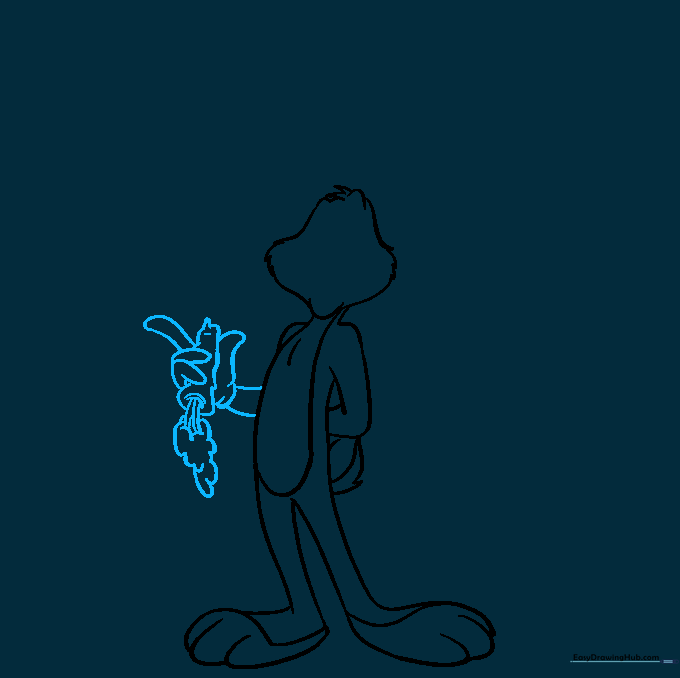
Sketch the arm and hand holding a carrot. Use small 'U' shapes for the carrot greens. Teacher's Tip: Focus on the grip—make sure the fingers look like they are wrapping around the carrot.
Step 8: Detailing the Face
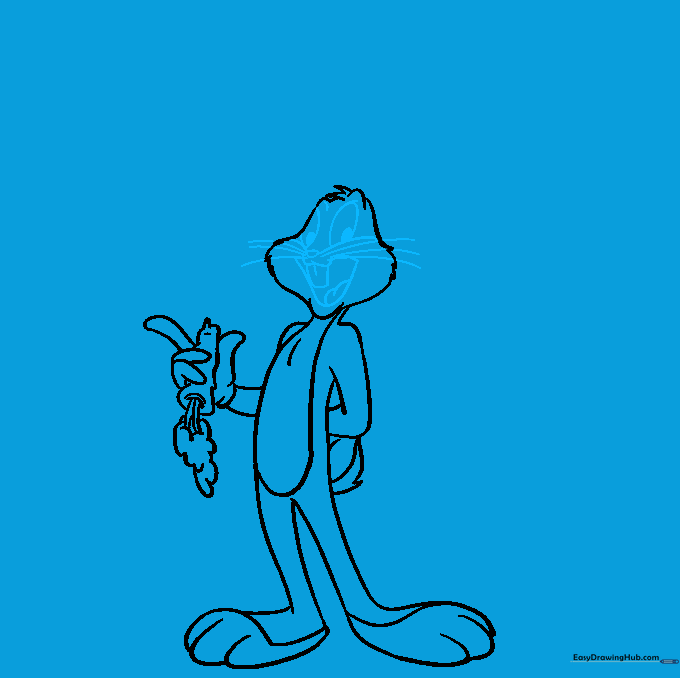
Add large ovals for eyes with shaded pupils. Draw the nose, wide mouth, buck teeth, and whiskers. Teacher's Tip: The whiskers should be long and thin—try to draw them with one quick, confident motion.
Step 9: Drawing the Iconic Ears

Draw two long, tall ears meeting at a point. Add inner ear details with parallel lines. Teacher's Tip: Make the ears extra tall to capture Bugs' signature look!
Step 10: Adding Color
Time to color! Use light grey for the body and white for the muzzle, belly, and feet. Don't forget the orange carrot! Teacher's Tip: Use light pressure with your colored pencils to keep the colors smooth and even.
More Tutorials


