How to Draw Buddy the Elf: Easy 10-Step Guide
Bring the holiday spirit to life with this fun, kid-friendly drawing tutorial! Designed for ages 5 and up, this activity requires only a pencil, paper, and an eraser. Follow along to build confidence in character sketching and master the iconic look of Buddy the Elf.
🎯 Final Result

Step-by-Step Instructions
Step 1: Sketching the Face Features
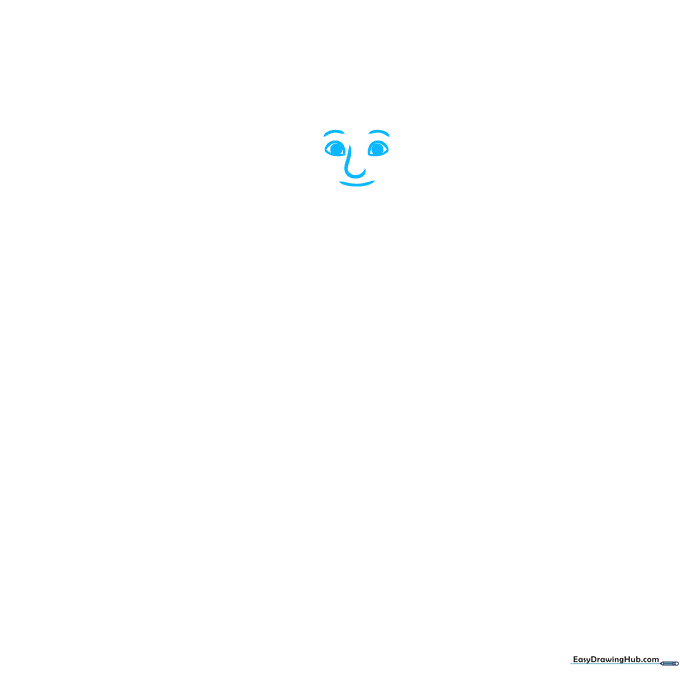
Start by drawing the face. Use curved lines for the eyebrows, nose, and mouth, and enclose the almond-shaped eyes. Tip: Keep your pencil pressure light so you can easily adjust the expression if needed.
Step 2: Defining the Head and Hair
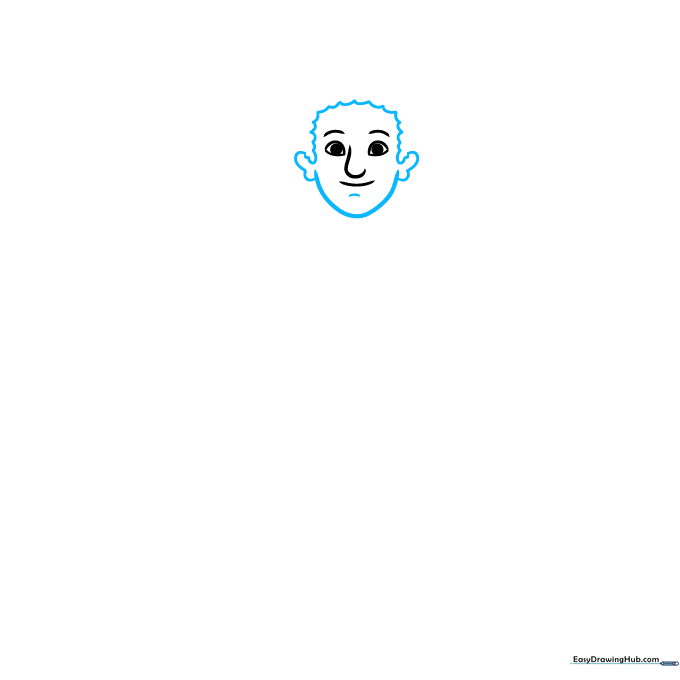
Use connected, curved lines to draw the ears, chin, and the scalloped texture of the hair around the forehead. Tip: Use short, quick strokes for the hair to give it a natural, fluffy texture.
Step 3: Adding the Elf Hat
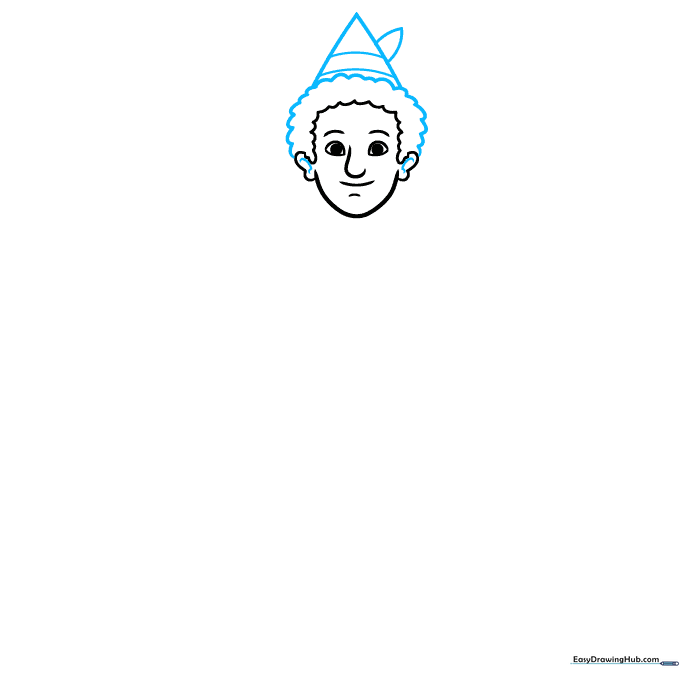
Use scalloped lines to finish the hair and draw a triangle on top for the hat. Add a curved triangle shape to the side. Tip: Imagine the hat is made of soft felt; keep the lines slightly rounded rather than perfectly straight.
Step 4: Sketching the Neck and Collar
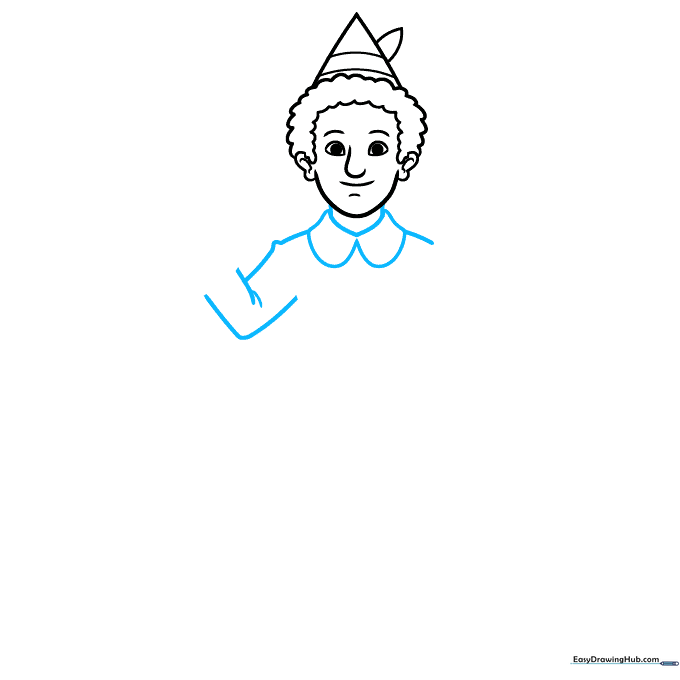
Draw two curved lines for the neck and 'U' shapes for the wide collar. Start the shoulders with overlapping curved lines. Tip: The collar should look like a wide, flat petal shape resting on his shoulders.
Step 5: Drawing the First Sleeve
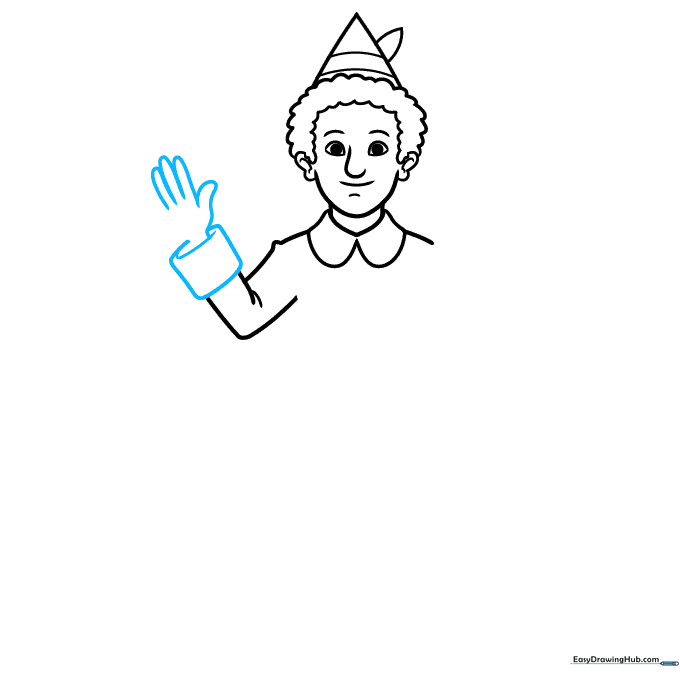
Use curved rectangles to form the cuff and start the hand. Tip: Keep the cuff wide to match the cartoon style of the character's outfit.
Step 6: Completing the Arms
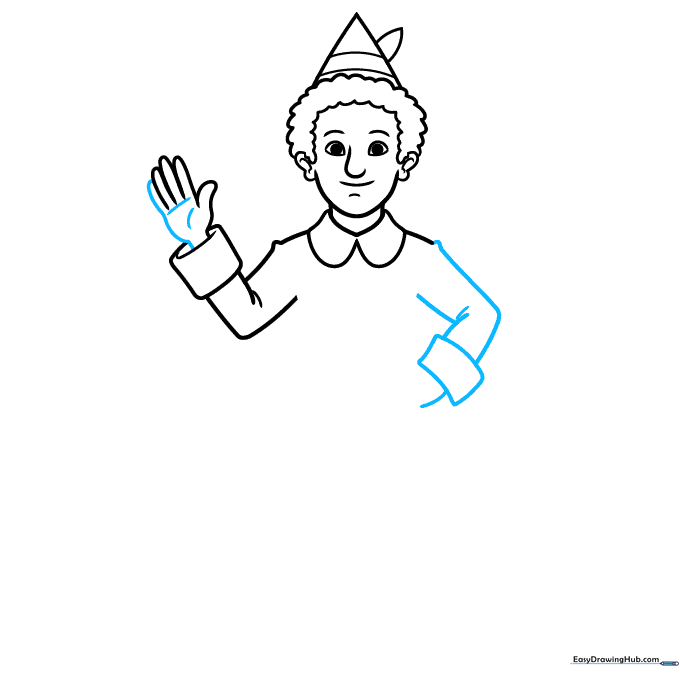
Finish the waving hand and sketch the second sleeve and cuff. Tip: Use overlapping lines to show where the sleeve meets the arm for a more 3D effect.
Step 7: Adding the Belt
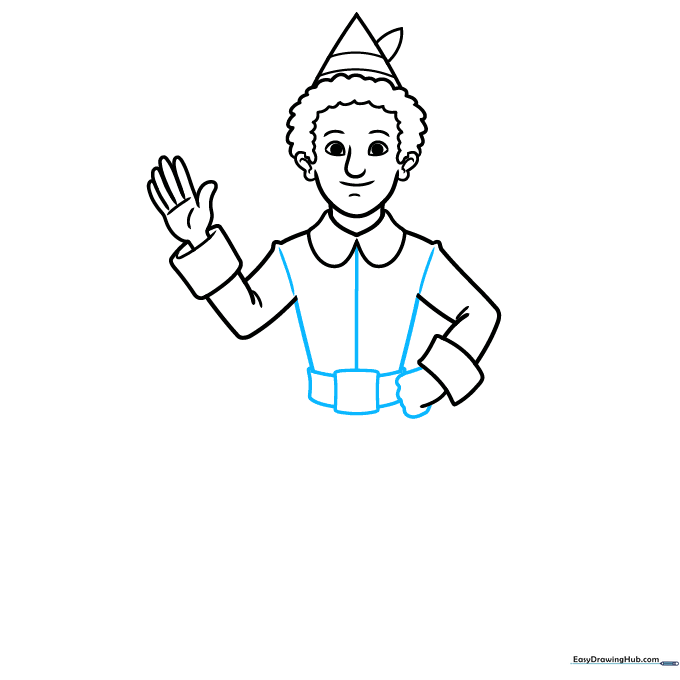
Draw connected rectangles for the belt and connect them to the collar. Add a wavy line for the hand on the hip. Tip: Ensure the belt sits at the waist to help define the character's torso.
Step 8: Drawing the Coat and Legs
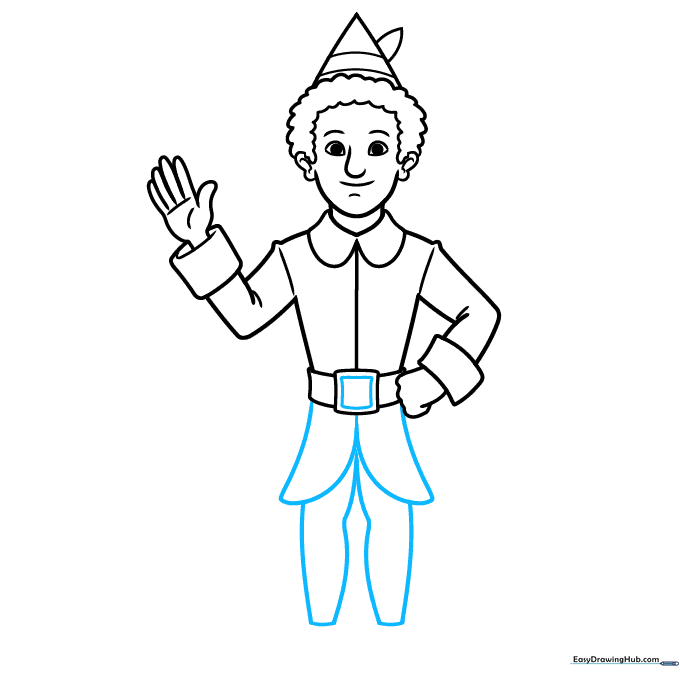
Add a square inside the belt buckle and draw the coat tails. Extend lines from the tails to outline the legs. Tip: Keep the legs slightly apart to create a balanced stance.
Step 9: Finishing the Coat and Shoes
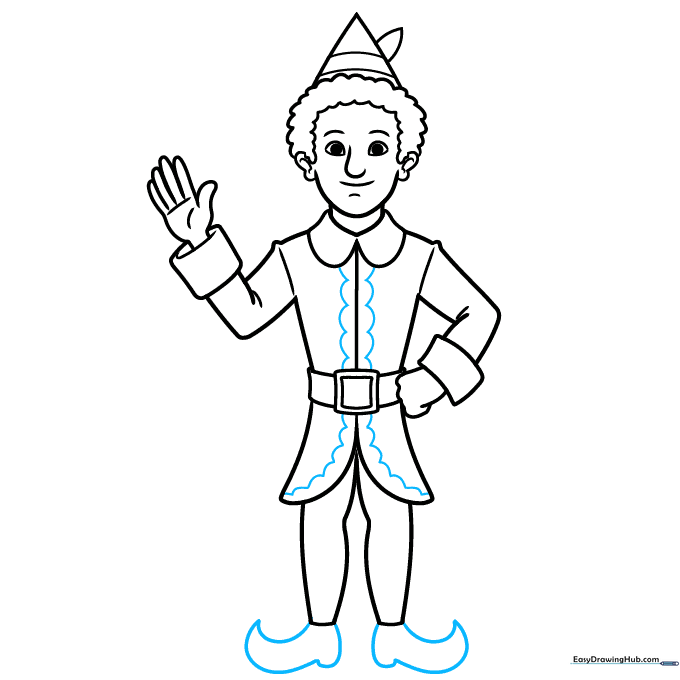
Add a scalloped pattern to the coat edges and draw the pointed shoes. Tip: The shoes should look slightly curled at the toes to capture that classic elf look.
Step 10: Bringing Buddy to Life with Color
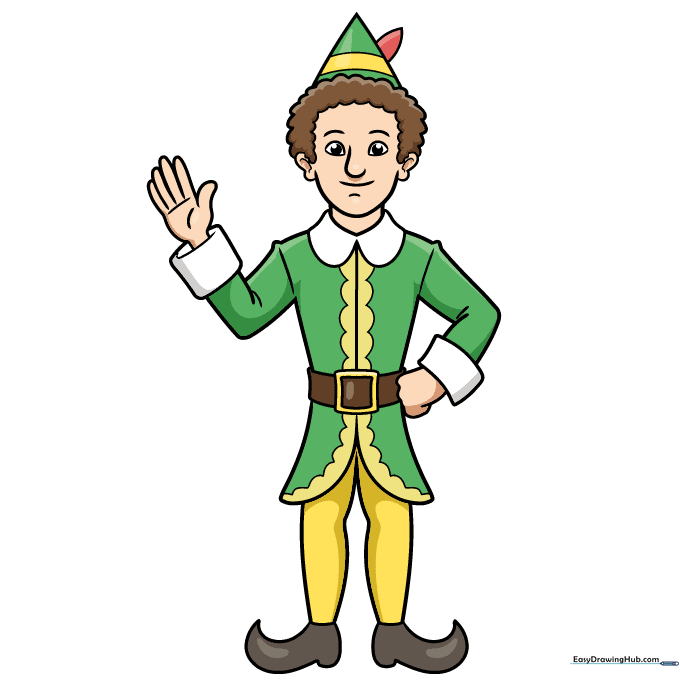
Your outline is complete! Use bright greens and yellows to color your Buddy the Elf. Tip: Use markers for bold colors or colored pencils if you want to practice blending shades in the folds of his coat.
More Tutorials


