How to Draw a Boxer: Easy 9-Step Guide for Beginners
Ready to step into the ring? This tutorial is perfect for young artists ages 7+ who want to draw a dynamic boxer. You will need a pencil, an eraser, and a fine-liner pen to bring your athlete to life while practicing basic human proportions.
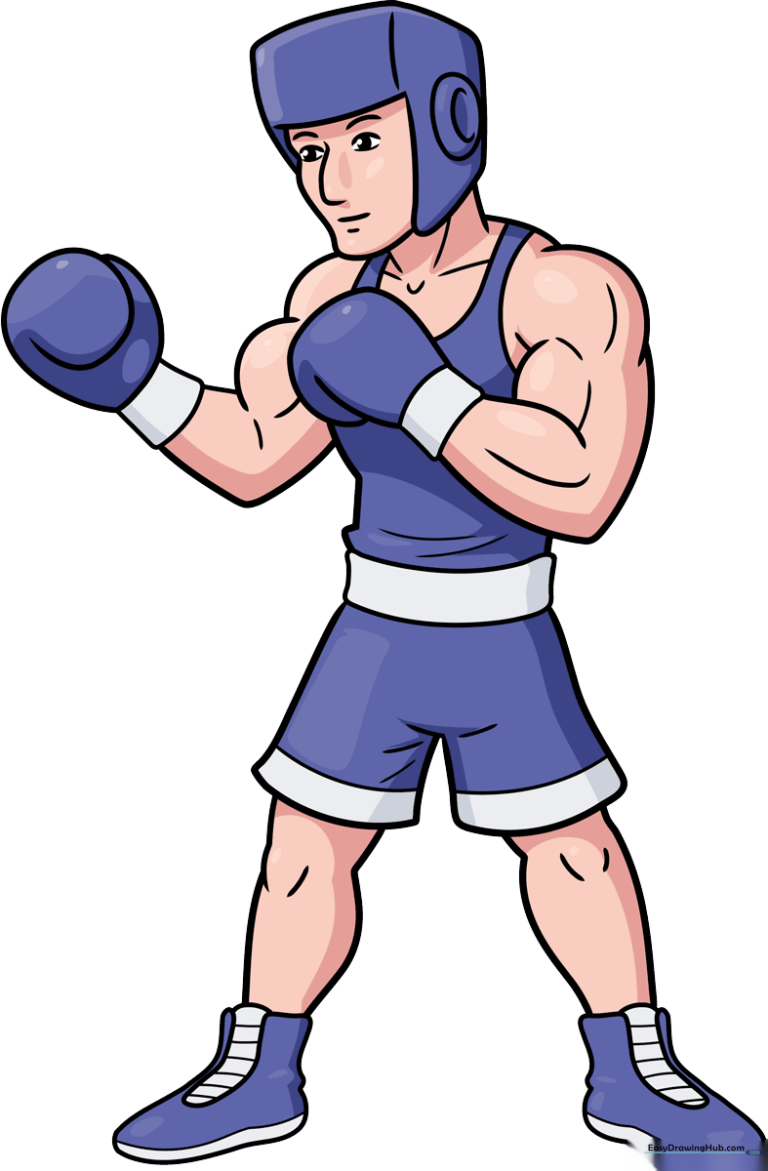
🎯 Final Result
Step-by-Step Instructions
Step 1: Sketching the Face and Jaw
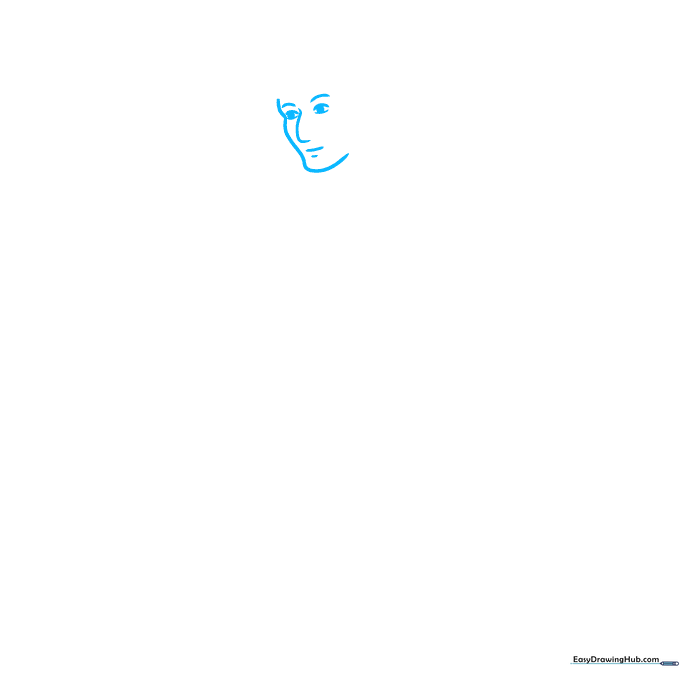
Draw two lemon-shaped eyes with circles inside for pupils. Sketch the nose as an uneven L-shape, then add small dashes for the mouth. Tip: Keep your pencil pressure light here so you can adjust the jawline curve later.
Step 2: Defining the Head and Neck
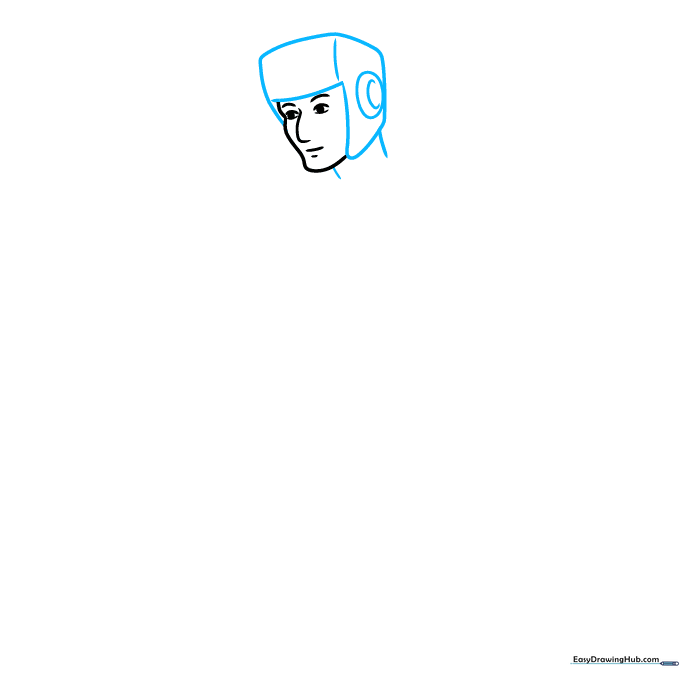
Sketch a rectangle on the forehead for the brow. Add a smaller rectangle and triangle for the ear, then draw an oval with a C-shape inside for detail. Add two diagonal lines below to form the neck. Tip: Use short, quick strokes to keep the neck looking sturdy.
Step 3: Building the Shoulders and Arms
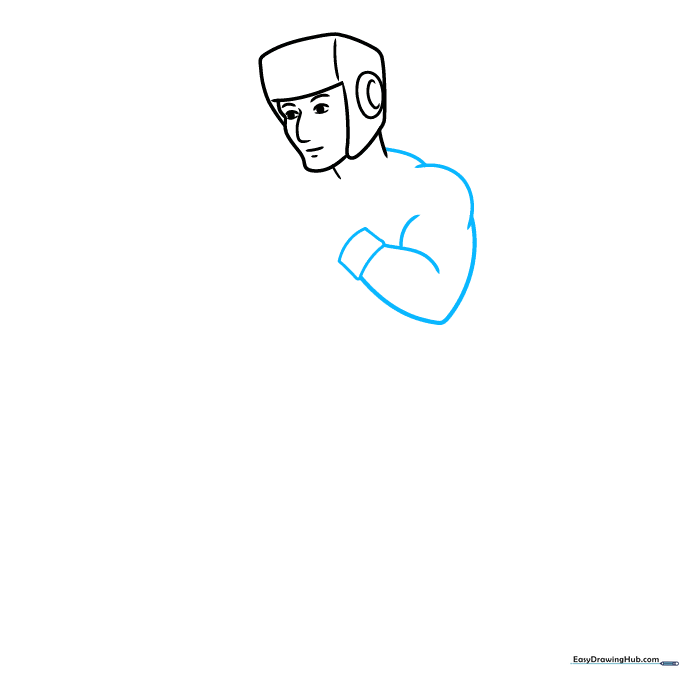
Add two curves for the shoulders, then outline the arm using a V-shape. Sketch the cuff as a curved rectangle. Tip: Imagine the arm is a tube; keep your curves rounded to show muscle volume.
Step 4: Drawing the Boxing Gloves
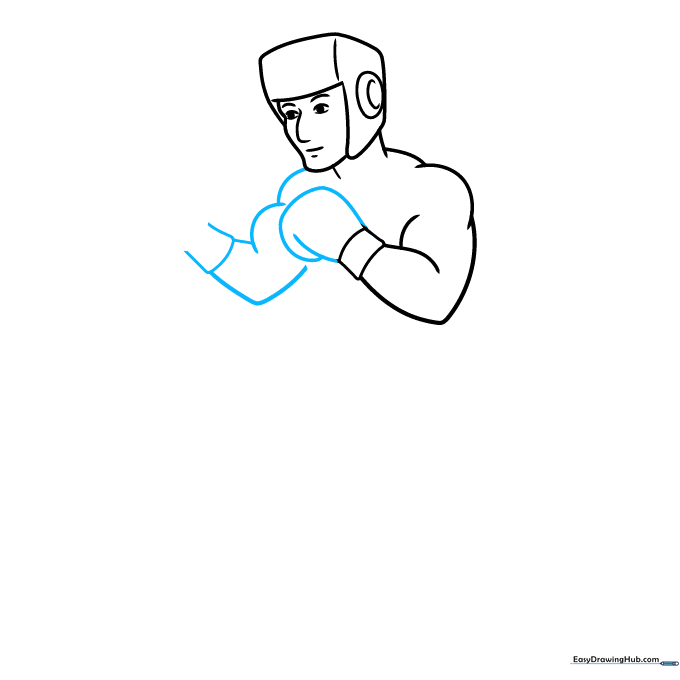
On the left, add curves and a V-shape to form the arm. Sketch the right boxing glove using two lines connected by a curve. Tip: Boxing gloves are bulky, so don't be afraid to make them look larger than the actual hands!
Step 5: Detailing the Gloves and Torso
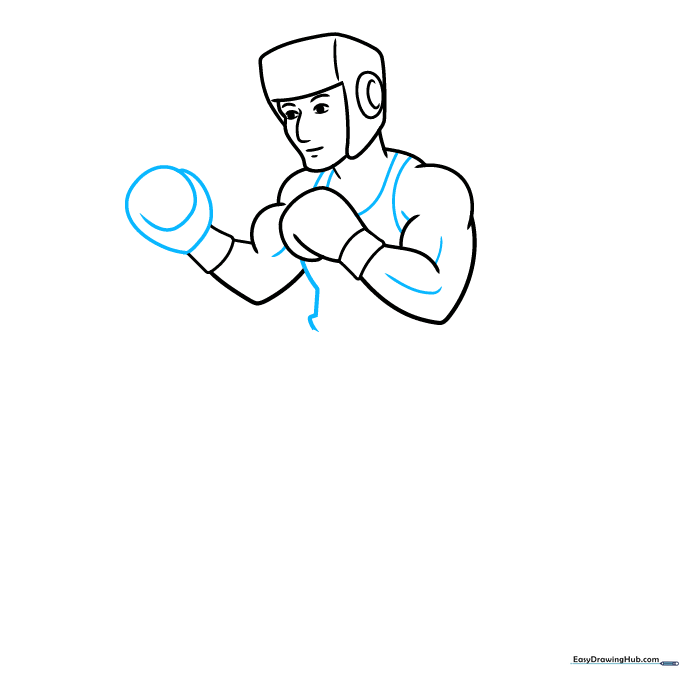
Draw the left glove as an uneven oval with a 'cinnamon bun' swirl inside for the thumb area. Sketch a U-shape under the neck and outline the torso. Tip: The swirl detail adds instant realism to the glove's padding.
Step 6: Completing the Torso and Shorts
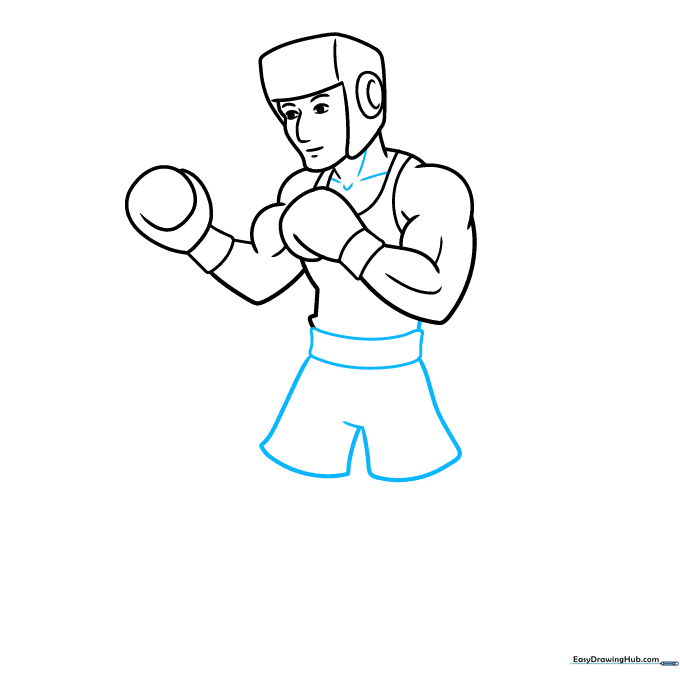
Add lines to the neck for muscle definition. Complete the torso with a long curved rectangle and define the waist of the shorts with horizontal lines. Tip: Keep the shorts loose and baggy to contrast with the tight muscles of the arms.
Step 7: Sketching the Legs and Shoes
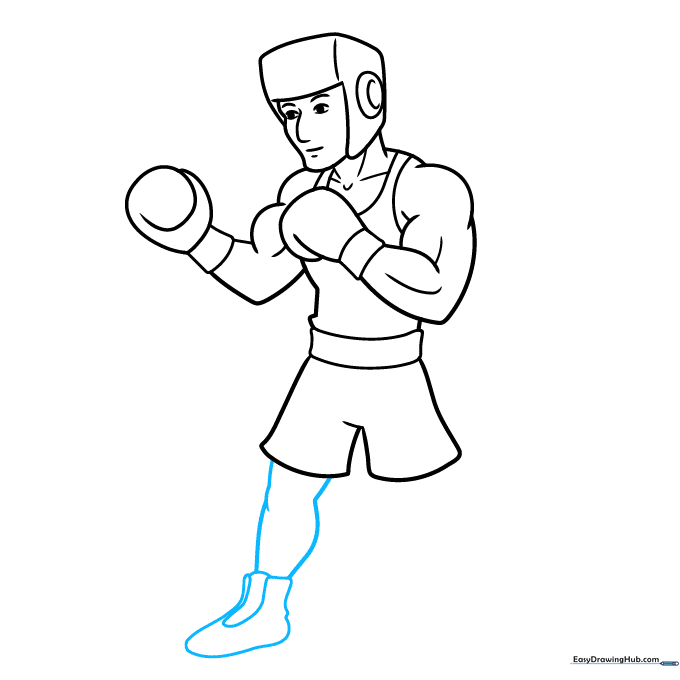
For the left leg, draw a curvy line and a sideways V-shape. Sketch the shoe as an oval with a rectangle base. Tip: Add a 'banana' shape on top of the shoe to represent the laces or tongue.
Step 8: Adding the Second Leg

Repeat the process from Step 7 for the right leg, but mirror the direction so the boxer looks like they are in a fighting stance. Tip: Ensure the legs are spaced apart to show balance.
Step 9: Final Details and Inking
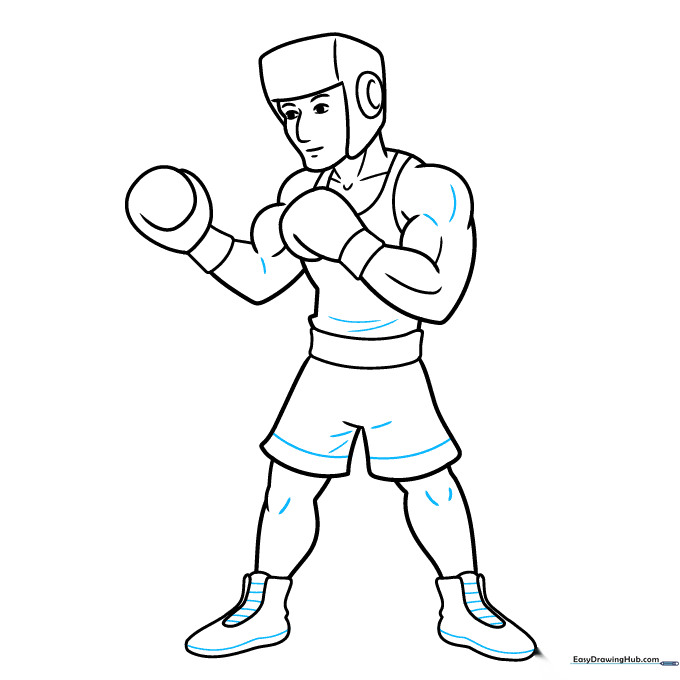
Add small lines to the arms, knees, and shorts to show fabric folds and muscle definition. Finally, use a black pen to outline your drawing. Tip: Erase your pencil lines only after the ink is completely dry to avoid smudging!
Step 10: Adding Color
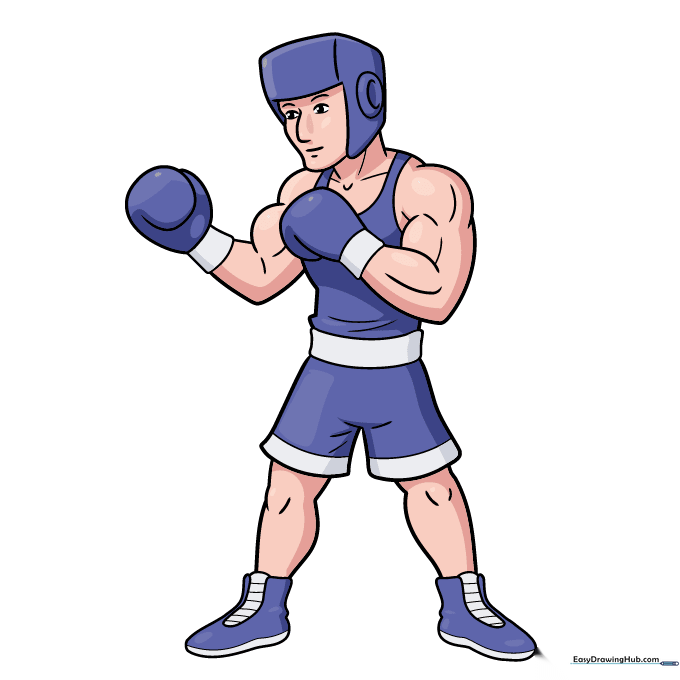
Bring your boxer to life! Use warm skin tones and choose a bold color like purple or red for the uniform to make your character pop. Tip: Use a darker shade of your uniform color to add shadows under the arms and knees.
More Tutorials


