How to Draw Bowser: Easy 10-Step Guide for Mario Fans
Ready to bring the King of the Koopas to life? This tutorial is perfect for young Mario fans ages 7+ looking to level up their character drawing skills. Grab a pencil, eraser, and some paper to follow along as we break down Bowser’s complex features into simple, manageable shapes.
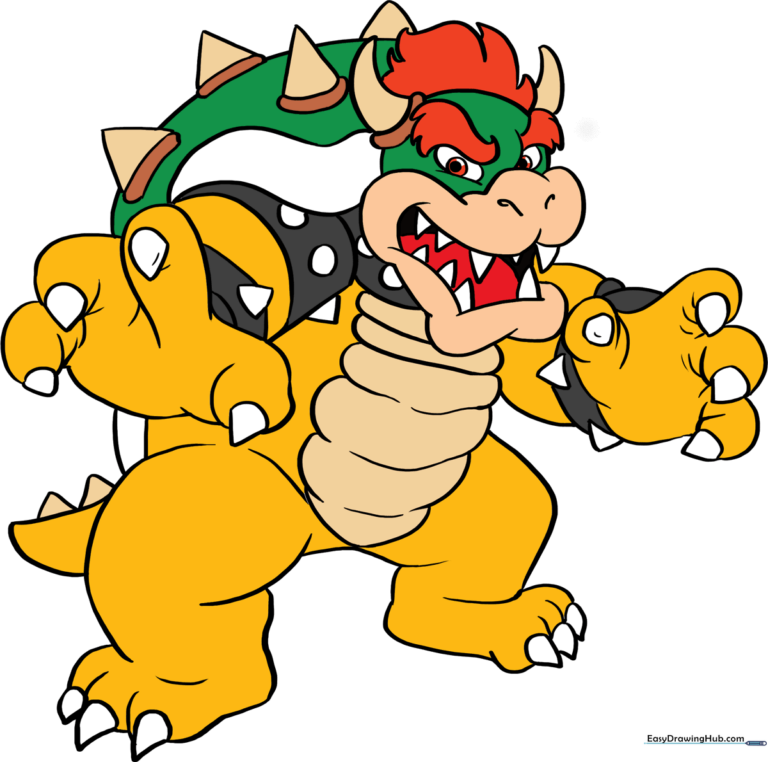
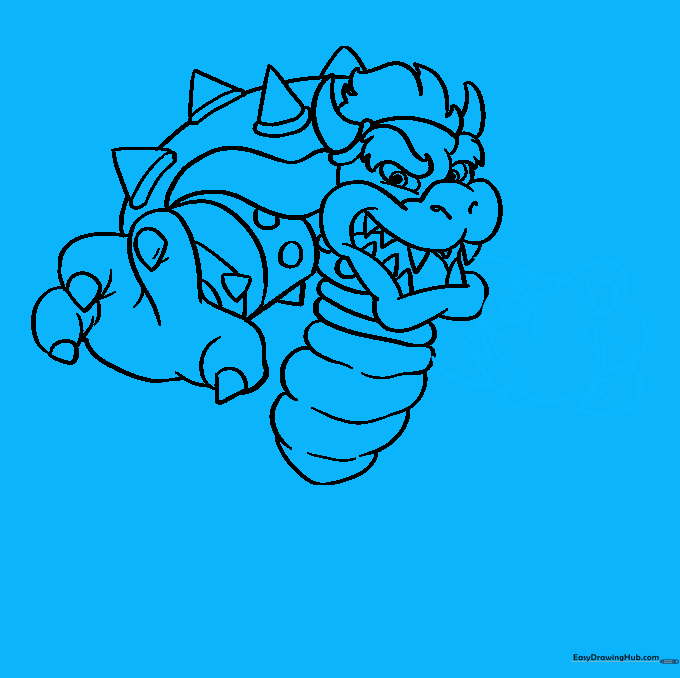
🎯 Final Result
Step-by-Step Instructions
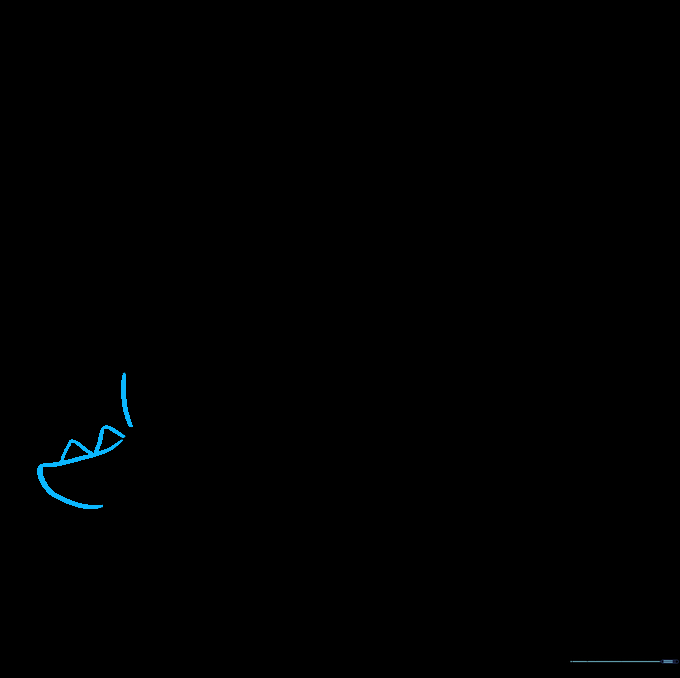
Step 1: Sketching the Snout and Jaw

Start by sketching a light half-circle for the top of the head. Use overlapping curved lines to define his signature lumpy nose and jaw. Teacher's Tip: Keep your pencil pressure light here so you can easily erase the guide lines later once the face shape is set.
Step 2: Defining Eyes and Horns
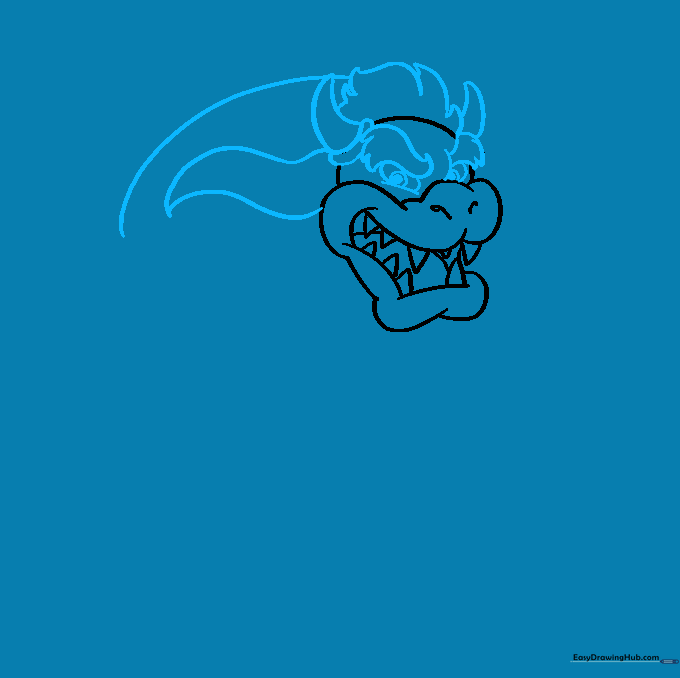
Enclose the irregular eye shapes and add those thick, angry eyebrows. Draw a circle within a circle for the pupils. Add curved triangles on the sides of the head for his horns. Teacher's Tip: Make the horns slightly asymmetrical to give Bowser more personality!
Step 3: Adding Shell Spikes
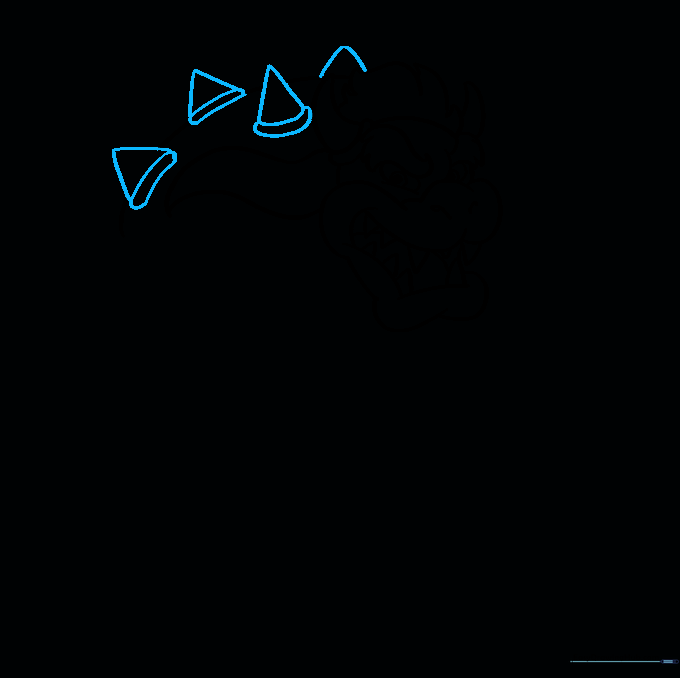
Draw triangular spikes emerging from the shell rim. Teacher's Tip: Use a 'zigzag' motion with your wrist to keep the spikes sharp and consistent in size.
Step 4: Sketching the Arm and Claws
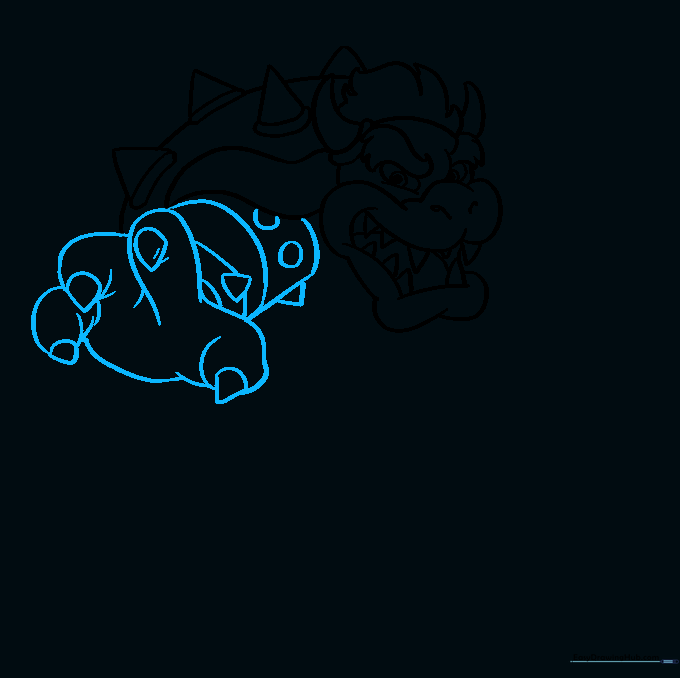
Draw the outstretched arm using overlapping curved lines for the palm and fingers. Add triangular claws at the tips. Teacher's Tip: Focus on the 'overlapping' technique to make the arm look like it has volume rather than being flat.
Step 5: Defining the Underbelly
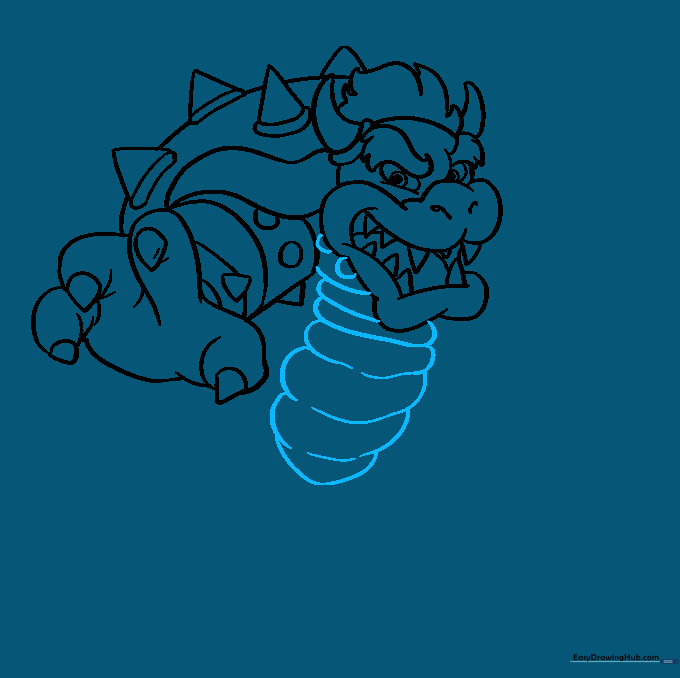
Use a series of overlapping curved lines to create the texture of the underbelly. Teacher's Tip: Imagine you are drawing a stack of rounded plates to get the right rhythm for these lines.
Step 6: The Second Arm and Bracelet
Outline the second hand and arm, adding the spiked bracelet. Teacher's Tip: Keep the bracelet bands parallel to give it a sturdy, metallic look.
Step 7: Drawing the Leg and Foot
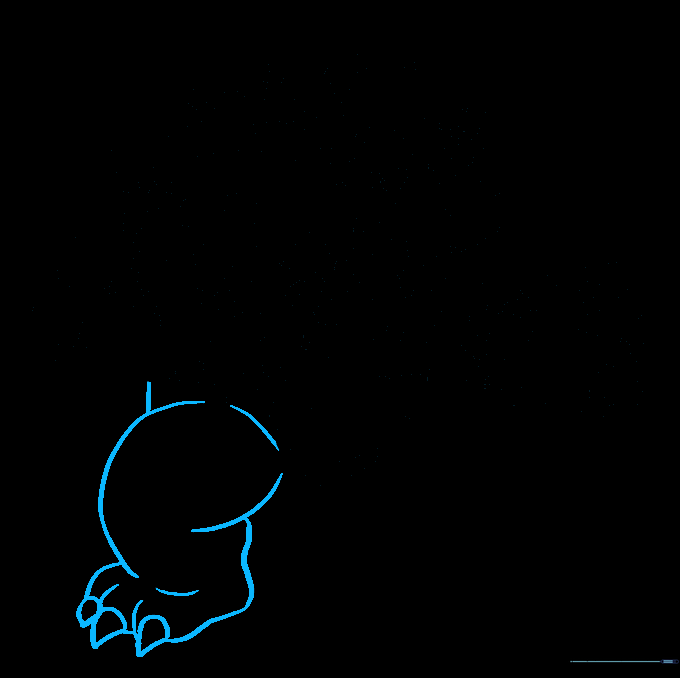
Sketch the leg bent at the knee and the large foot. Add the triangular toenails. Teacher's Tip: Bowser has big, heavy feet—don't be afraid to make them look wide and sturdy!
Step 8: Completing the Shell and Tail
Finish the shell outline and draw the tail, tapering it to a point. Add more spikes to the shell. Teacher's Tip: A smooth, continuous curve for the tail helps balance the character's pose.
Step 9: Final Leg Details
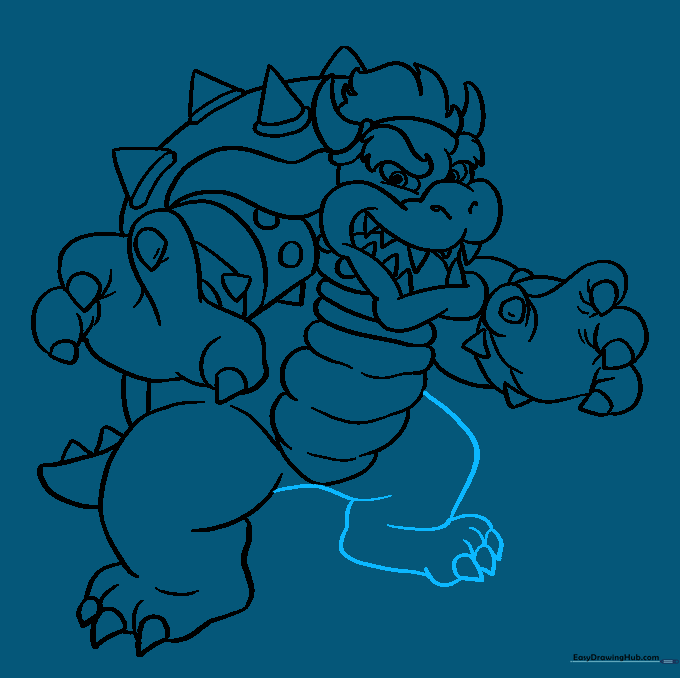
Sketch the remaining leg and claws to finish the base outline. Teacher's Tip: Check that your proportions match the first leg so Bowser looks balanced.
Step 10: Bringing Bowser to Life with Color
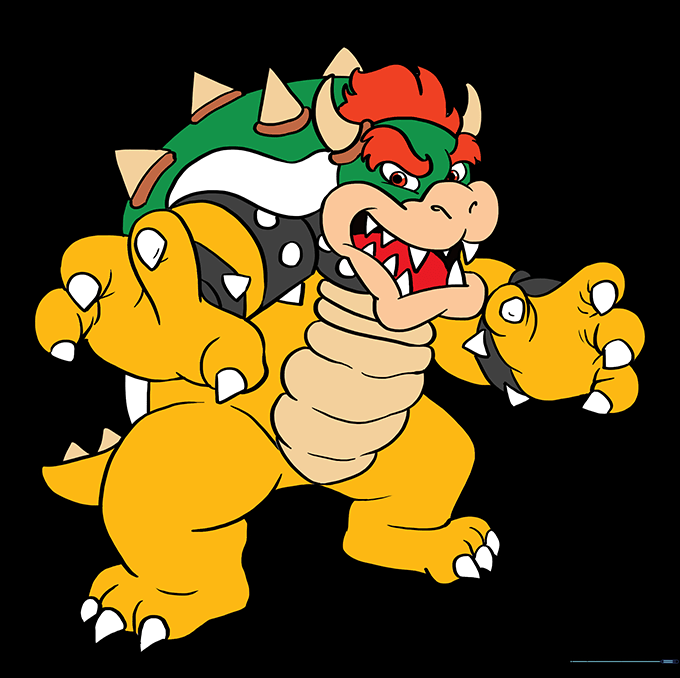
Time to color! Use vibrant greens for the shell, yellow for the skin, and red for the hair. Teacher's Tip: Use a darker shade of yellow to add a little shadow under the chin to make your drawing pop!
More Tutorials


