How to Draw Bowling: Easy 10-Step Guide for Kids
Ready to capture the excitement of a bowling strike on paper? This tutorial is perfect for young artists ages 5 and up. All you need is a pencil, an eraser, and some markers to bring this action-packed scene to life.
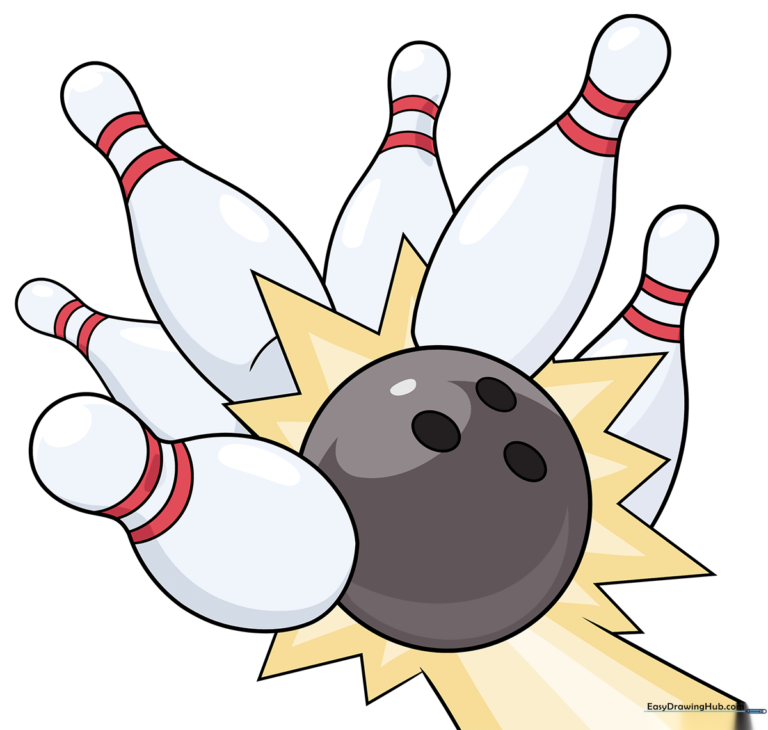
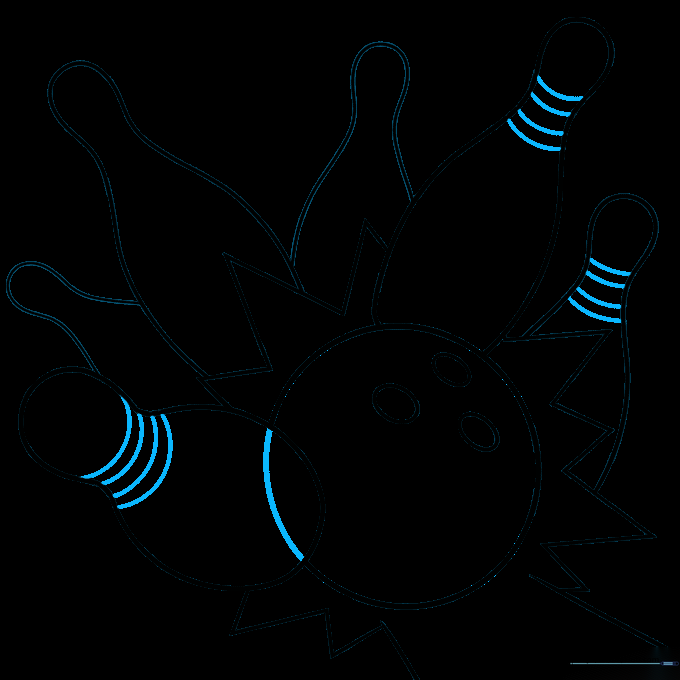
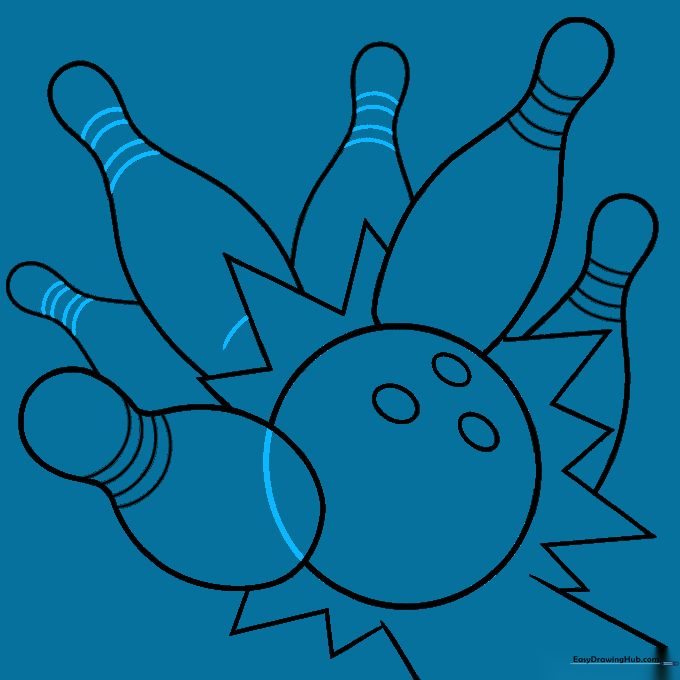
🎯 Final Result
Step-by-Step Instructions
Step 1: Sketching the Bowling Ball
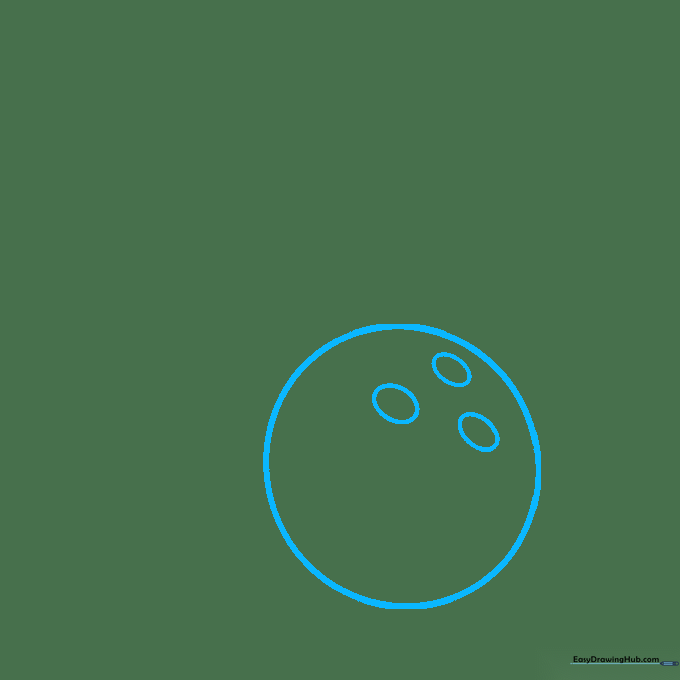
Start by drawing a circle for the bowling ball. Inside, add three small ovals in a triangle formation for the finger holes. Teacher's Tip: Keep the ovals small so they look proportional to the ball.
Step 2: Adding the First Pin
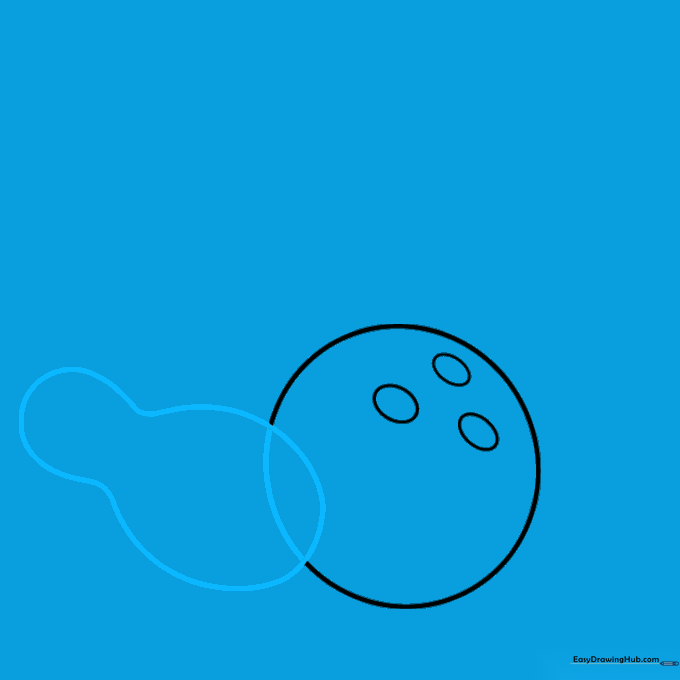
Draw the first bowling pin near the ball. Use a peanut-like shape—narrow at the neck and wider at the base. Teacher's Tip: Don't worry if it overlaps the ball; you can erase the hidden lines later.
Step 3: Placing the Second Pin
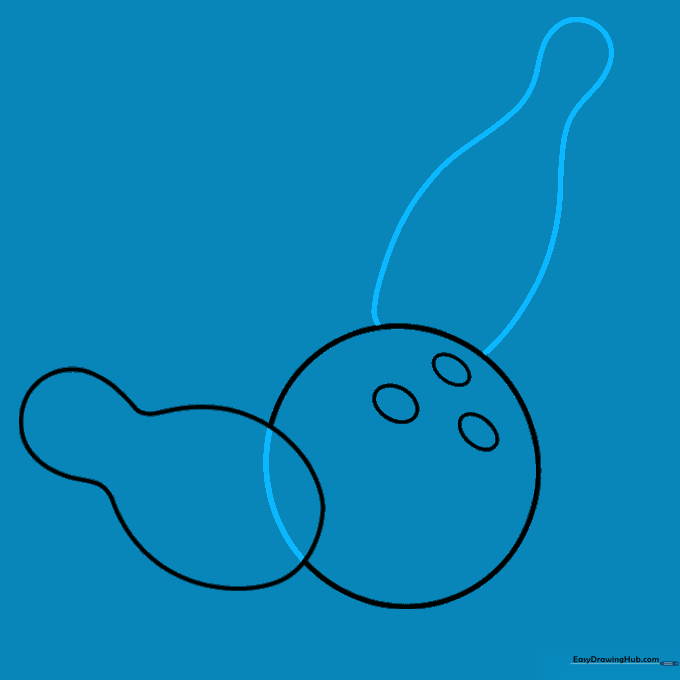
Draw a second pin next to the first one. Extend a curved line and double it back to create that classic pin shape. Teacher's Tip: Vary the angles slightly to make it look like they are being knocked over.
Step 4: Creating Impact Lines
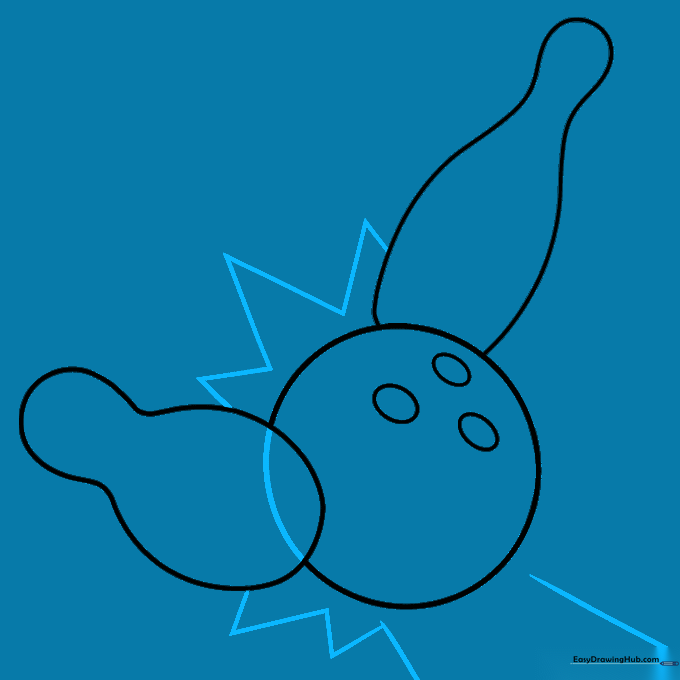
Draw jagged, triangular lines between the ball and pins to show the 'boom' of impact. Add two straight lines behind the ball to show motion. Teacher's Tip: Use sharp, quick pencil strokes to emphasize the energy of the collision.
Step 5: Refining the Impact
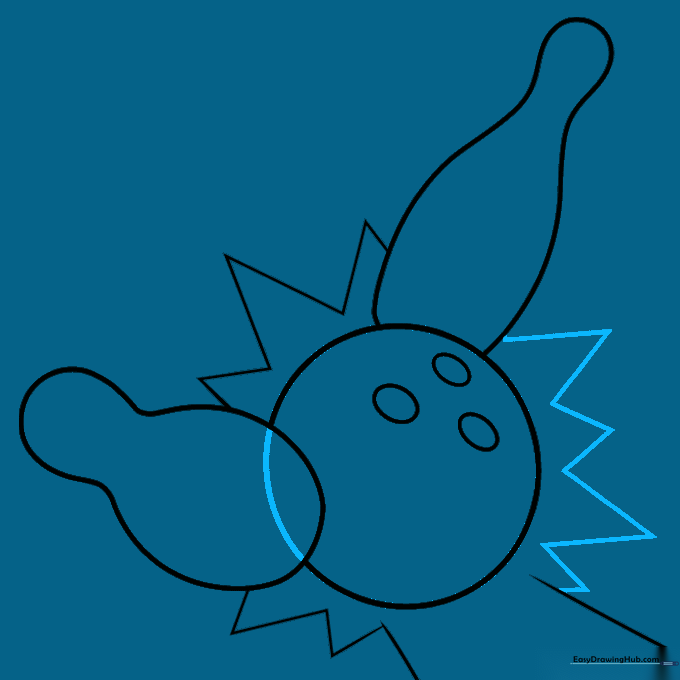
Add more jagged lines around the other side of the ball to complete the impact effect. Teacher's Tip: Make these lines uneven to give your drawing a dynamic, comic-book feel.
Step 6: Adding More Pins
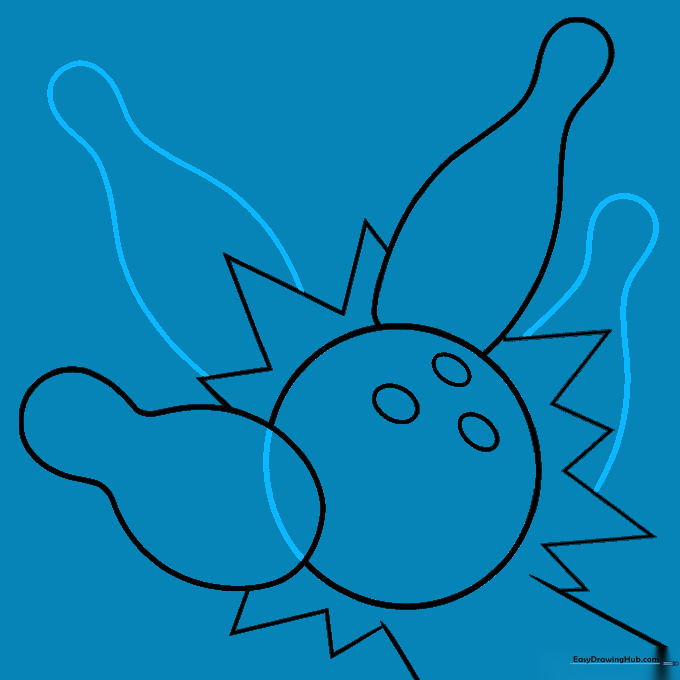
Continue adding pins to your scene. Remember the peanut shape: narrow neck, wide base. Teacher's Tip: Try drawing them at different heights to show they are flying through the air.
Step 7: Filling the Scene
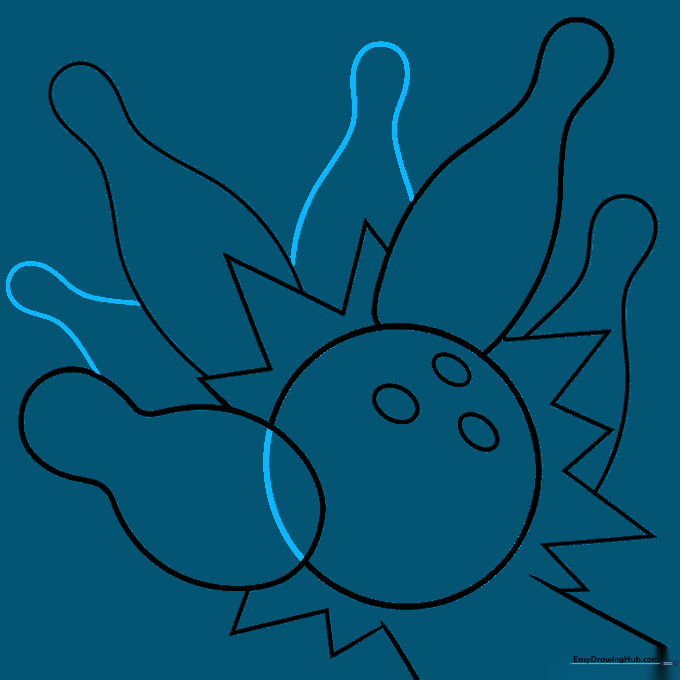
Add a few more pins in the background. Teacher's Tip: Draw these slightly smaller than the front pins to create a sense of depth in your drawing.
Step 8: Adding Pin Details
Draw the signature stripes on the necks of your pins using four curved lines for each. Teacher's Tip: Keep the lines parallel to make them look like professional bowling pins.
Step 9: Finalizing the Pins
Finish adding stripes to all remaining pins. Add a small curved line at the bottom of one pin to give it a 3D base. Teacher's Tip: This small detail makes the pin look like it's resting on the floor.
Step 10: Adding Color
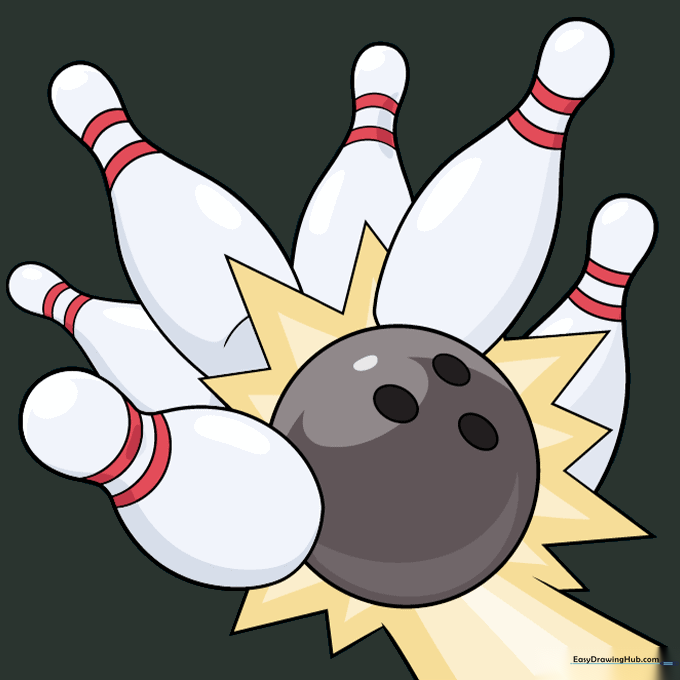
Time to color! Use black for the ball and white for the pins with red stripes. Teacher's Tip: Don't be afraid to use neon colors if you want a modern, funky bowling look!
More Tutorials


