How to Draw Boruto Uzumaki: Easy 10-Step Anime Guide
Ready to bring the next generation of ninja to life? This tutorial is perfect for young artists ages 7+ who want to capture Boruto’s signature spiky hair and determined expression. Grab your pencil, eraser, and paper to practice these essential anime facial proportions.
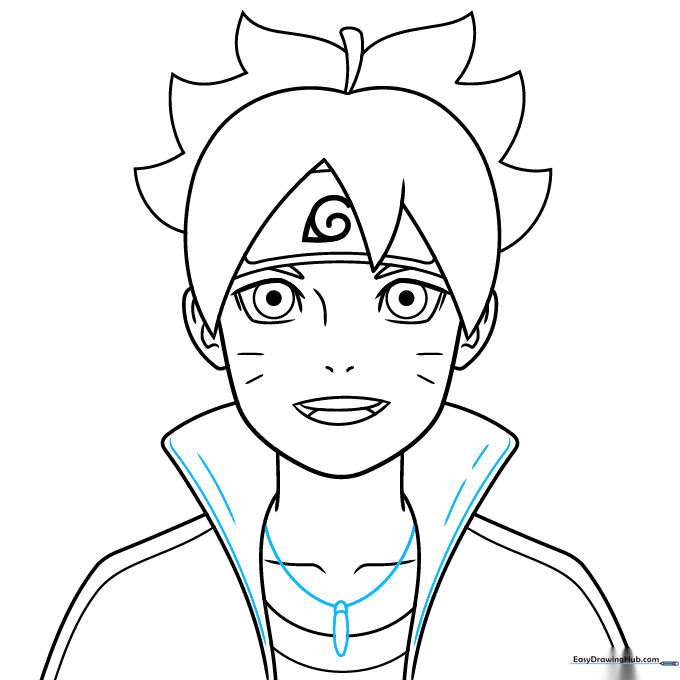
🎯 Final Result

Step-by-Step Instructions
Step 1: Sketching the Anime Eyes
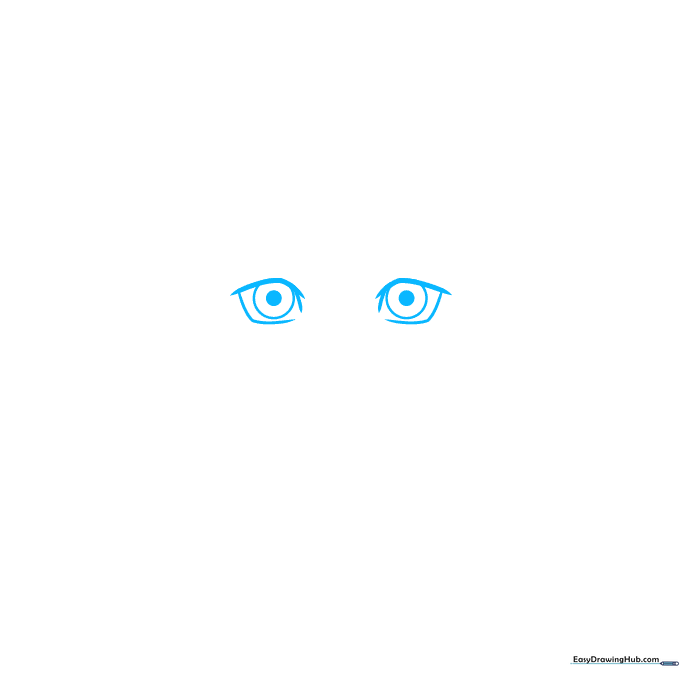
Draw two thick, curved lines for the upper eyelids. Remember, they shouldn't touch at the inner corners. Add a circle inside each for the iris. Teacher's Tip: Keep your pencil pressure light so you can easily adjust the symmetry before committing to dark lines.
Step 2: Defining Facial Features
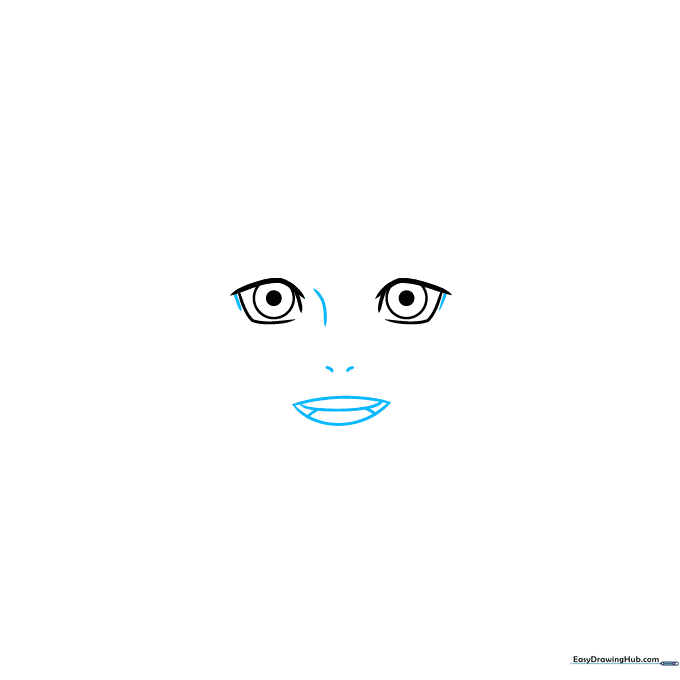
Add small curves to the outer eye corners, then sketch a simple bridge for the nose and a small mouth with visible teeth. Teacher's Tip: Use a very light touch for the nose; in anime, less is often more to keep the face looking youthful.
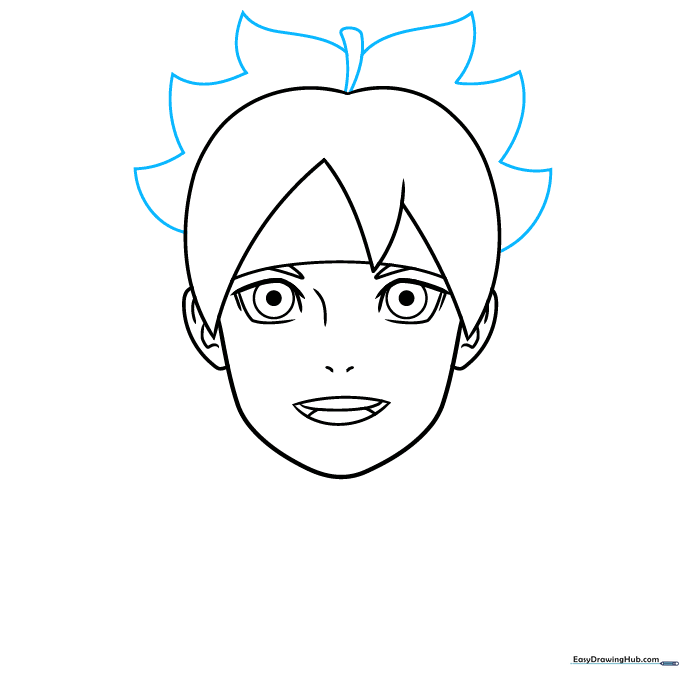
Step 3: Framing the Face and Headband
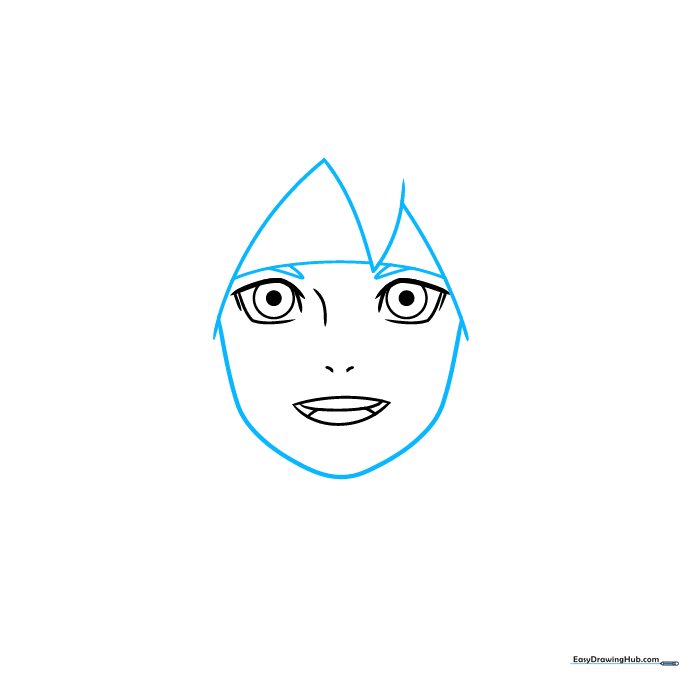
Draw the jawline and the jagged, spiky hair around the forehead. Add the headband strap and eyebrows. Teacher's Tip: Make the hair spikes vary in size—this creates a more dynamic, 'anime-authentic' look.
Step 4: Adding Hair Volume and Ears
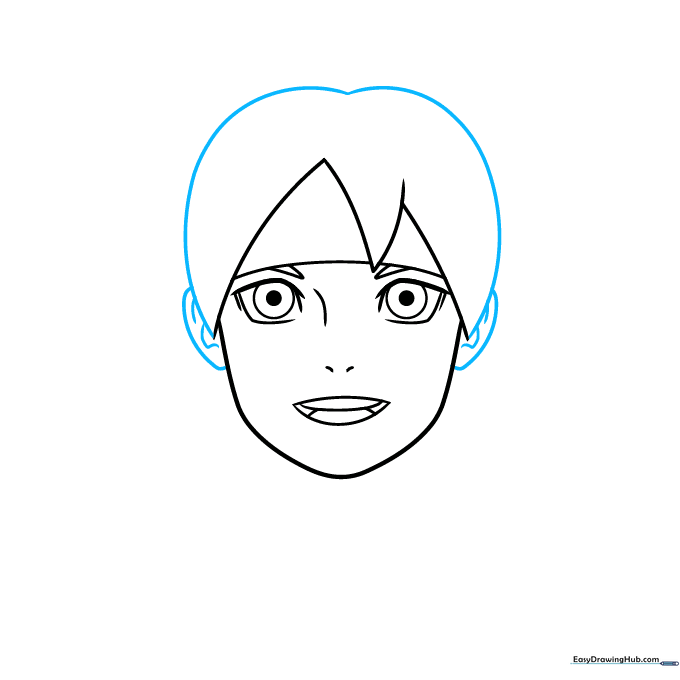
Use long, sweeping curves to finish the top of the hair and add the ears on the sides. Teacher's Tip: Don't worry about perfect symmetry for the hair; Boruto’s style is intentionally messy and energetic.
Step 5: Refining the Spiky Hair
Extend a curved line from the crown and create the iconic 'leaf-like' spikes at the top. Teacher's Tip: Use quick, flicking motions with your pencil to get those sharp, pointed ends on the hair strands.
Step 6: Headband and Whiskers
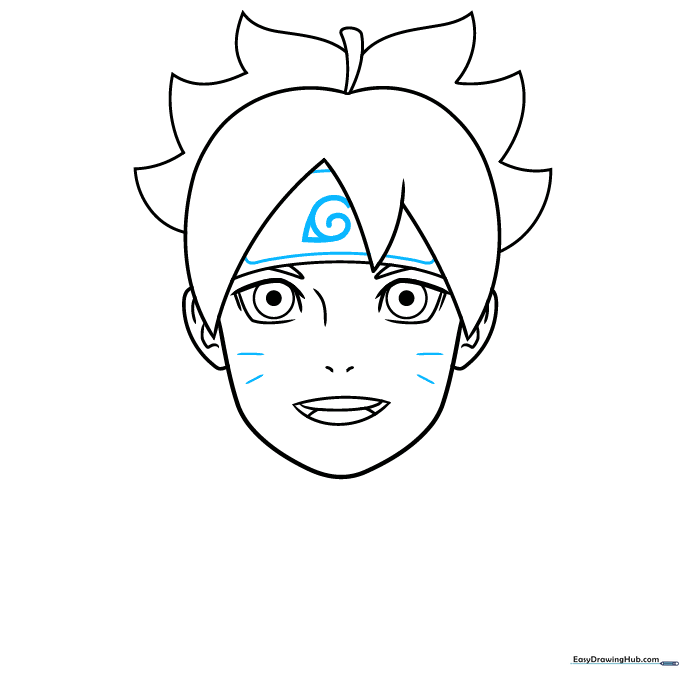
Draw the metal plate on the headband with the Leaf Village symbol, then add his signature whisker marks on the cheeks. Teacher's Tip: Keep the whisker lines short and horizontal to avoid making them look like cat whiskers.
Step 7: Neck and Collar
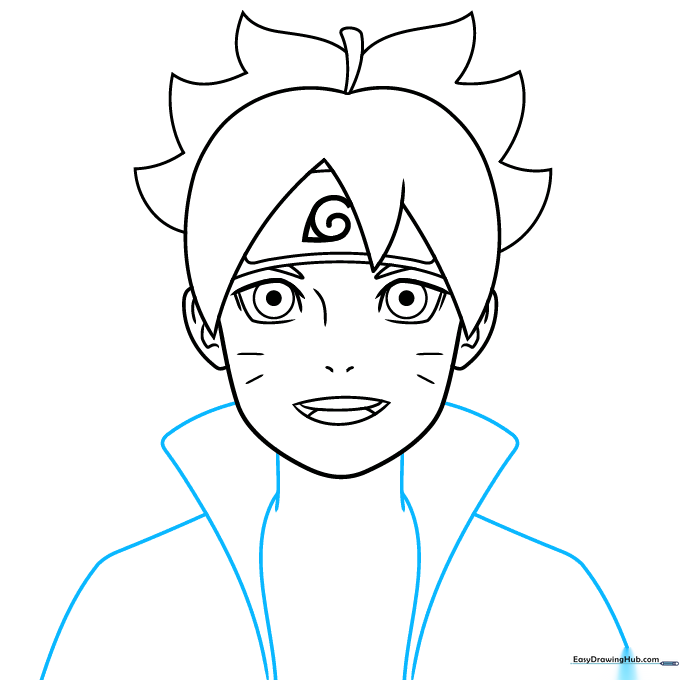
Sketch the neck and the tall collar of his jacket using long, confident lines. Teacher's Tip: Ensure the collar lines are slightly wider than the neck to give the jacket a realistic, bulky feel.
Step 8: Adding Clothing Details
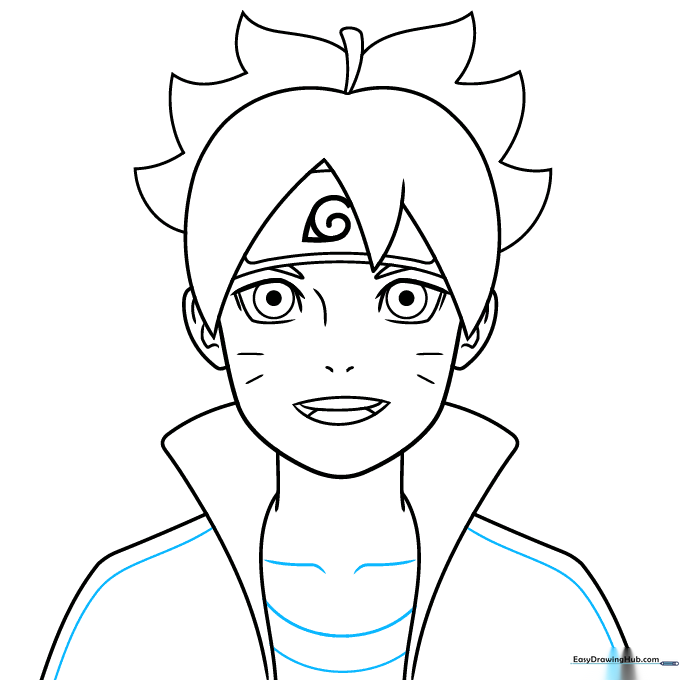
Add parallel lines to the shoulders and 'U' shapes for the shirt collar. Contour the collarbones. Teacher's Tip: Adding these small details makes the drawing look much more professional and finished.
Step 9: Final Touches
Refine the collar edges and add the pendant necklace. Erase any stray guidelines. Teacher's Tip: Use a kneaded eraser to gently lift away extra pencil marks without smudging your clean lines.
Step 10: Bring Boruto to Life with Color
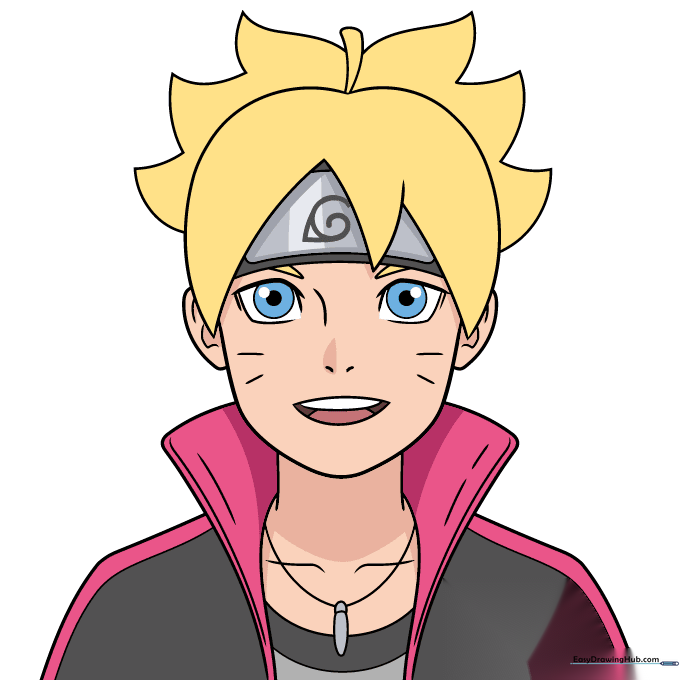
Time to color! Use bright yellow for his hair, blue for his eyes, and silver for the headband. Teacher's Tip: When coloring the hair, leave a small white sliver on the spikes to represent a 'highlight'—it makes the hair look shiny and 3D.
More Tutorials


