How to Draw Boots: Simple 10-Step Guide for Beginners
Ready to design your own footwear? This tutorial is perfect for artists ages 5 and up. All you need is a pencil, an eraser, and a piece of paper to bring these stylish boots to life while practicing basic geometric shapes.
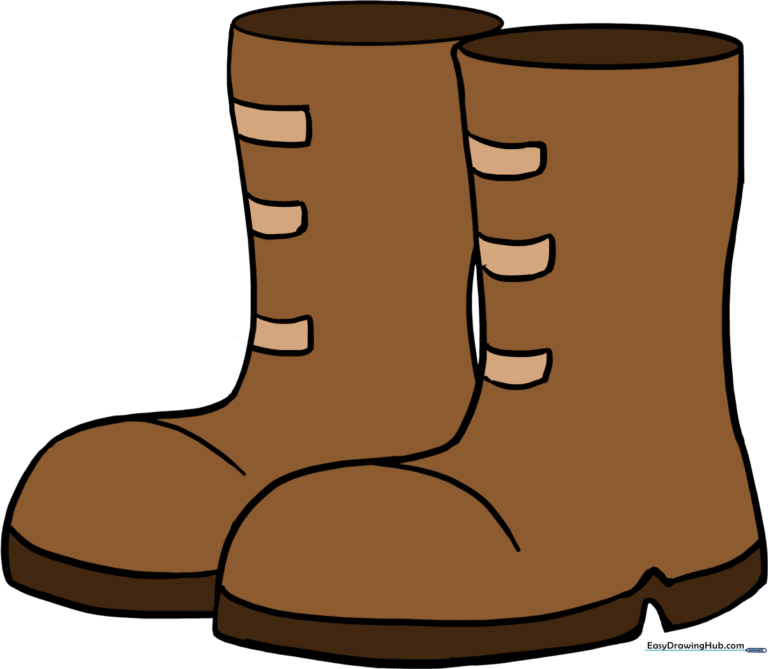
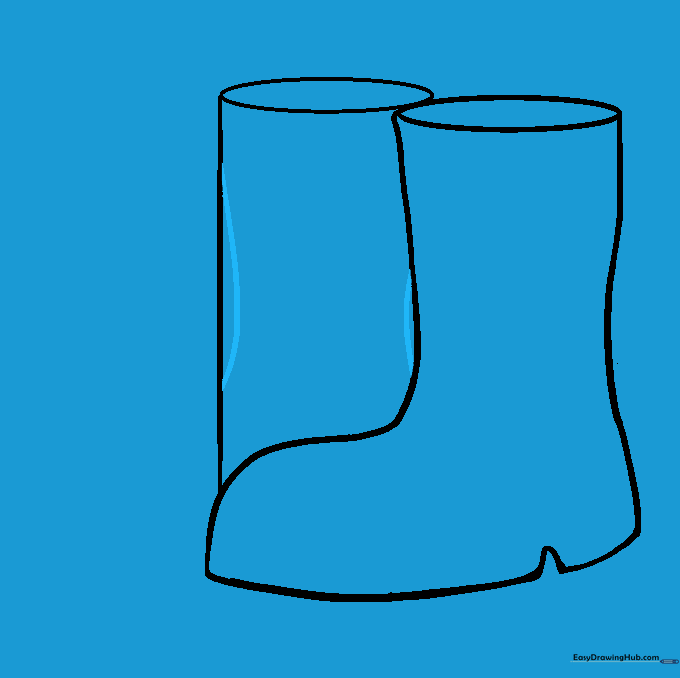
🎯 Final Result
Step-by-Step Instructions
Step 1: Sketching the Base Cylinder

Start by drawing a tall cylinder to represent the boot's leg. Use two vertical, parallel lines connected by curved lines at the top and bottom. Teacher's Tip: Keep your pencil pressure light so these structural lines are easy to erase later!
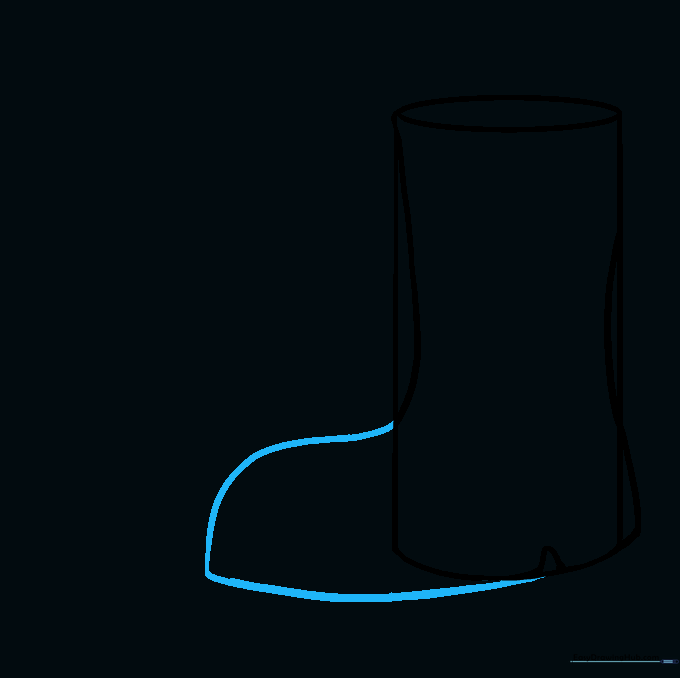
Step 2: Defining the Boot Shape
Use the cylinder as a guide to sketch the boot's silhouette. Add curved lines on the sides and a small, rounded triangle at the base to form the heel. Tip: Focus on smooth, flowing curves to make the boot look natural.
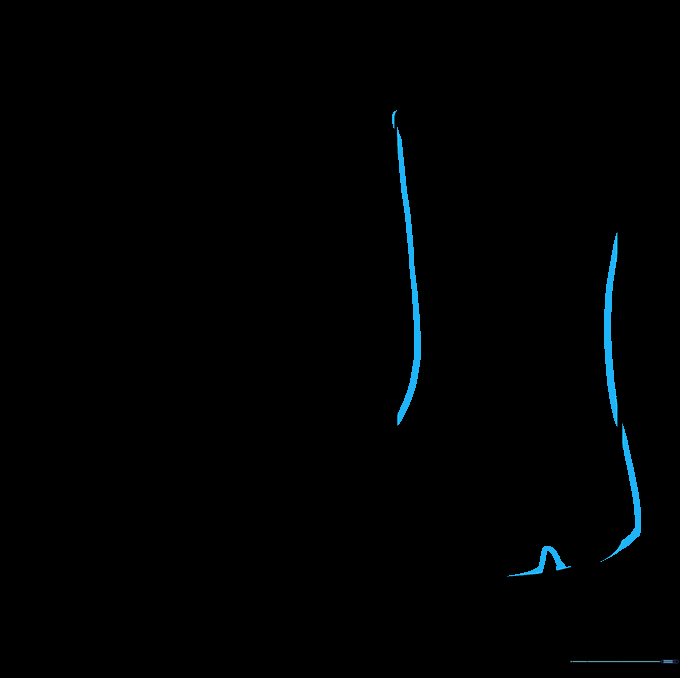
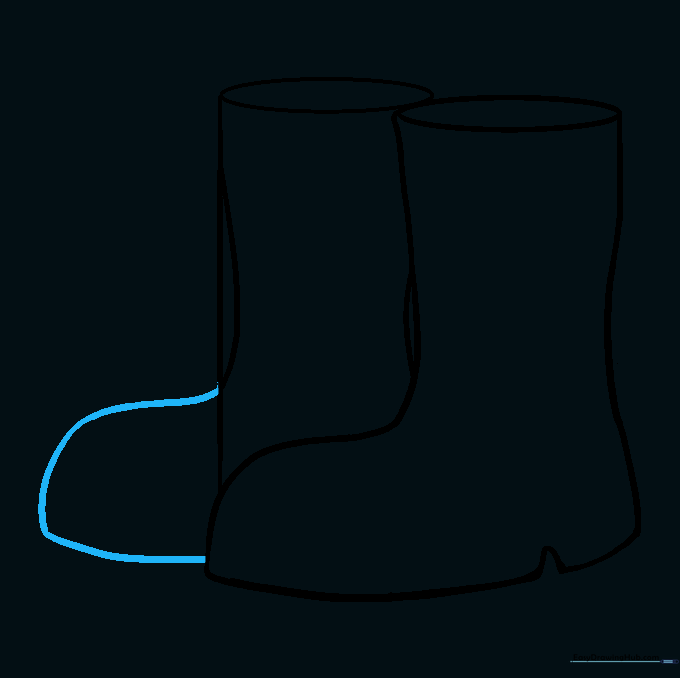
Step 3: Shaping the Toe
Draw a long, curved line to outline the front of the shoe. Notice how the line creates a blunt point where the sole meets the upper part of the boot.
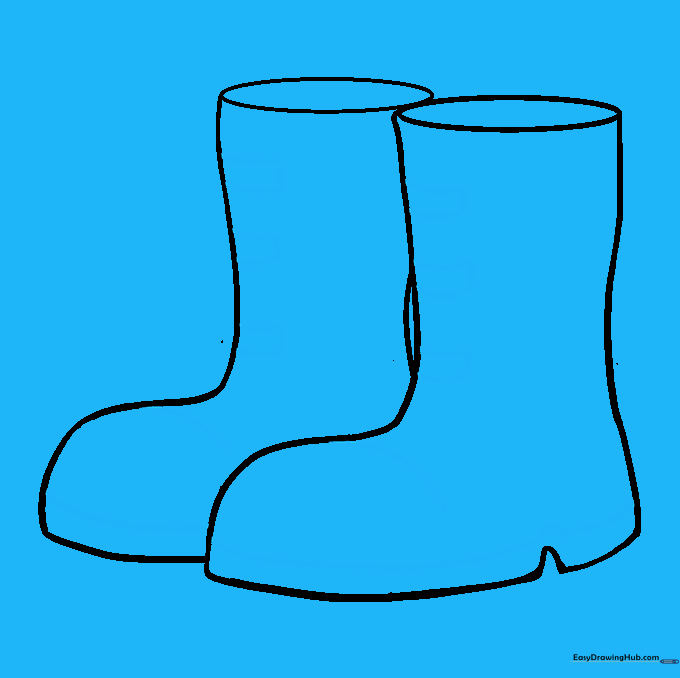
Step 4: Cleaning the Lines

Gently erase the internal cylinder guide lines. You should now have a clean, clear outline of your first boot.
Step 5: Starting the Second Boot
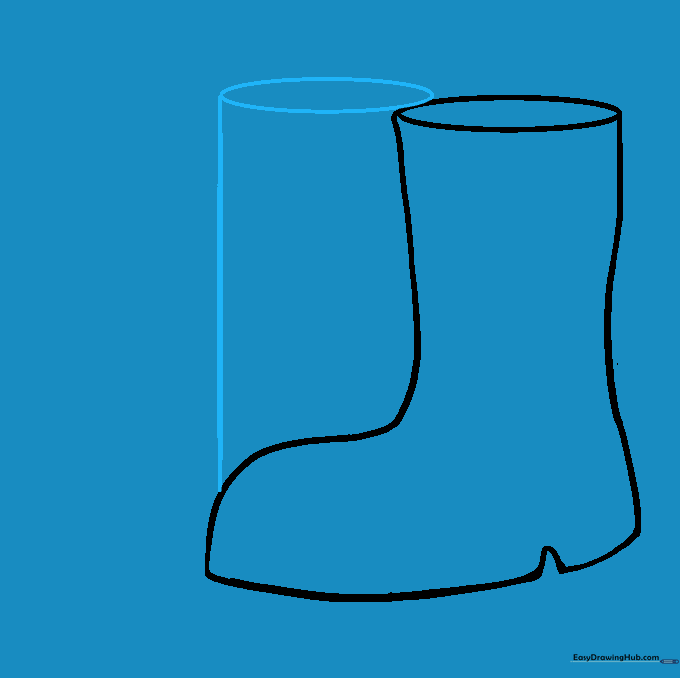
Draw another cylinder for the second boot. Since it sits behind the first, use one vertical line and two curved lines to suggest depth. Tip: Overlapping shapes is a great way to create a 3D effect in your drawings!
Step 6: Outlining the Second Boot
Add curved lines on either side of your second cylinder to define the shape of the second boot.
Step 7: Defining the Second Toe
Repeat the process from step 3 by drawing a long, curved line to form the toe of the second boot.
Step 8: Final Clean Up

Erase any remaining guide lines. You should now have two clean, matching boot outlines.
Step 9: Adding Details
Add character to your boots! Draw small curved rectangles for straps and a parallel line along the bottom to represent the sole. Tip: Adding these small details makes your drawing look much more realistic.
Step 10: Bring Your Boots to Life

Time to color! Use brown for classic work boots or bright colors for rain boots. Experiment with shading to give them a polished look. You've done a great job!
More Tutorials


