How to Draw Bonnie from FNAF: Easy Step-by-Step Guide
Bring your favorite animatronic to life with this beginner-friendly guide. You only need a pencil, an eraser, and a sheet of paper to master Bonnie's iconic look. Follow these steps to build confidence in your character design skills while having fun.
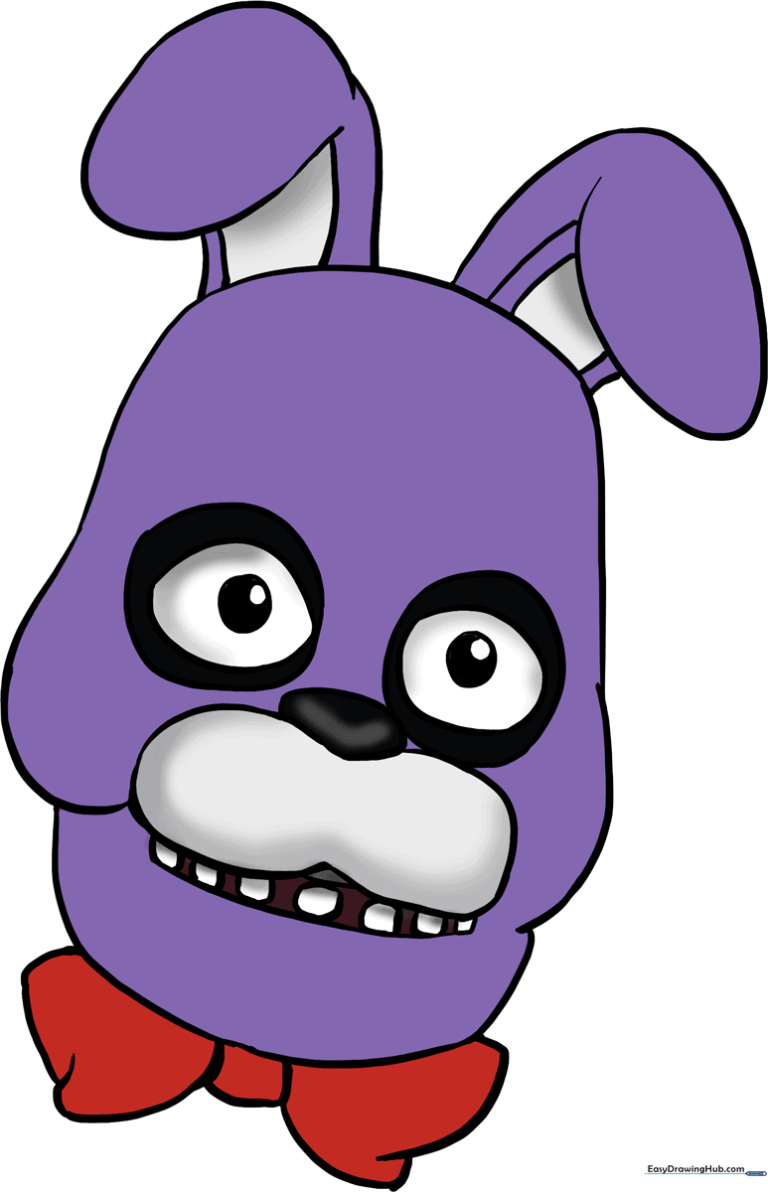
🎯 Final Result
Step-by-Step Instructions
Step 1: Sketching the Head Curve

Start by drawing a soft, curved line to create the top of Bonnie's head. Teacher's Tip: Keep your pencil pressure light so you can easily adjust the shape later if needed.
Step 2: Defining the Jawline
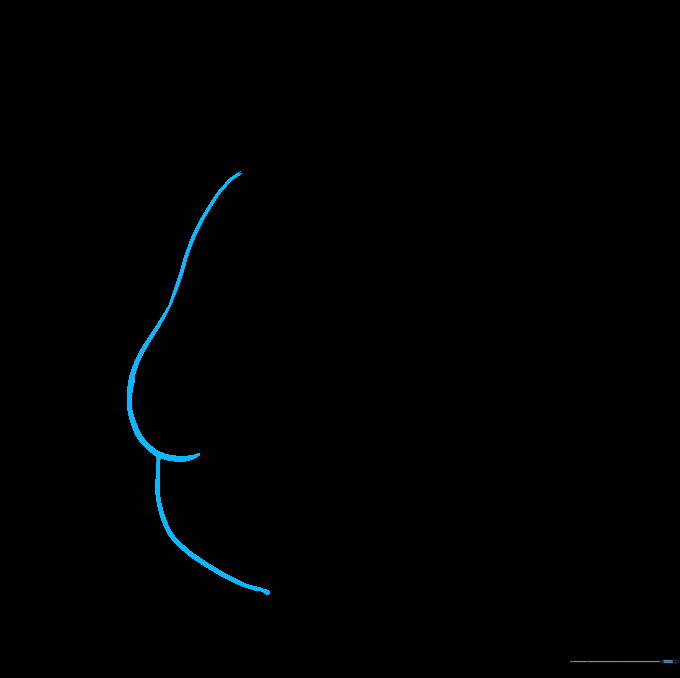
Add a pair of overlapping curved lines to form the side of the face and the chin. Tip: Focus on the 'sagging' curve of the chin to capture Bonnie’s unique animatronic structure.
Step 3: Closing the Face Shape

Draw matching overlapping lines on the opposite side to close the head shape. Tip: Check that both sides look symmetrical to give your character a balanced, professional look.
Step 4: Sketching the Ears
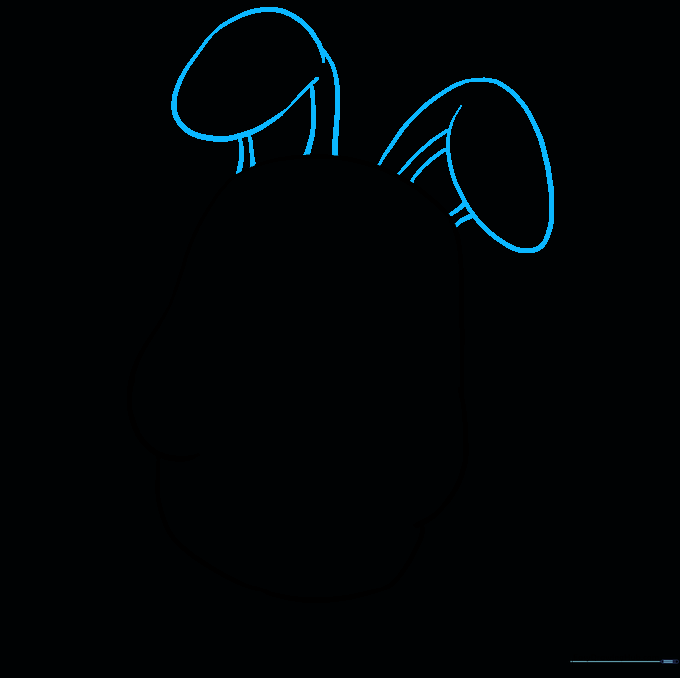
Extend two long, curved lines upward for the ears, connecting them with an incomplete oval at the top. Tip: Add small lines inside the ears to create depth and texture.
Step 5: Drawing the First Eye
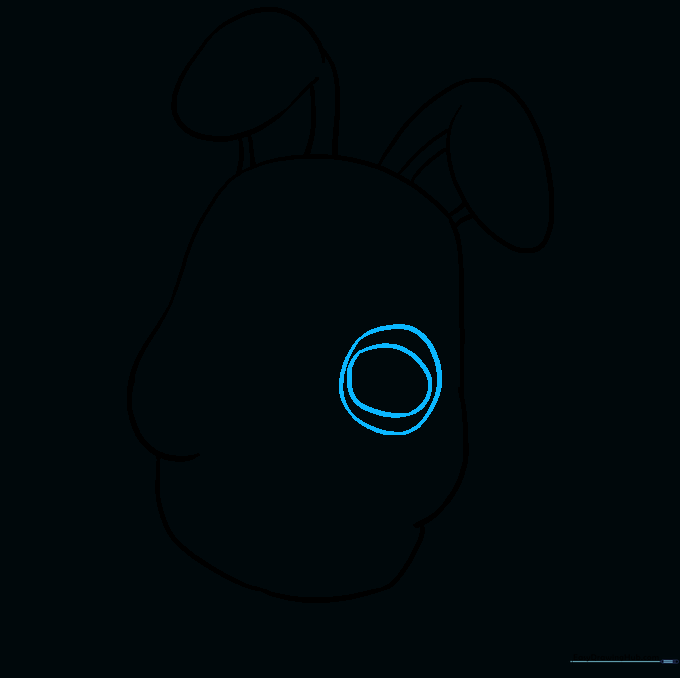
Draw a large, irregular circle for the eye, then place a smaller circle inside it. Tip: Don't worry about making it a perfect circle; Bonnie’s eyes have a slightly worn, robotic look.
Step 6: Drawing the Second Eye

Repeat the process for the second eye. Tip: Try to keep the eyes level with each other so Bonnie looks straight ahead.
Step 7: Adding Pupils and Nose

Add a small circle inside each eye for the pupil, and sketch an inverted, rounded triangle for the nose. Tip: A darker pupil makes the character look more alert.
Step 8: Snout and Teeth

Draw a peanut-shaped snout beneath the nose, then add small, rounded teeth. Tip: Keep the teeth uniform in size to give him that classic animatronic grin.
Step 9: Adding the Bow Tie

Draw a small circle for the knot of the bow tie, then outline the two sides with curved lines. Tip: Use long, smooth strokes for the bow to make it look clean.
Step 10: Coloring Your Masterpiece

Time to color! Use shades of purple for the fur, off-white for the snout, and a bold red for the bowtie. Tip: Use light, even strokes to avoid streaks in your coloring.
More Tutorials


