How to Draw Boba Fett: Easy 10-Step Guide for Beginners
Ready to bring the galaxy's most famous bounty hunter to life? This tutorial is perfect for young artists and Star Wars fans ages 6+. Grab your pencil, eraser, and paper to follow along as we break down Boba Fett’s iconic armor into simple, manageable shapes.
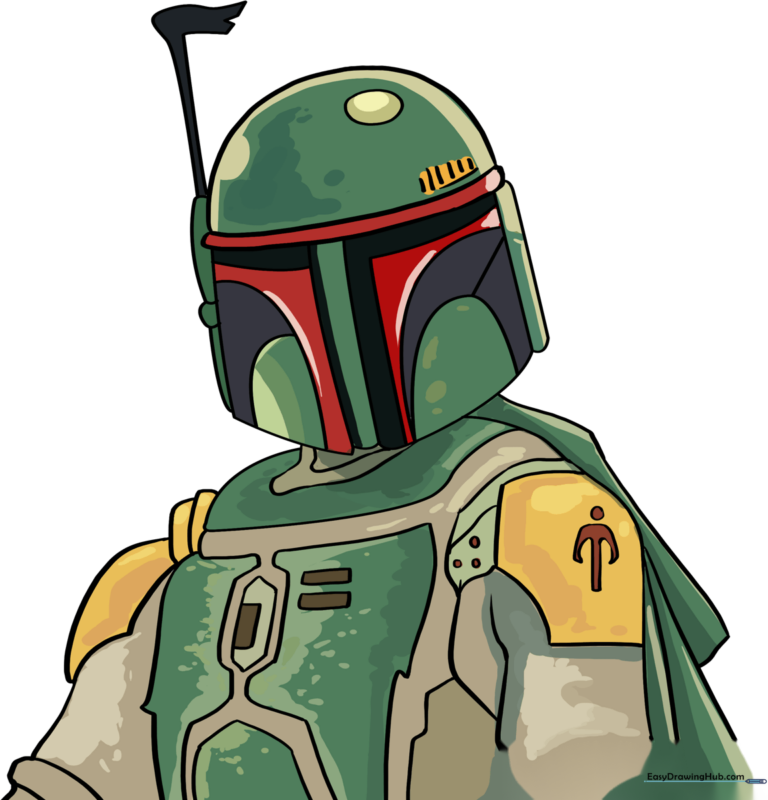
🎯 Final Result
Step-by-Step Instructions
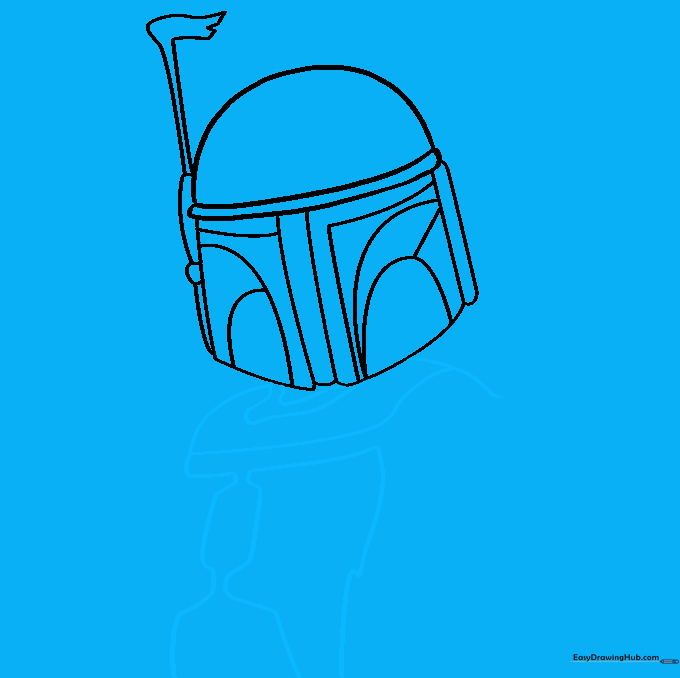
Step 1: Sketching the Helmet Base
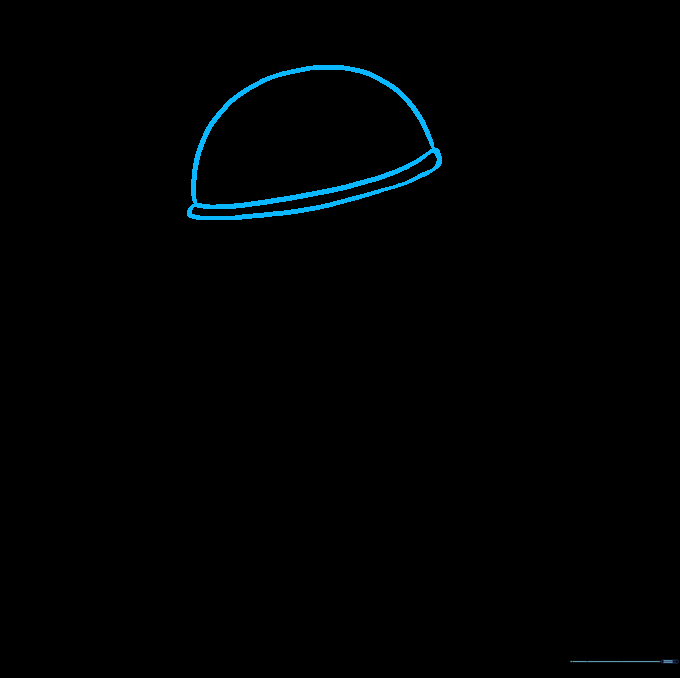
Start by drawing a soft half-circle for the top of the helmet. Connect the ends with a long, curved line, then add a parallel line below it to create the T-shaped eyepiece frame. Tip: Keep your pencil pressure light here so you can easily adjust the proportions later.
Step 2: Defining the Visor
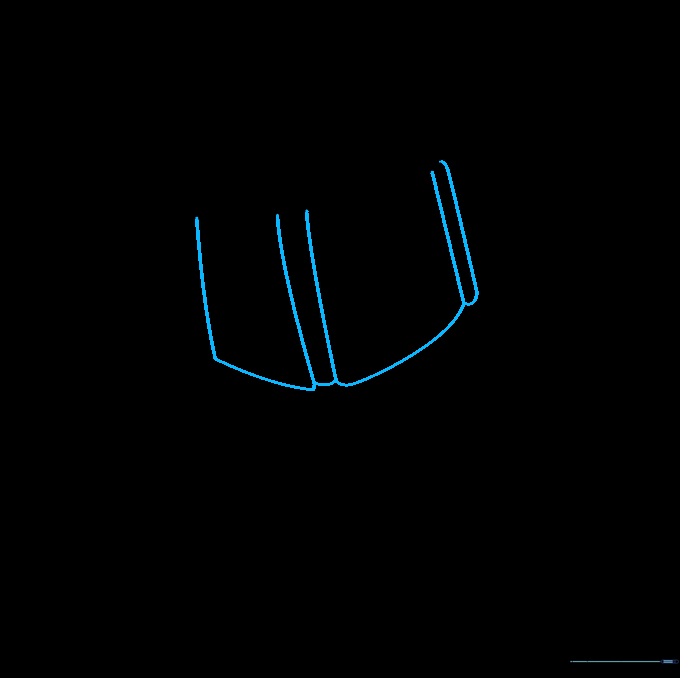
Draw five vertical lines descending from the eyepiece area. Connect them at the bottom with smooth, curved lines to form the base of the visor. Tip: Focus on keeping these lines symmetrical to give the helmet a balanced, sturdy look.
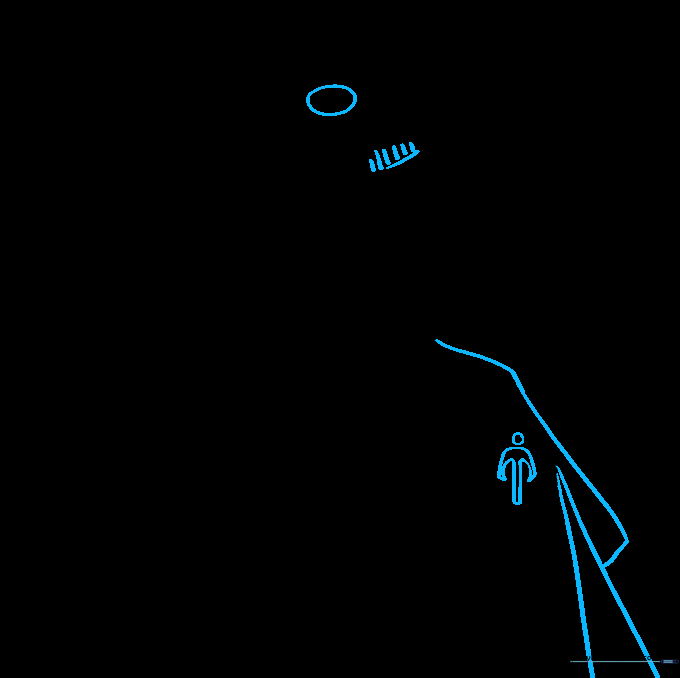
Step 3: Adding the Rangefinder
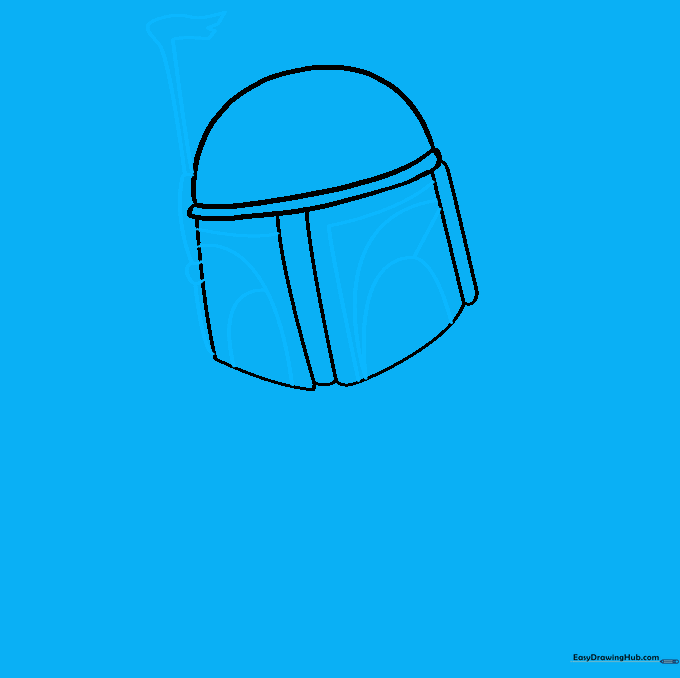
Add overlapping curved lines to the sides of the helmet for depth. On the right side, draw two small ovals and a circle, then extend two lines upward to create the antenna. Tip: The rangefinder is a key detail, so make sure it stands out by drawing the top flag-like shape clearly.
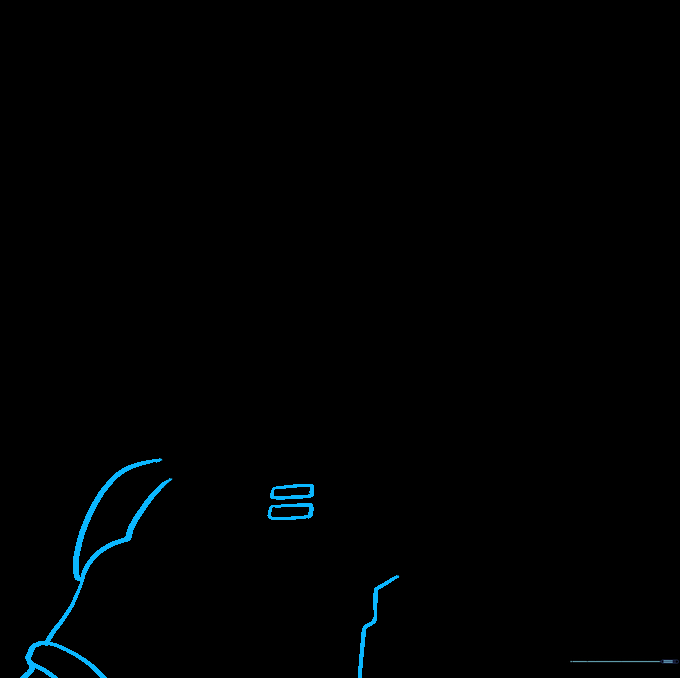
Step 4: Outlining the Armor
Use curved lines to sketch the neck and shoulder guards. From there, draw the geometric chest plates. Tip: Think of these as puzzle pieces fitting together; keep the shapes slightly rounded to match the look of Mandalorian armor.
Step 5: Detailing the Chest Plate
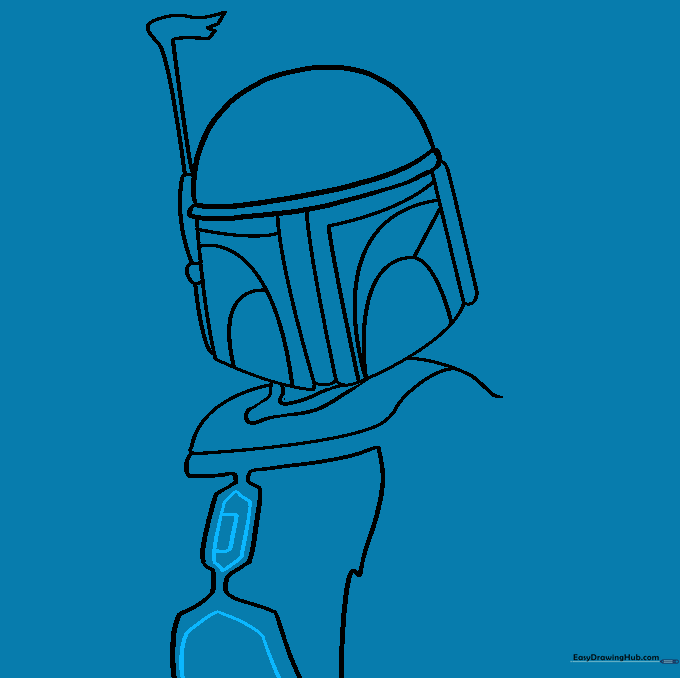
Refine the chest armor by drawing smaller hexagons inside the existing shapes, and add a small rectangle in the center. Tip: Use a sharp pencil to keep these small geometric details clean and crisp.
Step 6: Sketching the Arm
Draw the arm using overlapping curved lines for the shoulder and elbow bands. Tip: Focus on the 'layered' look of the armor—draw the shoulder piece slightly larger than the arm bands to show perspective.
Step 7: Adding Arm Armor Details
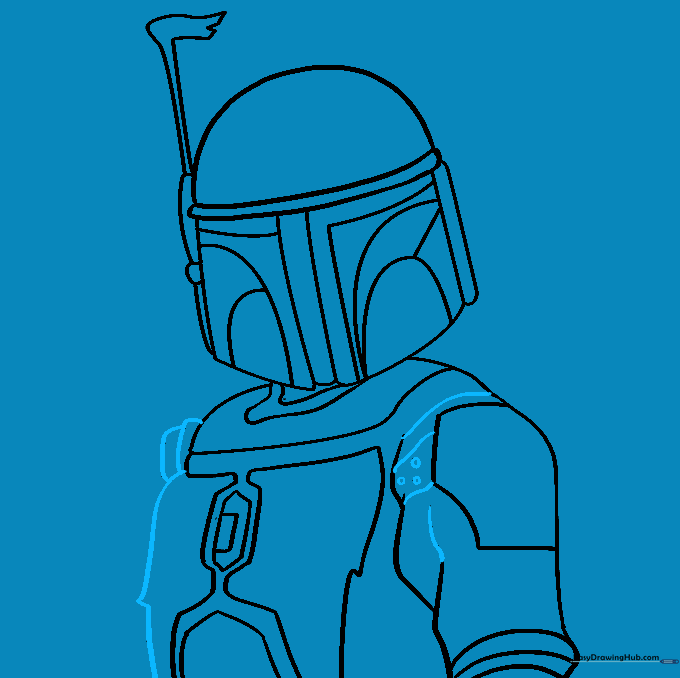
Add contours to the arm armor. Draw a curved rectangle on the shoulder with small circles inside to represent rivets. Tip: These small circles add a 'mechanical' feel that makes the drawing look more professional.
Step 8: Completing the Second Arm
Sketch the other arm using similar curved lines for the shoulder and sleeve. Add a zigzag line on the torso for texture. Tip: Don't worry about making both sides perfectly identical; armor often looks better with a bit of natural variation.
Step 9: Final Touches and Symbol
Add the Mythosaur skull symbol to the shoulder and draw the flowing lines of his cape. Tip: Use long, sweeping strokes for the cape to give it a sense of movement.
Step 10: Bringing Him to Life with Color
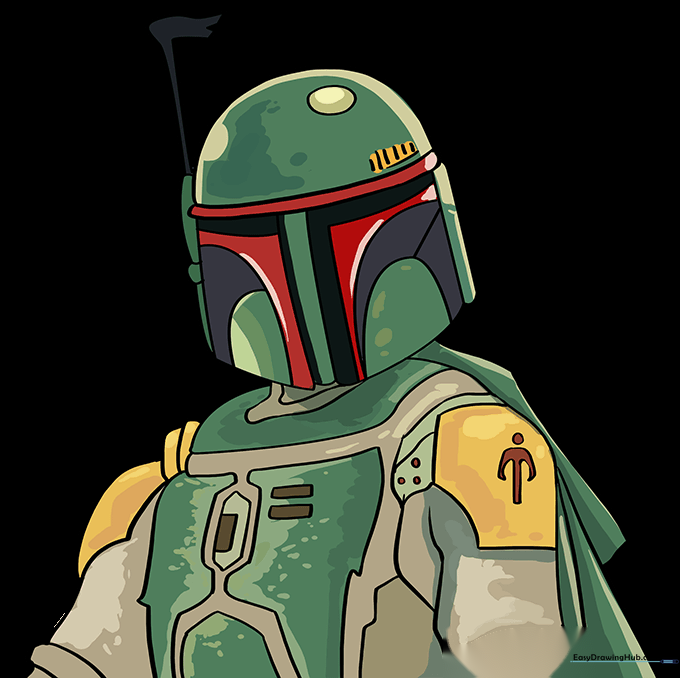
Time to color! Use green, red, and tan for Boba Fett's classic look. If you want to draw his father, Jango Fett, use blue and silver instead. Tip: Use light pressure for a soft look or heavy pressure for vibrant, bold colors.
More Tutorials


