How to Draw Bluey: Easy 10-Step Guide for Kids
Bring everyone's favorite Heeler to life with this simple drawing guide, perfect for ages 5 and up. All you need is a pencil, an eraser, and some paper to get started. Follow these steps to build confidence and develop your child's fine motor skills through creative play.
🎯 Final Result

Step-by-Step Instructions
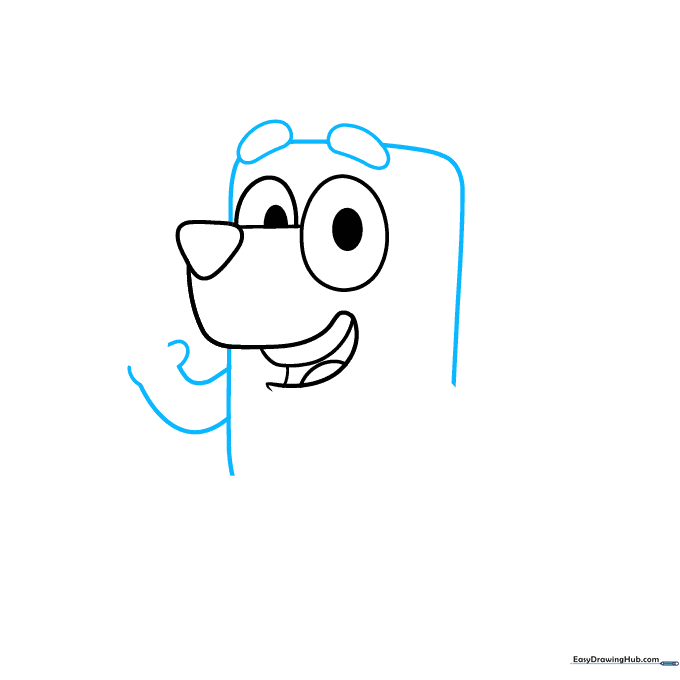
Step 1: Sketching the Face and Snout

Start by drawing a light circle for the head. Inside, add a small oval for the eye and a rounded triangle for the nose. Teacher's Tip: Keep your pencil lines very faint so you can easily erase any mistakes later!
Step 2: Adding the Second Eye and Mouth

Draw the second eye and a curved line for the open, happy mouth. Add a small tongue inside. Teacher's Tip: Use a 'U' shape for the mouth to give Bluey that signature cheerful expression.
Step 3: Shaping the Head and Body
Outline the rounded, rectangular shape of the head and body. Add two curved eyebrows above the eyes. Teacher's Tip: Don't worry about perfect corners; Bluey is meant to look soft and rounded.
Step 4: Drawing the Arms
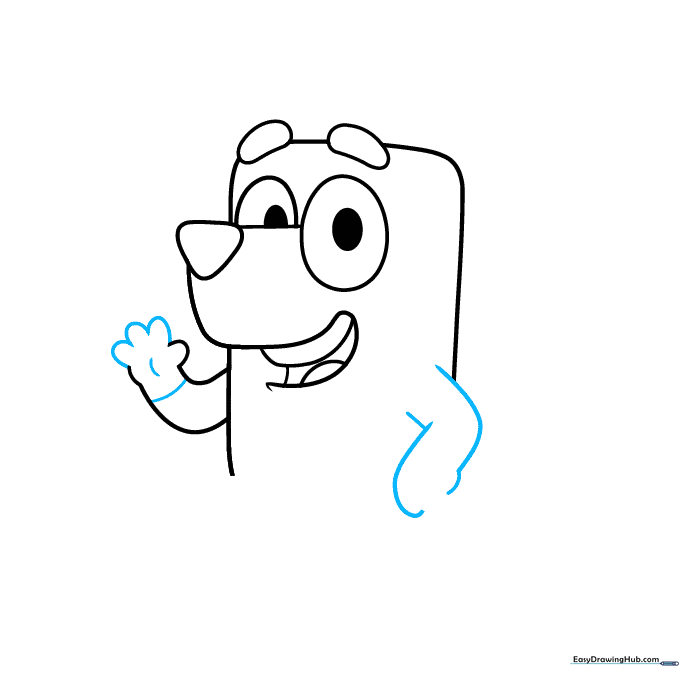
Use 'U' shaped lines to create the fingers and add curved lines for the arms. Teacher's Tip: Keep the fingers small and close together to match the cartoon style.
Step 5: Sketching the Legs
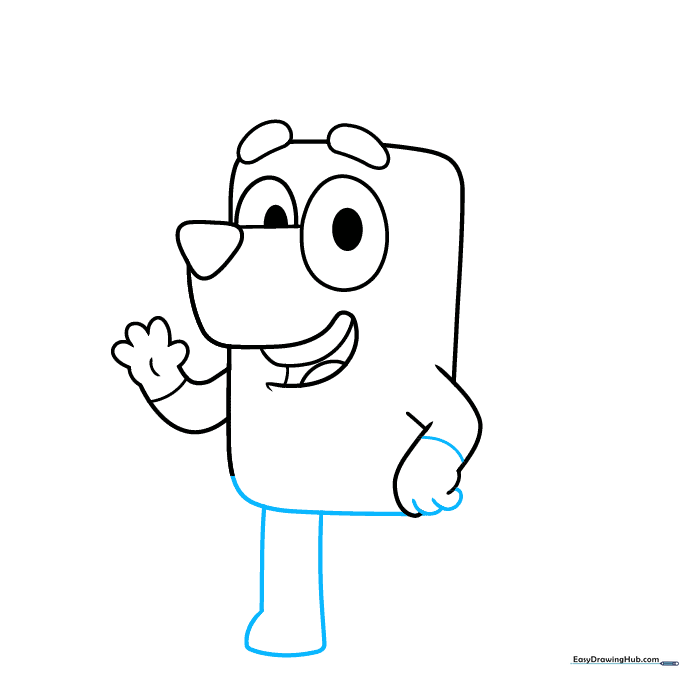
Finish the body outline and extend two lines downward to form the first leg. Connect them with a curved foot. Teacher's Tip: Make sure the leg is long enough to keep the character balanced.
Step 6: Adding the Second Leg
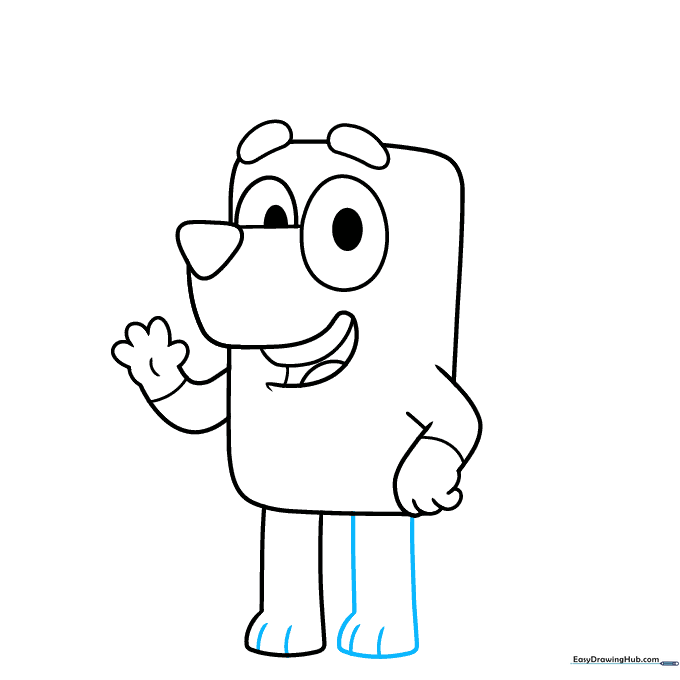
Draw the second leg slightly behind the first. Add small curved lines at the tips of the feet for toes. Teacher's Tip: Adding those tiny toe lines makes the feet look much more realistic.
Step 7: Drawing the Ears
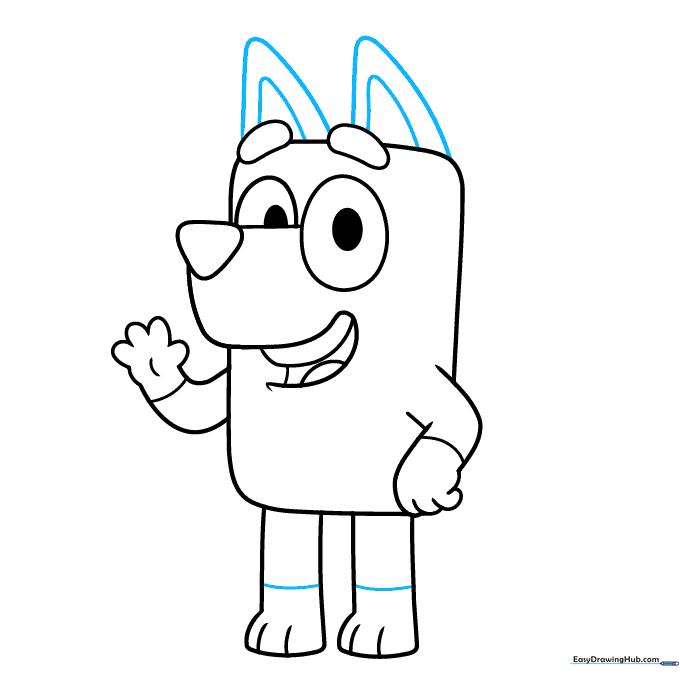
Add two triangles to the top of the head, with smaller triangles inside for the inner ears. Teacher's Tip: Keep the ears slightly rounded at the tips to match Bluey's soft look.
Step 8: Adding the Tail
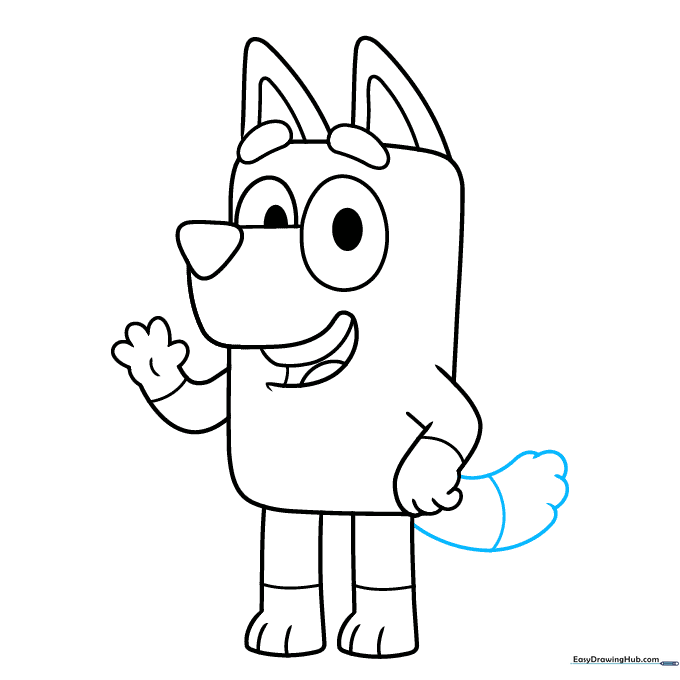
Draw a fluffy tail using overlapping 'U' shapes. Teacher's Tip: Start with a simple curve, then add the 'fluff' on top to give it texture.
Step 9: Adding Character Markings
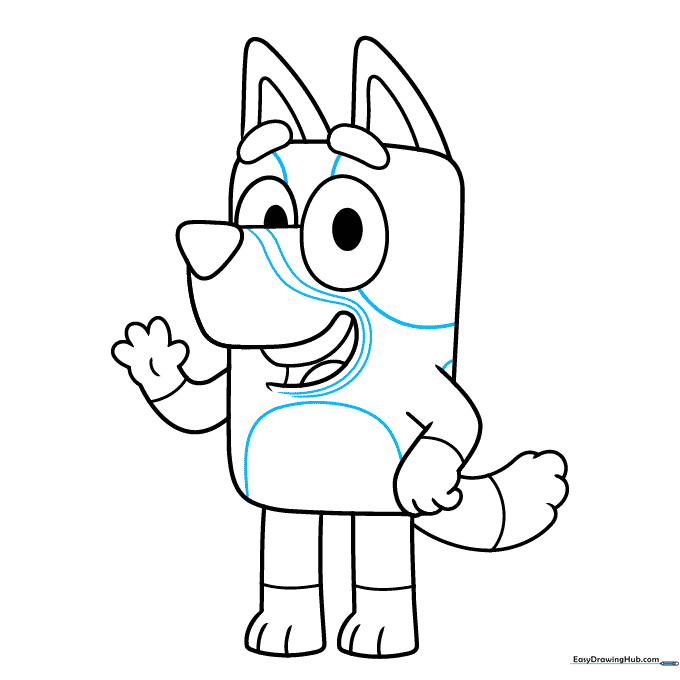
Draw the spots around the eyes, nose, and belly to complete the outline. Teacher's Tip: These markings are what make Bluey look like Bluey, so take your time with these curves.
Step 10: Bringing Bluey to Life with Color

Color your drawing using three shades of blue for the fur, and tan for the snout and inner ears. Teacher's Tip: Use light blue for the belly and hands, and a darker blue for the spots to get that perfect look!
More Tutorials


